i4BACnet Installation
Open this article and check out the steps you can organize to download and install the i4BACnet software.
i4BACnet installation pack can be found on the official Ewon by HMS Networks Support page under Downloads i4BACnet.
To start the download, click on the "i4BACnet [...]" link.
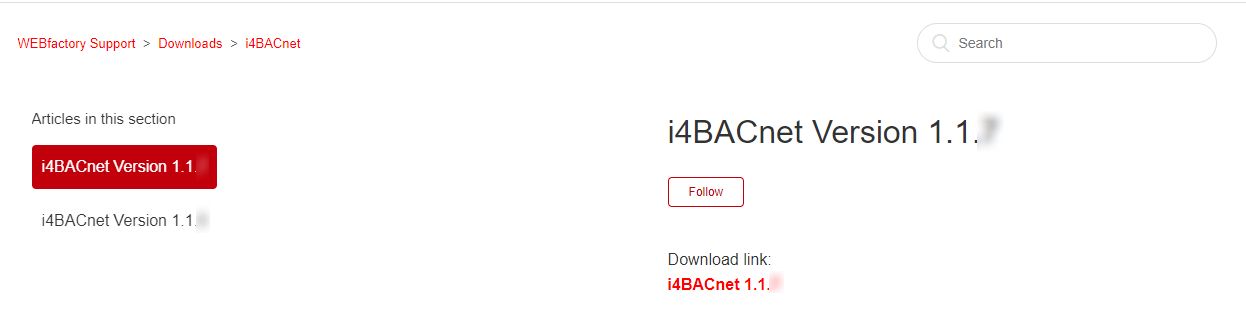
Download i4BACnet installation pack
Note
The installation, as described in the current article will provide you with an i4BACnet demo application. In order to obtain a license for this product, please check also the i4BACnet Licensing chapter.
The download will start automatically in your browser. Extract the archive and start the BACnet Setup installation.
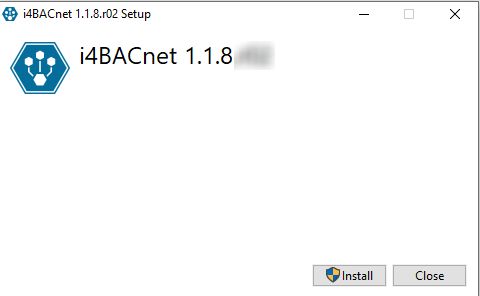
BACnet Setup dialog
Click the Install button to continue with the installation.
Note
Additional programs might be required to be installed in parallel with i4BACnet. For more details about them, check the Requirements and Recommendations chapter:
Microsoft Visual C++ 2017 Redistributable (x64)
Microsoft .NET Core 3.1.26 Windows Server Hosting
Follow up the Setup installation steps. When the progress is finished the system will display the BACnet Setup Wizard.

BACnet Setup Wizard
To proceed with i4BACnet installation, click the button Next.
On the upcoming Setup Wizard page, the License Agreement Terms are displayed. Read and accept the License Agreement Terms.
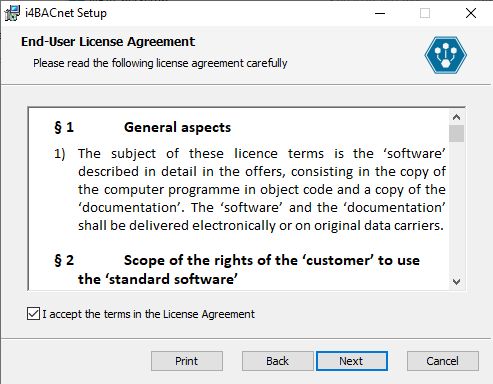
Read and Accept License Agreement Terms
After clicking the Next button you can define the destination folder where the product will be installed. To change the destination folder, click on the Change... button.
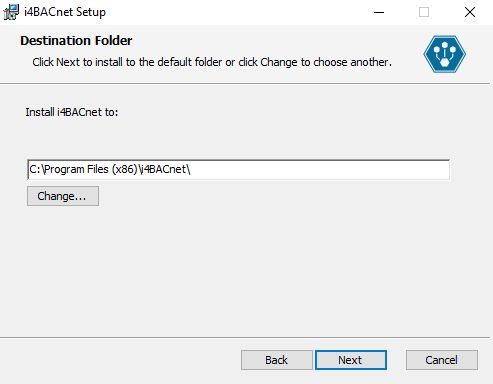
BACnet Destination Folder
At the Custom Setup step define the way application features will be installed, by clicking on the feature tree and selecting desired options. Click on the Next button to proceed with the installation.
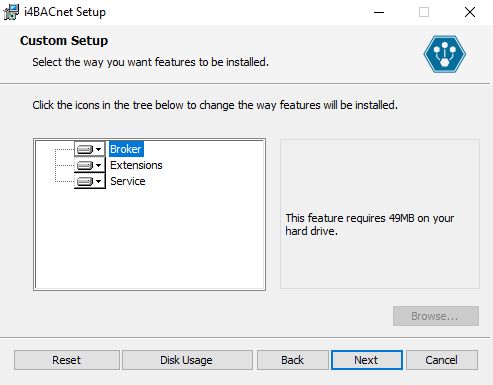
BACnet Custom Setup
In the Ready to install BACnet dialog click on the Install button.
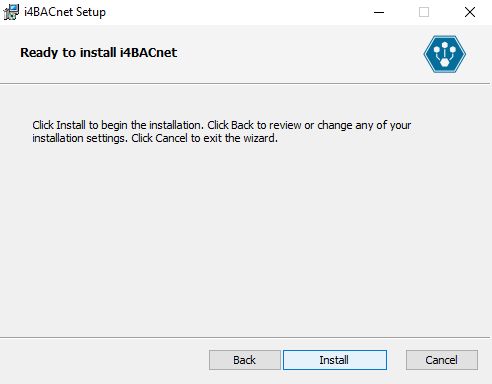
Ready to install BACnet
The installation progress can be seen in the status progress bar.
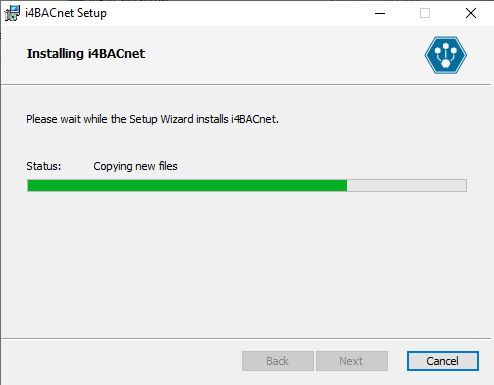
Installation progress
As soon as the installation is finished the Completed BACnet Setup Wizard dialog is displayed. To complete the installation and exit the Setup Wizard, click on the Finish button.
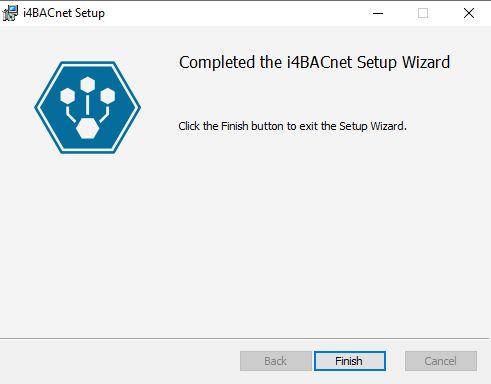
Finish BACnet installation
After the installation, the system will automatically open in your default browser the BACnet Service Settings page where further application settings can be processed.
Note
The generated BrokerUrl will be further used when configuring the BACnet Connector. For more details about the Service settings configuration, visit also chapter Service Settings.

BACnet localhost service settings page