Setting up a BACnet Smart Editor project
Let's prepare a SmartEditor project using a set of BACnet extensions. Check out these easy steps and do it by yourself.
The scope of the present article is to describe how to set up a basic BACnet Smart Editor project.
Open i4scada SmartEditor with Administrative privileges.
Important
Without Administrative privileges, SmartEditor will not be able to publish your project to Internet Information Services (IIS).
A new project is opened and can be used right away. Optionally project may be saved with a meaningful name, using Smart Editor TAB File / Save as...
Scroll down the Toolbox panel until reaching the BACnet extensions, or write BACnet in the Toolbox Search field.
Important
The 5 BACnet extensions are displayed, based on a successful i4BACnet installation.
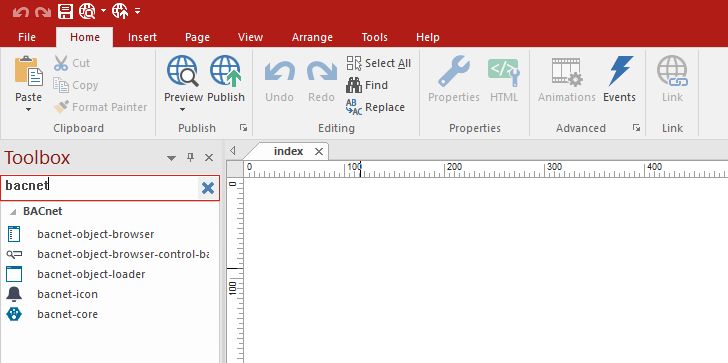
bacnet SmartEditor extensions
The bacnet-core extension must be present on the project page. To set up extensions, simply drag and drop them on the project page, in the desired location. The position of an extension may be changed at any point.
Note
More details upon this extension may be read with chapter i4BACnet extension "bacnet-core".

Set bacnet-core on the project page
Click on the bacnet-core extension on the page and check the Properties Inspector panel. Alternatively, the extension properties may be accessed by right-clicking on the extension and selecting option Object Properties.
Make sure that the BACnet Broker Service URL points to your BACnet Broker.
Note
More details upon the BACnet Broker URL may found in chapter i4BACnet Service Settings.
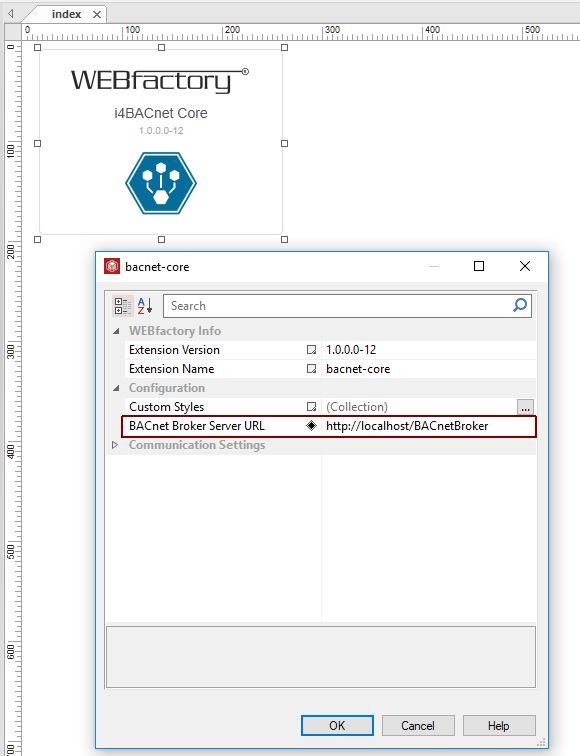
BACnet Broker Service URL
Proceed with setting further bacnet specific extensions on the project page. For the present tutorial, we shall use the bacnet-object-browser and bacnet-object-loader extensions.
As indicated, one may set extensions by dragging and dropping them on the project page.
Note
More details upon properties of these extensions may be found in chapter i4BACnet extension "bacnet-object-browser" and i4BACnet extension "bacnet-object-loader".
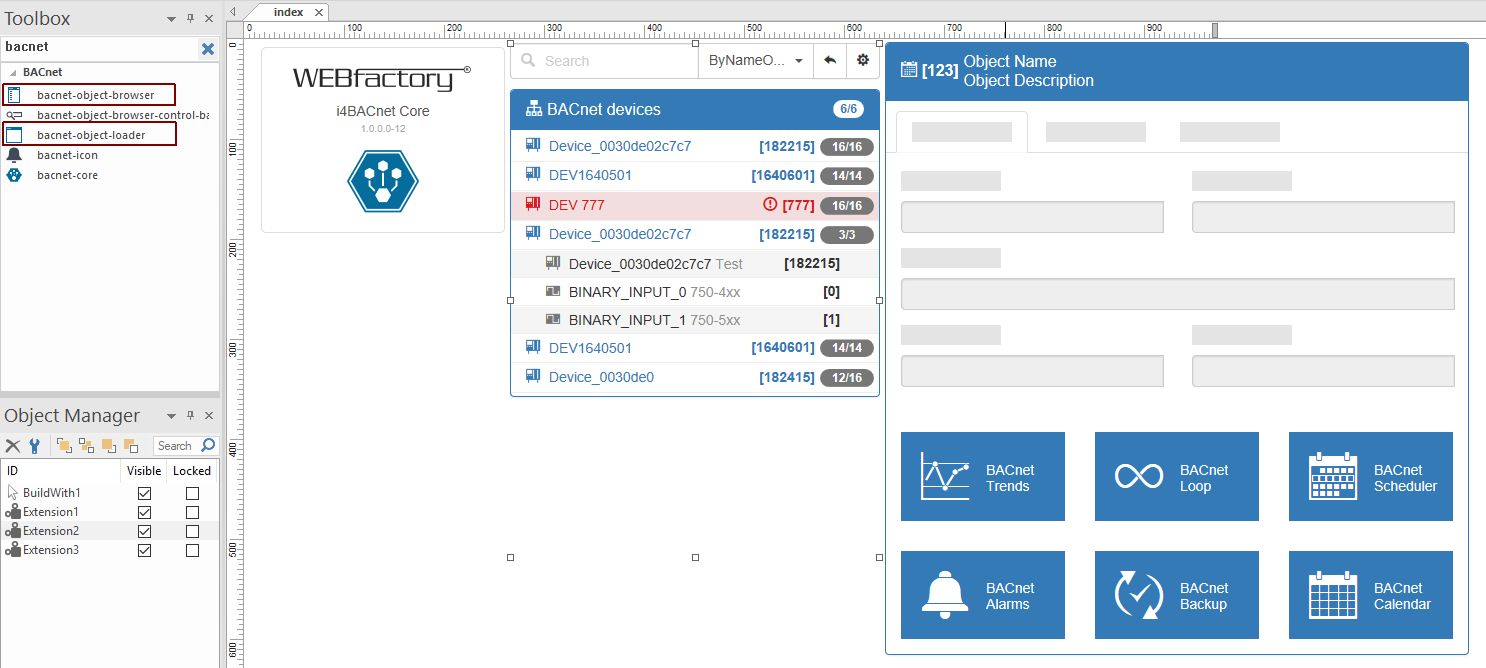
bacnet specific extensions
Submit any further object property updates, to fit your working environment.
Before proceeding with publishing the project, open i4scada Service Manager and (re)start both i4scada and BACnet Services.
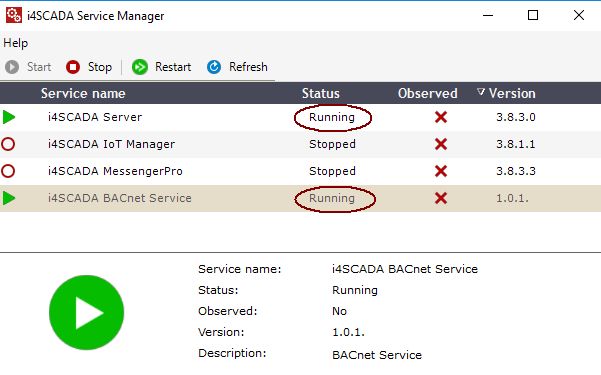
Service Manager
Click the Smart Editor toolbar button Publish
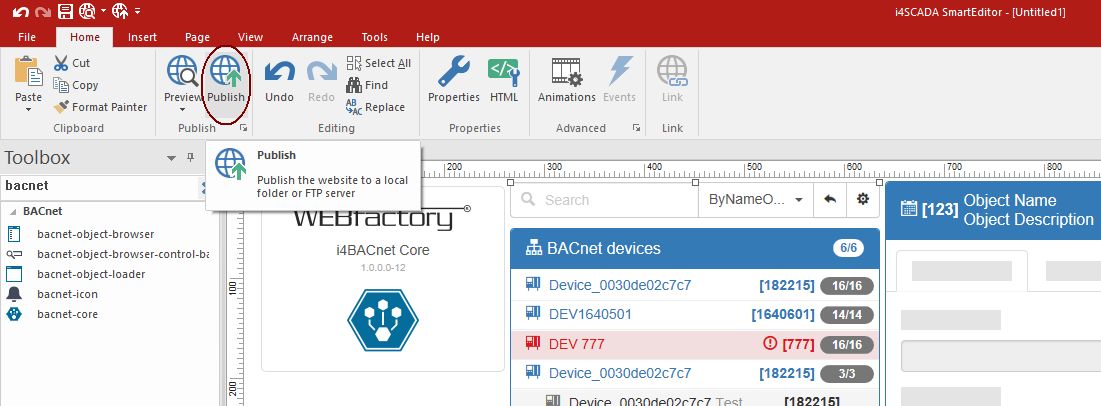
Publish the Smart Editor project
The Publish Web Site dialog is opened. Click button Publish.

Publish Web Site
The publishing is processed. Message Successfully published is displayed.

Successfully published project
To open your HTML project, select field Visit published website or open browser and insert URL http://localhost/i4scada.
The project is opened in a web browser. Further indications upon functions and interaction with the HTML published components may be found in chapters of the article i4BACnet HTML Components.