Users
The Users window lists the users that exist for the Talk2m account.
Important
You'll only be able to see the users belonging to the user groups to which you were granted access rights.
Log in as a user with Administrator rights to display all users.
To add a user into the list, use the Add button, as explained in topic Add a user.
You can customize the way the information is displayed inside the user list.
The available display options are the same as for the Ewon List, see the Ewon List customization section.
Add a user
To add a user click on the Add button on the top of the window.

Create a new user:
Complete the user details
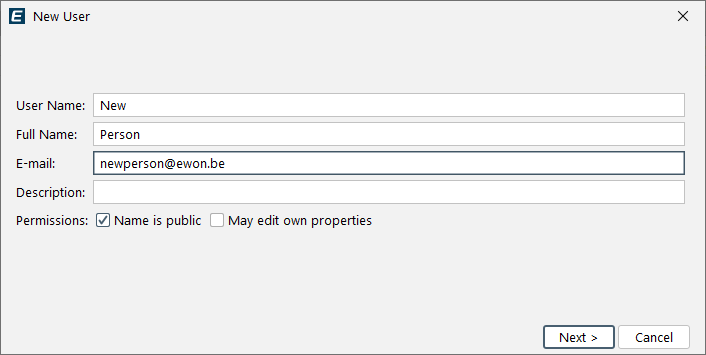
User Name: Type a login name that the user will use to connect to the Talk2m account (required).
Full Name: Encode the full name of the user (optional).
Email: Encode the correct existing email address. It may be required for resetting passwords (required).
Description: Encode a description about the user (optional).
Permissions:
Name is public: Makes the name of the connected user public.
If checked, this option makes the user name visible to other logged in users of the account in the "Connected User" column of the Ewon list.
May edit own properties: Allows the user to change his own properties such as his name, email, and password.
It doesn't give to the user the rights to modify his own permissions.
Configure the new user login options:
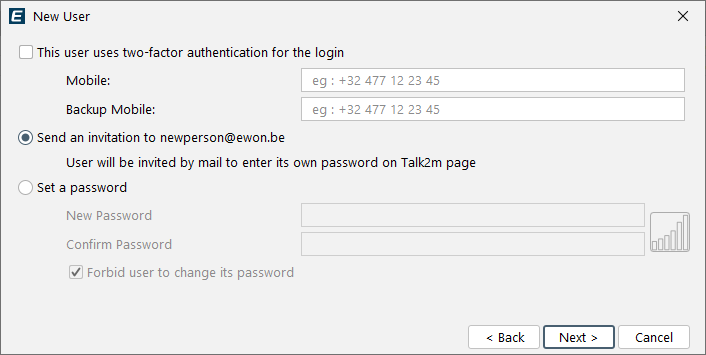
At the top of the window, select how the user password will be created.
Send an invitation (recommended):
When this option is selected:
An invitation email is sent to the specified email address.
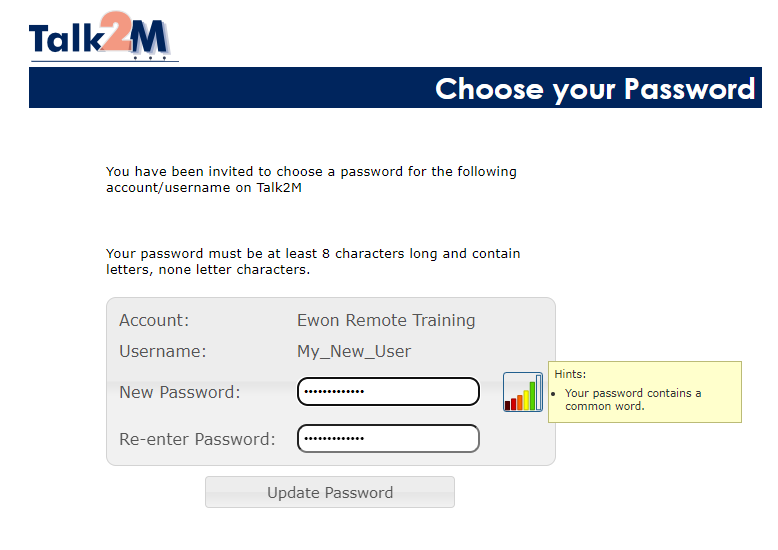
The user is prompted to create their own password on the Talk2m page.
No password needs to be entered by the administrator.
This option is recommended for better security and user autonomy.
Set a password:
When this option is selected, the administrator defines the password manually.
New Password: Enter the password that will be assigned to the user.
Encode a password corresponding to the Password Security Policy applied on your Talk2m account (required). When this option is selected, the administrator defines the password manually.
Confirm Password: Re-enter the password to confirm it.
Checkbox "Forbid user to change its password": When enabled, the user will not be allowed to change the password after the first login. Use this option only when password control must remain with the administrator.
Use this option only when password control must remain with the administrator.
Login Approval Method:
Choose how the system validates each login attempt for this user.
None:
- The user logs in using only a username and password.
- No additional verification step is required.
Code by email:
- A one-time verification code is sent to the user’s registered email address.
- The user must enter this code to complete the login.
Note
Version compatibility:
The Code by email option is available starting from Ecatcher version 7.1.0.
To log in using this method, the user must also use Ecatcher version 7.1.0 or later. If an earlier version is used, the following error message will be displayed during login: “This operation is no longer supported by this version of Ecatcher.”
Mobile application limitation:
The Code by email login approval method is not supported by the Ecatcher mobile app.
For users accessing Talk2m via the Ecatcher mobile app, Code by SMS must be used instead.
Code by SMS (Two-factor authentication):
- Mobile: Enter the primary mobile phone number (including country code) that will receive the SMS code.
- Backup Mobile: Optional for standard users. A backup mobile number can be used to receive the login verification code if there are issues sending it to the primary mobile device.
Note
For administrator accounts, a backup mobile number is required.
SMS-based verification significantly increases account security and is recommended for users with elevated access rights.
Important
If Two-Factor Authentication is required and the mobile number is left empty, the user will be prompted for the mobile number when logging in for the first time.
Add additional user info:
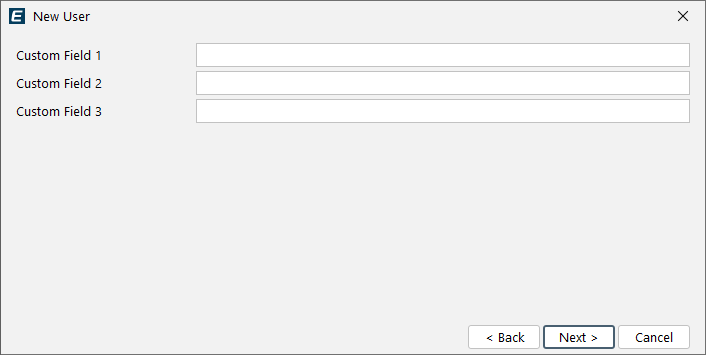
The next page of the wizard allows you to specify the custom fields linked to this user.
Each user has 3 custom fields which allows recording additional information related to the user. The custom fields are optional.
Select the access rights for this user:
Administrators have full access to the account: They can configure users and Ewons. They can also connect to Ewons.
Users can connect to Ewons: They cannot change or modify Ewon or user properties.
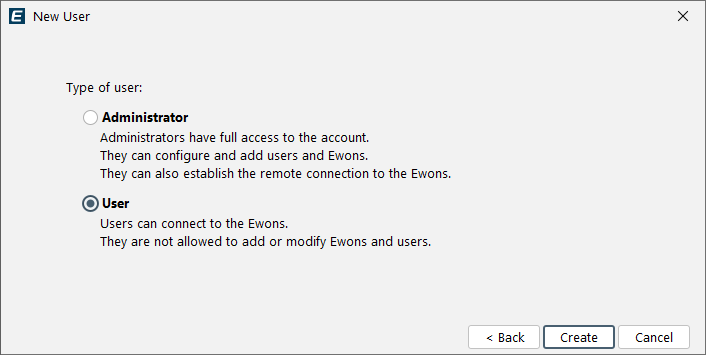
Click on the Create button to finish the Add User wizard.
If you selected "Send an invitation" to the new user:
Send user invitation:
An email will be sent to your new user at the end of the Add User wizard.
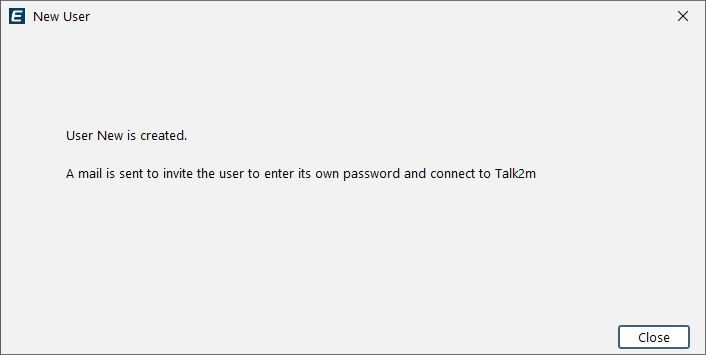
User status is pending until the user accepts the invitation.
Accept user invitation:
In the email, the new user will be prompted to accept the invitation.
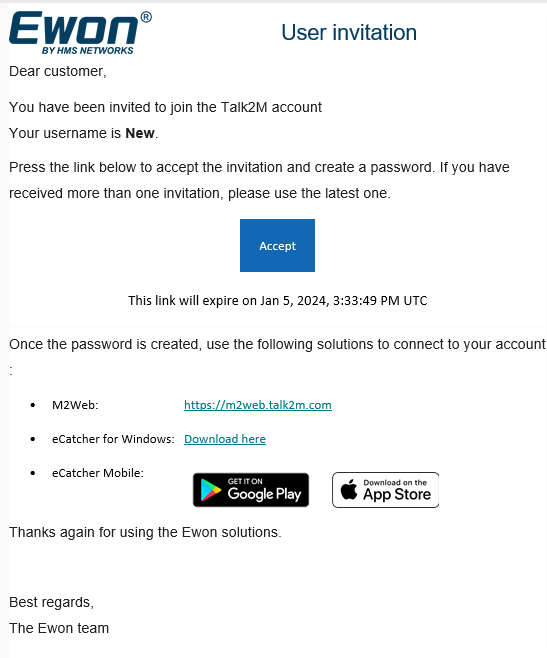
During this process, the user will be prompted to define a password.
Monitor user invitation:
Add the Status column on your global user view to see if the invited user has accepted your invitation and is ready to work.
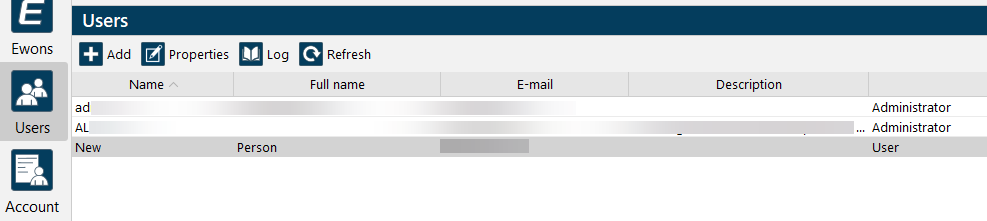
The status changes to Enabled when the user accepts the invitation.
Properties
To display the Properties page of a user:
Select the user within the list
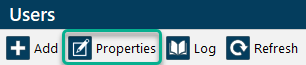
Click on the Properties button on the top of the window
The user Properties page is composed of different sections:
General Information:
Shows the general description of the user such as the Name, Email address and Custom fields.
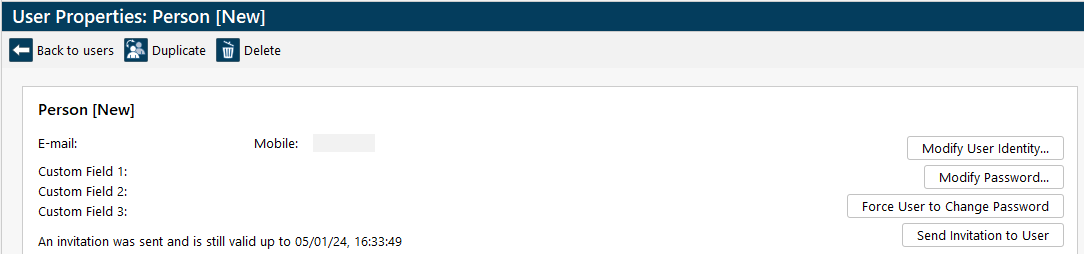
Click on the Modify User Identity... button to change these settings.
To change the password of the selected user, click on the Modify Password... button.
To force the user to change passwords on the next log in, click on the Force User to Change Password button.
This option is disabled if the user does not have permission to change his password.
To send a new invitation to the user, click on the Send Invitation to User button. Sending a new invitation to the user does not change the user's status. This option is disabled if the user does not have permission to change his password.
Status:
Shows the current status of the user.
Inside the user list, the disabled user will be displayed grayed and in italic (i.e. Tom Sawyer). The disabled user will not be able to log in the account. If he tries to log in, the user will have a Supplied credentials are invalid message displayed.
Security:
Shows the status of the Two-factor Authentication.
Two-factor Authentication is an extra layer of security for your login since it sends a second verification code to your mobile phone.Click on the Enable Two-factor Authentication... button to activate this feature.
Tip
You can find further explanations about this feature in the Two-Factor Authentication
VPN Information:
Shows the VPN status and other useful VPN information of this user.
For example: This user has no tunnel established. This VPN IP 10.237.11.157 was previously allocated to this user.
Permission:
Shows the user rights for this user.
Click on the Modify... button to change these settings.
Duplicate
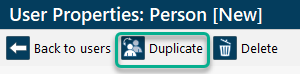
The Duplicate button on the top of the User properties menu lets you make a copy of the displayed user.
To duplicate a user:
Click on the Duplicate button. A pop-up window appears.
Enter the name and password for the new user and click OK.
The newly created user will have exactly the same configuration settings including:
- Full Name
- Description
- Custom fields
- Password properties
- Permissions and access rights
To change the configuration settings of the new user, select it inside the User List and click on the Properties button.
Disable

To disable a user:
Notice
Inside the user list, the disabled user will be displayed grayed and in italic (i.e. Tom Sawyer).
The disabled user will not be able to log in to the account. If he tries to log in, the user will have a Supplied credentials are invalid message displayed.
Click on the Disable button to temporarily block the access to your account for this user without.
If the user is currently connected to an Ewon (or was connected) and has his Ecatcher application still running: then a pop-up will show up asking for your confirmation.
The user's properties background becomes dark gray to show that this user is currently disabled.
The Disable button on the Properties page will change to an Enable button
To re-enable this user, click on the Enable button.
Delete
The Delete button on the top of the User properties menu deletes this user from your Talk2m account.
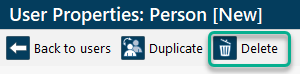
A pop-up asks you to confirm the deletion of this user.
Two-factor Authentication
You can add an extra level of security for your account and the users you create.
Two-factor authentication provides additional user identification by the combination of two different components.
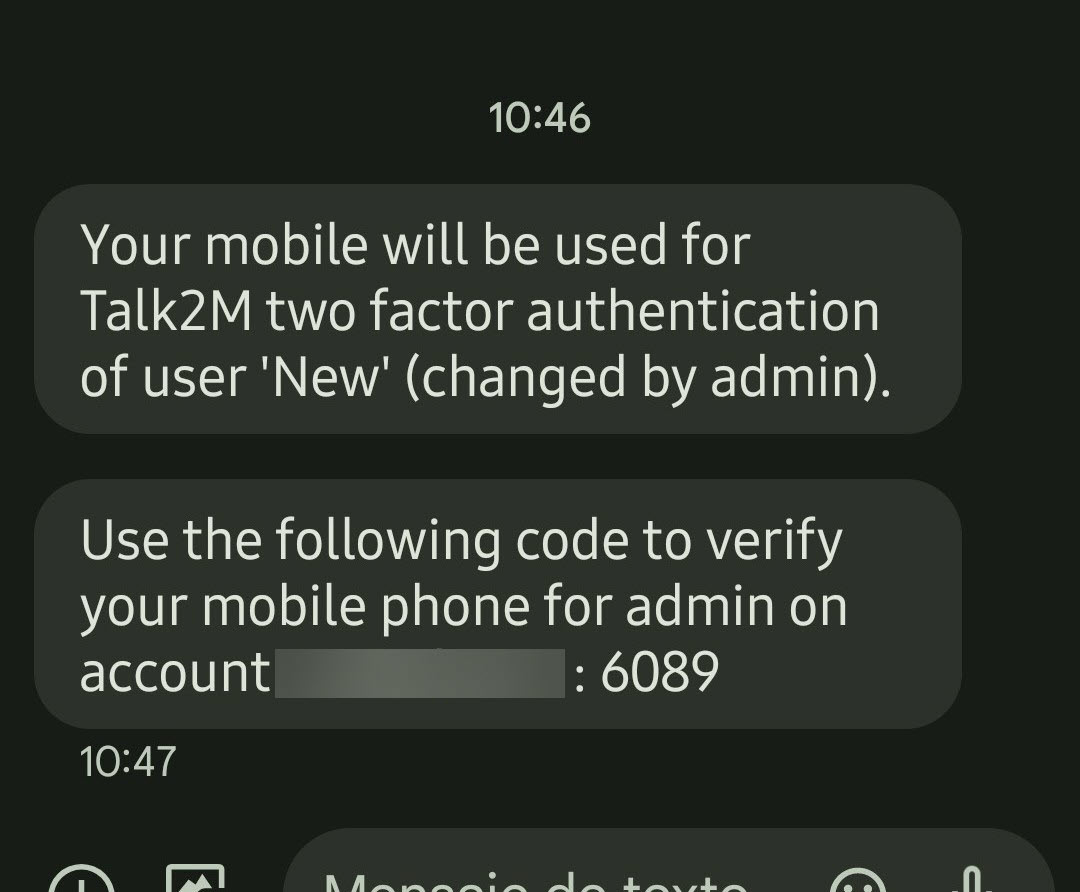
When a user with two-factor authentication enabled logs in to Ecatcher or M2web, a verification code will be sent by SMS to his mobile phone.
A text message that contains a dynamic one-time authorization pass-code consisting of 4 digits will be sent to his cell phone.
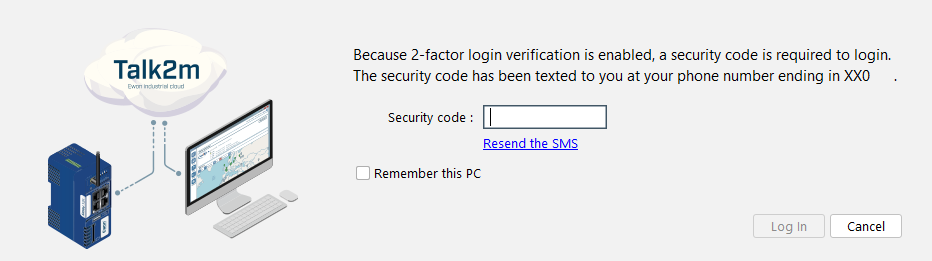
When a user with Two-Factor Authentication enabled logs in to the Talk2m account, he will first need to encode his username and password.
The Talk2m system will then send a text message to the mobile phone number encoded for this user.
The text message contains the code required for the two-factor authentication.
Important
The 2FA SMS has a validity time of 30 minutes. After the 30 minutes period of time, the 2FA SMS expires.
To complete the login process, the user will need to enter that code inside the Security code field.
Warning
The user has 3 attempts to encode the correct code, otherwise the user login will be temporarily blocked.
The Administrator of the Talk2m account can decide if the Remember this PC option is authorized or not for the Talk2m account.
Notice
A revoke feature exists for the Remember this PC option.
An administrator of the account can revoke all Remember this PC authorizations of a user.
This means that the user will need to use once again the text message as second authentication component at the next login.
Configuration of Two-Factor Authentication
You can activate and configure the two-factor authentication settings for each user of your Talk2m account.
Note
The Remember this PC option of two-factor authentication is controlled by the Account’s Security Policy.
If the Standard Policy is selected, the Remember this PC option is allowed and never expires.
If the Enforced Policy is selected, the Remember this PC option is not allowed.
To enable two-factor authentication for an existing user:
Select the user within the user list.
Click on the Properties button.
Go to the Security section
Click on Enable Two-factor authentication.... The following pop-up appears:
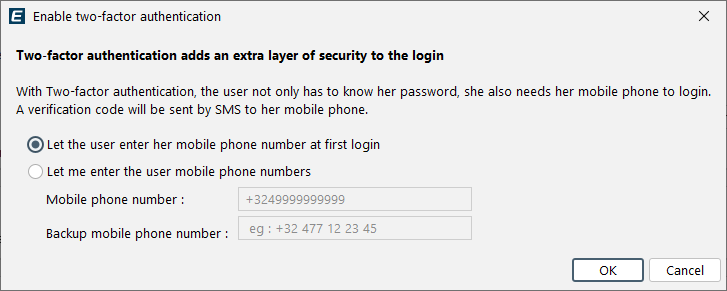
You either encode the user's mobile phone number or let the user encode and validate his phone number on his next login.
Remember to include the country code when encoding the phone number.
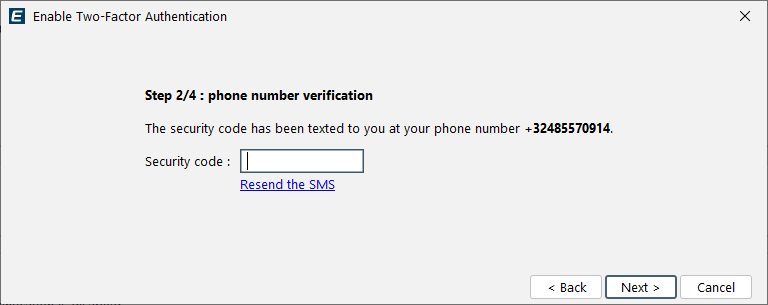
When the user encodes the phone number on the next login or if you are enabling two-factor authentication for yourself, a security code is sent to verify the validity of the phone number.
Note
If you are encoding the phone number for a user other than yourself, the user will receive a text message indicating that two-factor authentication has been enabled and by whom.
A backup phone number can be added for any user and must be different than the first one encoded.
This option is required to activate the Two-factor authentication for users with Administrator rights.
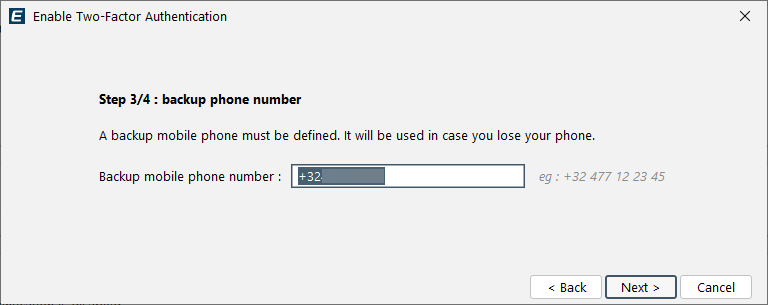
A security code is sent to verify the validity of the backup phone number.
The Two-factor authentication is now enabled.

SMS Reception fail:
If for some reasons the user did not receive the text message, he can click on the resend the SMS link. The user can then decide to resend the text message to the same phone number (the mobile number encoded for the user) or to send the text message to the backup phone number that was also encoded for the same user.
To Enable two-factor authentication for a new user:
During the user configuration check the This user uses two-factor authentication for the login checkbox.
Encode the mobile number including country code for the user. If the mobile number field is left blank, the user will be asked to encode it during their first login.
You will also have the possibility to enter a backup mobile phone number. This can be used in case the first mobile number is not accessible, was lost, or is damaged.
Important
It is strongly recommended to encode a backup mobile number for each user.
Notice
It is a requirement to encode the backup mobile number for users with administrator rights.
Remember my pc
The Remember this PC option allows Ecatcher to use the PC of the user instead of the text message for the second authentication factor.
During the Two-Factor Authentication login, the user can check the Remember this PC option when he enters the code received on his mobile phone.
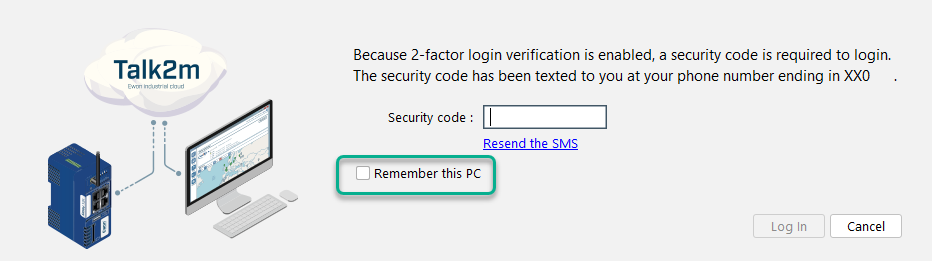
This will allow the user to login the next time from this PC by entering only the username and password.
The text message code is not longer required. His PC is now the second authentication component.
Notice
Do NOT use the Remember this PC option, if you are not connected on your own PC or tablet.
The Administrator of the Talk2m account can decide if the Remember this PC option is authorized or not for the concerned account.
Important
A revoke feature exists for the Remember this PC option.An administrator of the account can revoke all Remember this PC authorizations of a user. This means that the user will need to use once again the text message as second authentication component at the next login.
Logs
To display the logs of a user:
Select the user inside the user list.
Click on the Logs button on the top of the window.

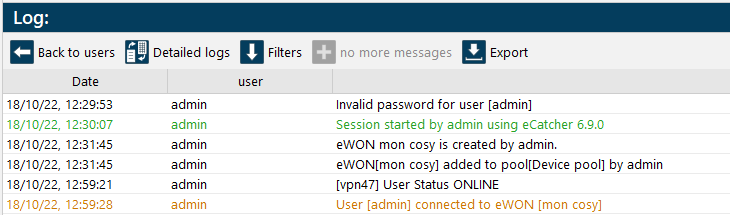
A new window will open, showing all the actions taken by the selected user(s) in a chronological order.

In this view, you can see:
- The date and time stamp of the action (i.e. 3/21/23 11:23:14 AM)
- Who performed the action (i.e. USR14033 = User ID)
- On which device (i.e. DEV22834 = Device ID)
- The status of the session (Started or Closed by whom)
Note
You can also select multiple users to display the logs of the selected group of users.
Beneath the title Log, you will see buttons for different views:
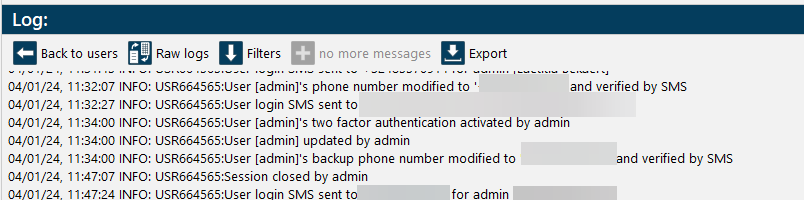
Raw logs:
This view doesn't offer any customization. You will just be able to see the plain text information retrieved from Talk2m.
The information will always be presented the same way:
First you will see the day the event occurred.
Then the time
Then the event itself (connection/disconnection of a user, wake up of an Ewon...)
Detailed logs:
With this view, you will be able to sort your events on different parameters.
Right-click on the column title to choose which columns you want to see in your log.
Filters:
By checking or unchecking the boxes of the filtering possibilities, you can specify which type of information you want to display in the logs frame.
Load Older Messages:
Ecatcher doesn't load the full log of the Ewon device. If you want to see older message than the ones proposed, click on this button. Ecatcher will then fetch more logs. If there isn't any log to be retrieved, the icon will switch to No more messages.
Export:
It is possible to export the logs in a .csv file format to your computer.
Refresh
The Refresh button on the top of the user list retrieves the latest configuration of the user list for your account.
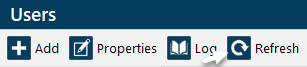
For example, if another user of your Talk2m account added a new user while you were using Ecatcher, you will need to push the Refresh button to retrieve this new information.