Creating a new i4designer project
This tutorial will guide you through the process of creating a new i4designer project regardless of the selected platform. Check the step-based article.
Tip
You can also visit the Ewon by HMS Networks YouTube channel for a video tutorial providing an overview of the Control Center and guiding you through the process of creating a new i4designer project.
First time in i4designer: creating a project
Log into the i4designer application, using your credentials. The i4designer management section is opened, welcoming you to our Control Center.
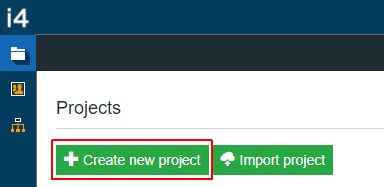
Click on the Create new project button.
On the Create Project page, start filling in your project information:
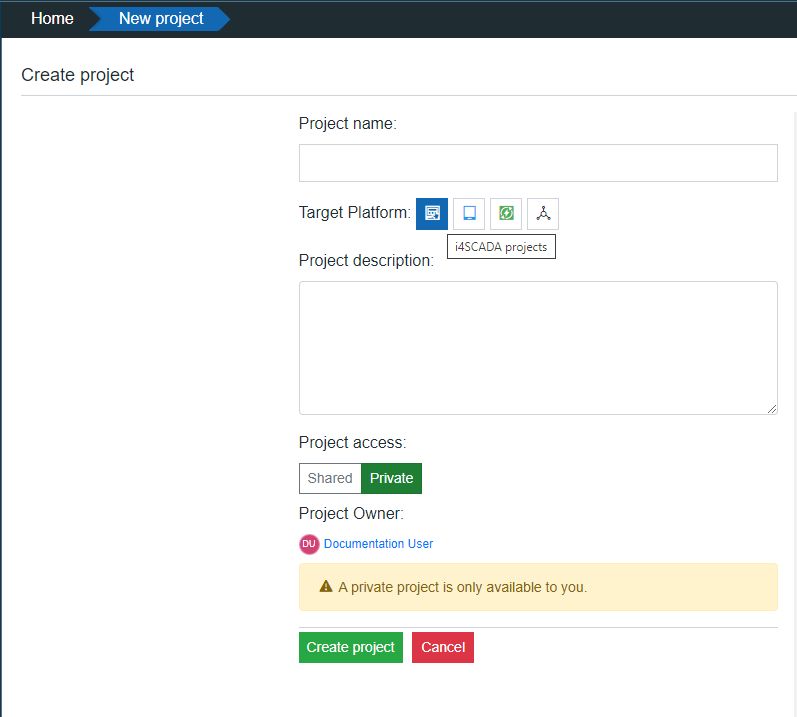
Type in the Project name.
Select the Target platform from the designated icons;
Type in an optional Project description.
Select the Project access.
Click on the Create project button in order to proceed with Project creation.
The newly created Project is available in i4designer Control Center.
