i4designer Navigation tutorials
Check out this article in order to learn how to set up a navigation structure in your i4designer projects, in a few easy steps.
When creating big-scale visualizations the user has the ability to navigate to different pages of the same project, using the functionality provided by the i4designer components available in the Toolbox under the Menu controls category. The Navigation menu and Navigation tabs components allow the user to navigate to either internal or external pages.
The Navigation menu component
This tutorial will demonstrate the steps required to use these components to navigate from one page to another, belonging to the same project, using the Navigation menu component.
This tutorial will demonstrate the steps required to use these components to navigate from one page to another, belonging to the same project, using the Navigation menu component.
Tip
For more details about the Navigation menu component check out the article here.
Log into the i4designer Control Center and open a new project. The project is opened in Designer having by default only one page.
First, let's define the Project page structure, as follows:
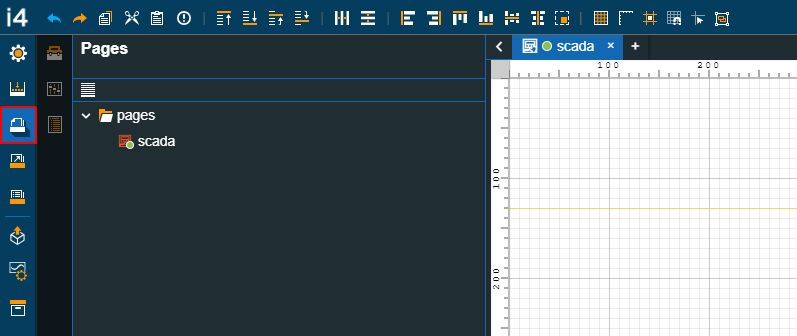
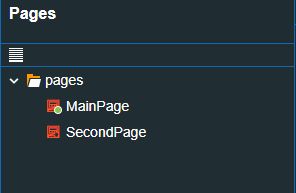
Switch to the Pages menu of the global actions area.
In the Pages panel select the pages node and click on the Add file button. A new page with a system generated name is added to the pages structure.
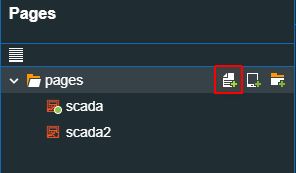
To customize the name of the pages hover them and click the Rename button.
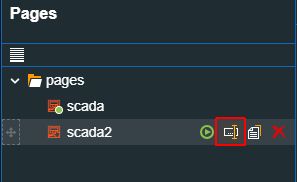
After filling in the desired page names hit the Enter keyboard button. The changes are applied and pages are alphabetically ordered in the page structure.
Next, we shall define the Navigation structure, as follows:
Switch to the Navigations menu of the global actions area.
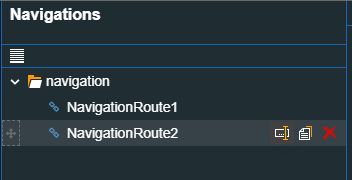
In the Navigations panel hover over the navigation node and click on the Add file button, in order to add one new navigation file.
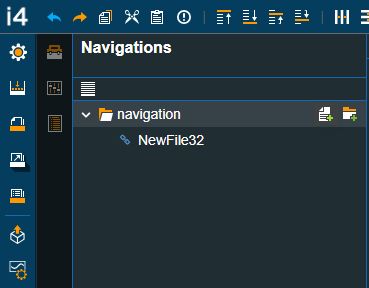
Hover the new Navigation File and click the Rename button to customize its name.
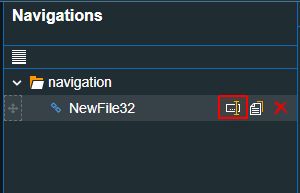
Click on the newly created Navigation file in order to open the Navigation Tree and Navigation Preview panels.
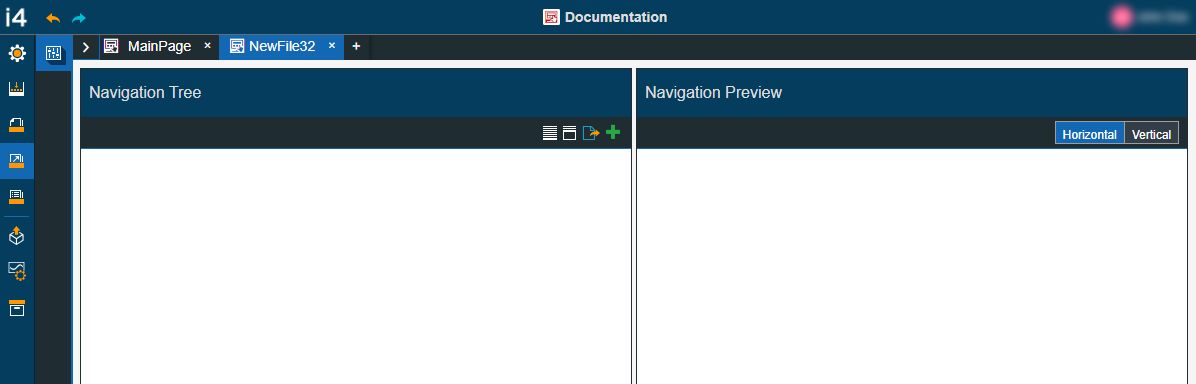
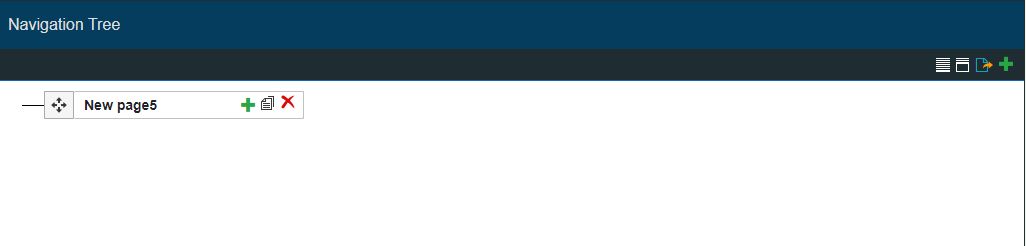
In the Navigation Tree panel, click on the toolbar Add page button.
Double click on the newly created Navigation page in order to open the Properties panel. In this view, organize the following changes:
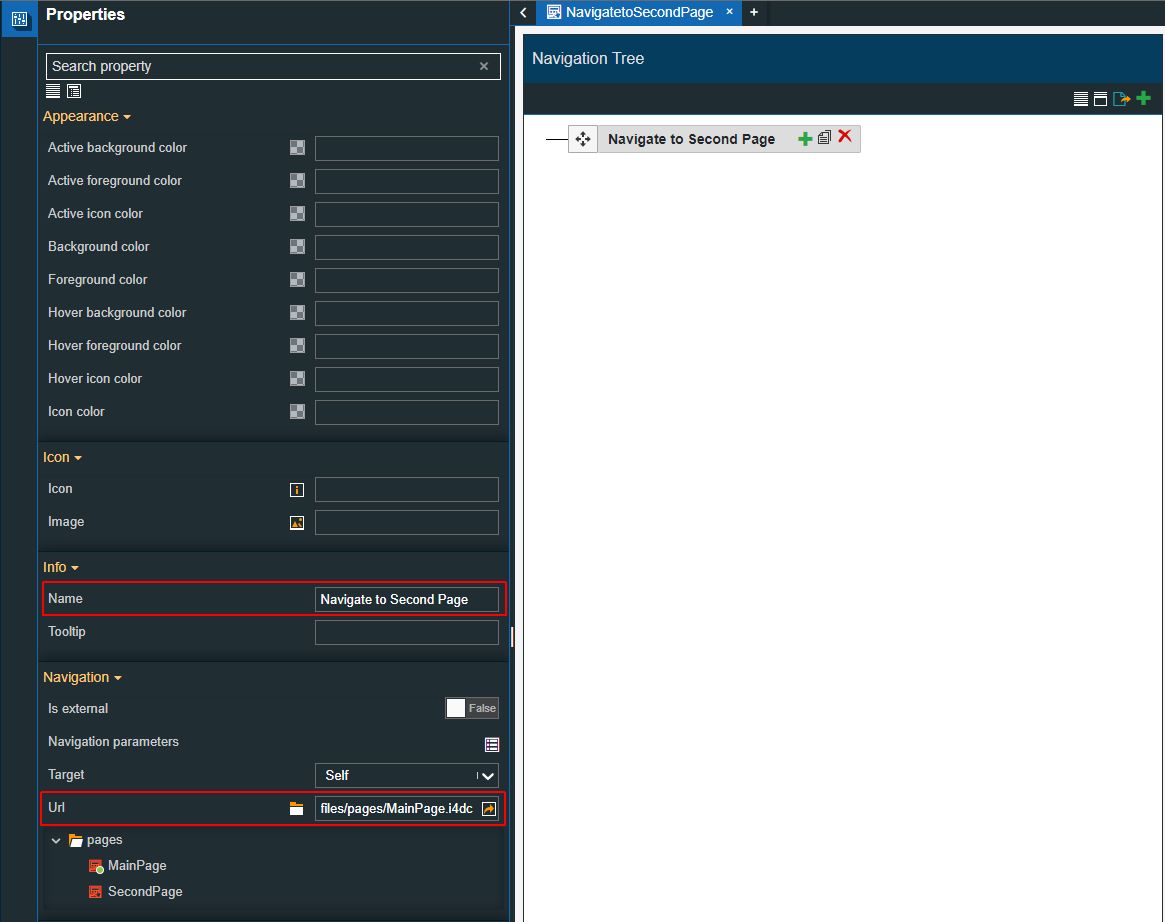
Select the Open file explorer button of the URL property and set the SecondPage of the project. This setting will enable the navigation from MainPage to SecondPage.
Optionally, change the name of the Navigation page.
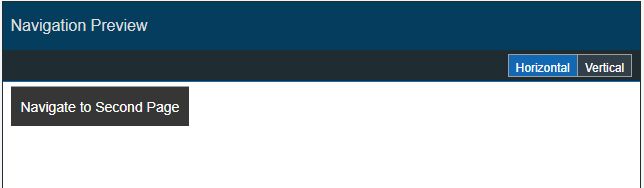
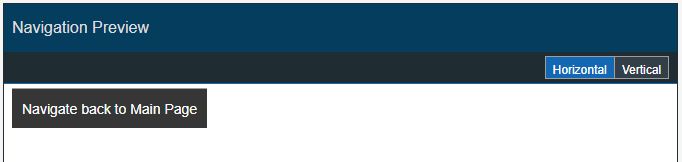
Consequent to the organized changes, the Navigation Preview panel is updated. In this view, you can organize further customizations and change the Navigation orientation to be either Horizontal or Vertical.
Now, let's set up the project and get it ready for the navigation use case. Hence, open the page that will contain the navigation. In our case the page named "MainPage", and organize the following operations:
Open the Toolbox panel and add a Gauge component. Configure the Gauge properties, as desired.
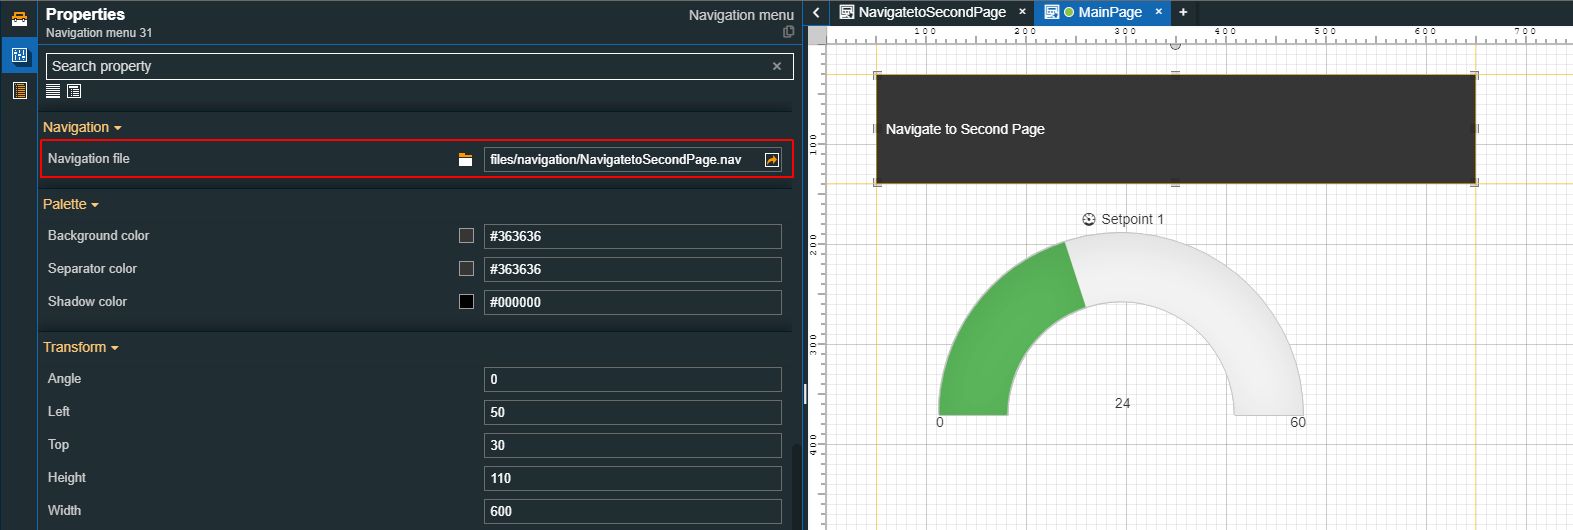
Next, add a Navigation menu component.
Open the Properties panel of the Navigation menu component and select the Navigation file you previously created.
Organize any further necessary changes to your project MainPage.
Go to the Pages menu entry in the global actions area and select the SecondPage. The SecondPage is opened in design mode where you can add the desired components to define your project.
After organizing all the above settings, we can proceed to the run-time visualization as follows:
Go to the Builds menu of the global actions area.
Click on the Trigger build button.
Use the desired Publish method.
Tip
For more details about the available publish methods please also check the tutorials available under:
Open the project visualization. By default, the MainPage is opened.
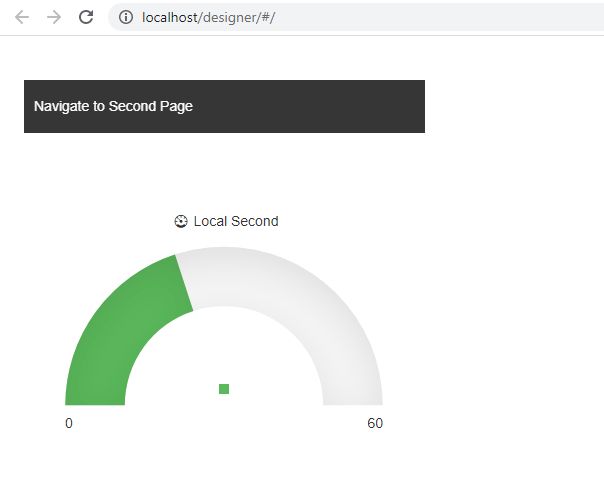
Click on the Navigate to Second Page menu control.
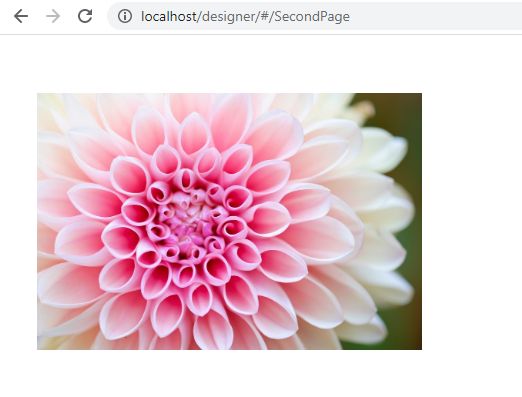
The SecondPage of the project is opened.
The Navigation tabs component
The functionality provided by the Navigation tabs component allows the user to set up a frame in which the navigation pages are displayed. Check out this tutorial for more details.
The functionality provided by the Navigation tabs component allows the user to set up a frame in which the navigation pages (or SubPages) are displayed.
Tip
For more details about the Navigation tabs component check out the article here.
Note
The main functionality of the Navigation tab is to render the contents of a specific page, within a panel view. Therefore, the structure of the selected Navigation file should NOT use the current page in its path to avoid circular references.
In order to demonstrate the functionality of this component, we shall use the previously created i4designer project and update it as follows:
As we already have an i4designer project with two pages, we first need to define an additional Navigation file:
Go to the Navigation menu of the global actions area.
Hover over the navigation node and click on the Add file button.
Rename the new Navigation file as desired.
Click on the new Navigation file to open the Navigation Tree panel. In this view click on the Add page button.
Double click on the newly created page and customize its properties:

Select the Open file explorer button of the URL property and set the MainPage of the project. This setting will enable the navigation tab to open the MainPage within the component frame.
Optionally, change the name of the Navigation page.
Consequent to the organized changes, the Navigation Preview panel is updated. In this view, you can organize further customizations and change the Navigation orientation to be either Horizontal or Vertical.
Now, let's set up the project and get it ready for the navigation use case. Hence, open the page that will contain the navigation tabs component, in our case the page named "SecondPage" and organize the following operations:
Open the Toolbox panel and add the Navigation tabs component.
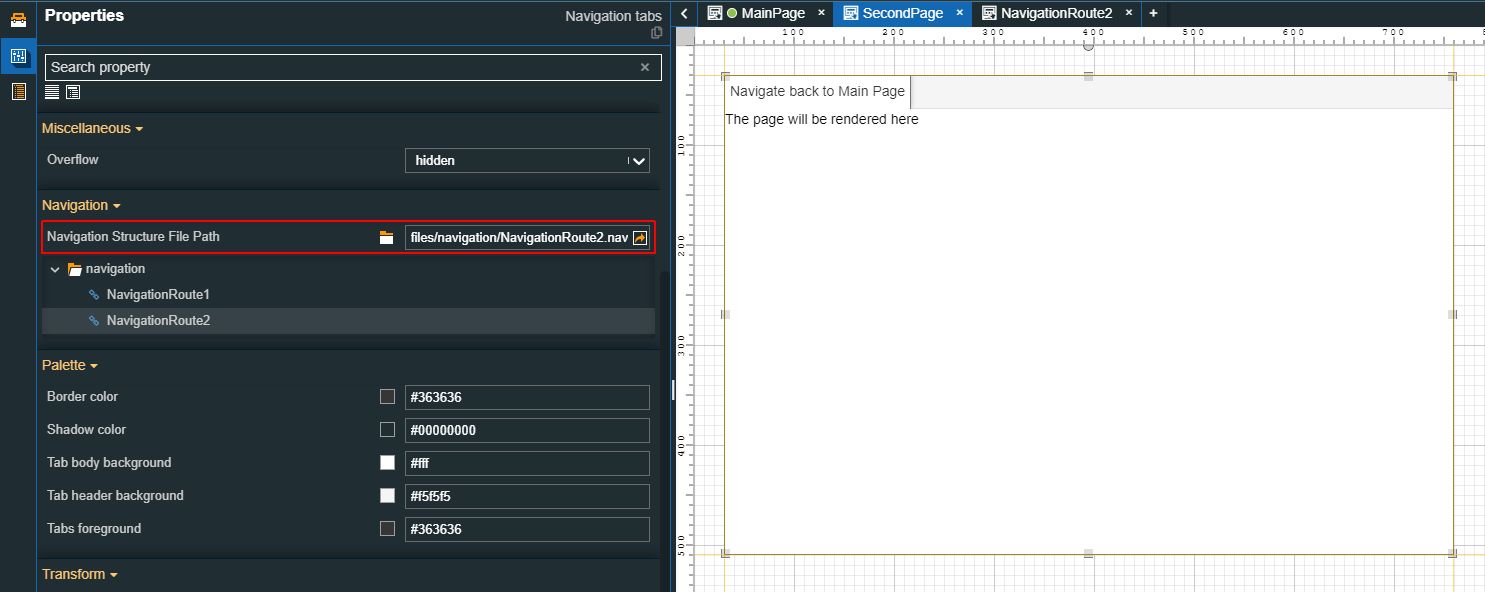
Adjust its size on the project page and double-click on it to open the Properties panel.
Select the Navigation Structure File Path that you created in step 1.
After organizing all the above settings, we can proceed to the run-time visualization as follows:
Go to the Builds menu of the global actions area.
Click on the Trigger build button.
Use the desired Publish method.
Tip
For more details about the available publish methods please also check the tutorials available under:
Open the project visualization. By default, the MainPage is opened.
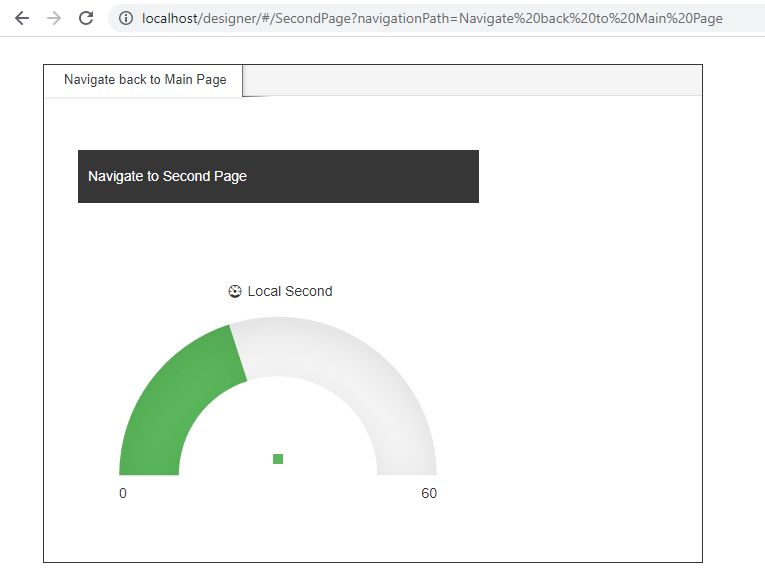
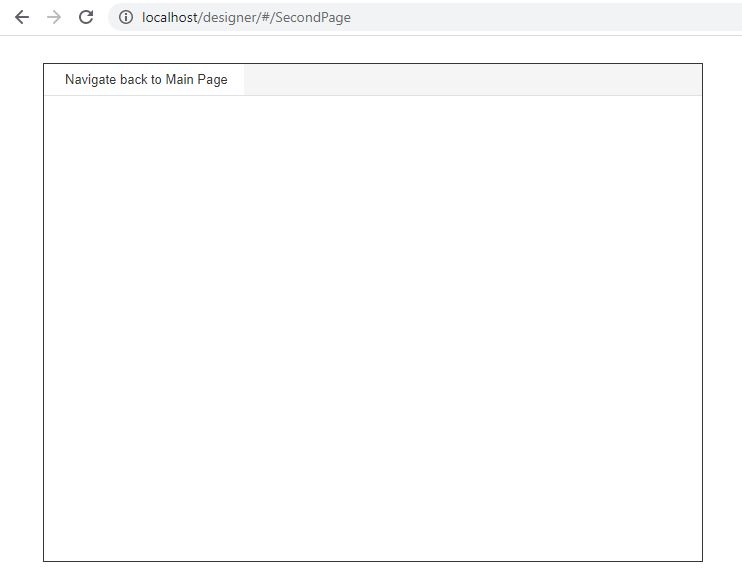
Click on the Navigate to Second Page menu control.
The SecondPage of the project is opened. Click on the Navigation tab "Navigate back to Main Page".
The MainPage is opened on the Second project page, within the component frame.