Users Management
Are you a system administrator? Check out this article and learn how to manage the system users or how to send invitations to new ones.
The Control Center provides the system administrators with the possibility to manage Users and send User invitations, by accessing the left side Users menu entry.
The Users menu
This menu entry is available only for the users having one of these two roles:
Administrator (Independent)
Administrator (belonging to an Organization)
Organization Administrator
Even though both of the above roles are permitted to access the Users menu, they will be granted different views, concerning the list of users. While the Administrators have no limited rights and will see the list of all system users, the Organization Administrator will only see the users in their own Organization. This restriction is also extended to the users' invitations area, hence the Organization Administrator will only be allowed to issue new invitations to users being part of their own Organization.
Tip
For more details on user permissions, please also visit the i4designer Security article.
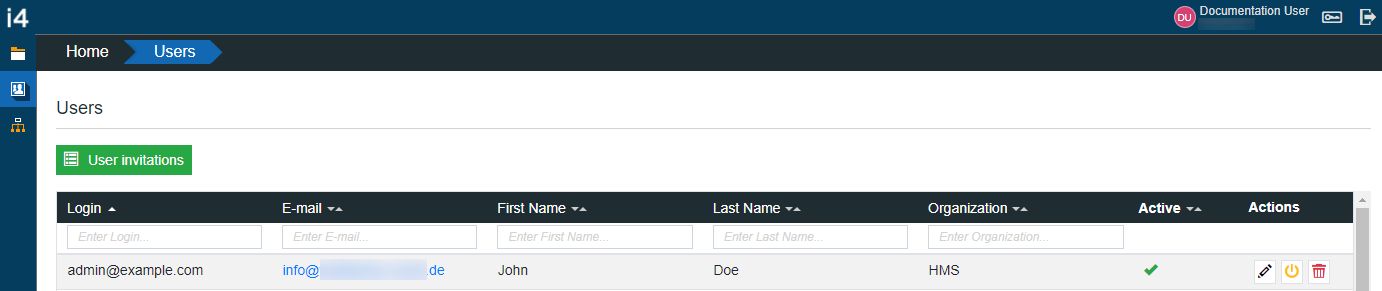
The list of i4designer users display the following columns:
The list of i4designer users
Login column - displays the login username
E-mail column - displays the e-mail address of the user
First Name column - displays the first name of the user
Last Name column - displays the last name of the user
Organization column - displays the organization to which the listed user belongs to
Active column - displays the active/inactive status of the user
Actions column - displays the actions available for the listed user, such as Edit, Delete and Deactivate
The list and the users can be managed by the users with administrative rights, as follows:
Filtering the users' list
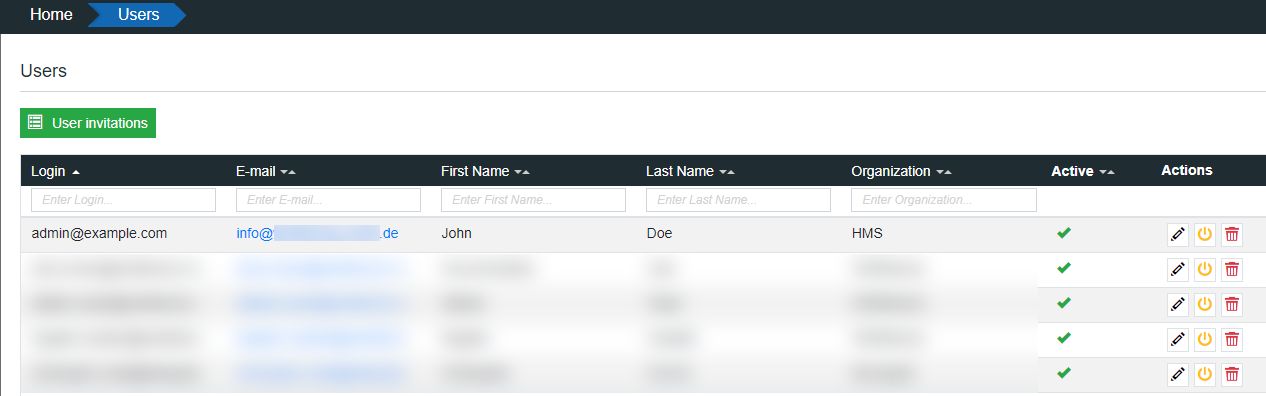
The Login, E-mail, First Name, Last Name , and Organization columns feature a simple search mechanism, allowing the System Administrator to easily filter the list of users.
Tip
By typing in part of the Login, the list is filtered to display only the matching results.

Example of filter applied in the Login column
Sorting the users' list
Besides the filtering mechanism, the list can also be sorted as follows:
Sort alphabetically by Login name
Sort alphabetically by E-mail
Sort alphabetically by First Name
Sort alphabetically by Last Name
Sort by Active or Inactive status
Tip
By clicking the pointing down arrow of the Login column, the list is descendingly (Z to A) sorted in alphabetical order. If the pointing up arrow of the Login column is clicked, the list is sorted increasingly (A to Z) in alphabetical order.
Editing users
The details of a User can be updated by clicking the Edit button  in the Actions column.

The Edit button
In the Edit user panel the following user details can be updated:
First name
Last name
Email address
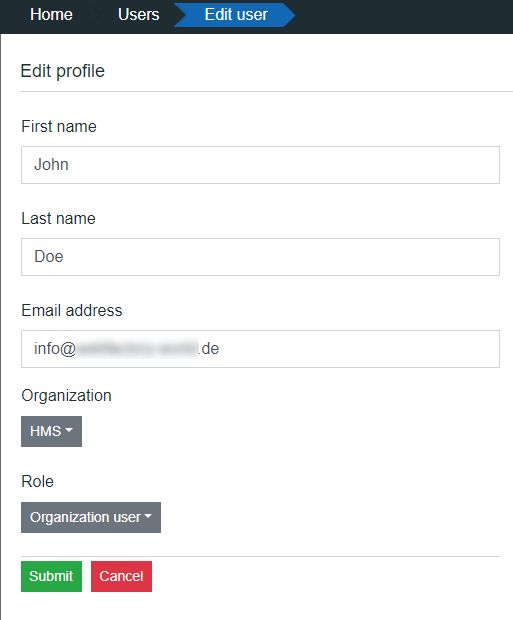
The Edit user panel
To proceed and save the changes the Submit button can be clicked. To close the Edit user panel without saving any changes, the Cancel button can be clicked.
Deactivating and Reactivating users
The System Administrators have the authority to deactivate the listed users, by clicking the corresponding button in the Actions column of the User.
Warning
As soon as the Deactivate button is clicked, the action will be performed. A toast message will accompany the successfully performed operation.
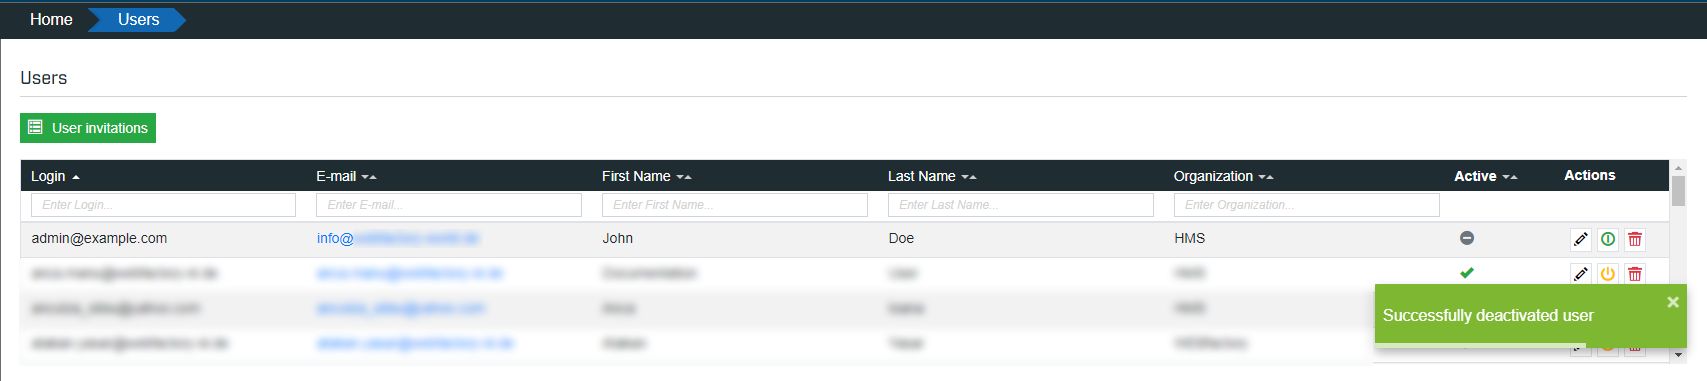
Deactivating a user
To reactivate a user, the administrator can click the respective button. Just like the deactivation operation, the reactivation does not require any further confirmation. The toast message accompanying the action will confirm the change.
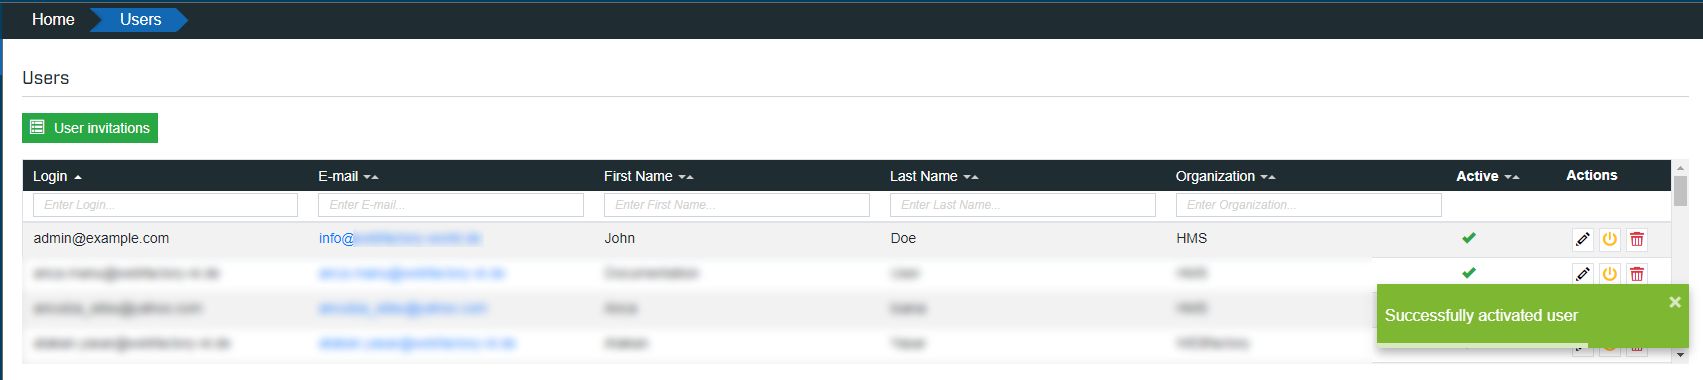
Reactivating a user
Deleting users
Redundant users can be removed by a System Administrator, by clicking the Delete button  in the Actions column of the user to be removed.

The Delete button
The Delete user panel requires an additional deletion confirmation along with a warning indicating that once a user is removed, the action cannot be undone. To confirm, the Delete user button can be clicked and to aboard the action, the Cancel button can be clicked.
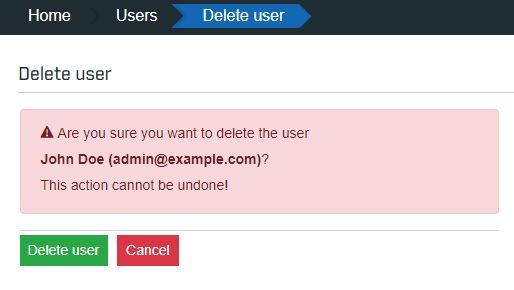
The Delete user panel