Utilities
Check out these articles and learn more details about the i4designer Utilities components and how to use them in your projects.
The components under the Utility category provides the user with various option to manipulate signal values by means of script definitions. Each component will be described in the upcoming sections of this article.
Tip
For a set of step-based tutorials describing the usage of the Utilities components, please visit the dedicated tutorials, here.
Local script
Check out this article and learn more details about the i4designer Local script component and how can you use them in your projects.
The i4designer Local script is a utility component that enables the usage of temporary signals inside a client session, also known as Client-side signals.
Note
The Client-side signals have multiple purposes, from simple things such as supporting state switching, based on client actions (ex. going in/out of a “selected” state when clicking on a button) to more complex scenarios:
Multiplexing/demultiplexing array signal values
Providing aggregated values as signals (ex. average/min/max value of log values over a certain time window)
Providing client-side scripting (client VChannel functionality)
Given the fact that Client-side Signals only exist in the client application and have a life that is directly related to the session lifetime, there is no security concept around them. Client-side Signals can be written or read from any component.
Client-side signals are identified by the case-sensitive prefix: "local://". When the connector is requested such a signal, will be registered internally but it will not include the list of signals that are registered with the server.
The picture below illustrates the general behavior of the Local script component:
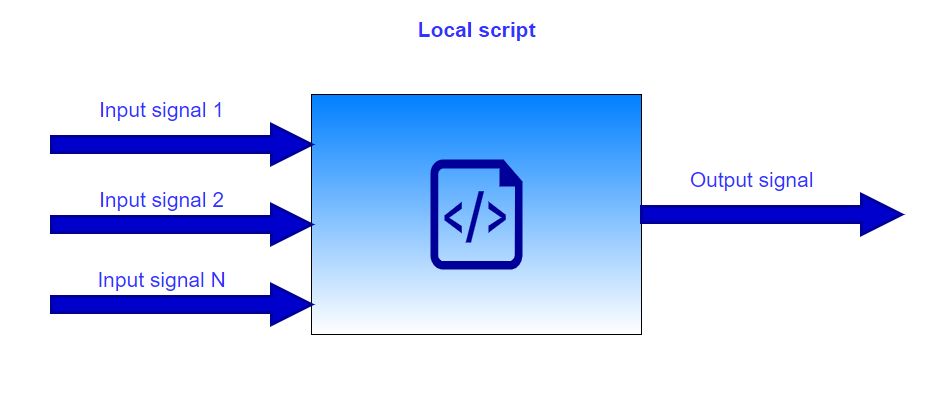
Representation of the Local script behavior
The Local script component can be found under the Utilities category:
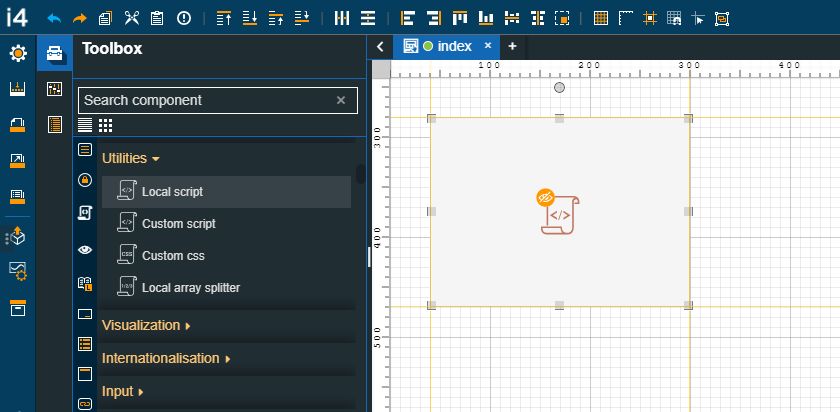
The Local script component
Category | Property | Description |
|---|---|---|
Common | Name | Sets the component's name.  |
Object ID | Sets the Object ID of the component. By defining an object ID for the control, it can be passed as SignalPrefix when using parameter passing in navigation. The value of the Object ID can be used via a placeholder [OID] in other properties of this extension. The placeholder is supported in all signal properties, symbolic text, and states. Example: Setpoint [OID] 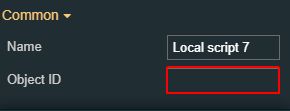 | |
Signal | Input signal name | The name of the signals that will provide the input values of the script. The signals can be added as an array list, by manually filling in the name of the Signal(s). 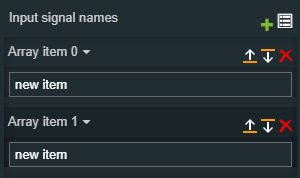 |
Output signal name | The name of the signal to which the output will be written. If left empty, no writing will occur. 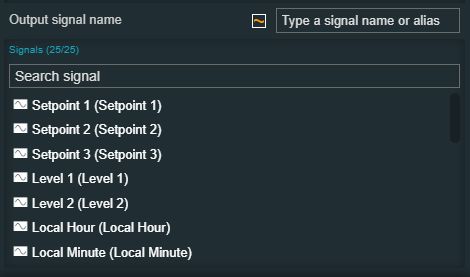 | |
Configuration | Is async | If set to true, the function must return a Promise and it will be evaluated asynchronously. This allows to perform asynchronous operations (such as writing for the connector to perform an operation) and then writing the output value.  |
Script body | Sets the JavaScript function body for processing the inputs. The JS body can be added directly to the dedicated text area. 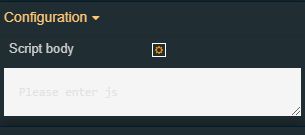 Clicking the Open Editor Page button opens a separate tab where the user can add the JS body, benefiting from a larger text area.  The function will receive three parameters that can be used in the script:
The value returned by the function will be written to the OutputSignalName if provided. | |
Transform | Width | Sets the width of the component using the up and down arrows to increase and decrease, or by manually typing the desired pixels value. The component width can also be adjusted directly on the design surface by means of mouse manipulation. 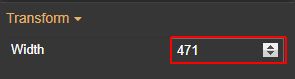 |
Height | Sets the height of the component using the up and down arrows to increase and decrease, or by manually typing the desired pixels value. The component height can also be adjusted directly on the design surface by means of mouse manipulation.  | |
Angle | Sets the rotation angle using the up and down arrows to increase and decrease, or by manually typing the desired degree value. The component angle can also be adjusted directly on the design surface by means of mouse manipulation.  | |
Left | Specifies the X (horizontal) coordinate of the component, on the grid, using the up and down arrows to increase and decrease, or by manually typing the desired value. The component X coordinate can also be adjusted directly on the design surface by means of mouse manipulation.  | |
Top | Specifies the Y (vertical) coordinate of the component, on the grid, using the up and down arrows to increase and decrease, or by manually typing the desired value. The component Y coordinate can also be adjusted directly on the design surface by means of mouse manipulation.  | |
Disable flip | Disables any flip transformation for this component. This keeps the component in the default position event when its container is flipped.  | |
Horizontal flip | Flips the selected component horizontally.  | |
Vertical flip | Flips the selected component vertically.  |
Tip
For a step-based guide describing the usage of the Local script component, please also visit the dedicated tutorial, here.
To use SignalService functions, please check the complete list, below.
Function keyword | Description |
|---|---|
getSignal | getSignal(name: string): Signal; Reads the values of the supplied signals.
|
readSignals | readSignals(signals: Signal[]): Promise<ISignalOperationOutcome>; Writes the signal values.
|
writeSignals | writeSignals(signalValues: Dictionary<any>): Promise<ISignalOperationOutcome>; Writes the signal values with password reinforcement. Local signals are written directly, ignoring the password reinforcement.
|
writeSignalsSecure | writeSignalsSecure(userPassword: string, signalValues: Dictionary<any>) Promise<ISignalOperationOutcome>; Gets the signal names that match a filter and data page.
|
getSignalNames | getSignalNames(filter: SignalNameFilter, startIndex: number, count: number): Promise<SignalName[]>; Gets all signal names by requesting them page by page. This operation is cached, so multiple requests to it will return the same results. |
getAllSignalNames | getAllSignalNames(): Promise<SignalName[]>; |
Local array splitter
Check out this article and learn how to use the Local array splitter component in order to break elements of a Signal.
The i4designer Local array splitter component is a utility component that allows the i4designer components to interact with individual array values in a simple and straightforward way.
The picture below illustrates the general behavior of the Local array splitter component:
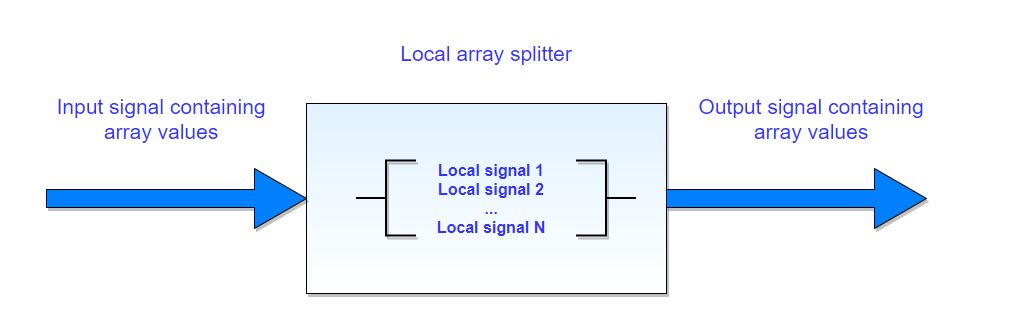
Representation of the Local array splitter behavior
The Local array splitter component can be found under the Utilities category:
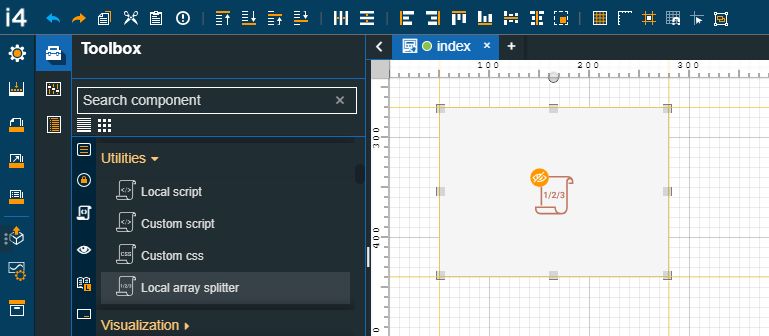
The Local array component
Tip
For a step-based guide describing a basic use case using the Local array splitter component, please visit the dedicated tutorial, here.
Category | Property | Description |
|---|---|---|
Configuration | Array max size | If set, it will limit the number of signals for each array element. If not set, it will add signals as the array values are read and the array grows in size. Once signals are allocated, they will not be released unless the entire component is released. It is recommended to set this value if possible, otherwise, large numbers of signals can be created if the input signal value contains a large number of items.  |
Array min size | If set, it will force the array to have a minimum size. This is useful for pre-creating local signals and it is also used when writing back the value to generate the array.  | |
Array name template | The name template is used for creating the local signals. The local signals will automatically have the ‘local://’ prefix and it should not be specified in the template. Two placeholders can be used in the name template. {InputSignalName}{Index}
 | |
Array value type | The type of values that the array contains, If multiple value types can be in the array, then it should be set to "String". This is used for parsing the values and providing a native representation in the local signals, as well as for formatting them when writing to the output.  | |
Input array element quote | The quote character is used around each array element. By default, the " (double quotation mark) character is applied. 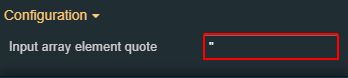 | |
Input array element separator | The separator is used between array elements. By default, the , (comma) character is applied.  | |
Input array left delimiter | The left array delimiter is used for parsing string arrays. By default, the [ (square open bracket) character is applied.  | |
Input array right delimiter | The right array delimiter is used for parsing string arrays. By default, the ] (square closed bracket) character is applied.  | |
Input array strip whitespace | If set to true, the parser will strip any whitespace between array elements and at the beginning and end of the array. If false, no stripping will be done inside the element quotes if they are defined, regardless of the value of this property.  | |
Input array type | Describes how the input array will be written:
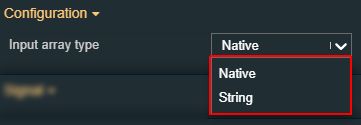 | |
Output array element quote | The quote character is used around each array element. By default, the " (double quotation mark) character is applied.  | |
Output array element separator | The separator is used between array elements. By default, the , (comma) character is applied.  | |
Output array left delimiter | The left array delimiter is used for parsing string arrays. By default, the [ (square open bracket) character is applied.  | |
Output array right delimiter | The right array delimiter is used for parsing string arrays. By default, the ] (square closed bracket) character is applied.  | |
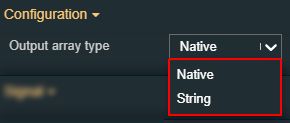
Output array type | Describes how the output array will be written:
 | |
Output keep nulls | If set to true, null values will be written to the array, otherwise, only non-null values will be written. 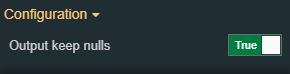 | |
Output write buffering interval | The number of milliseconds used in Debounced/Sample/Throttle modes. 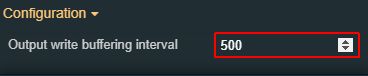 | |
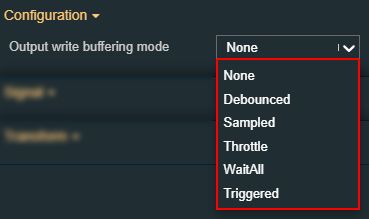
Output write buffering mode | Describes how the writing to the output signal is done:
 | |
Output write trigger signal name | If set and the OutputWriteBufferingMode is set to Triggered, it will trigger a write every time its value changes.  | |
Undefined default value | The default value is used when UndefinedValueHanding is set to UseDefaultValue. The default value is parsed/formatted according to the value of the ArrayValueType property.  | |
Undefined value handling | The default value is used when UndefinedvalueHandling is set to UseDefaultvalue. The default value is parsed/formatted according to the value of the ArrayValueType property.
 | |
Write on read | If set to true, then every time the input value changes, it will go through the entire pipeline and write to the output. 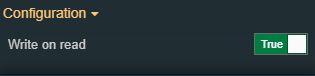 | |
Signal | Input signal name | The name of the signals that will provide the input values of the script. 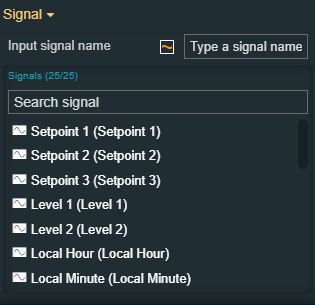 |
Output signal name | The name of the signal to which the output will be written. If left empty, no writing will occur. 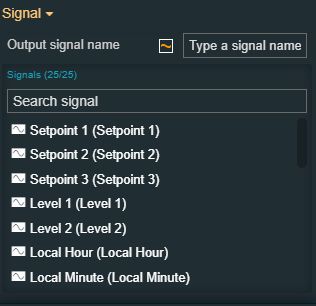 | |
Common | Object ID | Sets the Object ID of the component. By defining an object ID for the control, it can be passed as SignalPrefix when using parameter passing in navigation. The value of the Object ID can be used via a placeholder [OID] in other properties of this extension. The placeholder is supported in all signal properties, symbolic text, and states. Example: Setpoint [OID] 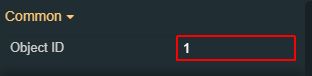 |
Transform | Width | Sets the width of the component using the up and down arrows to increase and decrease, or by manually typing the desired pixels value. The component width can also be adjusted directly on the design surface by means of mouse manipulation. 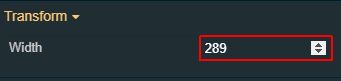 |
Height | Sets the height of the component using the up and down arrows to increase and decrease, or by manually typing the desired pixels value. The component height can also be adjusted directly on the design surface by means of mouse manipulation. | |
Angle | Sets the rotation angle using the up and down arrows to increase and decrease, or by manually typing the desired degree value. The component angle can also be adjusted directly on the design surface by means of mouse manipulation. | |
Left | Specifies the X (horizontal) coordinate of the component, on the grid, using the up and down arrows to increase and decrease, or by manually typing the desired value. The component X coordinate can also be adjusted directly on the design surface by means of mouse manipulation. | |
Top | Specifies the Y (vertical) coordinate of the component, on the grid, using the up and down arrows to increase and decrease, or by manually typing the desired value. The component Y coordinate can also be adjusted directly on the design surface by means of mouse manipulation. | |
Disable flip | Disables any flip transformation for this component. This keeps the component in the default position even when its container is flipped. | |
Horizontal flip | Flips the selected component horizontally. | |
Vertical flip | Flips the selected component vertically. |
Custom CSS
Check out this article and learn more details about the Custom CSS utility component and the design-time properties.
The Custom CSS component allows the users of i4designer to use CSS scripts in their visualizations, to append custom style sheets on load.
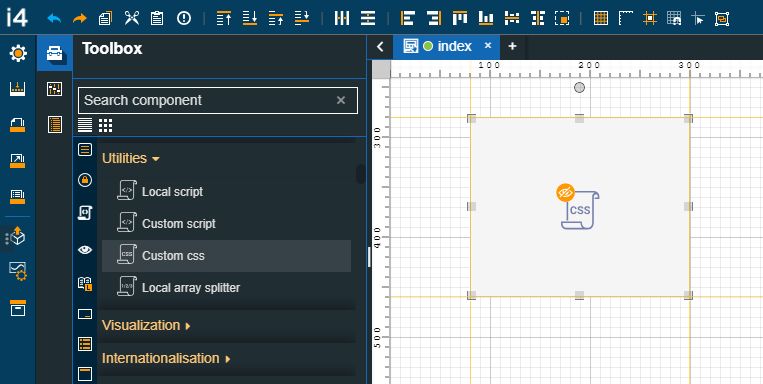
The Custom CSS component
Tip
For a set of step-based guides describing the Custom CSS component please visit the dedicated tutorial, here.
Category | Property | Description |
|---|---|---|
Common | Object ID | Sets the Object ID of the component. By defining an object ID for the control, it can be passed as SignalPrefix when using parameter passing in navigation. The value of the Object ID can be used via a placeholder [OID] in other properties of this extension. The placeholder is supported in all signal properties, symbolic text, and states. For more details, please visit the dedicated tutorials, here. |
Configuration | CSS body | Allows the user to add the CSS body. The CSS body can be added directly in the dedicated text area. 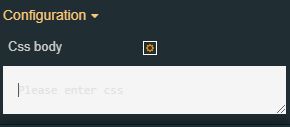 TipPlease ensure that your custom CSS script is applied and overrides any existing CSS rules by using the “!important“ flag. Clicking the Open Editor Page button opens a separate tab where the user can add the CSS body, benefiting from a larger text area. 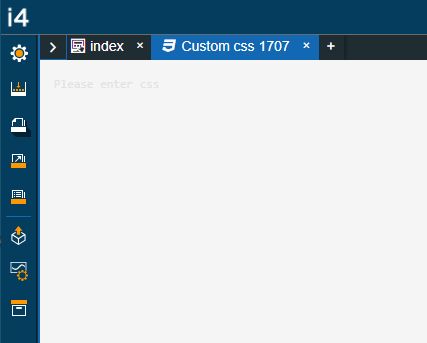 |
Transform | Angle | Sets the rotation angle using the up and down arrows to increase and decrease, or by manually typing the desired degree value. The component angle can also be adjusted directly on the design surface by means of mouse manipulation. |
Height | Sets the height of the component using the up and down arrows to increase and decrease, or by manually typing the desired pixels value. The component height can also be adjusted directly on the design surface by means of mouse manipulation. | |
Left | Specifies the X (horizontal) coordinate of the component, on the grid, using the up and down arrows to increase and decrease, or by manually typing the desired value. The component X coordinate can also be adjusted directly on the design surface by means of mouse manipulation.  | |
Horizontal flip | Flips the selected component horizontally. | |
Top | Specifies the Y (vertical) coordinate of the component, on the grid, using the up and down arrows to increase and decrease, or by manually typing the desired value. The component Y coordinate can also be adjusted directly on the design surface by means of mouse manipulation. | |
Vertical flip | Flips the selected component vertically. | |
Width | Sets the width of the component using the up and down arrows to increase and decrease, or by manually typing the desired pixels value. The component width can also be adjusted directly on the design surface by means of mouse manipulation. | |
Disable flip | Disables any flip transformation for this component. This keeps the component in the default position even when its container is flipped. | |
Horizontal flip | Flips the selected component horizontally. | |
Vertical flip | Flips the selected component vertically. |
Custom script
Check out this article and learn more details about the Custom script utility component and the design-time properties.
Quite similar to the Local script component, the Custom script component allows the users of i4designer to use custom synchronous or asynchronous scripts in their visualizations.
The main difference between the Local script and the Custom script components is related to the triggers. The Custom script component does not use Signal change triggers as it has its own integrated trigger options (Time interval, Trigger Component ID, and Trigger mode).

The Custom script component
Tip
The Custom script component enables a wide range of use-cases, but for a quick step-based guide describing an example of how to use it, please visit the dedicated tutorial, here.
Category | Property | Description |
|---|---|---|
Common | Object ID | Sets the Object ID of the component. By defining an object ID for the control, it can be passed as SignalPrefix when using parameter passing in navigation. The value of the Object ID can be used via a placeholder [OID] in other properties of this extension. The placeholder is supported in all signal properties, symbolic text, and states. For more details, please visit the dedicated tutorials, here. |
Configuration | Is async | If set to true, the function must return a Promise and it will be evaluated asynchronously. This allows to perform asynchronous operations (such as writing for the connector to perform an operation) and then writing the output value. |
Script body | Sets the JavaScript function body for processing the inputs. The JS body can be added directly in the dedicated text area. Clicking the Open Editor Page button opens a separate tab where the user can add the JS body, benefiting from a larger text area. 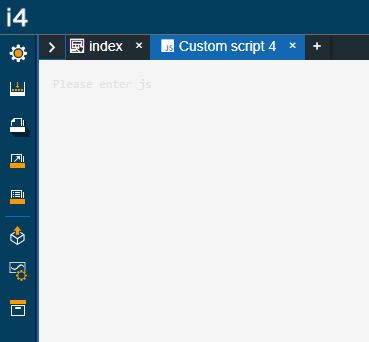 The function will receive the following parameter that can be used in the script:
| |
Time interval | Sets the numeric time interval, measured in milliseconds, for the first trigger or the recurring trigger.  | |
Trigger Component Id | Sets the Id of the component that will trigger the script on click.  TipThe Id of components can be easily copied using the dedicated option available on the top of the properties list of each component. 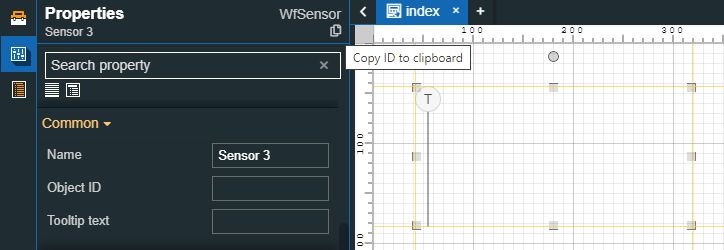 | |
Trigger mode | Sets the trigger mode, allowing the user to choose from the following options: 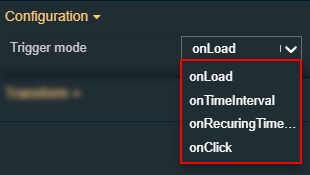
| |
Transform | Angle | Sets the rotation angle using the up and down arrows to increase and decrease, or by manually typing the desired degree value. The component angle can also be adjusted directly on the design surface by means of mouse manipulation. |
Height | Sets the height of the component using the up and down arrows to increase and decrease, or by manually typing the desired pixels value. The component height can also be adjusted directly on the design surface by means of mouse manipulation. | |
Left | Specifies the X (horizontal) coordinate of the component, on the grid, using the up and down arrows to increase and decrease, or by manually typing the desired value. The component X coordinate can also be adjusted directly on the design surface by means of mouse manipulation. | |
Horizontal flip | Flips the selected component horizontally. | |
Top | Specifies the Y (vertical) coordinate of the component, on the grid, using the up and down arrows to increase and decrease, or by manually typing the desired value. The component Y coordinate can also be adjusted directly on the design surface by means of mouse manipulation. | |
Vertical flip | Flips the selected component vertically. | |
Width | Sets the width of the component using the up and down arrows to increase and decrease, or by manually typing the desired pixels value. The component width can also be adjusted directly on the design surface by means of mouse manipulation. | |
Disable flip | Disables any flip transformation for this component. This keeps the component in the default position even when its container is flipped. |
To use SignalService functions, please check the complete list of functions, below.
Function keyword | Description |
|---|---|
getSignal | getSignal(name: string): Signal; Reads the values of the supplied signals.
|
readSignals | readSignals(signals: Signal[]): Promise<ISignalOperationOutcome>; Writes the signal values.
|
writeSignals | writeSignals(signalValues: Dictionary<any>): Promise<ISignalOperationOutcome>; Writes the signal values with password reinforcement. Local signals are written directly, ignoring the password reinforcement.
|
writeSignalsSecure | writeSignalsSecure(userPassword: string, signalValues: Dictionary<any>) Promise<ISignalOperationOutcome>; Gets the signal names that match a filter and data page.
|
getSignalNames | getSignalNames(filter: SignalNameFilter, startIndex: number, count: number): Promise<SignalName[]>; Gets all signal names by requesting them page by page. This operation is cached, so multiple requests to it will return the same results. |
getAllSignalNames | getAllSignalNames(): Promise<SignalName[]>; |