i4designer Profiles
Check out this article and learn more details about the i4designer Profiles panel and the settings allowing you to publish the same project to multiple targets.
The i4designer Profiles are a set of configurations required for building the project and preparing it for the deployment process.
Each i4designer project must have at least one Profile, therefore, a default Profile is allocated to new projects. The user can configure multiple profiles in order to, for example, use different configurations or build targets with different settings.
The Trigger build button creates a new build of the current project adding it to the Builds list.
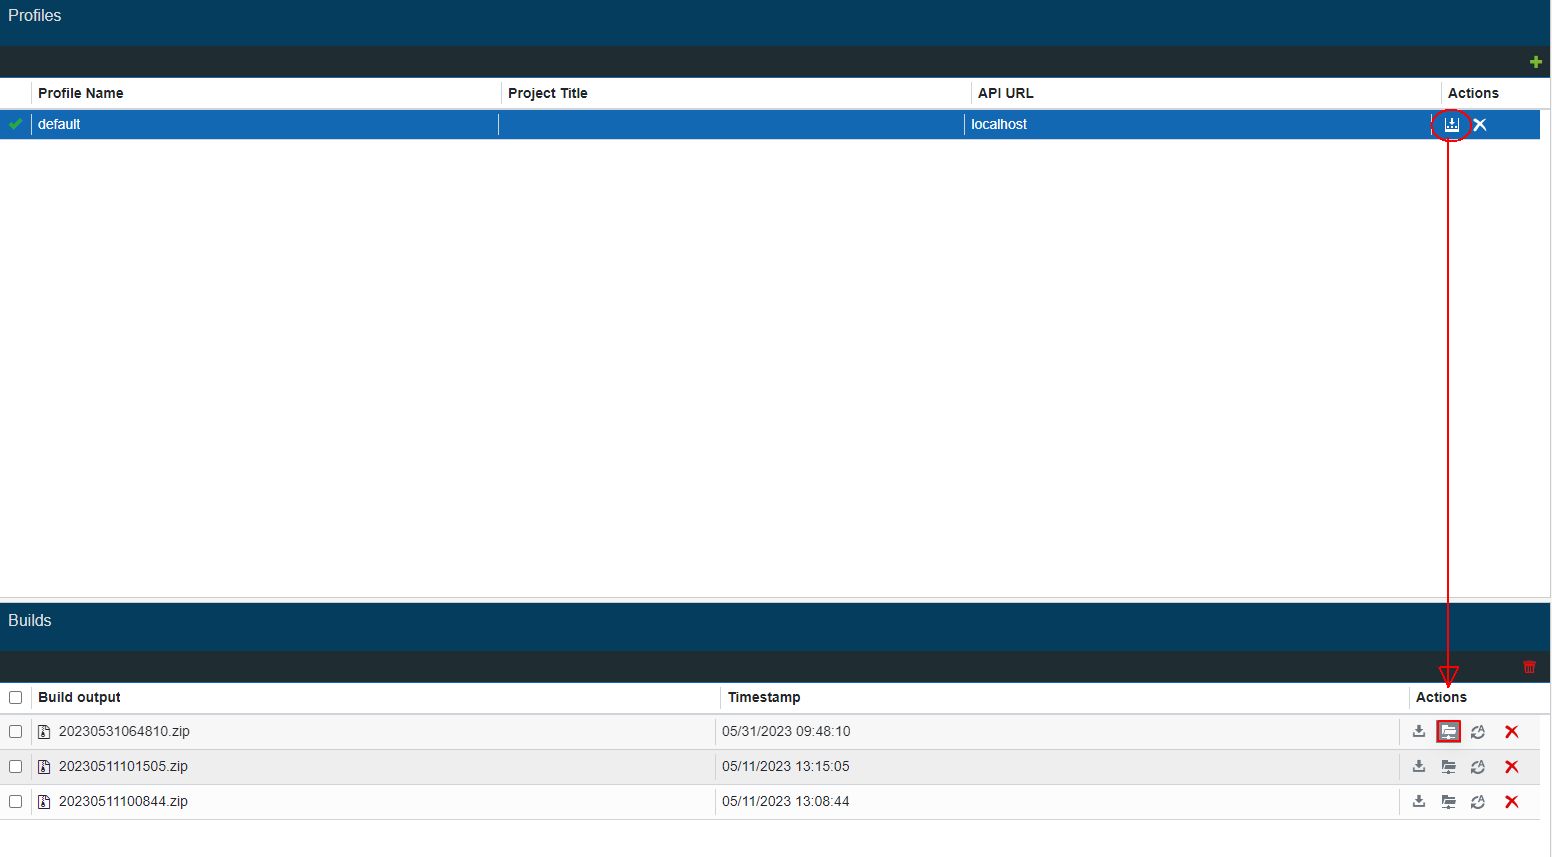
The Trigger build button
To add a new profile, the user needs to click the Add new profile button, at the top of the Profiles panel.

The Add new profile button
To delete one or multiple profiles, the user needs to select the redundant profile(s), and click on the Delete selected builds button, at the top of the Profiles panel.

The Delete selected builds button
Redundant Profiles can be removed individually at any point, by clicking either one of the Remove buttons, visible for all the profiles in the list. A confirmation dialog will pop up on the screen, allowing the user to either proceed with the deletion process or cancel it.
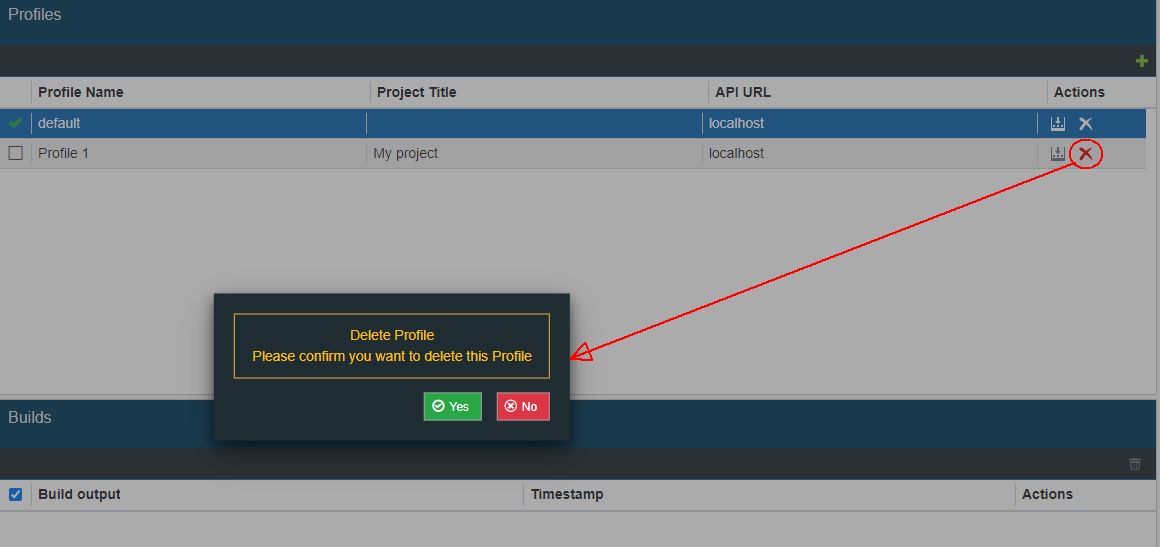
The Remove profile buttons and the Delete profile confirmation dialog
Note
The system does not allow the removal of Profiles when only one Profile is available for the current project, since the list of Profiles can not be empty.
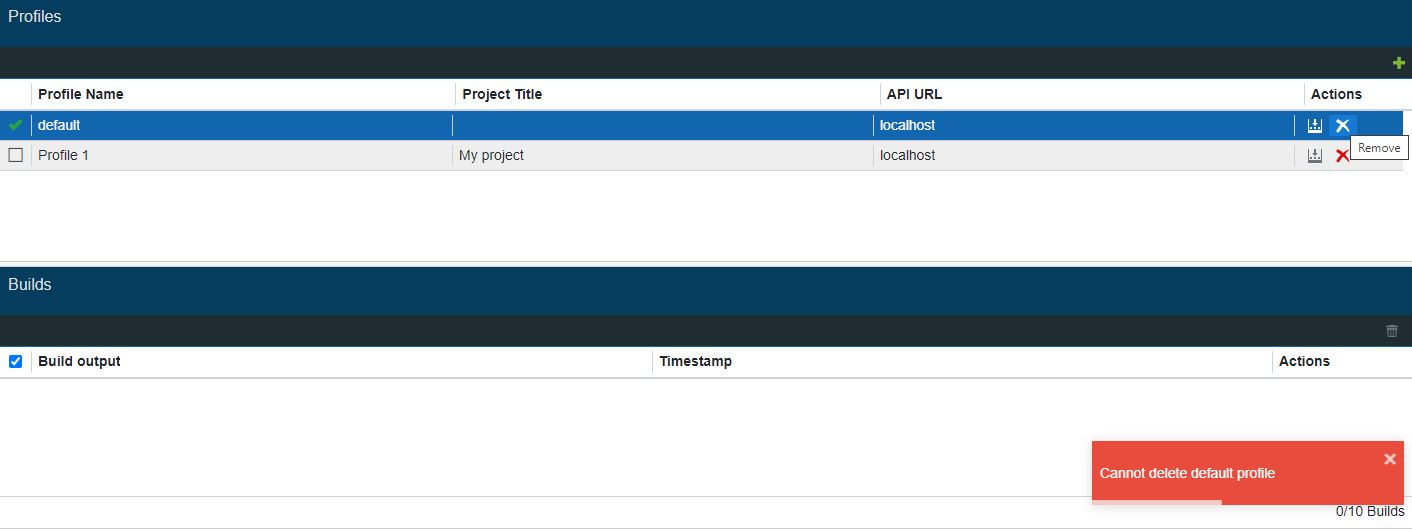
The list of Profiles can not be empty
A set of default configurations are filled in for each new Profile, that the user can customize in the Properties panel displayed on the left side of the screen.
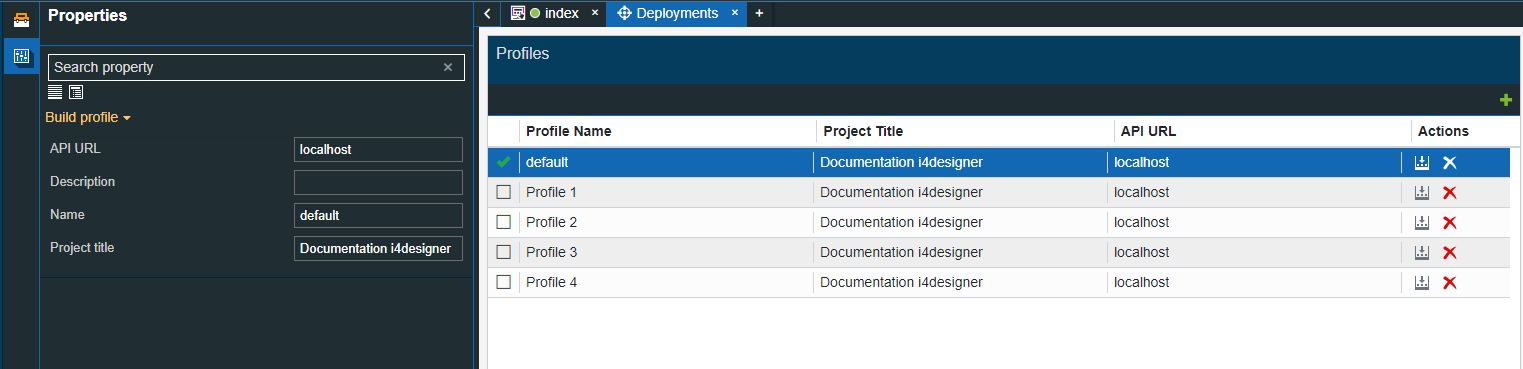
The Build profile properties panel
Depending on the current project's platform the Build profile settings can be different, as described by the upcoming articles.
Build profiles for i4scada platform projects
The following settings are available when defining build profiles for i4scada platform projects:

The Build profile panel
API URL - the URL of the webserver location, used when calling the publish target.
Tip
The i4scada API base URL pointing towards your i4scada machine, should be added here.
Description - the build profile description.
Name - the build profile name.
Project Title - the name of the project involved in the build process. This field is automatically filled in by the system, but it can be updated as desired.
Build profiles for i4connected platform projects
When working with a i4connected platform project, the following settings can be defined for the build profile:

The Build profile panel
API URL - the URL of the webserver location, used when calling the publish target.
Tip
For i4connected platform projects, the URL should be built on basis of the following syntax: i4connected base URL + i4connected API path.
For example: "https://localhost/api/"
Authority - the URL of the webserver location, but ending in "/identity"
Description - the build profile description.
Name - the build profile name.
Project Title - the name of the project involved in the build process. This field is automatically filled in by the system, but it can be updated as desired.
Build profiles for OPC-UA platform projects
The list below describes the build profile settings for OPC-UA platform projects:
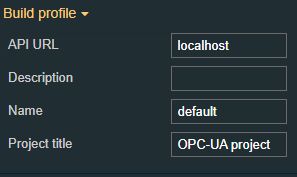
The Build profile panel
API URL - the URL of the webserver location, used when calling the publish target.
Tip
For the OPC-UA Platform project, you need to fill in the URL pointing towards the OPC-UA device.
Description - the build profile description.
Name - the build profile name.
Project Title - the name of the project involved in the build process. This field is automatically filled in by the system, but it can be updated as desired.