Import Project
Check out this article and learn everything that you need to know about the Import Project functionality, available in the i4designer Control Center.
The user can also load projects available locally on their machine, by using the Import project button.

The Import project button
On the Import project page, the user is required to organize the following settings:
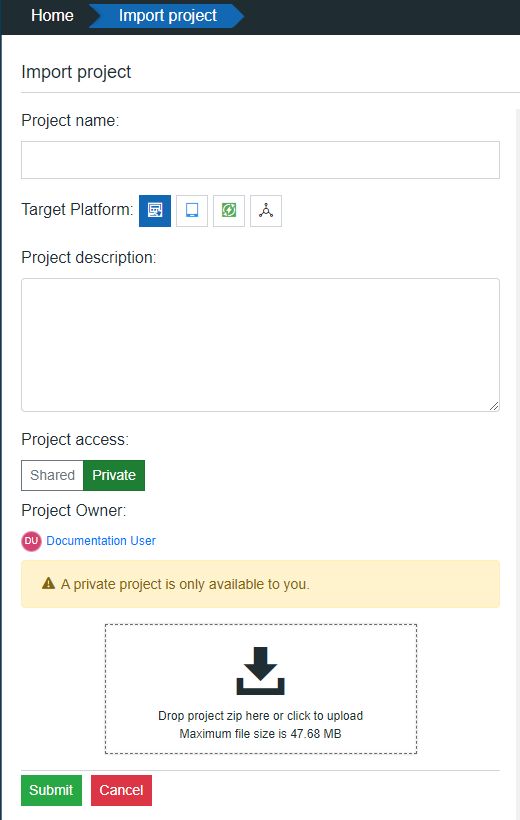
The Import project panel
Type in the new project name that will be created after the import.
Select the appropriate Target platform by clicking the desired Platform button. Once the platform is selected, the corresponding button is highlighted in red color.
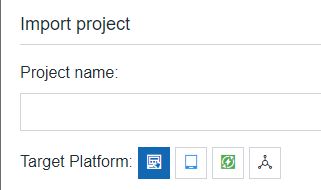
Warning
When selecting the Project platform the user needs to pay attention as some configurations are not compatible among platforms, as we shall discover in the upcoming articles.
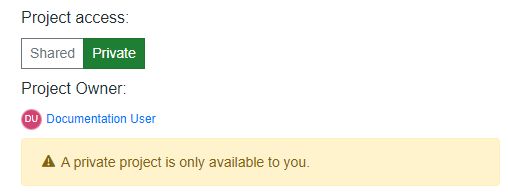
Set the project access type:
Access restricted to currently logged-in user - by default, the access to all new projects is restricted to the creator user. Projects that are created as restricted are private projects.
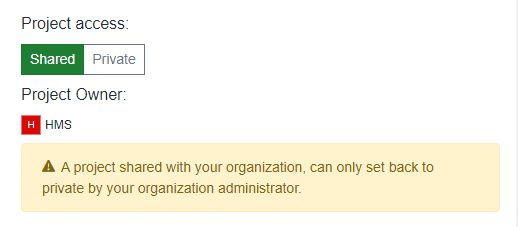
The project shared with the currently logged-in user's Organization - by clicking the Share button changes the project access type, from restricted to shared with the project creator's organization. Once a project was shared, only an organization administrator will be allowed to set the project back to private.
Add the import file. The import file can be added either by drag and drop or by clicking anywhere in the import area and selecting the file from the local machine. The system expects a zip archived file.
In case any of the required fields are missing or incorrect, the system will provide warnings highlighting the errors.
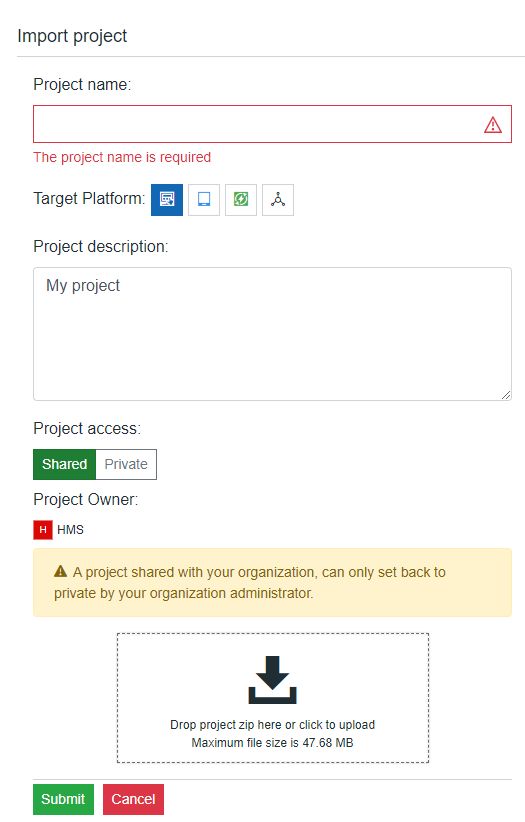
Error message
Warning
Imported projects will not contain sensitive information such as Usernames and Passwords, regardless of the fact that the project file was exported from another project.
Hence, the user should recheck the FTP and Platform settings areas.