i4designer Replacement parameters tutorials
Check out this step-based tutorial and learn more details on how to use the i4designer replacement parameters in various scenarios requiring placeholders.
The current i4connected application mappings infrastructure allows the users to define i4designer applications, connecting them via direct publishing, and consequently linking them to the following entities available on the i4connected platform:
Sites
Areas
Organizational Units
Devices
When linking applications to an entity, the user has the possibility to pass a set of standard or custom parameters to the application. These parameters can be used in the application to parameterize various components.
Using i4connected custom parameters
Check out this article and learn how to use i4connected custom parameters in order to parse custom information to your applications.
This tutorial will guide you through the needed steps to use i4connected custom parameters to introduce various information to your components, in the context of multiple entities, while using one single application.
Open an i4connected platform project in design mode.
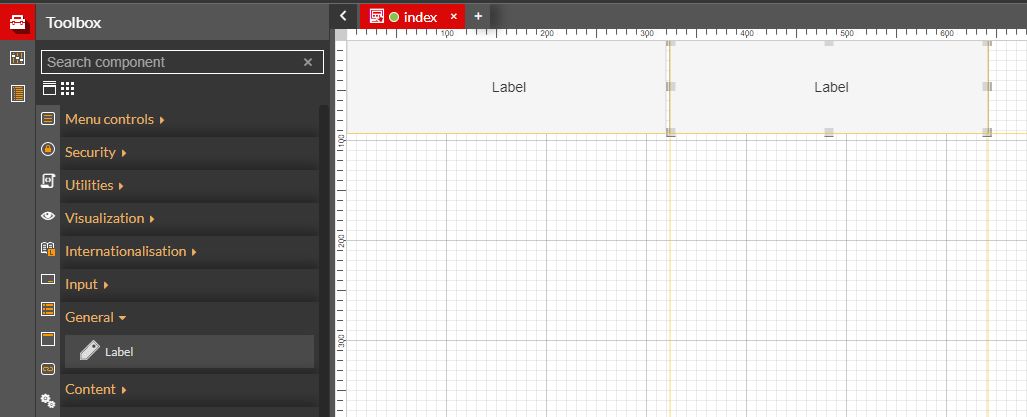
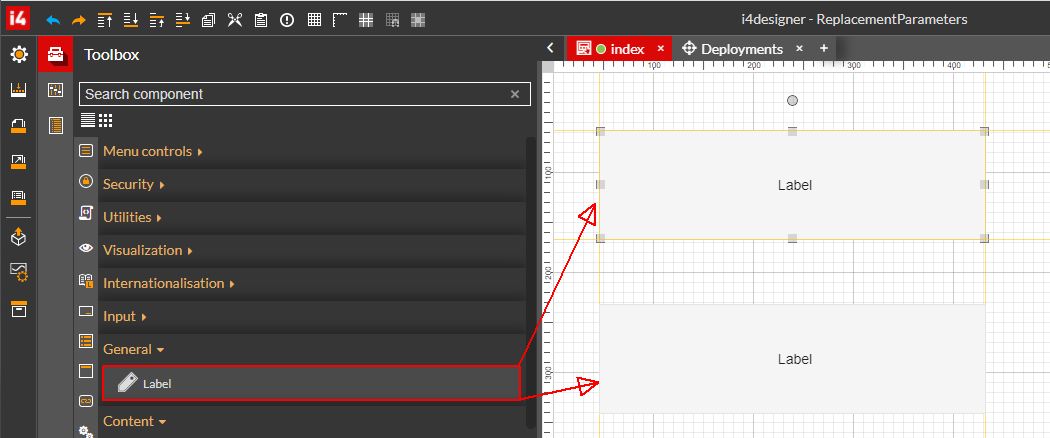
Open the Toolbox panel and drag two Label components on your page.
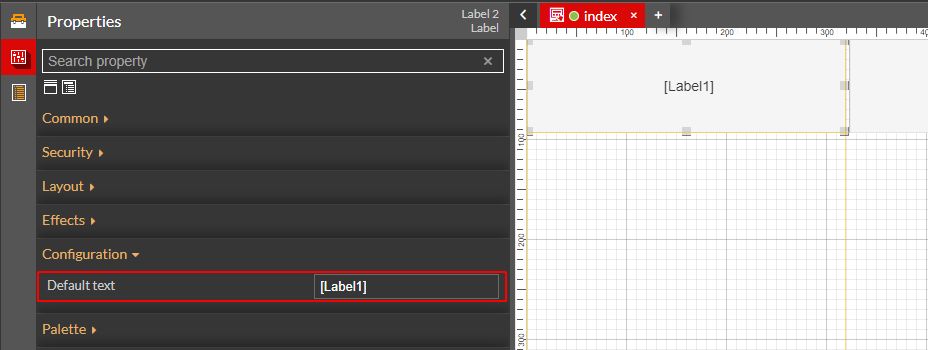
Double click the first Label component, to open the Properties panel and identify the Default text property.
Type in the desired parameter name, that needs to be replaced at run time.
Important
Parameters should be introduced between square brackets.
Tip
For this tutorial, we used a simple parameter "[Label1]".
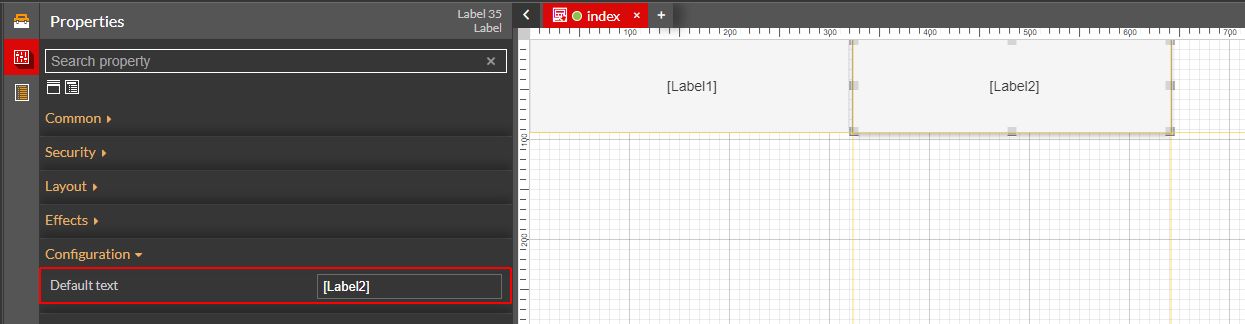
Double click the second Label component, to open the Properties panel and identify the Default text property.
Type in the desired parameter name, that needs to be replaced at run time.
Tip
For this tutorial, we used a simple parameter "[Label2]".
Build and publish your i4designer project.
Tip
For more details about building and publishing i4designer projects, to an i4connected environment, please also refer to our tutorials here.
After processing all these steps, create an i4connected application, using the connection-token of your i4designer project.
When opening the application, the two Label components still have the parameter names displayed but are not resolved.
The i4connected Application with non-resolved parameters
To introduce your custom information to resolve the "Label1" and "Label2" parameters, inside a Site, please proceed as follows:
Warning
For this part of the tutorial, you might need to refer to our i4connected online Knowledge Base, here.
Log into the i4connected portal.
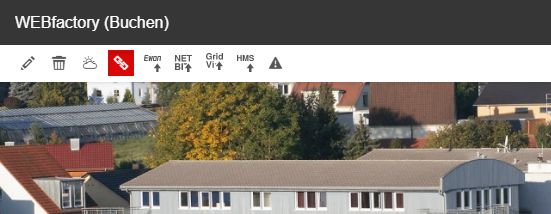
Open an i4connected Site in detailed view mode and click the Manage Application toolbar button.
In the Manage Application Mappings panel click on the Default Application selector.
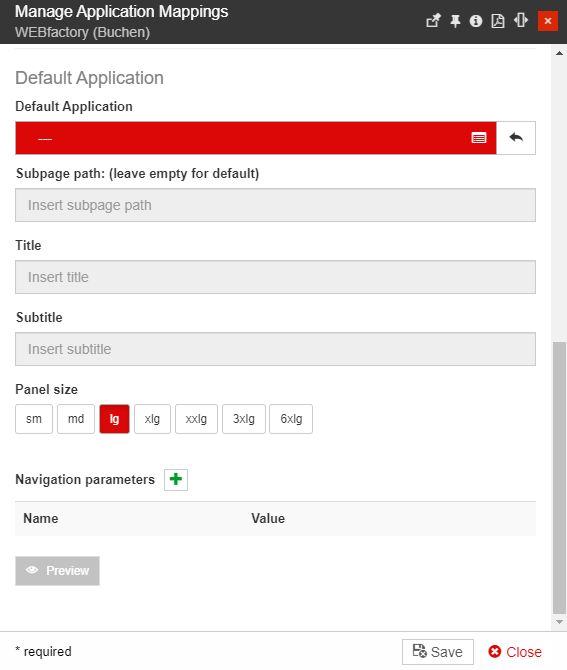
Choose your application from the Applications panel.
Add two empty Navigation parameters, using the Add parameter button.
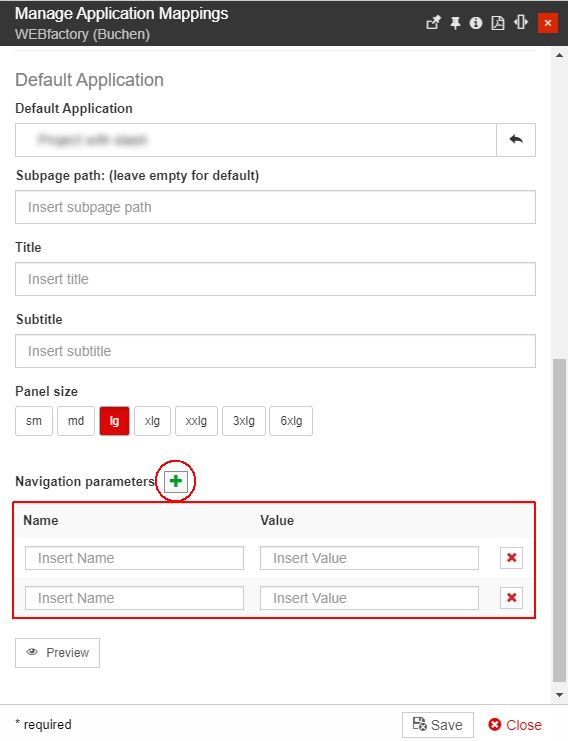
Configure your parameters as follows:

Type in the first Name field the name of the first parameter, in our case "Label1".
Type in the first Value field the value of your first custom parameter.
Type in the second Name field the name of the second parameter, in our case "Label2".
Type in the second Value field the value of your second custom parameter.
Tip
During this step, you can check a preview of your results, by clicking the Preview button.
Please note that the application preview mode does not support blank spaces in the Parameter Value field. To check your results in preview mode, you can escape spaces using "%20".
After saving and mapping your application to an entity, both blank spaces and escaped spaces will be properly applied.

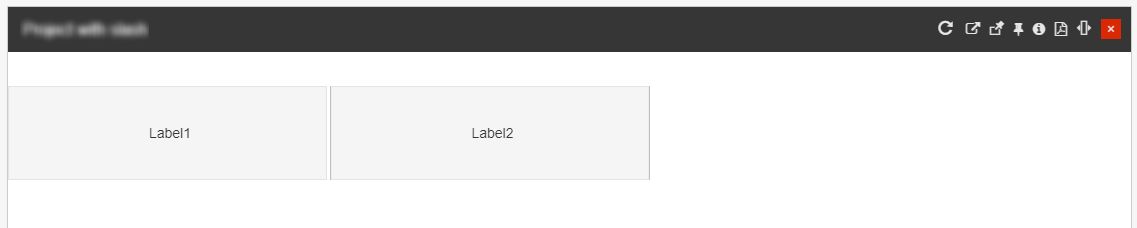
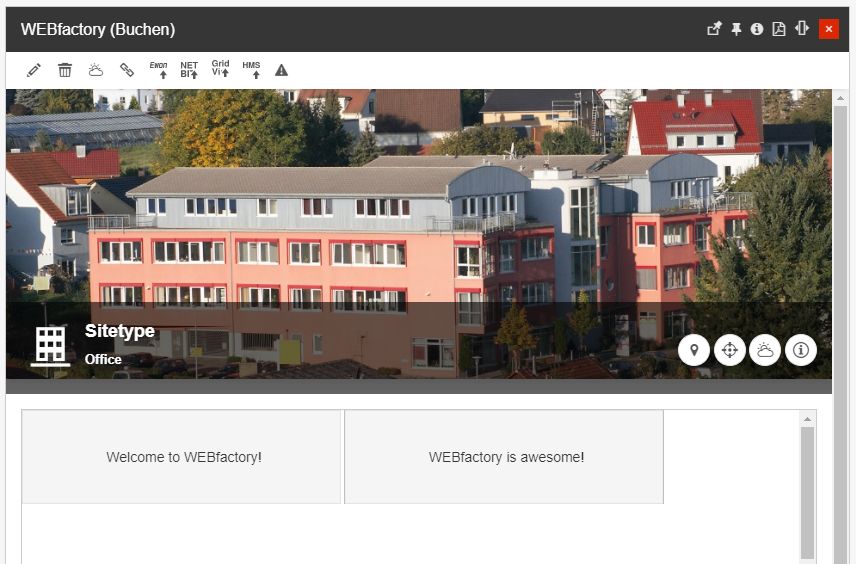
Next, click the Save button. The Site detailed view mode panel displays the application mapping with the parsed parameters.
Using i4connected standard replacement parameters
Check out this tutorial and learn how to set up an i4designer project using the i4connected standard replacement parameters in order to parse some data in your visualizations.
This tutorial will guide you through the needed steps to use i4connected standard parameters to replace the Name and ID of multiple i4connected Sites, while using one single application.
Open an i4connected platform project in design mode.
Open the Toolbox panel and drag two Label components on your page.
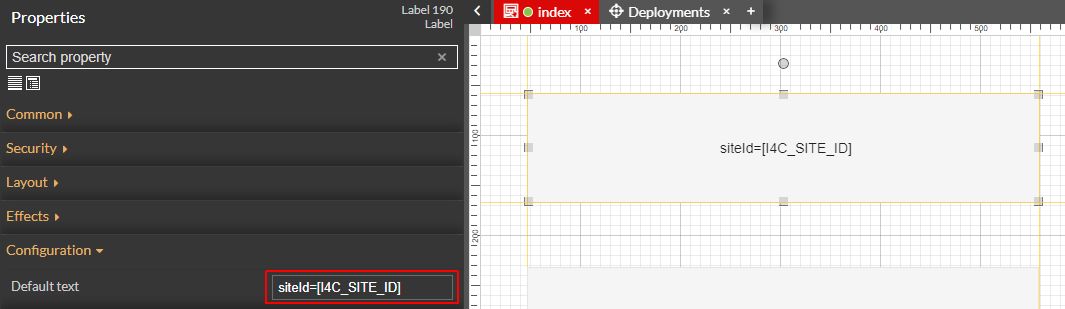
We shall use the first Label component to inject the siteId parameter. Double click the first Label component in order to open the Properties panel and proceed with the following settings:
Search for the Default text property and type in the following syntax: siteId=[I4C_SITE_ID].
Note
The standard replacement parameter I4C_SITE_ID needs to be added between square brackets.
Besides that, the user is free to add any additional text. For example:
This is the identification number of the Site -> [I4C_SITE_ID]
[I4C_SITE_ID]
Proceed with any other styling, appearance, typography, or security settings, and make sure you save your changes.
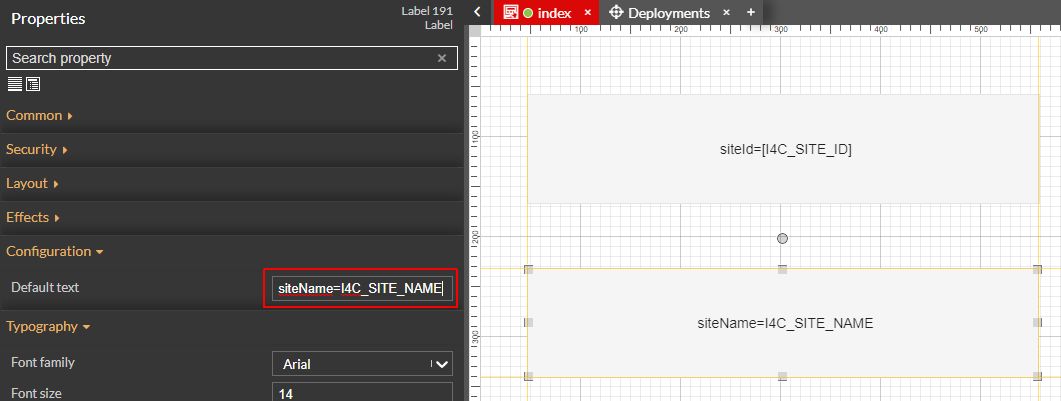
The second Label component will be used to inject the siteName parameter. Double click the second Label component in order to open the Properties panel and proceed with the following settings:
Search for the Default text property and type in the following syntax: siteName=I4C_SITE_NAME.
Note
The standard replacement parameter for the name of the site is I4C_SITE_NAME. Besides that, the user is free to add any additional text. For example:
This is the name of the Site -> I4C_SITE_NAME
I4C_SITE_NAME
Proceed with any other styling, appearance, typography, or security settings, and make sure you save your changes.
Build and publish your i4designer project.
Tip
For more details about building and publishing i4designer projects, to an i4connected environment, please also refer to our tutorials here.
After processing all these steps, you can create an i4connected application and link it to several Sites. When opening these sites, the application will resolve the standard parameters and will replace them with their corresponding values:
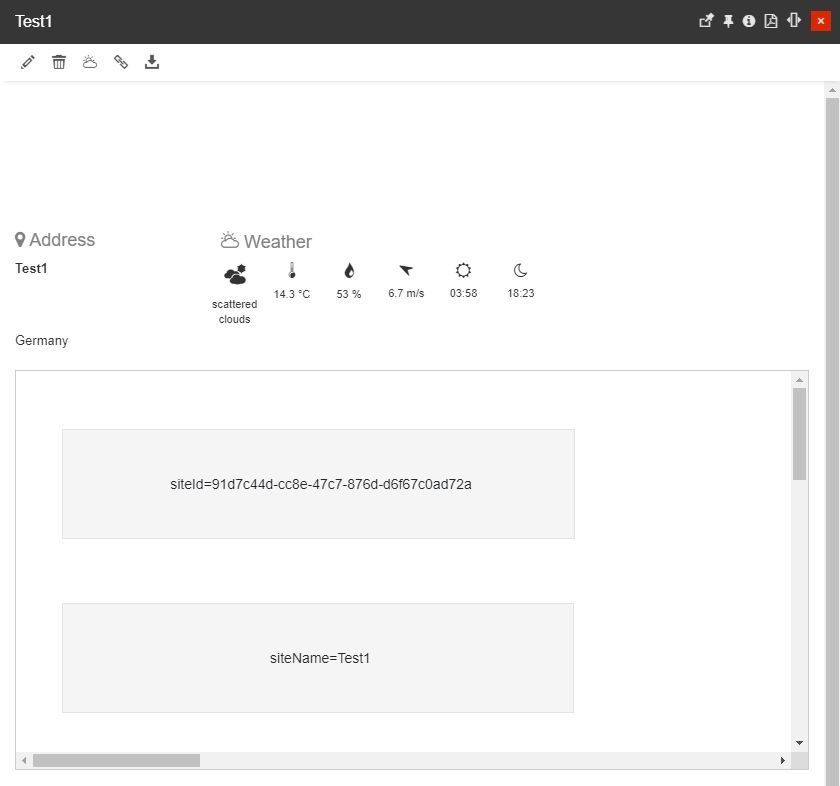
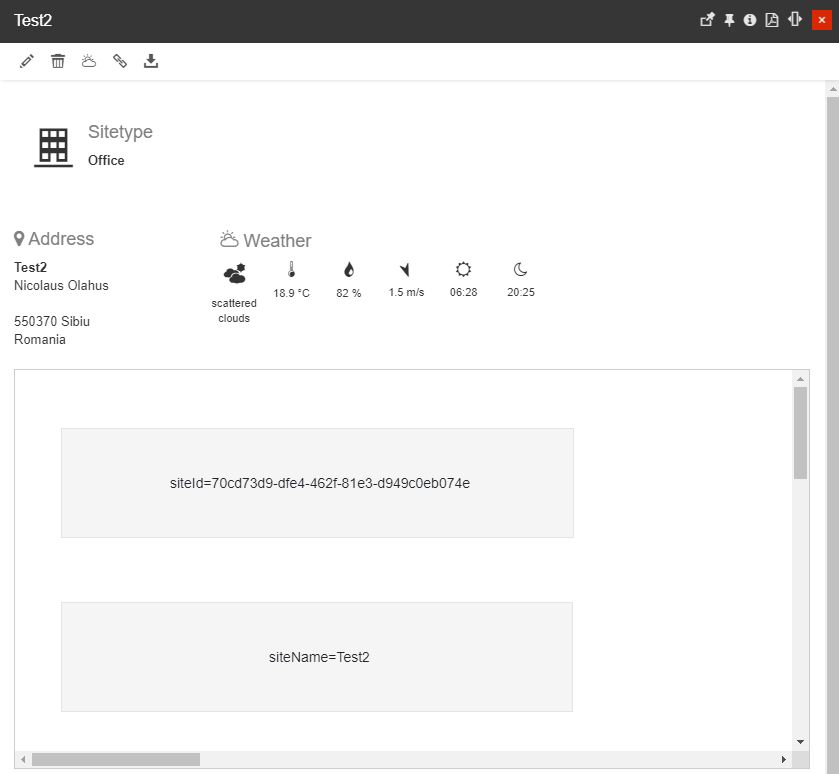
Example of two different Sites using the same application.