i4designer Printing feature tutorials
Check out this step-based tutorial and learn more details about the printing feature of the frame and panel component provided to you by the i4designer.
Using the Printing feature for the Frame component
Check out this article and learn more details on how to print your projects by properly using the Frame component.
The functionality provided by the Frame component allows you to print the contents of an internal project page. This tutorial will guide you through the steps required to print the contents of a Frame component.
Log into i4Designer Control Center to open a new project. The project is opened in Designer, having by default only one page (the "index" page). In order to use the Printing feature, a second page is needed.
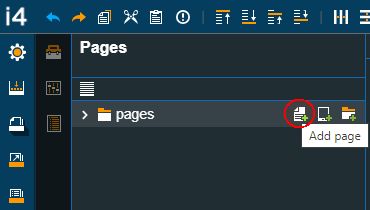
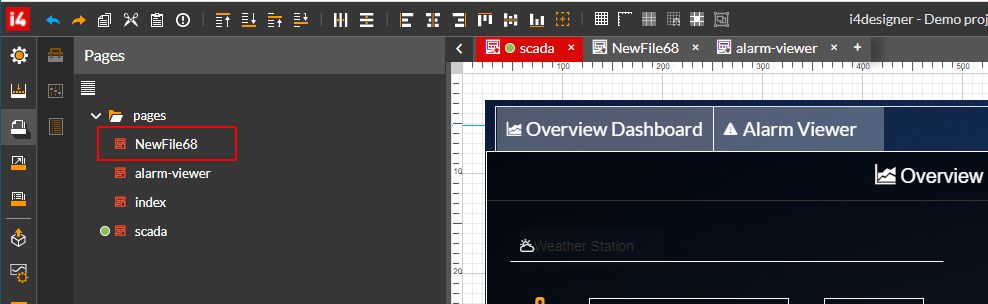
In the Pages panel select the pages node and click on the Add page button. A new page, with a system-generated name, is added to the page's structure.
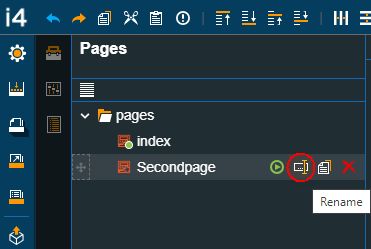
For this tutorial, we have customized the page's name, by clicking on the Rename button.
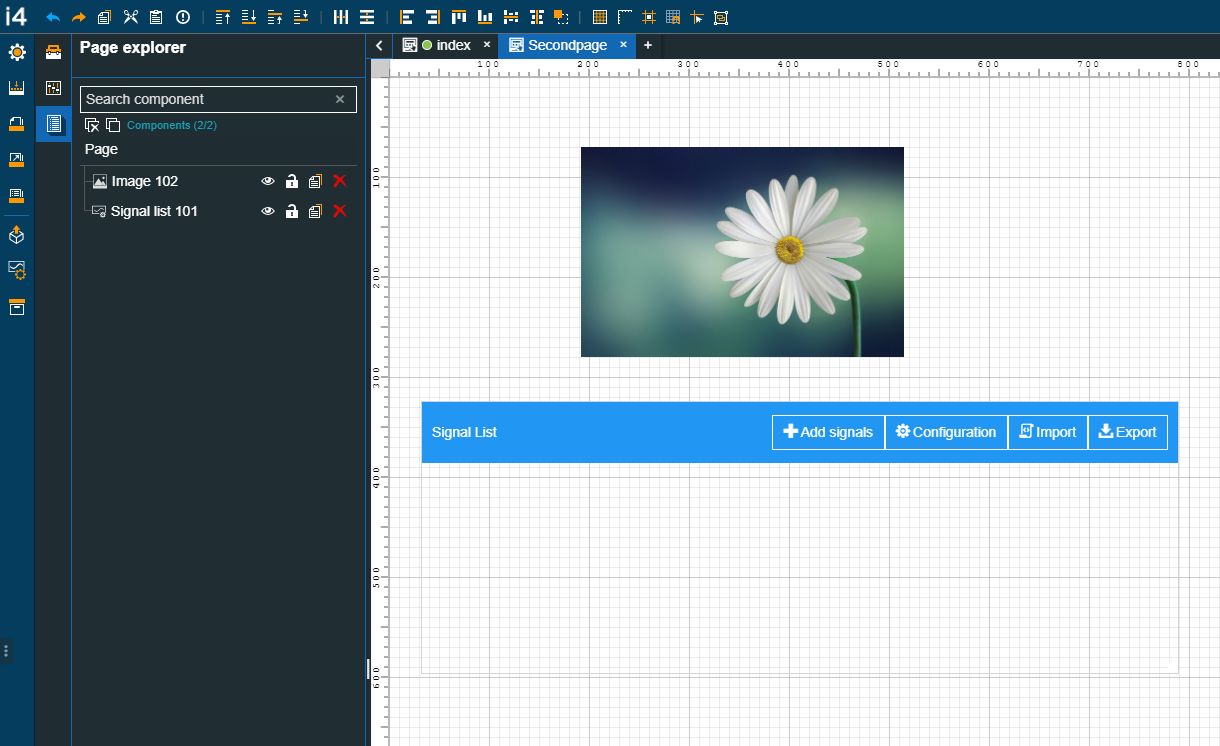
Proceed with populating the new page with some components.
Note
For this tutorial, we have selected the Image and the Signal list components.
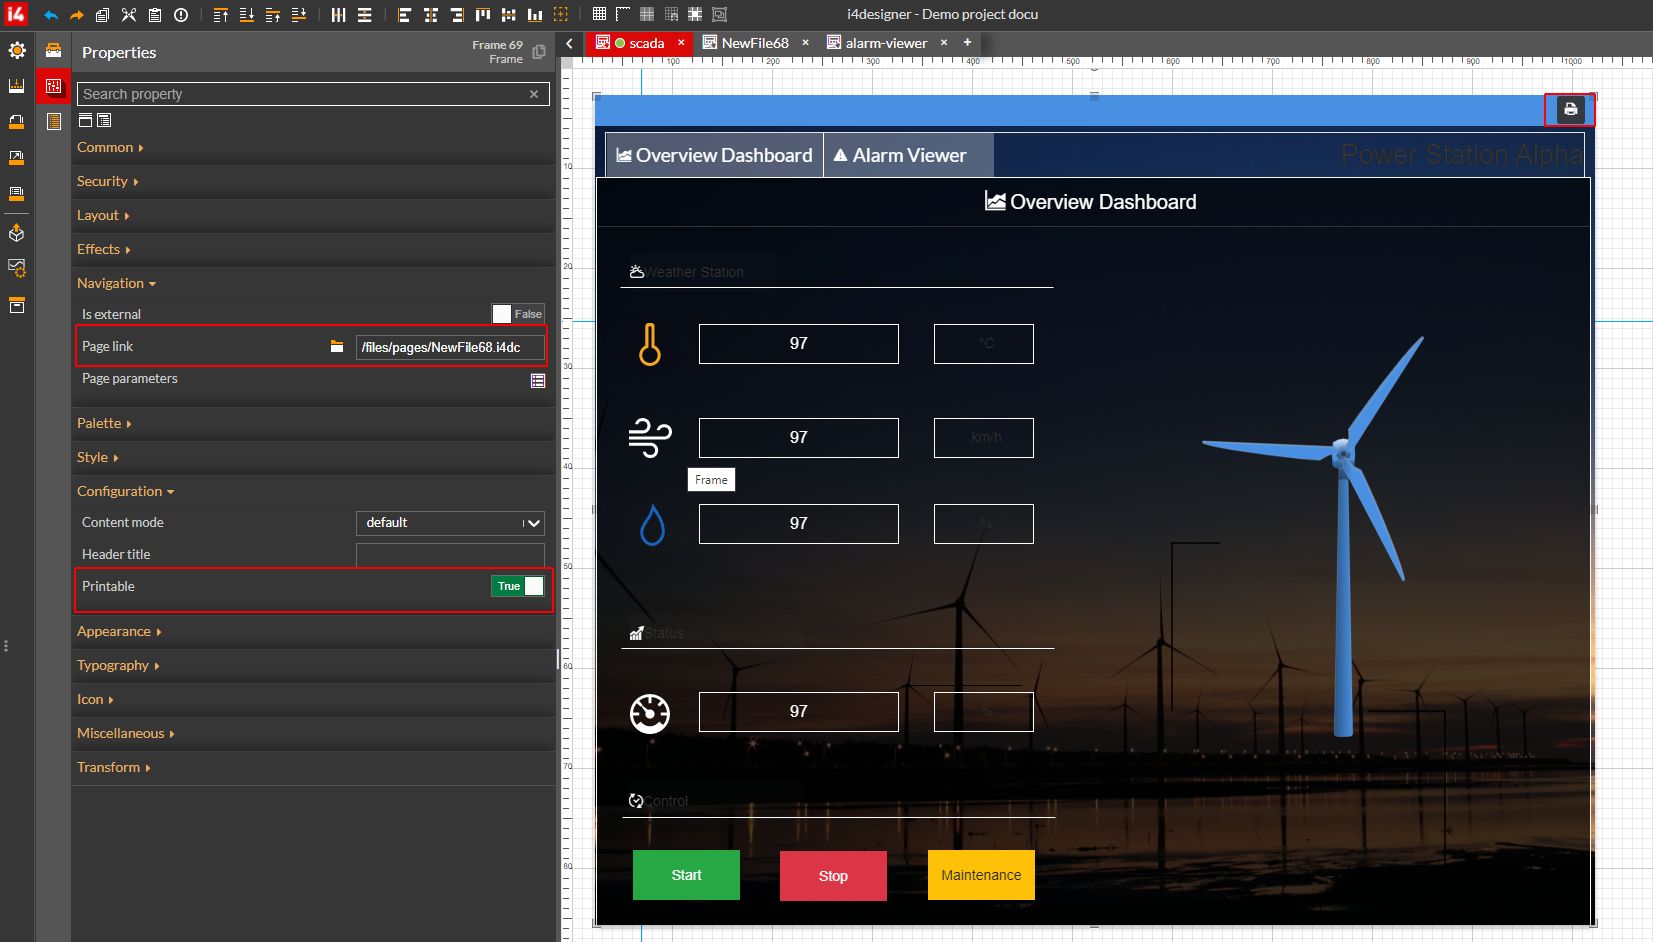
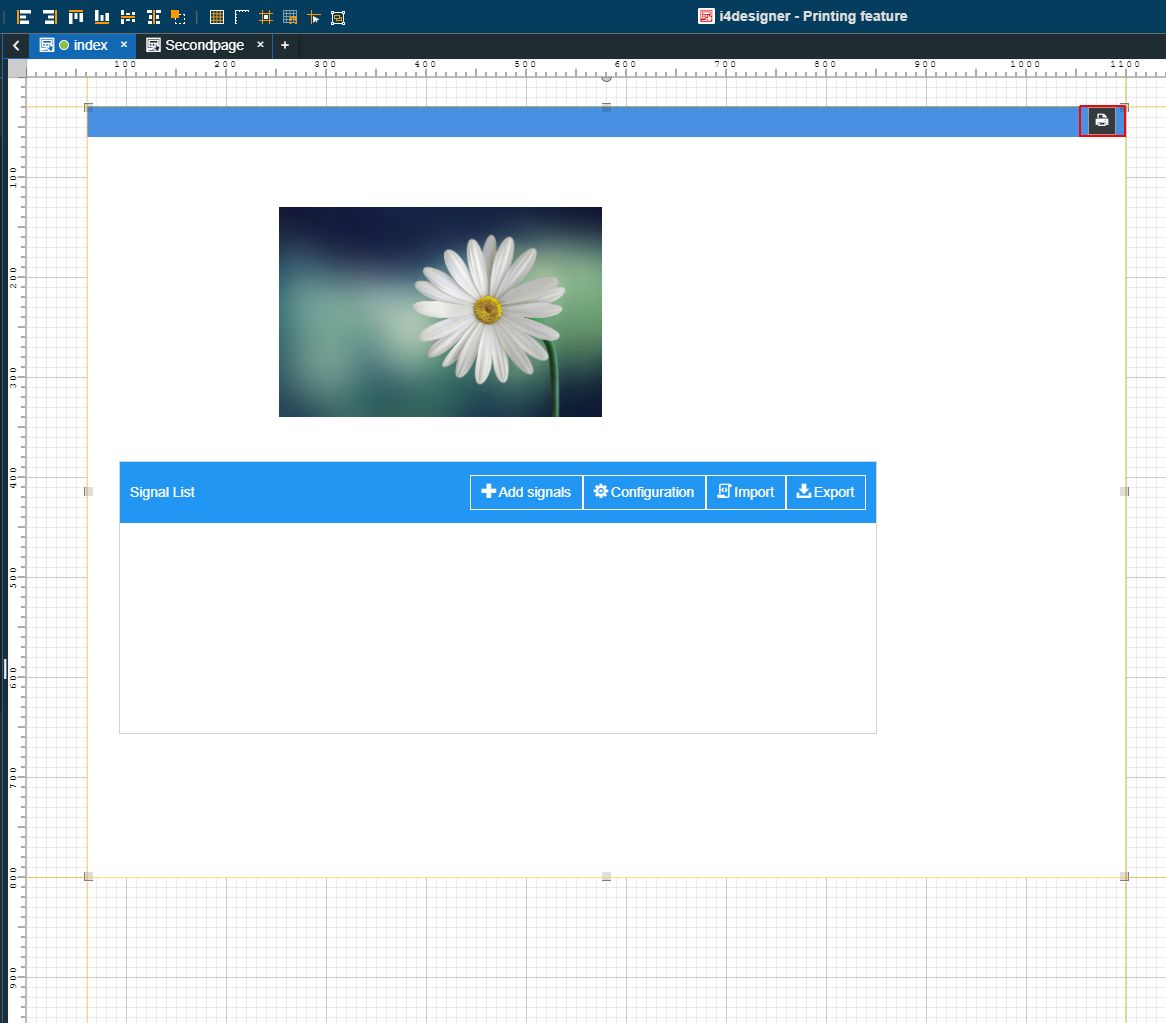
Return to the index page (default page), add a Frame component, and set it as follows:
Double click on the Frame component to open the "Properties view".
Under Navigation, click on the Page link folder in order to link to the second page. This can be done by selecting the "Secondpage". For easier management of the project pages, the "Navigate to page" button allows the user to open a tab showing the linked page.

Warning
The Printable function is available only for internal pages. If Is external is set up to True, you will not be able to print your project.
Next, enable the Printable property, under the Configuration category:

The Print button is now added to the Frame component.
Finally, trigger a project build and proceed with publishing your project to the desired target environment SCADA.
Tip
For more details about the available project publishing methods, depending on your target environment, please also visit the dedicated tutorials, here.
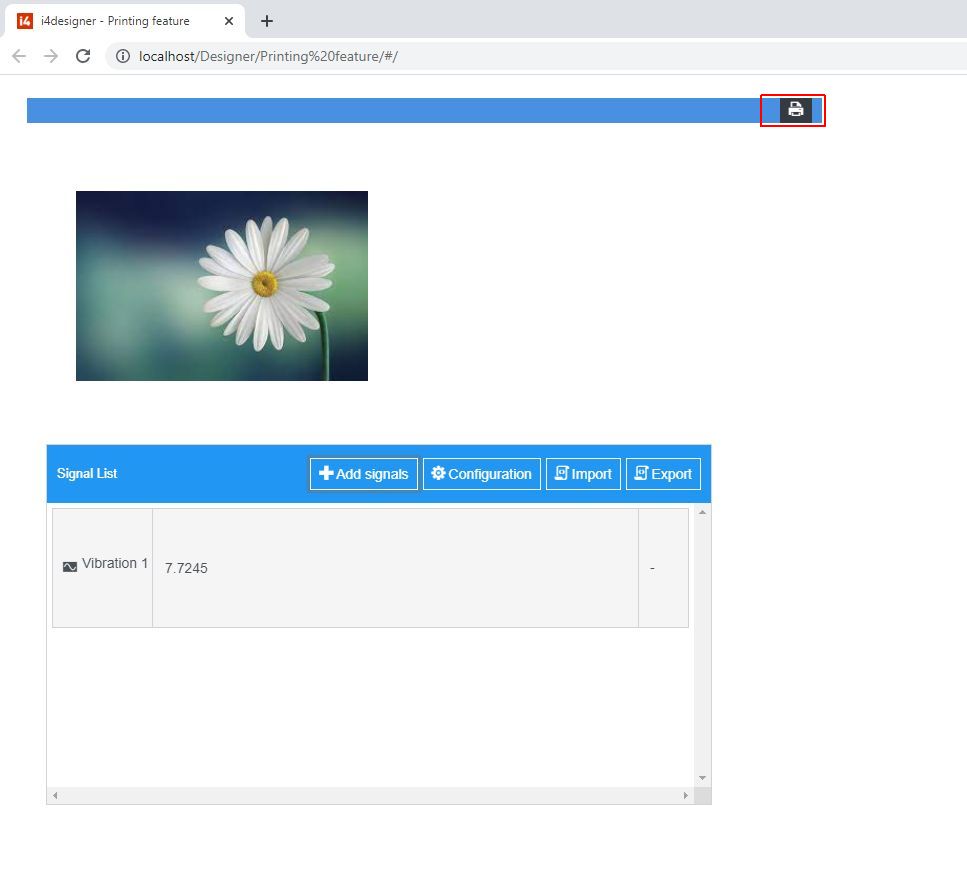
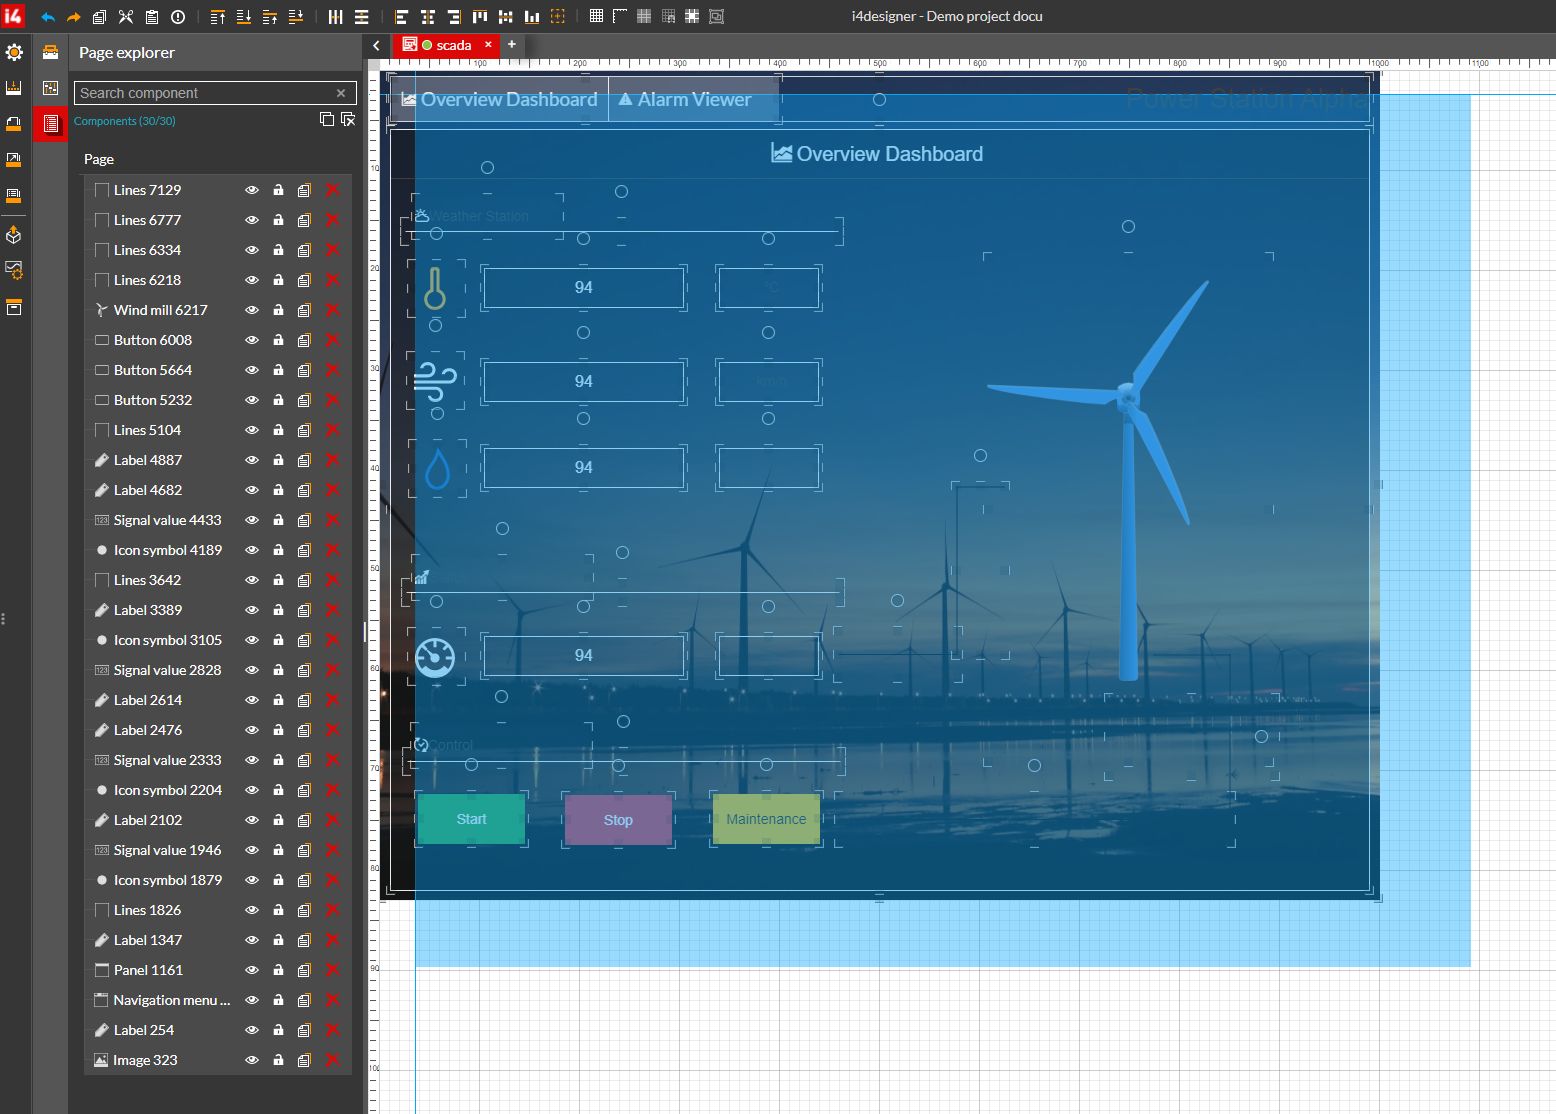
Open the visualization, the default "index" page is visible, and the Frame shows the contents of the linked page.
Click on the Print button:
Examine the print preview on the left side of the screen to ensure the document appears correct.
Select the correct printer by clicking the Destination drop button. Multiple choices are available.
Adjust the printer settings such as Pages and Color using the options below the printer.
Expand the More settings drop-down button to choose the Paper size, Pages per sheet, Margins, Scale, and Options.
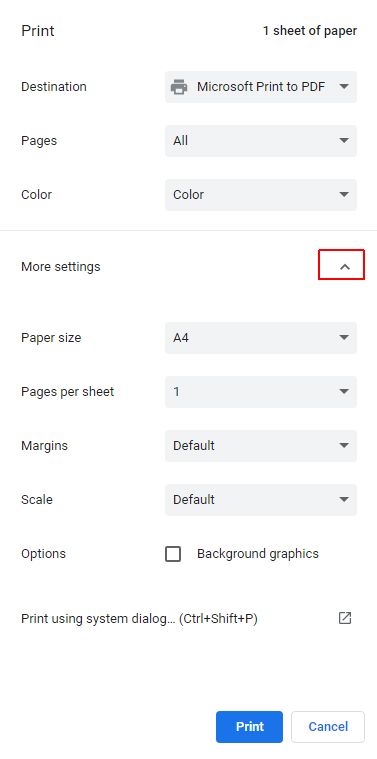
Click on the Print button and Save the printed file on your PC.
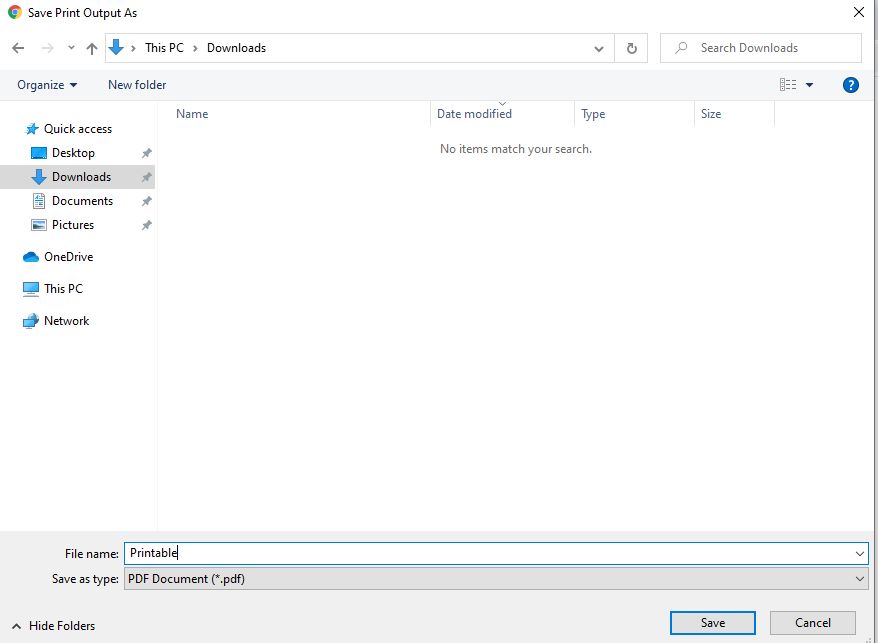
The PDF file will be saved on your PC.
Using the Printing feature for the Panel component
Check out this article and learn more details on how to print your projects by properly using the Panel component.
The functionality provided by the Panel component allows you to print the contents of an internal project page. This tutorial will guide you through the steps required to print the contents of a Panel component.
Log into the i4designer Control Center to open a new project. The project is opened in Designer, having by default only one page (the "index" page). In order to use the Printing feature, a second page is needed.
In the Pages panel select the pages node and click on the Add page button. A new page, with a system-generated name, is added to the page's structure.
For this tutorial, we have customized the page's name by clicking on the Rename button.
Proceed with populating the new page with some components.
Note
For this tutorial, we have selected the Image and the Signal list components.
Return to the index page (default page), add a Panel component, and configure it as follows:
Double click on the Panel component to open the "Properties view":
Under Configuration, click on the Internal page link folder in order to link to the second page. This can be done by selecting the "Secondpage":
Warning
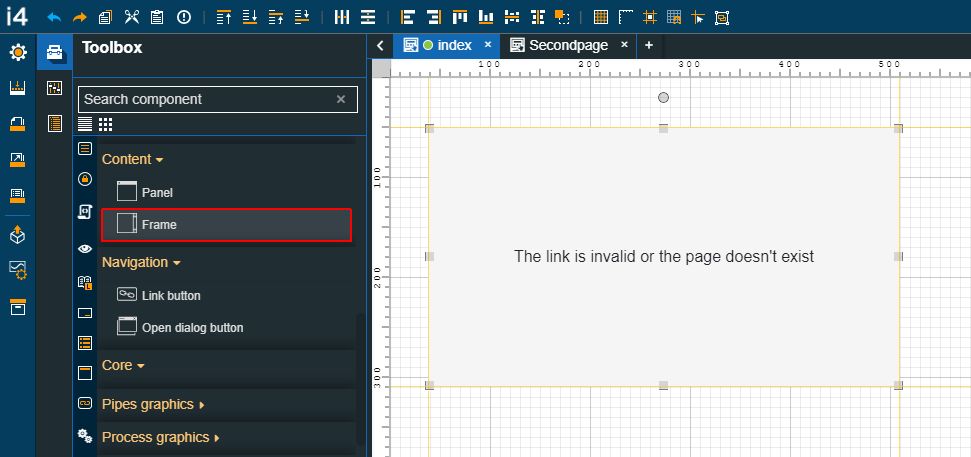
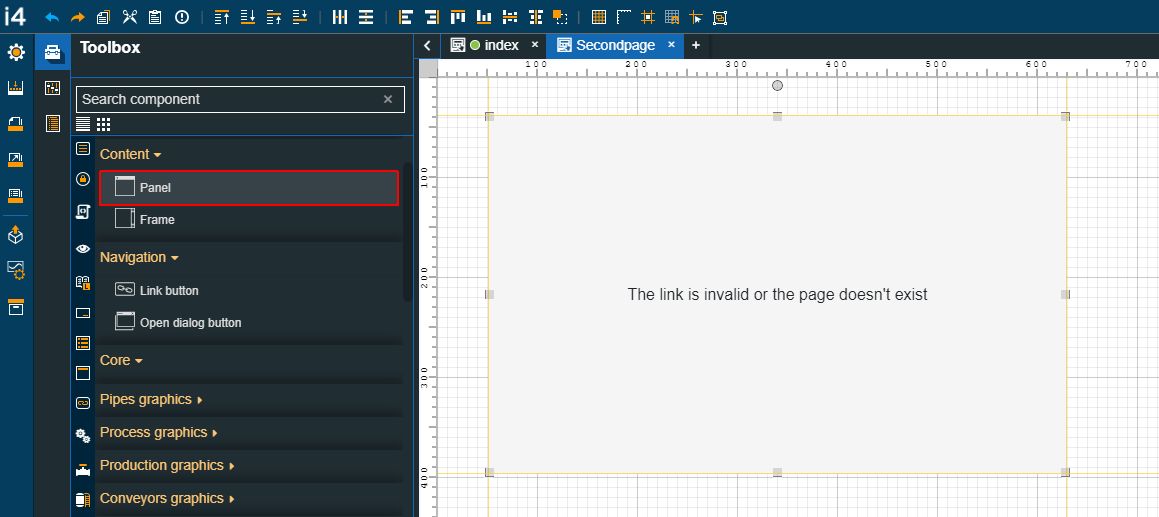
In case the Internal linked page is at some moment in time removed or becomes invalid, the component will show this information: "The link is invalid or the page doesn't exist."
Next, enable the Printable property, under the Configuration category:

The Print button is now added to the Panel component.

Finally, trigger a project build and proceed with publishing your project to the desired target environment SCADA.
Tip
For more details about the available project publishing methods, depending on your target environment, please also visit the dedicated tutorials, here.
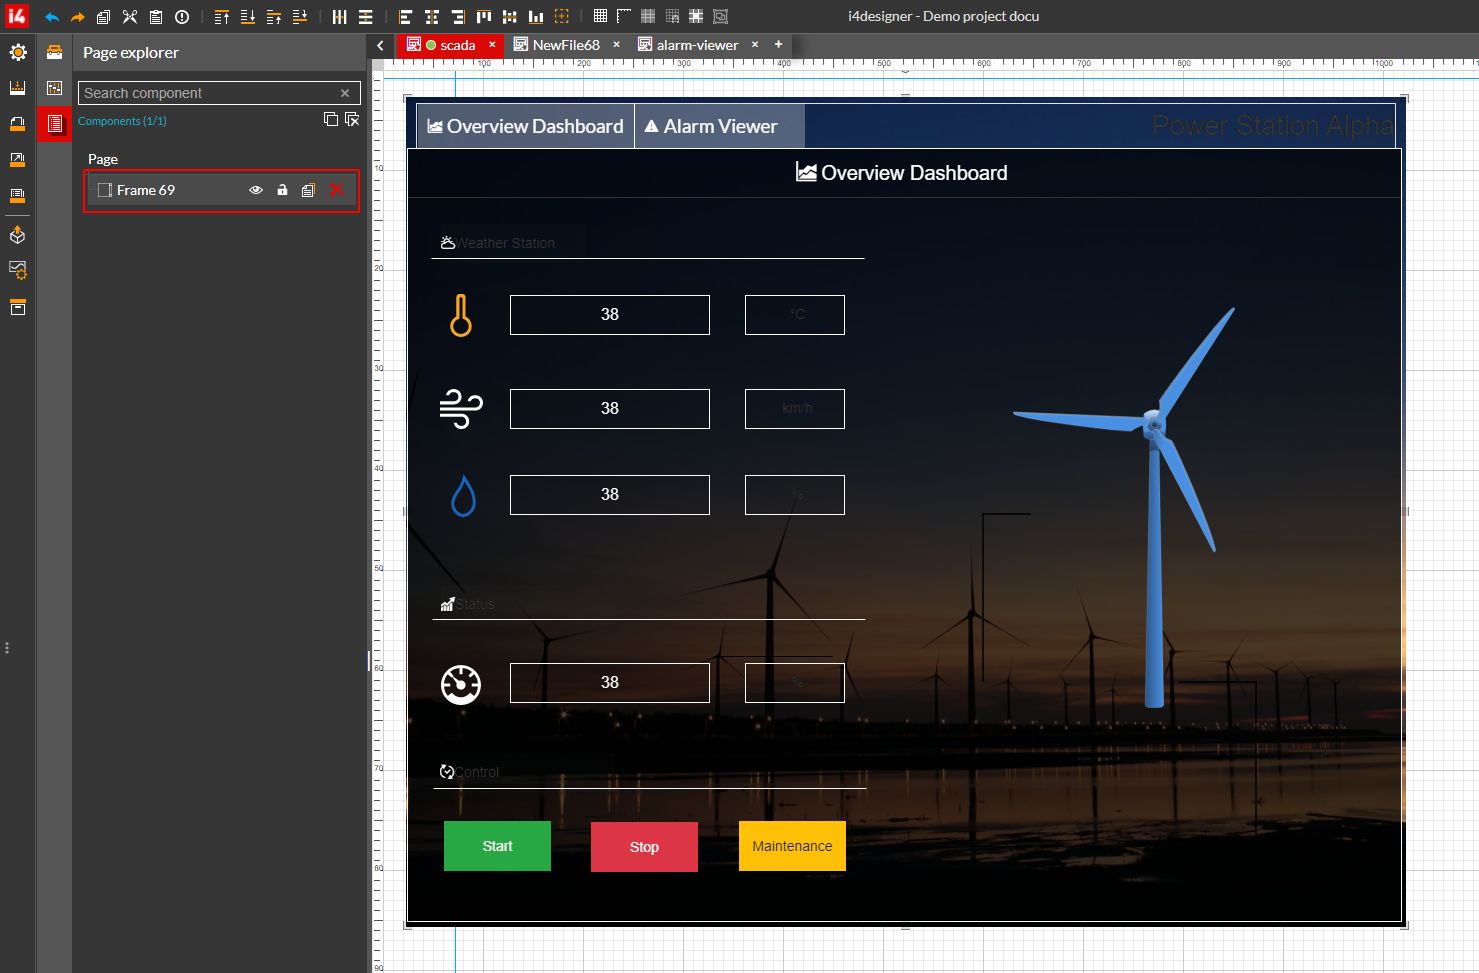
Open the visualization, the default "index" page is visible, and the Panel shows the contents of the linked page.
Click on the Print button:
Examine the print preview on the left side of the screen to ensure the document appears correct.
Select the correct printer by clicking the Destination drop button. Multiple choices are available.
Adjust the printer settings such as Pages and Color using the options below the printer.
Expand the More settings drop-down button to choose the Paper size, Pages per sheet, Margins, Scale, and Options.
Click on the Print button and Save the printed file on your PC.
The PDF file will be saved on your PC.
Grouping components in a Frame
Check out this article and learn more details on how to print your projects by grouping selected components into a frame.
To print complex project pages, you can use the Group selected components option, available in the Quick actions toolbar. For more details, please follow the steps below:
Open your project in design mode.
Go to the Project page that you desire, to Print later on.
Select your page components.
Click on the Group selected components button.

The selected components are now grouped in a Frame component.
Go to the Pages menu. In this view, you can check the "new page", created by the Group selected components function.
Return to your "default" page where the Frame component is available, and enable the Printable property for the Frame. The Print button is now visible.