i4scada platform deployments
Here is a collection of step-based tutorials guiding you through the i4SCADA platform project deployment methods. Check them out to learn more details about these specific processes.
Tip
For a quick video guide, please check the tutorial available on our YouTube channel.
First time in i4designer: deploying the SCADA visualization
Deploying a project via direct download
Check out this tutorial and learn about the easiest method to publish your i4designer SCADA projects. The direct download publish method is accessible to everyone.
Important
Prerequisites for this guide:
Performing the project visualization on a machine where i4scada 3.8 is up and running
The direct download publish method does not rely on the network connection, as described in the Download project article, hence, a set of manual steps are involved in this process.
After designing your project, please follow the below-described steps in order to publish it using the Download method:
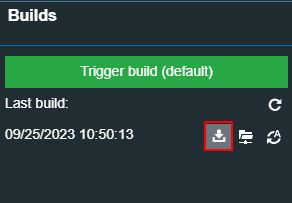
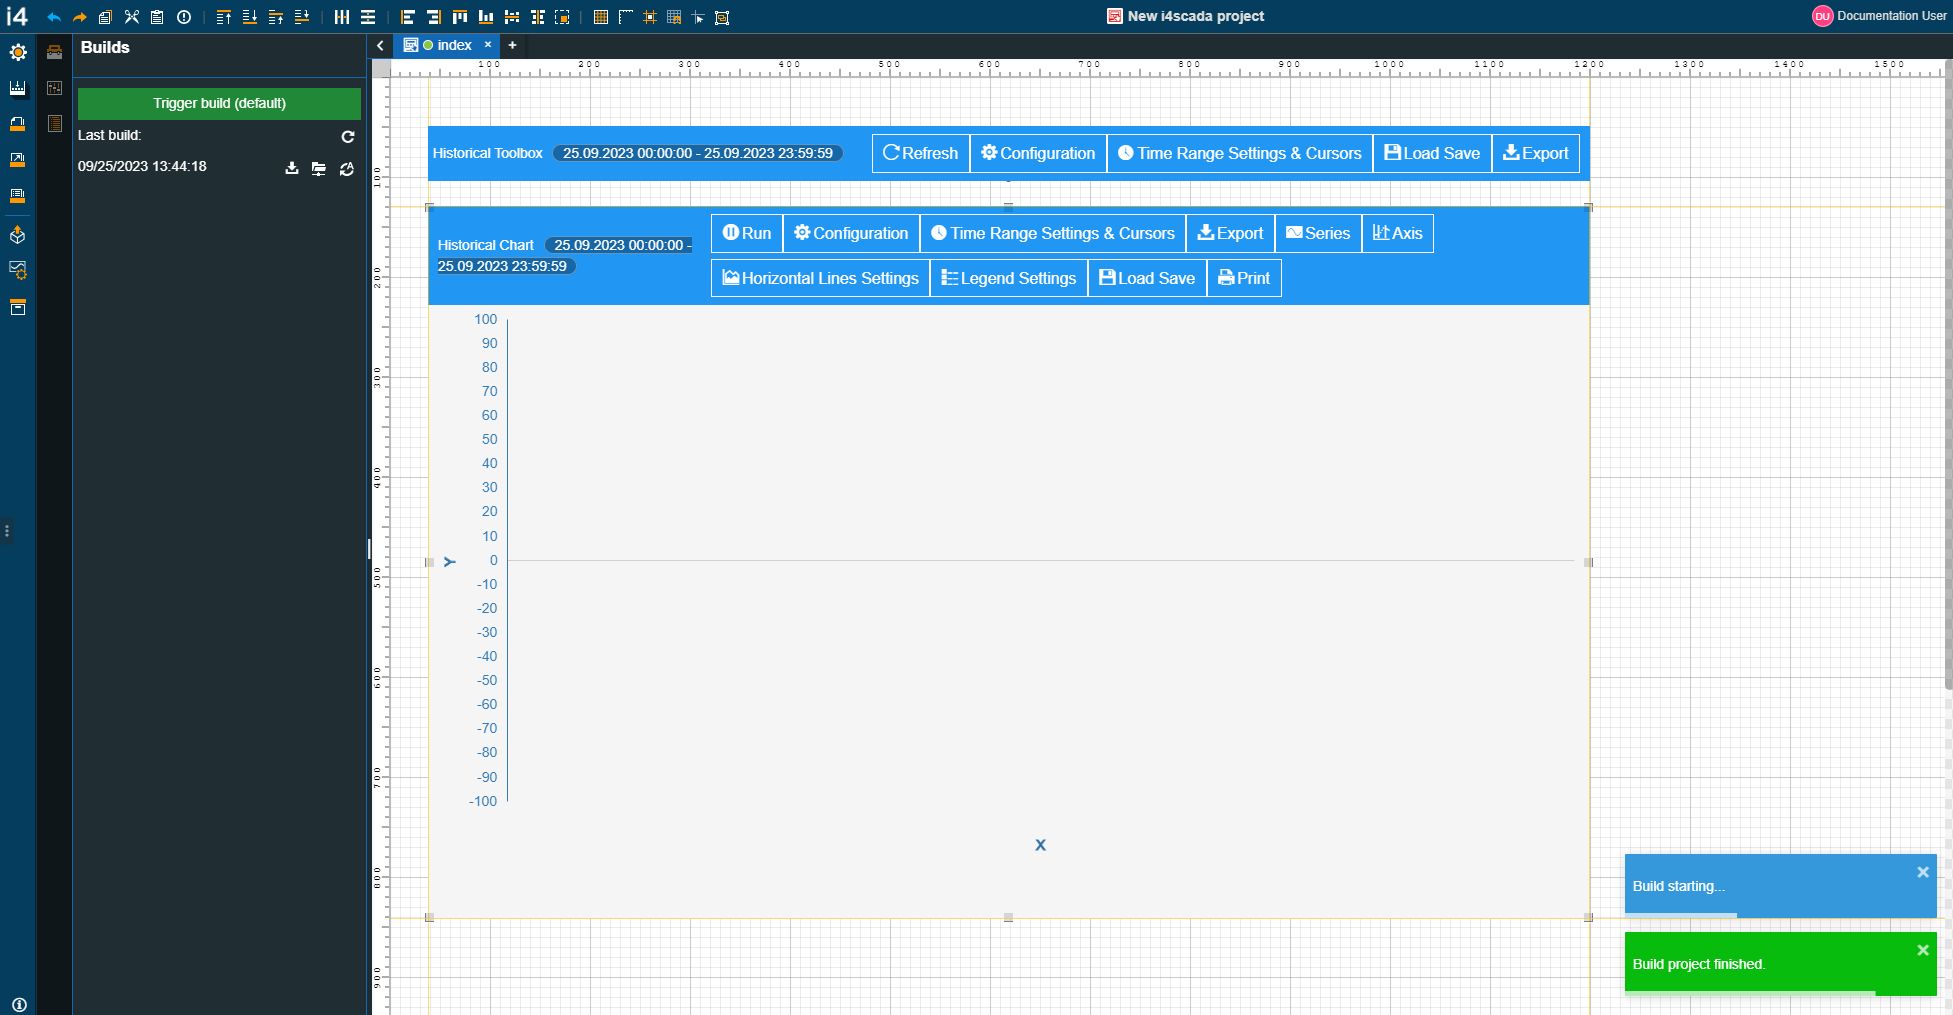
After making sure that your project is ready for a first publish, click on the Builds menu of the global actions area.
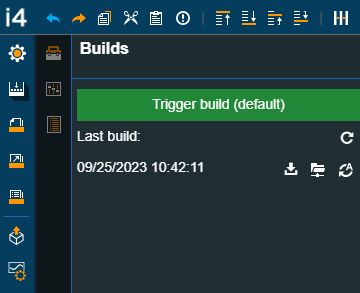
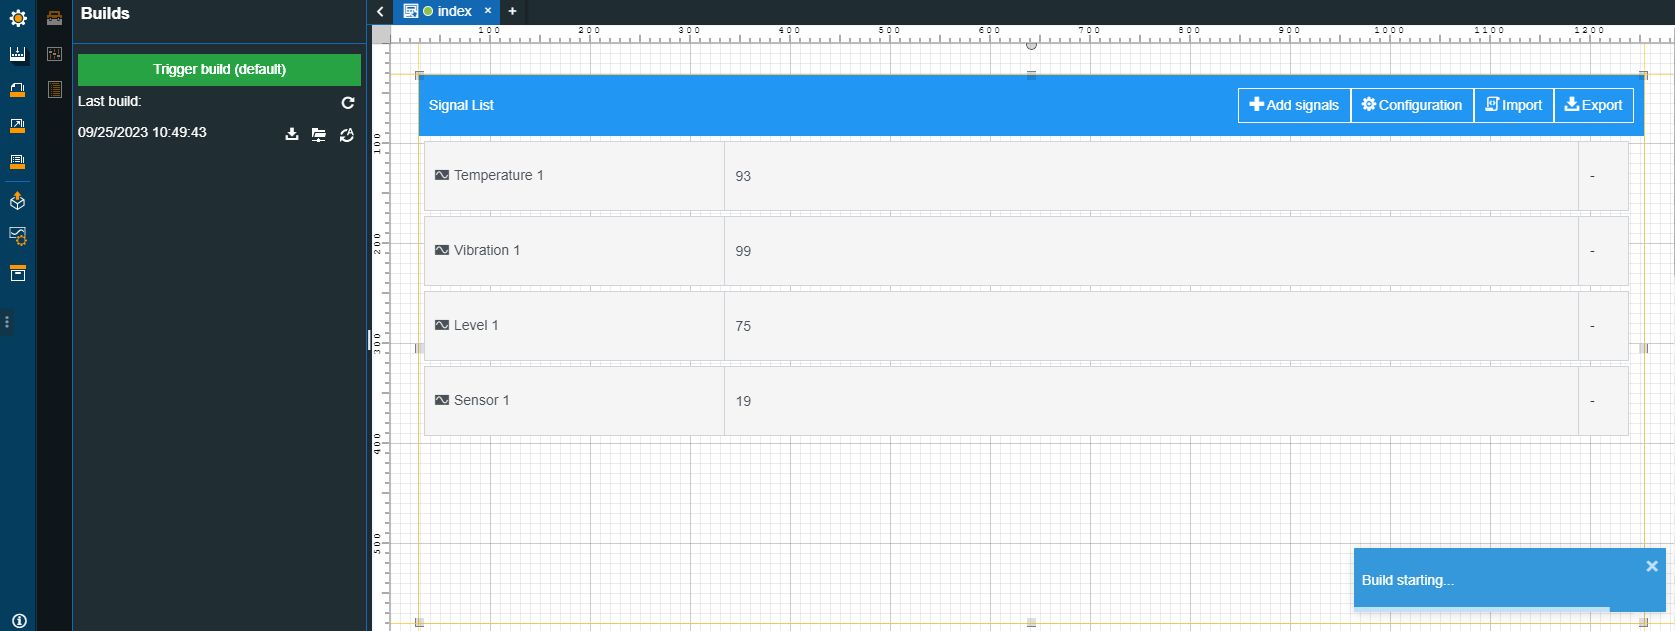
Click on the Trigger build button. A toast message will be displayed on the bottom of your screen indicating the Build progress.
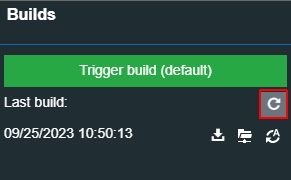
Refresh the Builds panel to get the latest version of your project build displayed on the page.
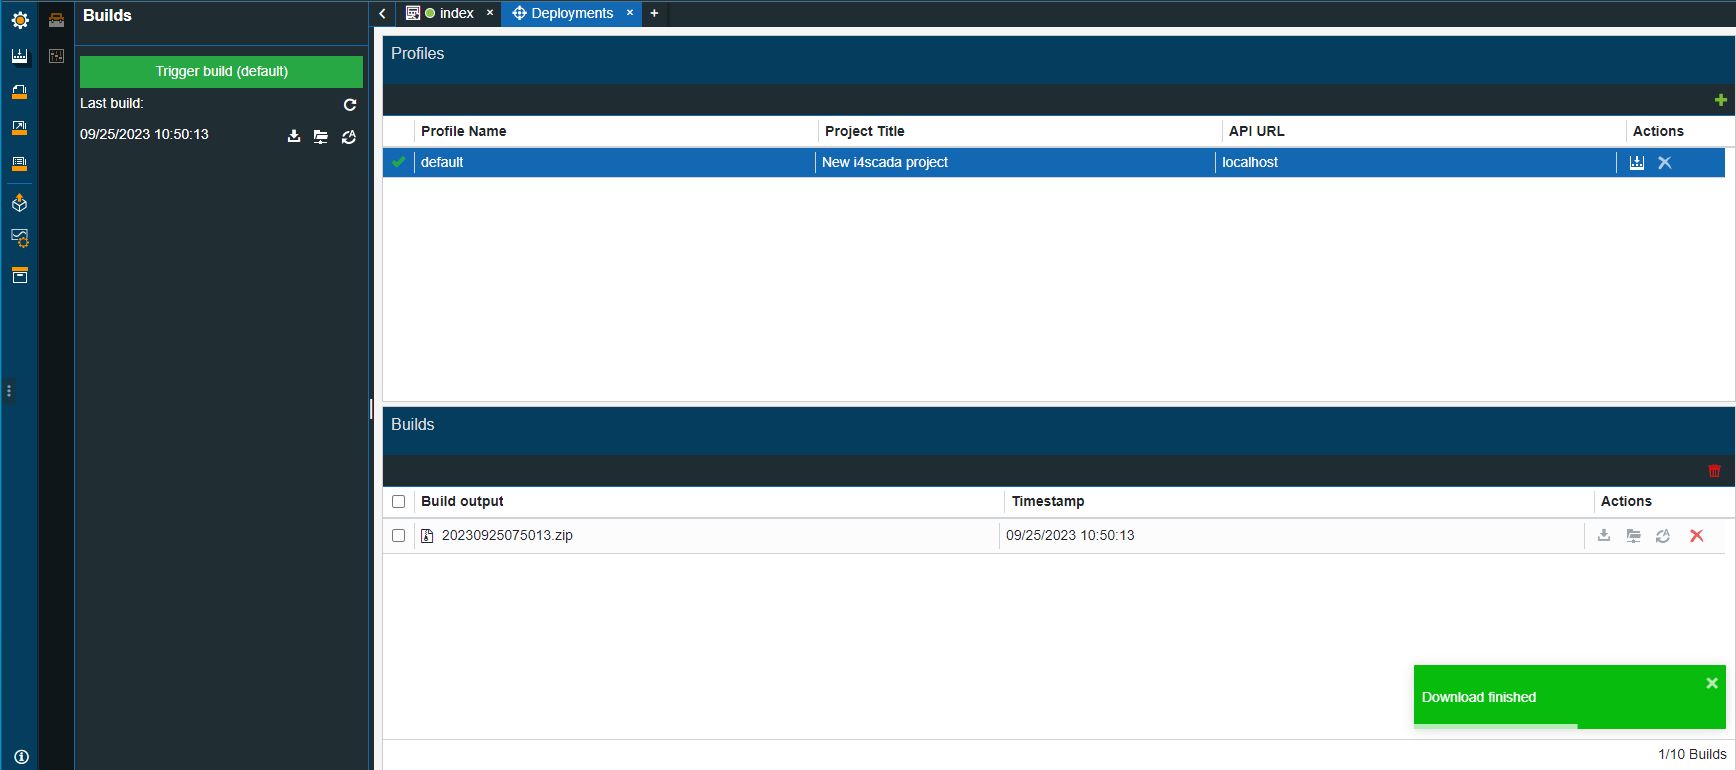
Click on the Download button. Another toast message will be displayed on the bottom of your screen indicating the Download progress.
Upon successful download operation, the project build will be downloaded directly to the browser page. A toast message will be also displayed at the bottom of your screen marking the successful download. The project build is downloaded as a zip archive containing the actual project.
Remove the downloaded project build from the archive, as we shall reuse it in the upcoming steps.
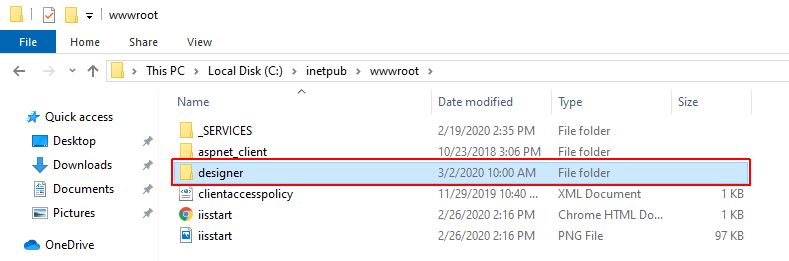
Visit the wwwroot folder, usually available through path C:\inetpub\wwwroot\.
Under the wwwroot folder create a new folder. The name of the folder is not important, so you can name it as desired.
Warning
You might need Administrator rights to manage the data under this folder.
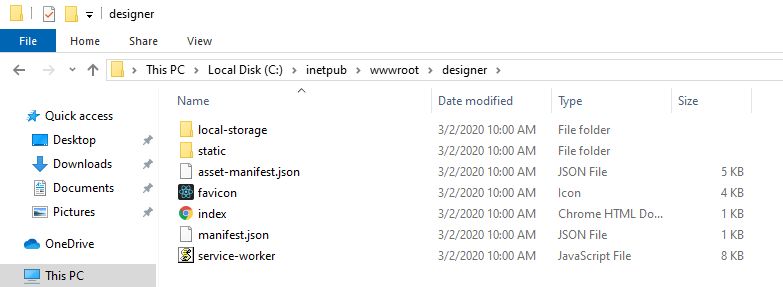
Copy the contents of the downloaded build project and paste them to the new wwwroot folder.
Next, open the Internet Information Services (IIS) Manager application and expand the list of Sites, until reaching the newly created folder.
Select the respective folder and click on the Browse link.
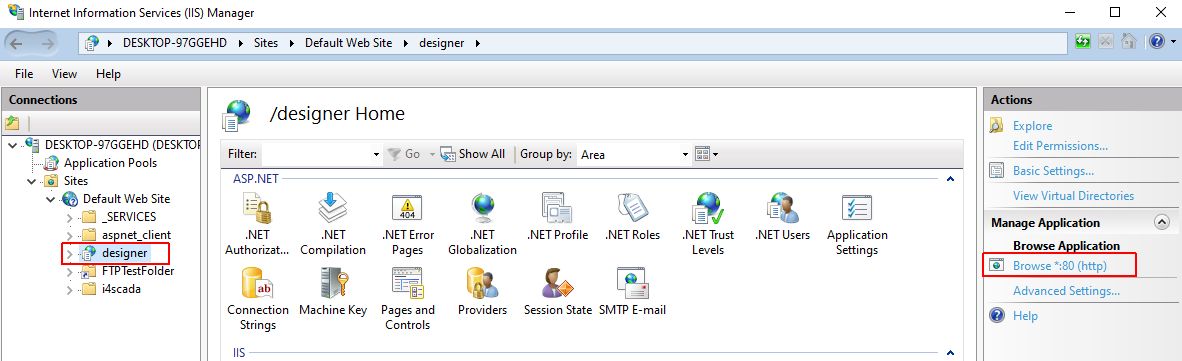
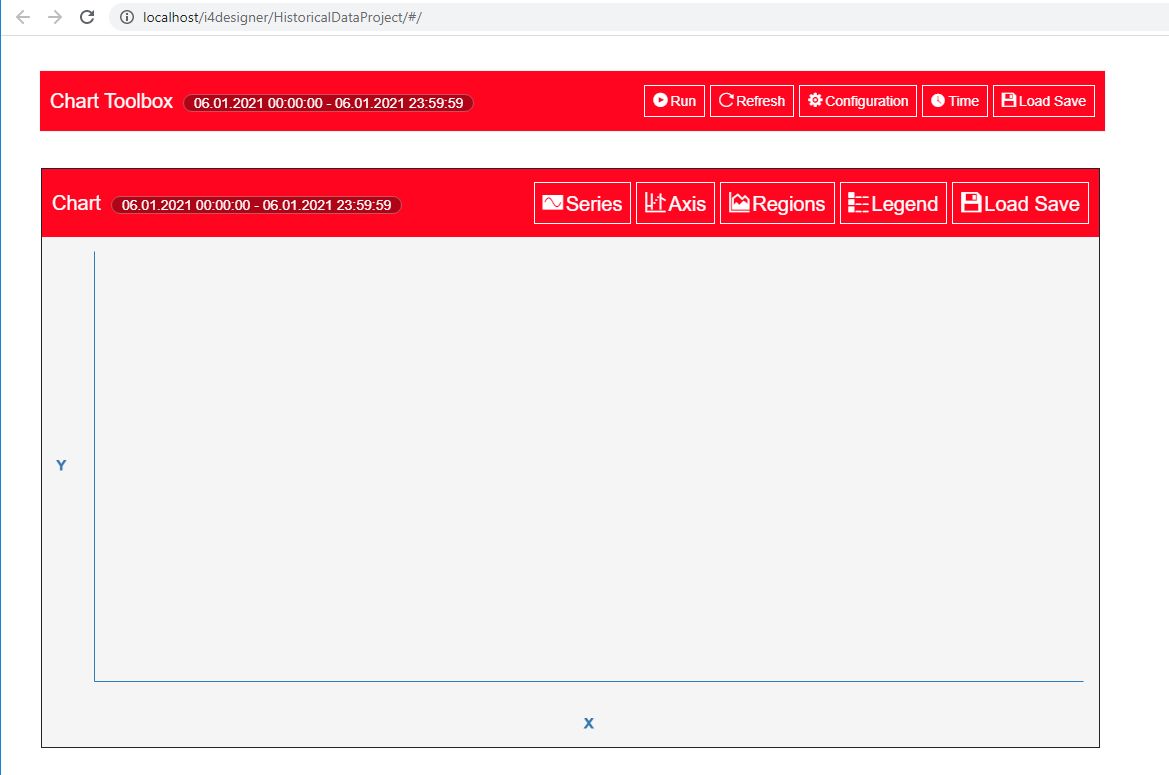
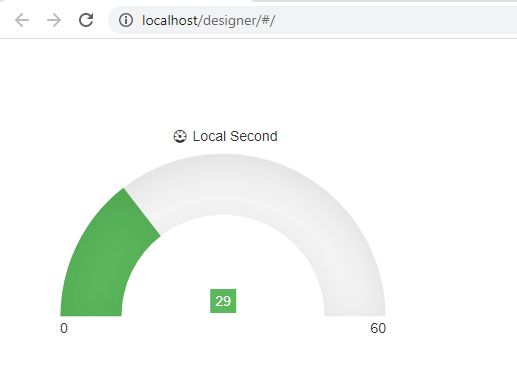
The project visualization will be opened directly in your default browser.
Note
In case the project visualization needs to be updated with new changes, the above-listed steps need to be reorganized.
Deploying a project via FTP
Check out this article in order to learn how to organize the File Transfer Protocol publish method, provided to you by the i4designer application, in order to deploy an i4scada project.
Important
Prerequisites for these guides:
An FTP Site is preconfigured and accessible through the internet
An FTP client application is installed on the machine where project visualization needs to take place
This tutorial is split up into two parts:
Setting up the FTP remote folder
As described in the Publish project over FTP article, the FTP project publish method will place the build output inside the remote folder configured on your FTP Site, allowing you to open the project visualization without further manual work. As the i4designer environment runs in the Cloud, your FTP Site should be also accessible through the internet.
First of all let's check if you can access the FTP Site, on your computer:
Open a Windows Explorer window (or press Win+E on your keyboard).
Click to select the Address bar.
Type the FTP Site's address.
Tip
Example:
ftp://hostname/folder/
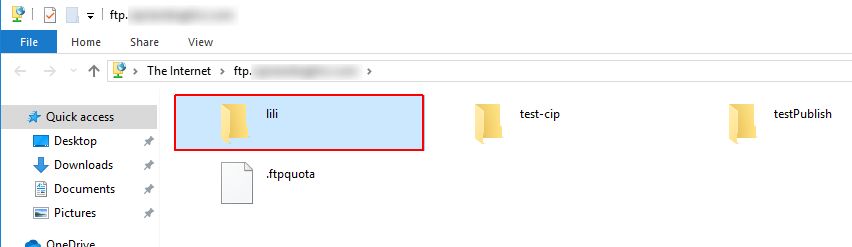
Fill in your FTP Site credentials and click the Log On button.

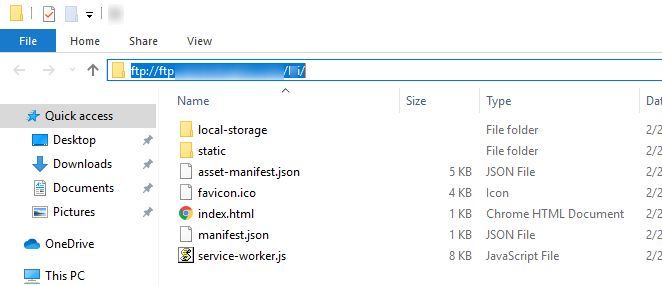
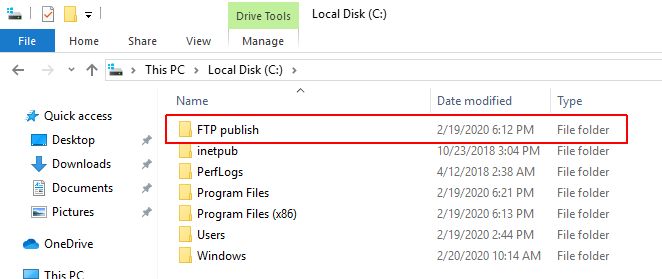
The FTP Site folders will be displayed. Identify the folder that you desire to publish your project to.
Open another Windows Explorer window and add a new folder under a known and open location. The name of the folder is not important, so you can name it anyhow.
Next, we can optionally check the deployed application by hosting it in the IIS, as follows:
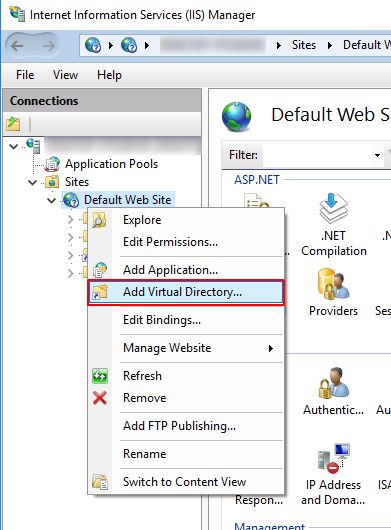
Open the Internet Information Services (IIS) Manager application.
Expand local computer > Sites > right-click on Default Web Site (or another website if you're running multiple websites on the same computer) and choose Add Virtual Directory.
In the Add Virtual Directory window fill in the folder Alias and select the folder created at step 2 as the physical path.
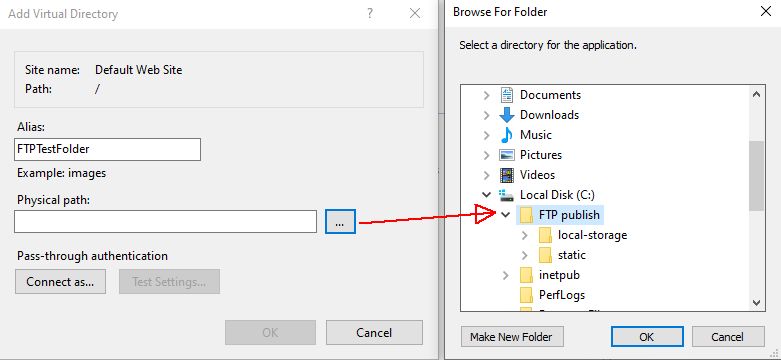
To save the new Virtual Directory click the OK button.
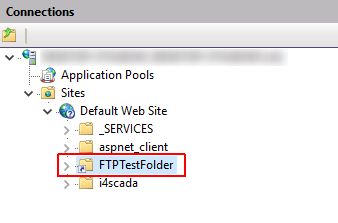
Thew new Virtual Directory is available in the IIS Manager Connections panel.
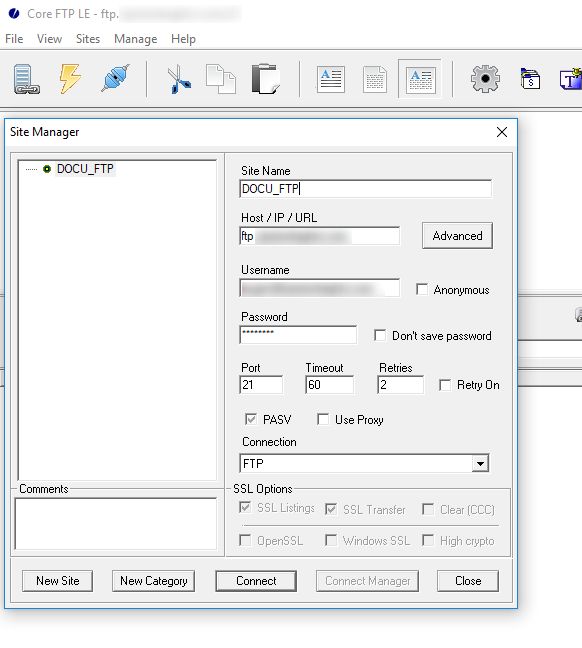
In order to enable smooth communication between the external FTP Site and your local folder, using an FTP Client application is recommended.
Tip
For the present tutorial, we are using the Core FTP LE application, but you can choose whatever suits you.
Further on, let's configure the FTP settings on the i4designer environment:
Open an i4scada platform project and go under the Deployments menu of the global actions area.
On the left side of the screen, the FTP configuration panel is displayed. Start filling in your FTP Site settings.
Tip
For more details about the FTP configuration settings, please also check the description provided by the Publish project over FTP article.
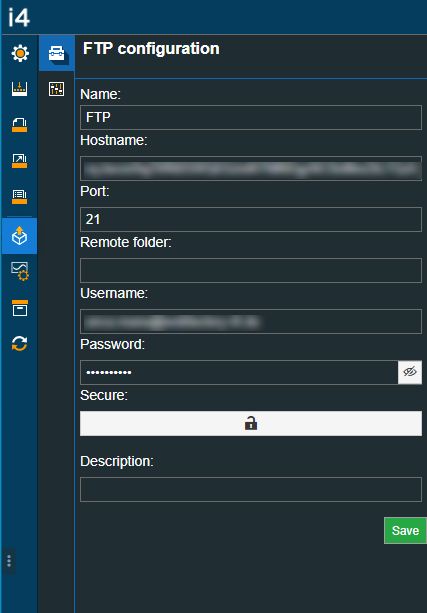
Click the Save button to preserve your changes.
Publishing and visualizing the project
As soon as the FTP remote folder is created and the needed i4designer FTP settings are properly configured, we can proceed with triggering a project, publishing it through FTP, and visualizing the project.
After making sure that your project is ready for a first publish, click on the Builds menu of the global actions area.
Click on the Trigger build button. A toast message will be displayed on the bottom of your screen indicating the Build progress.
As soon as the build progress is finished a confirmation toast message will be displayed.
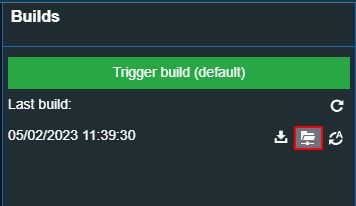
Refresh the Builds panel to get the latest version of your project build displayed on the page.
Click on the Publish over FTP button.
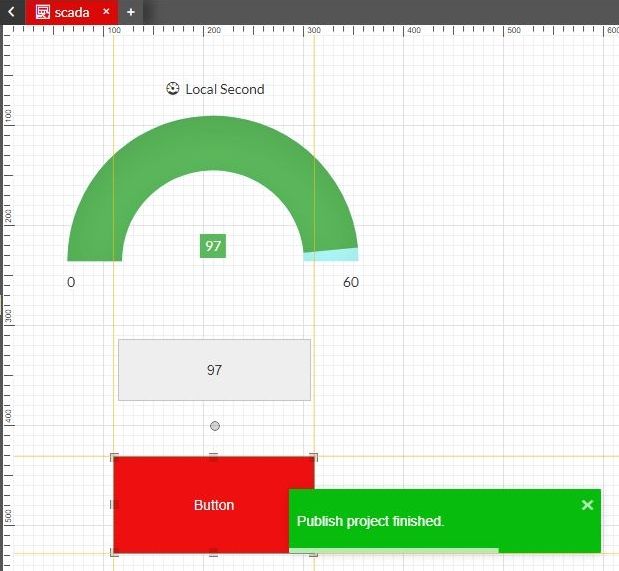
The Publish progress can be followed up in the toast message displayed at the bottom right side of the screen. When publish operation is successfully finished, a confirmation toast message will be displayed.
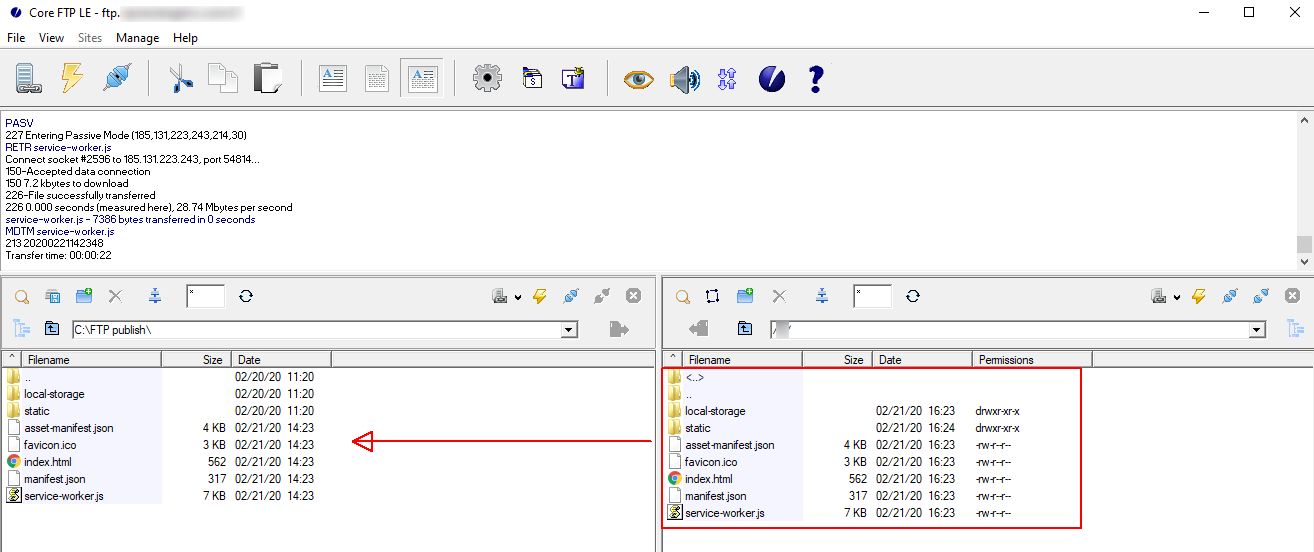
Open the FTP client application and connect to the defined FTP Site.
Using the FTP client application Copy the project build files from the FTP site to the local remote folder.
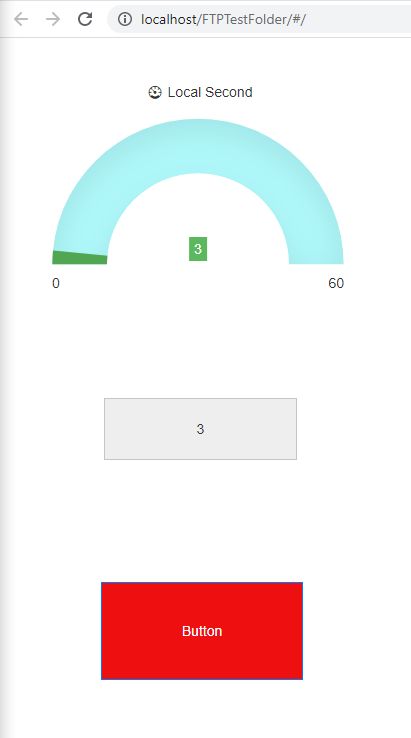
Now you can open your up-to-date project visualization in the browser. You can either use the IIS Manager interface to browse the project or simply type in the browser the project URL.
Automatically deploying a project
The easiest method to deploy and visualize i4scada projects is Automatic publish. Check out this article and learn how to do it by yourself!
Important
Prerequisites for this guide:
the i4scada machine should run on version 3.8.11 or higher.
In order to easily publish an i4designer project by means of the automatic publish method and visualize it on your i4scada machine,
The Automatic publish method, used for projects created on the i4scada platform, relies on a set of easy steps, as follows:
Setting up the project storage location
In order to create and configure the i4designer project storage location, please proceed as follows
Open your i4scada machine.
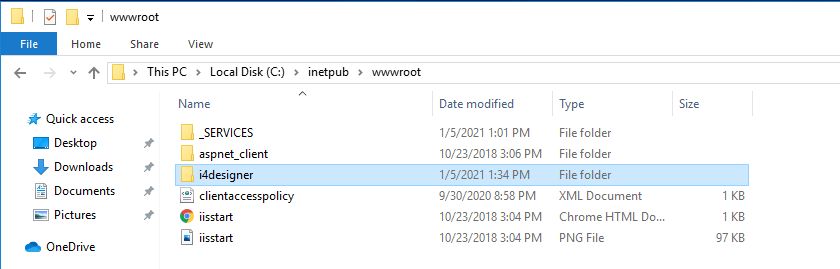
Visit the wwwroot folder, usually available through path C:\inetpub\wwwroot\.
Under the wwwroot folder create a new folder. The name of the folder is not important, so you can name it as desired.
Warning
You might need Administrator rights to manage the data under this folder.
Add another subfolder to the main folder created here. Each folder will be associated afterward, with a new project.

Tip
You can add multiple sub-folders to the main folder, hence each sub-folder will be associated afterward, with a new project.
Next, open the Internet Information Services (IIS) Manager application.
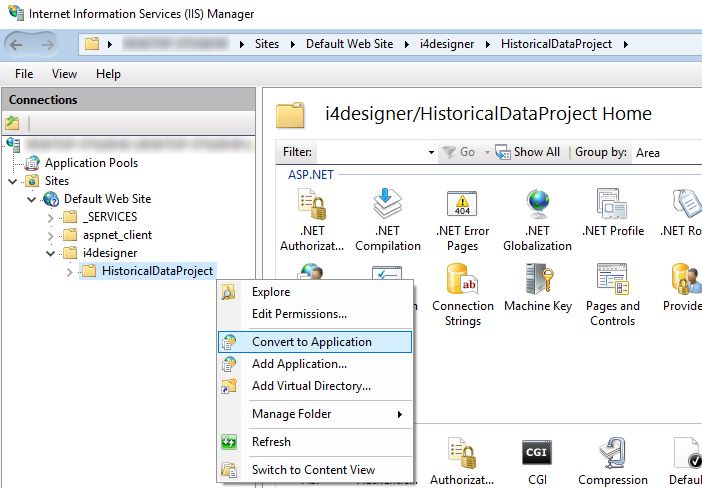
Expand local computer > Sites > Default Web Site > new folder in order to reach the new sub-folder.
Click right on the new sub-folder and select the Convert to Application option.
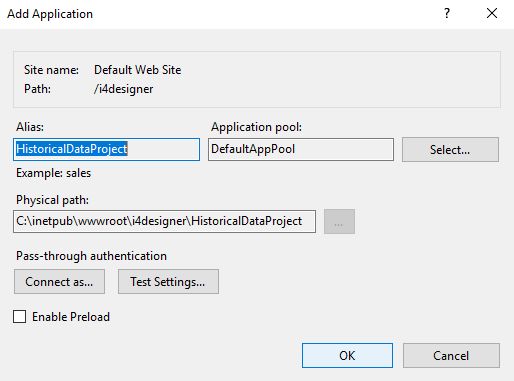
In the Add Application window, make sure that the Physical path points to your new sub-folder. Click the OK button to confirm the conversion.
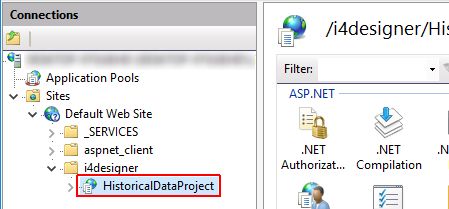
The new sub-folder is now converted into an application.
Setting up the i4scada Studio settings
In order that the communication between the i4scada and the i4designer endpoints is enabled, please organize the following steps
Open the i4scadaStudio application.
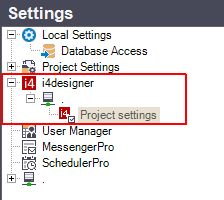
Select the Settings menu and expand the i4designer node, until reaching the Project settings node.
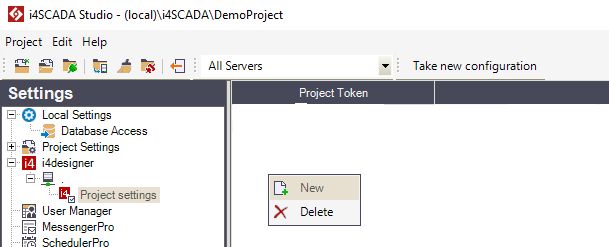
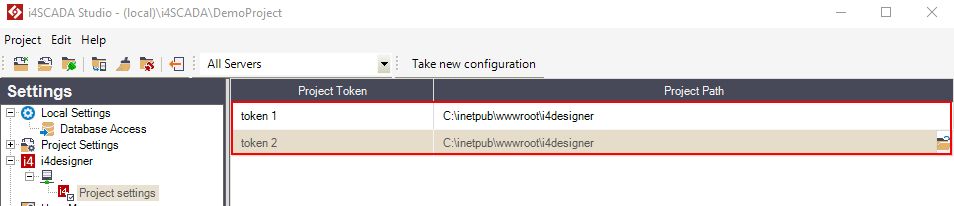
Right-click within the Project settings empty panel and select the option New.
The Project settings panel is updated and allows you to fill in the Project Token and the Project Path. Proceed as follows:

Fill in the Project Token after copying it from the application.
Tip
Each project has an allocated connection-token. This can be easily copied from the Control Center, as visible in the screenshot below.
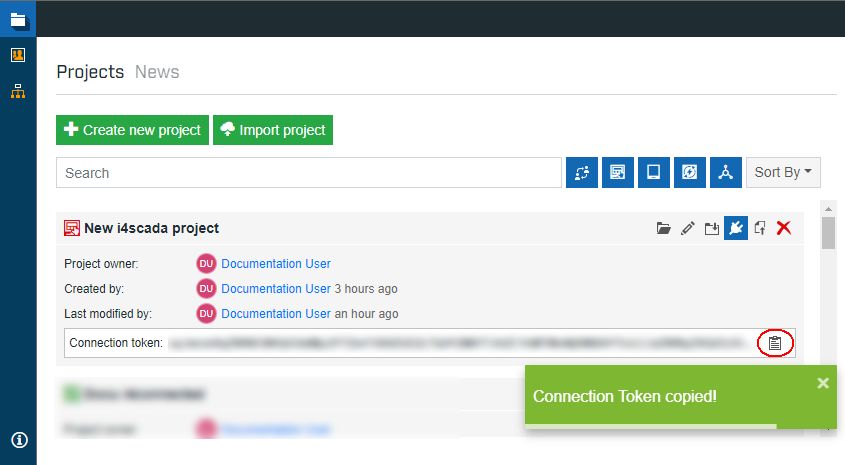
For more details about the connection-token, please also visit our online documentation and the dedicated article here.
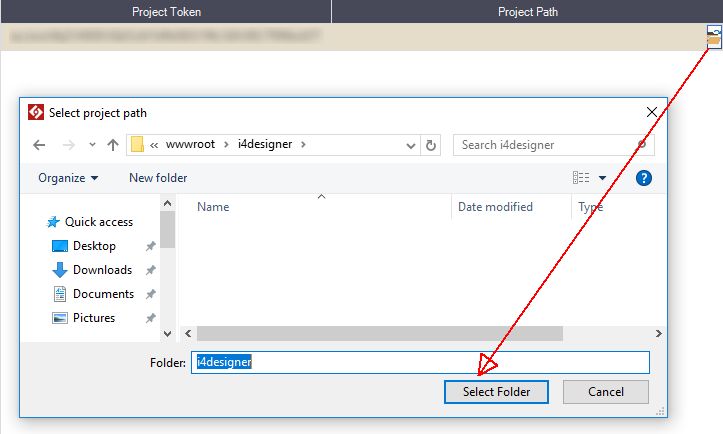
Fill in the Project Path by selecting the path pointing towards the files location folder, created as previously described.
After filling in the Project settings, you should restart the Server and the Synchronization Service.
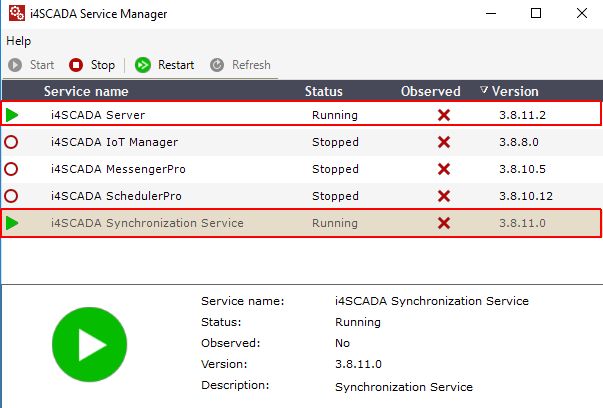
Important
Each new project needs to be made available, as described by this tutorial, under the tool.
Building and publishing the i4designer project
After finishing the design of your i4designer project, please proceed as follows:
Open the Builds menu of the Designer application and trigger a new build. Confirmation toast messages are displayed at the bottom right side of the screen, confirming the build operation.
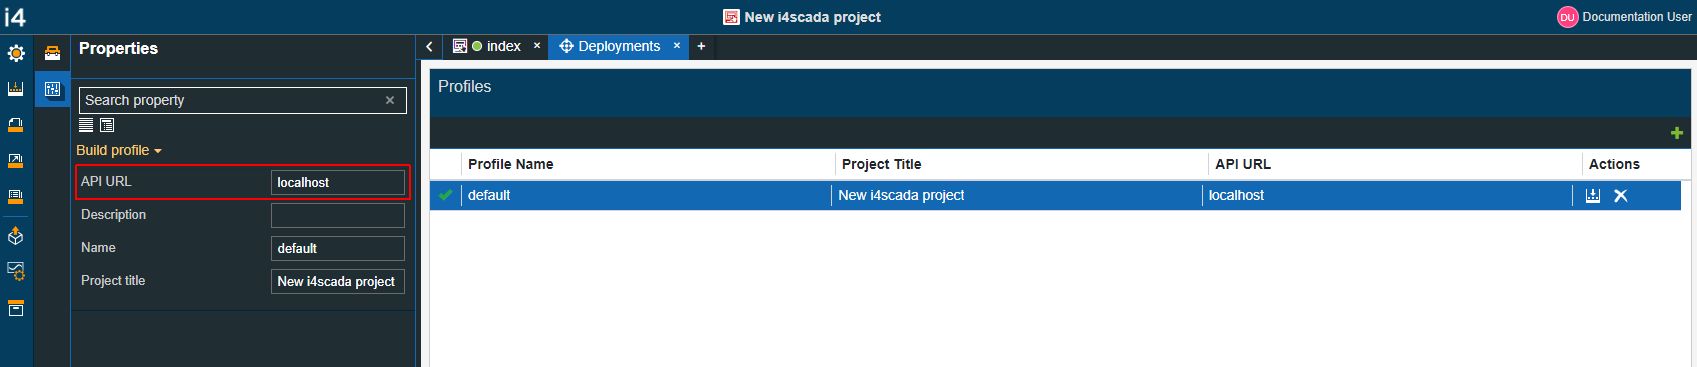
Next, open the Deployments menu of the Designer application and make sure to fill in the i4scada API base URL, pointing towards your i4scada machine.
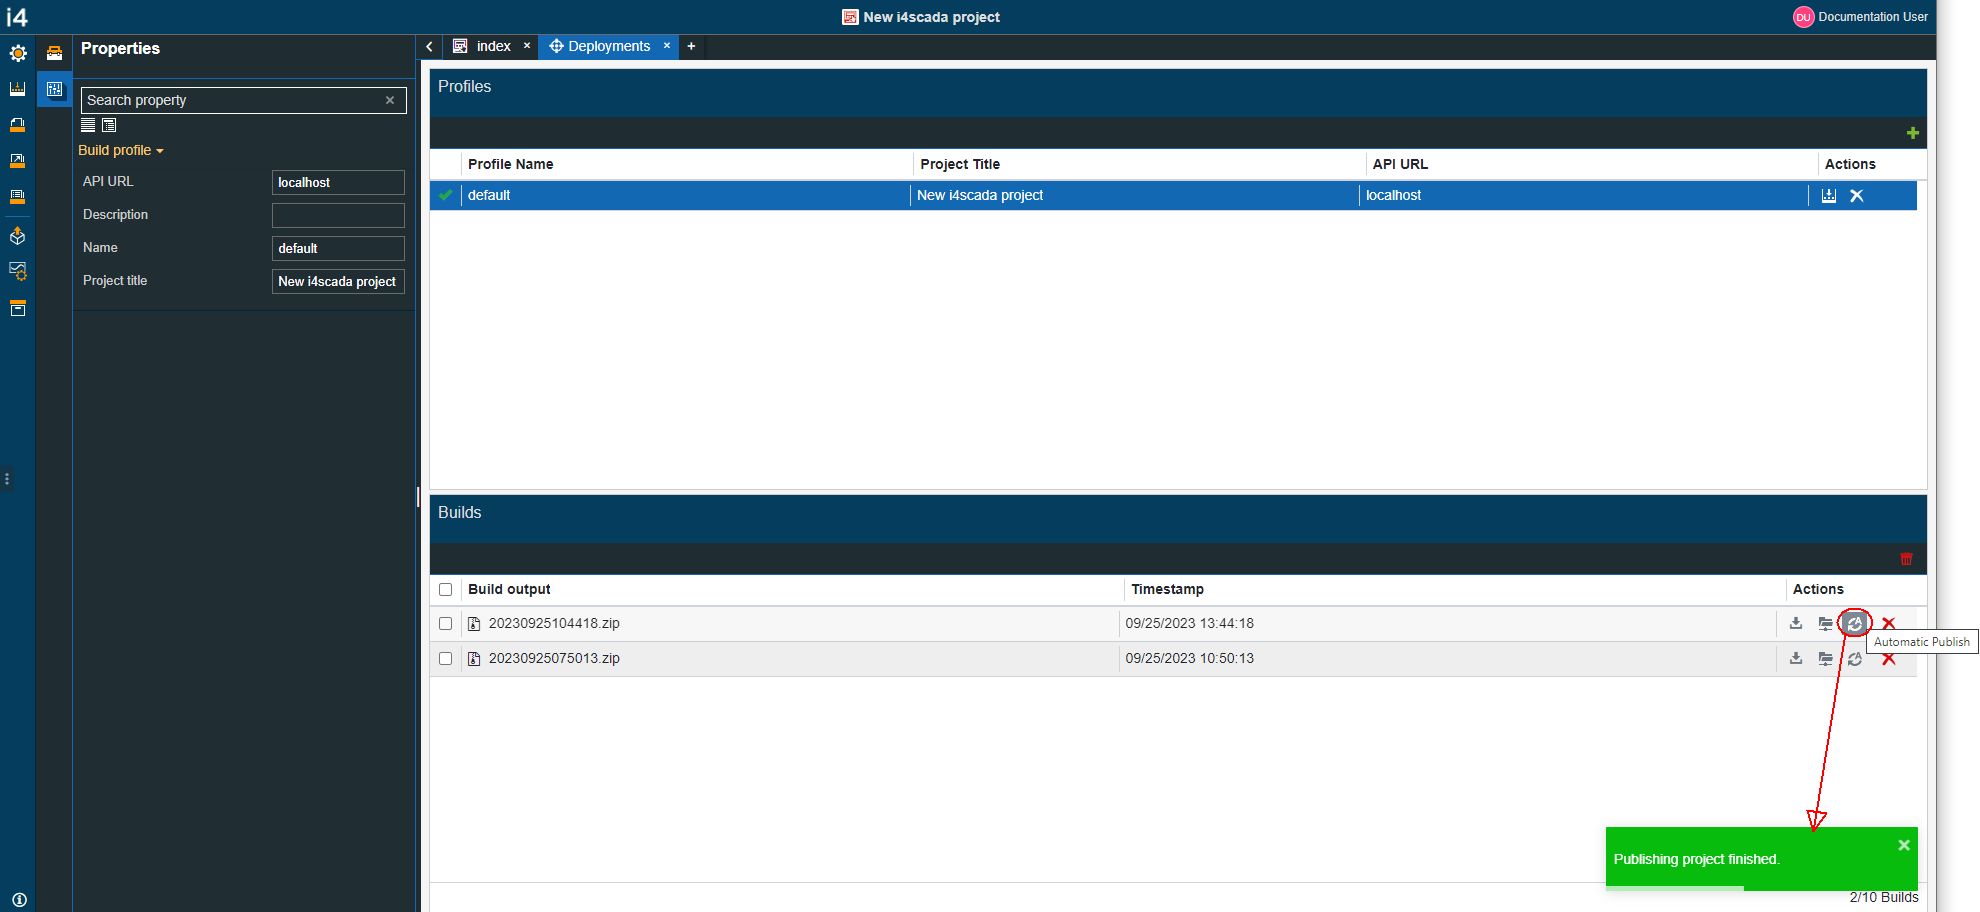
Click the Automatic Publish button in the Builds panel of the Deployments page. Confirmation toast messages are displayed at the bottom right side of the screen, confirming the publish operation.
Opening the i4scada visualization
The final step of the automatic publish method in visualizing the new project, as follows:
Return to your i4scada machine.
Open the Internet Information Services (IIS) Manager application.
Expand local computer > Sites > Default Web Site > i4designer main storage location folder > i4designer storage location sub-folder.
Click the Browse application button.

The i4designer published project is opened in a new browser page.