i4designer Project builds
Once the visualization is complete, learn how to build your projects in order to subsequently publish them to the target systems.
The first step towards publishing an i4designer project is triggering a project build, under the Builds menu entry. The Builds menu can be found under the global actions area of the i4designer.
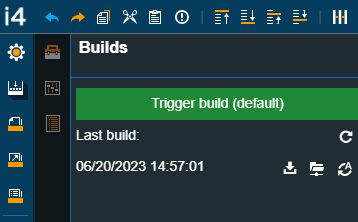
The Builds menu entry
In this view, the user can create a new build of the i4designer project, by clicking the green Trigger build button.
Note
The Trigger build button displays the i4designer Project deployment between round brackets and the name of the default Build profile.
In case the build should be triggered on a different Build profile, the user needs to switch to the Deployments menu and proceed with the operation there.
As soon as the button has been clicked, a toast message will be displayed on the page. The toast message has an integrated progress bar, hence, allowing the user to actively follow up on the amount of time used by the application to create the project build.
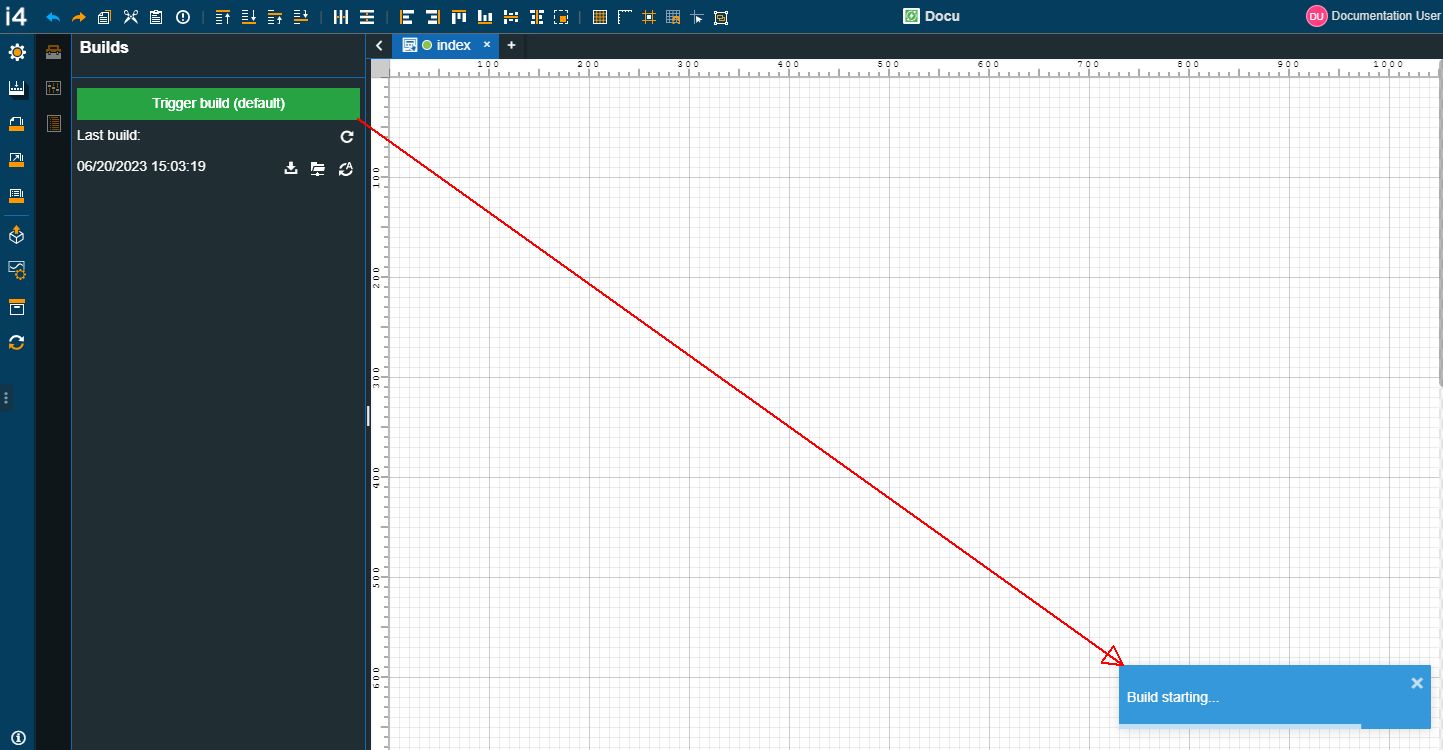
The Trigger build button
Consequent to a successful build operation, another toast message will be displayed as soon as the build is finished.
As the Builds panel is not automatically updated to always display the last build, the user can reload the Builds panel, by clicking the Refresh button.
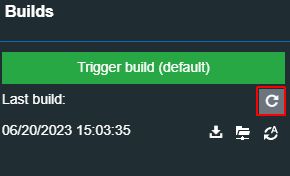
The Builds Refresh button
The Builds panel is updated to always display only the last project build, hence, avoiding the list view overpopulation.
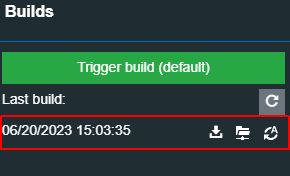
The Last build view
In this view, the user can proceed with the project build deployment by selecting from the provided options:
Download
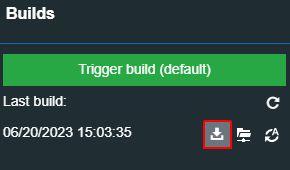
Download project build
Publish over FTP
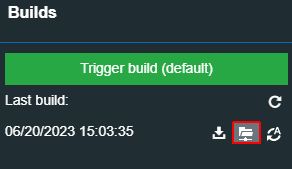
Publish project build over FTP
Automatically publish
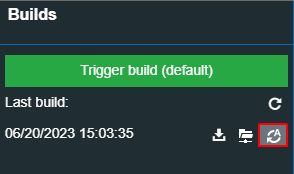
Automatic publish
Tip
For more details about each of the project deployment methods, please also refer to the Project deployment article.