Adding a simple widget to the i4scada App Template
Learn how to add a simple widget in the new view, using just one line of HTML code, for your i4scada App template project.
The first i4scada application now has a view that can be accessed using the navigation system at run-time. Now we will add a simple widget in the new view, using just one line of HTML code.
Make sure that i4scada Server is running the Ewon by HMS Networks Demo Project. The widget will use a signal from the Demo Project.
Open the gettingStarted.html view from App > src > views > gettingStarted. Here we will add the wfValueGauge widget that will display the value of the Local Second signal.
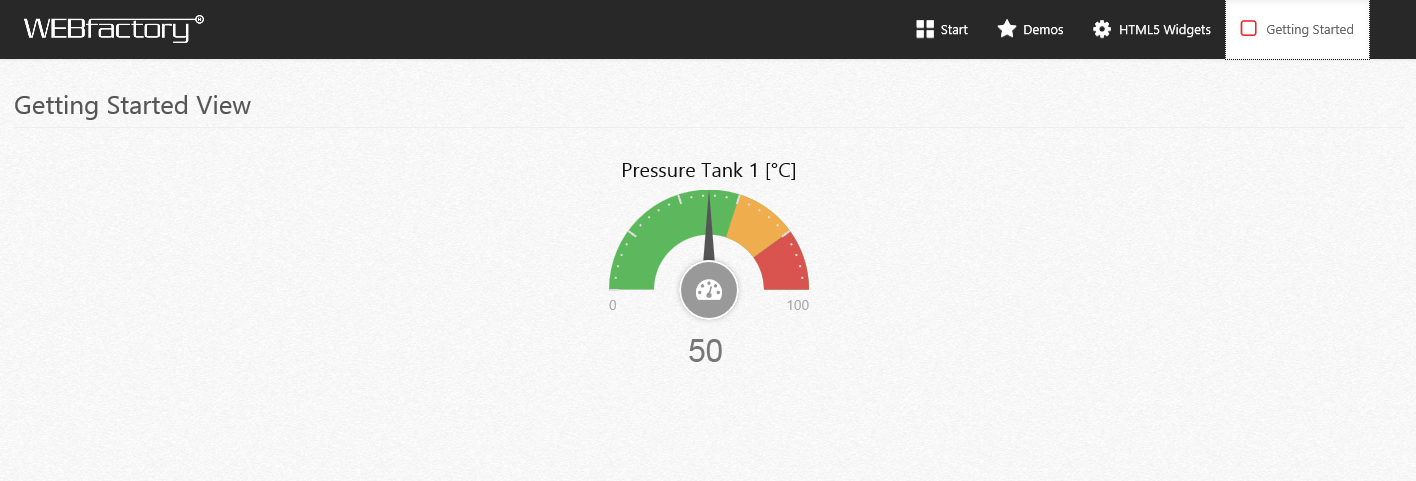
Start by adding a new <h2> heading under the main <h1> heading. This will be the widget's title. Set the class to text-center to center it on the page and enter the heading text Pressure Tank 1 [°C].
<h2 class="text-center">Pressure Tank 1 [°C]</h2>
Under the new <h2> element, add the wfValueGauge widget. For this, simply add a <div> container and set it's data-bind property as follows:
<div data-bind="wfValueGauge: { signalName: 'Local Second' }"></div>This single HTML line is the only thing required in order to use the default version of the wfValueGauge. The widget displays the value of the signal specified in the signalName property. This property can be edited to point to any other signal available in the running i4scada project.
Save the gettingStarted.html document and run the project. The widget displaying the Local Second value will be available in the Getting Started view added earlier.

"Getting started view" in runtime mode