SmartEditor Client-side tutorials
Curious what is the actual function of a Client-side Signal? Check out these tutorials covering the most common use cases for the Client-side Signals usage.
Use Client-side Signals in a state switching action
Check out this simple i4scada SmartEditor use case and learn how to use temporary Signals. Have fun while switching the lights on and off.
The present tutorial will support you with publishing a simple i4scada SmartEditor project, using Client-side Signals.
Open the i4scada SmartEditor with Administrative privileges.
A new project is opened and ready to use. Go to the Toolbox panel and add the i4-core extension to your project page.
Return to the Toolbox panel and add a wf-switch-basic extension to your project page.
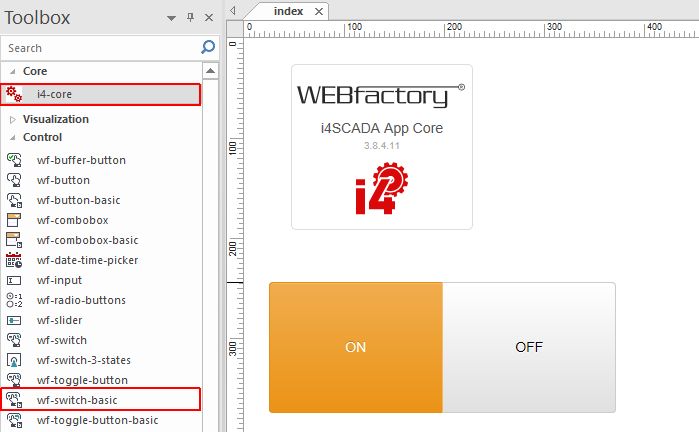
Visit the Object Properties panel of the wf-switch-basic extension.
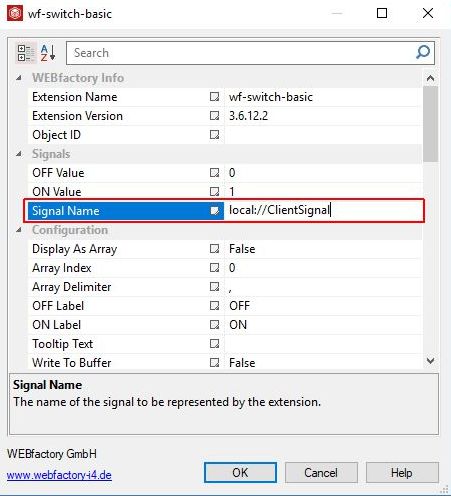
Go to the Signal Name property, under Object Properties of the extension.
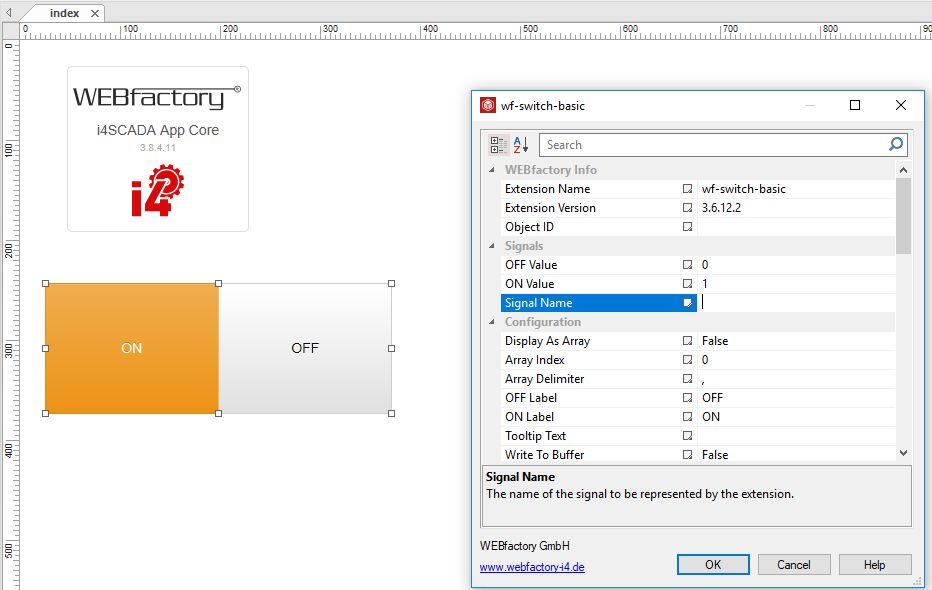
Type in the Client-side Signal starting with prefix "local://" and your Client-side Signal custom name. Click button OK to confirm and preserve the change.
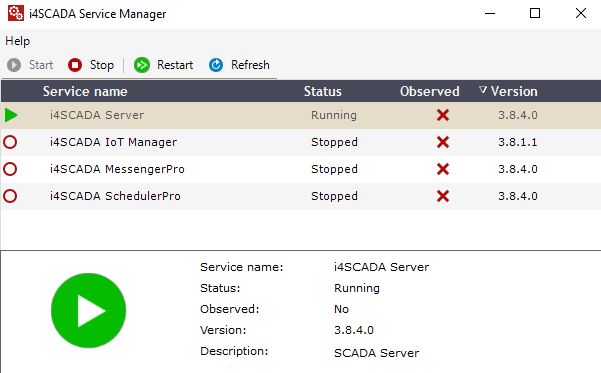
Open the i4scada Service Manager and start the i4scada Server.
Return to the i4scada SmartEditor and press the toolbar button Publish.
The HTML output is generated and published.
Open the published website.
The published switch button is displayed. The switch is currently on neutral position.
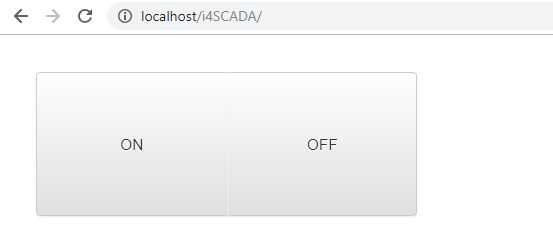
Press the button ON to turn on the switch.
The switch is enabled.
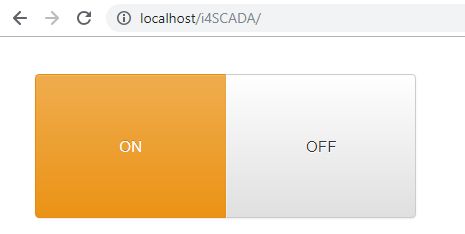
Press the button OFF to turn off the the switch.
The switch is disabled.
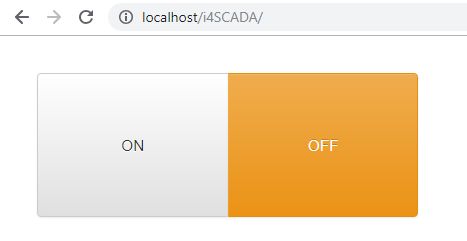
Use wf-local-script extensions for Client Signals
Spice things up and add your own scripts to write custom values to your temporary Signals, in i4scada SmartEditor web applications.
Open the i4scada SmartEditor with Administrative privileges.
A new project is opened and ready to use. Go to the Toolbox panel and add the i4-core extension to your project page.
Return to the Toolbox panel and add a wf-local-script extension to your project page.
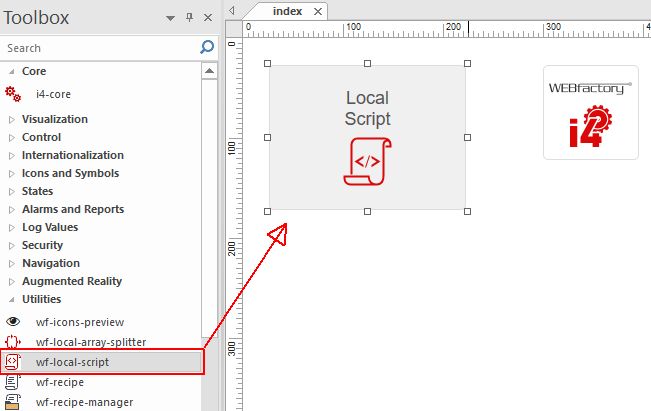
Open the Object Properties panel of the wf-local-script extension.
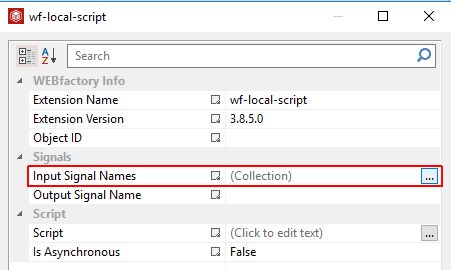
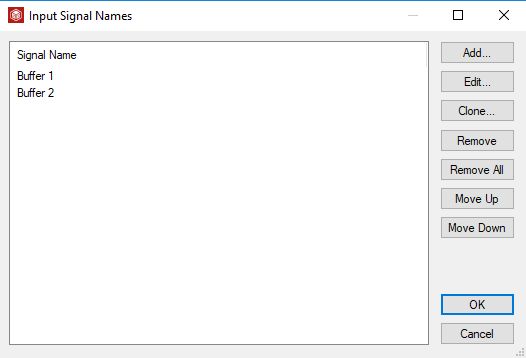
Click on the Input Signal Names property and add one or more Signals to the Collection.
In our case we shall use "Buffer 1 " and "Buffer 2", or "Local Second" and "Local Minute".
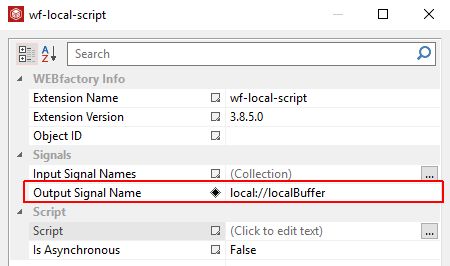
Set the Output Signal Name. The Output Signal name should be set considering the Client Signals syntax local://[...].
For this tutorial, we will set either "local://localBuffer" or "local://localLocals".
Click on the Script property and add your script.
Example 1:
if((valuesArray[0] != 0) && (valuesArray[1] != 0)) return 1;else return 0;
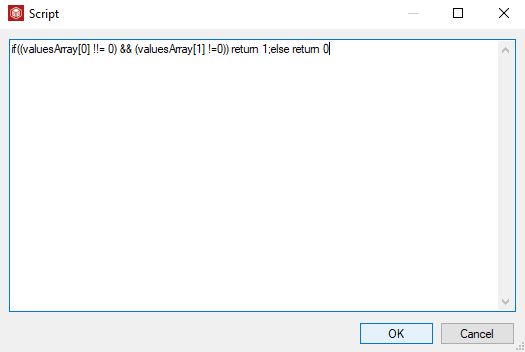
If both "Buffer 1" and "Buffer 2" are not equal to 0 then the Output Signal "local://localBuffer" is set to 1, else it is set to 0.
The script is executed when any of the Input Signals changes the value.
Example 2:
Another script which builds the sum of the values of "Local Minute" and "Local Second" is:
const myValue = valuesArray[0] + valuesArray[1]; return myValue;
The Output Signal can be used anywhere, where a normal Signal is used. For example, add in the i4scada SmartEditor project, two wf-value-display extensions.
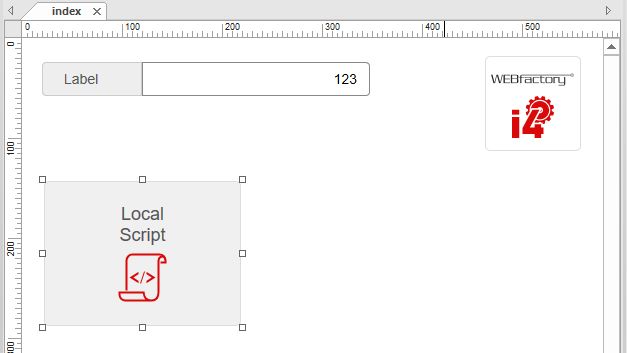
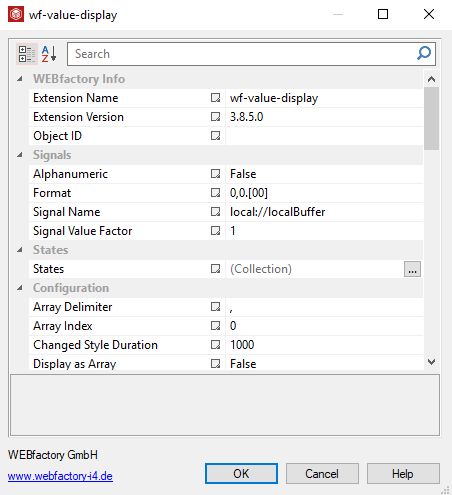
Open the Object Properties panel of the wf-value-display extension and add the Signal Name "local://localBuffer"
Open the i4scada Service Manager and start the i4scada Server.
Return to the i4scada SmartEditor and Publish the project.
Open the project in your browser.
Values are displayed at run-time.
