Setting up the dynamic route for the machine view and viewModel
Check out this article and learn how to set up the dynamic route for the machine view and the viewModel.
As we have defined the machine view and viewModel, and we need to access them using navigation, we need to define the route in the shell.ts file. This time, we need to make the route dynamic, meaning that we need to configure it to accept a parameter and define a hash value for it. The hash value will be used to call the route, as described under the example foundation tutorial.
Open the shell.ts and add the following route for the machine view and viewModel:
{ route: "machine(/:param)", title: "Machine Data", moduleId: "src/viewModels/machine", nav: false, hash: "#machine", settings: { iconClass: "" } }Make sure that the parameter is correctly added to the route, as shown above, and the hash value is the same as used in the example.html button links.
Build and publish the application as described in the chapter "Your First i4scada Web Application" of the present article.
Open the application in a supported web browser. The main navigation menu will list the Machine Data page, which will hold the buttons for each configured machine.
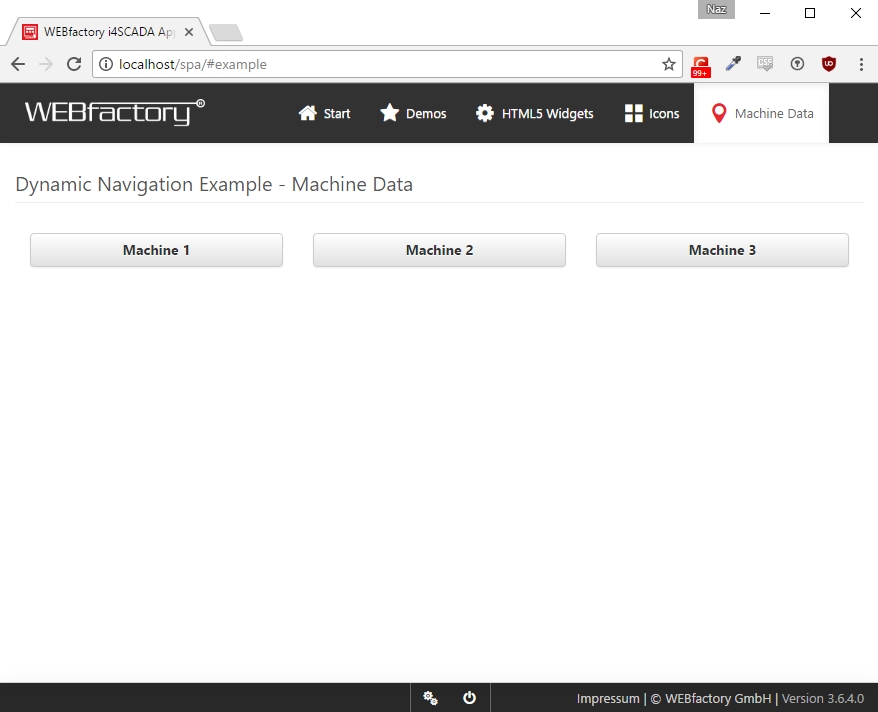
Dynamic Navigation Example - Machine Data
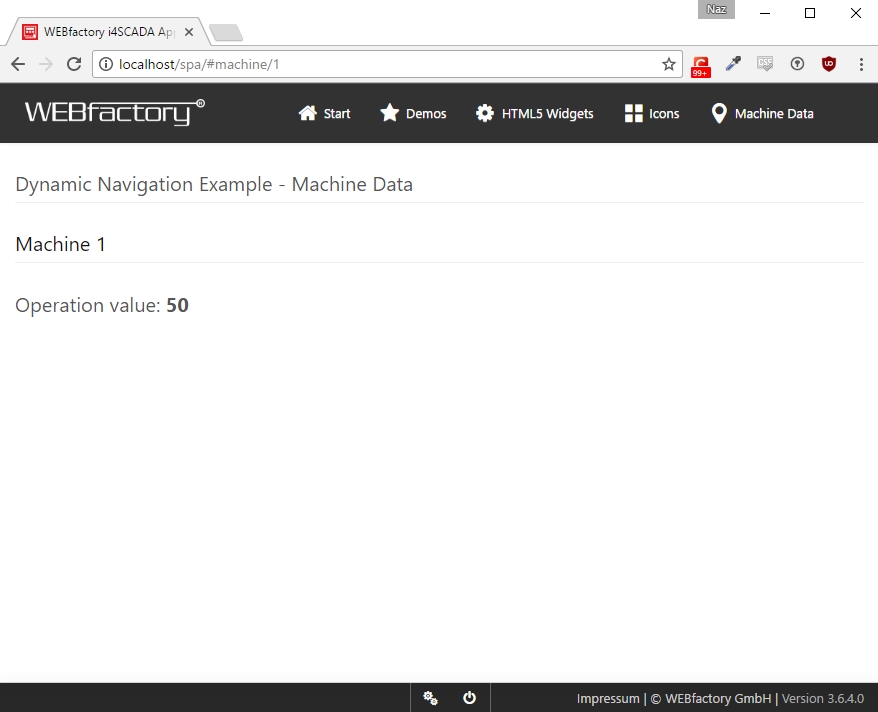
Dynamic Navigation Example - Machine Data - runtime view
We have achieved a navigation system displaying three pages will different values while using a single view and viewModel.