Using the Export Import tool
The following tutorial will guide you on how to export and import information from your i4scada database, via XML format.
The Export Import Tool allows the user to execute the operations of exporting information from a database to an XML file, importing it back to another database, and displaying differences between the different information sets.
Important
The i4scadaStudio application and i4scada Server should be stopped, before running an import or an export operation, with the Export / Import Tool.
The following tutorial will guide you through the Export Import tool use case:
Open the i4scada Export Import tool
The login dialog is opened. Fill in your database credentials. Once the user credentials are filled in, the selection of the Database is enabled and the desired Database can be selected.
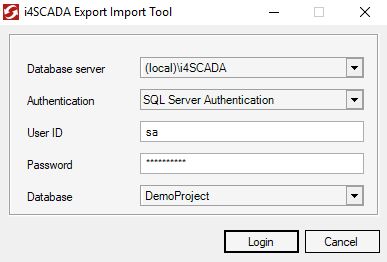
Press the button Login. The i4scada Export Import tool is opened. More details about the tool interface and the available options, you will find in the article i4scada Export Import Tool.
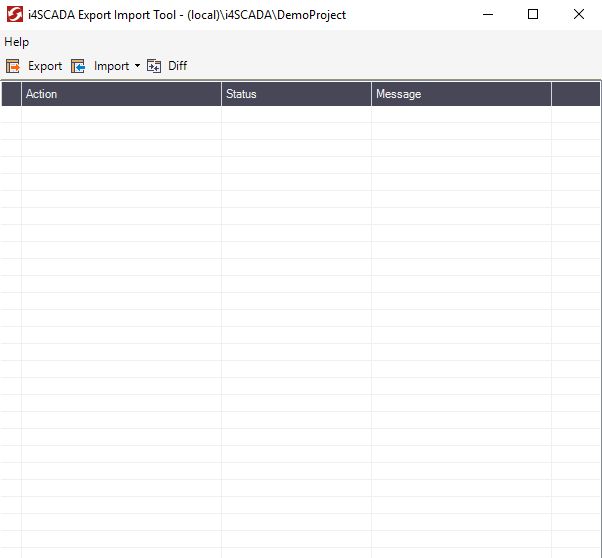
Click on the toolbar button Export.
The Save configuration dialog is opened, allowing you to select a name for the XML file to be exported and its location.
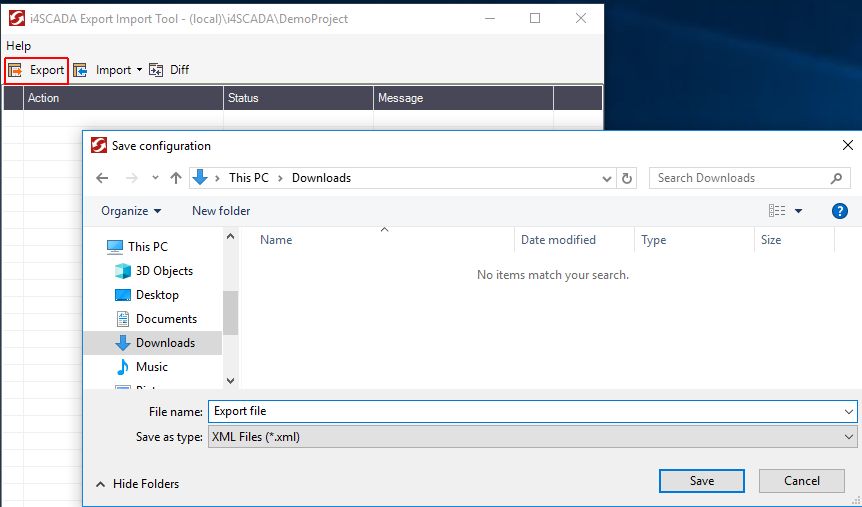
Click the button Save to proceed.
The Export Import tool list is populated with the exported data and their export status.
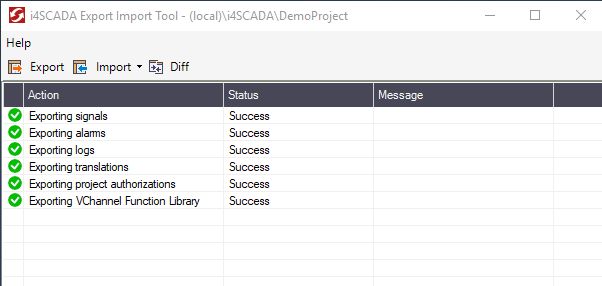
The XML file is stored in the selected location and contains data about the Database Signals, Alarms, Logs, Translations, Project Authorizations, and VChannel Function Libraries.
To proceed with Import, click the toolbar button Import.
A drop-down list is displayed containing two Import methods: Overwrite Configuration and Extend Configuration.
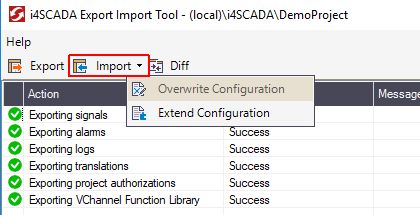
Select desired Import method.
The Open dialog pops up. Select the previously exported XML file and click the button Open.
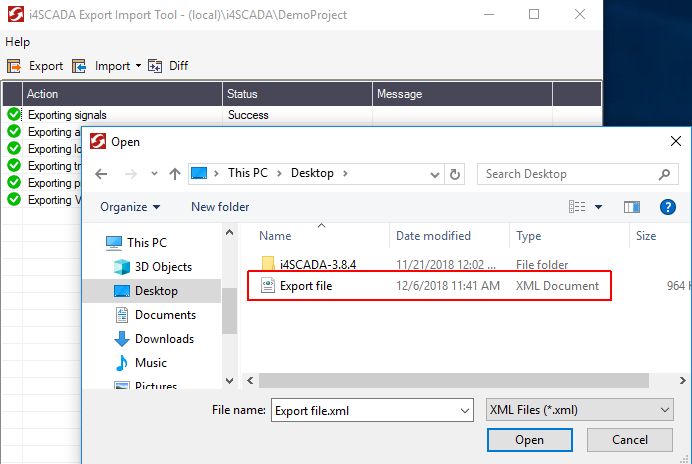
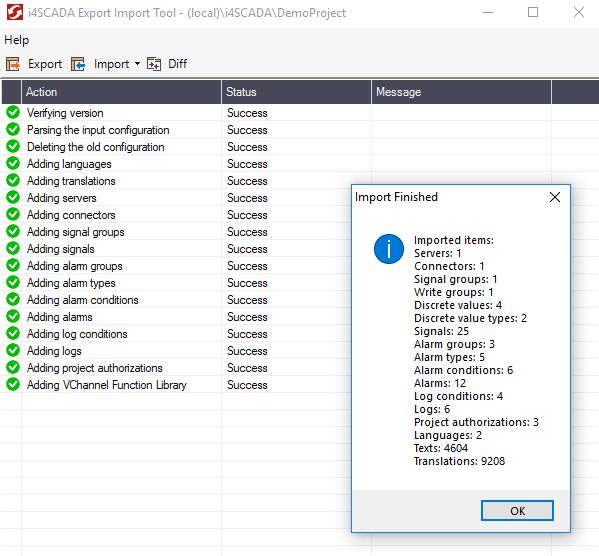
Import is immediately initiated. For each of the imported elements, a progress bar is displayed. When the import is finished, a pop-up dialog is displayed enumerating all the loaded items and their total amount.
