Write values - Analyzing and Testing your i4scada project
This article will guide you through the needed steps to analyze and test an i4scada Studio project, in regard to writing values.
This article will guide you through the needed steps to analyze and test an i4scada Studio project, in regard to writing values.
Prepare your i4scada Studio project.
Tip
For a set of step-based tutorials on how to prepare your i4scada Studio project, please visit the Studio Project Tutorials.
While in i4scada Studio, go to the Signals section.
Select the Server Group and make sure that Group1 is set to value Write, Read, in the Read Write Mode column.

Switch to the Signal Group to get the Signals list displayed.

Select the signal Buffer 1 in the list view.
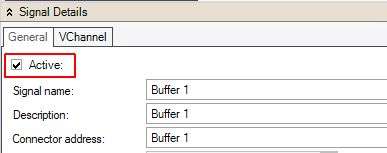
Focus on the Signal Details panel.
Make sure that the Active check box is marked.

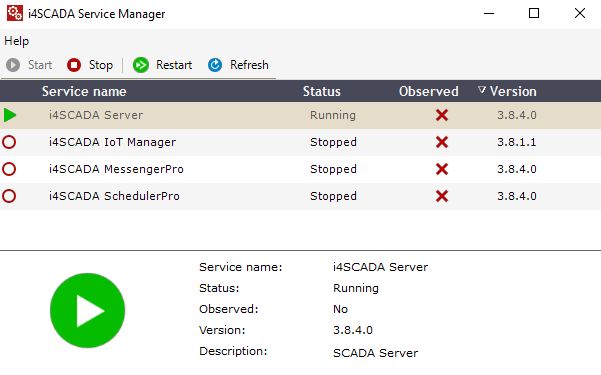
Open the i4scada Service Manager and start the i4scada Server.

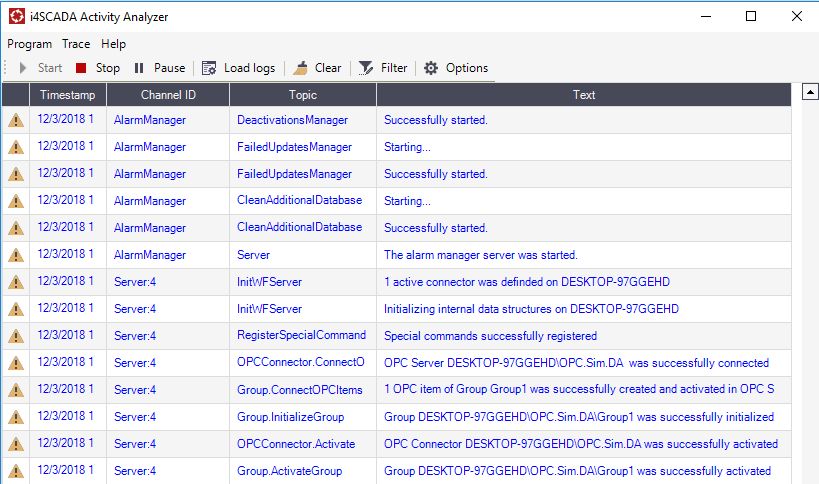
Open the i4scada Activity Analyzer. Project communication and processes are traced.

Open the i4scada Test Center and click on the toolbar Browse server button.

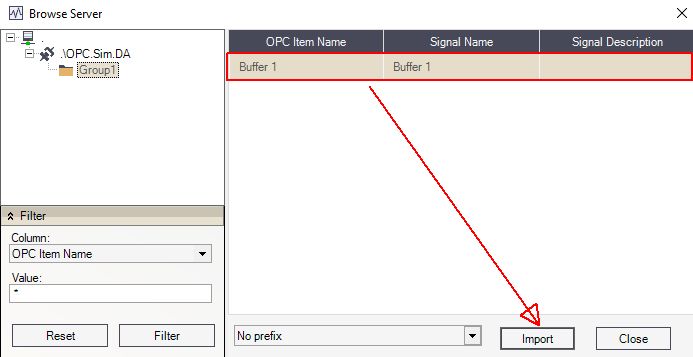
The Browse Server dialog is opened. In the left panel click on the i4scada Studio Group, select the Signal Buffer 1 , and click Import.

Close the Browse Server dialog to return to the i4scada Test Center. Here, the imported signals will be listed and their current values monitored.

Type a signal value i.e. "12" and press Enter in the Write value column in order to write a value.

Return to the i4scada Activity Analyzer. The write signal operation can be seen in the Activity Analyzer, with the topic Group.WriteSignal.Value.
