Adding new tiles
Check out this article for more details about the possibility to pin tile and to understand what each setting means.
Adding new tiles from the Edit layout mode
By clicking the Edit layout button, the layout management mode is enabled. The view is split between two sections:
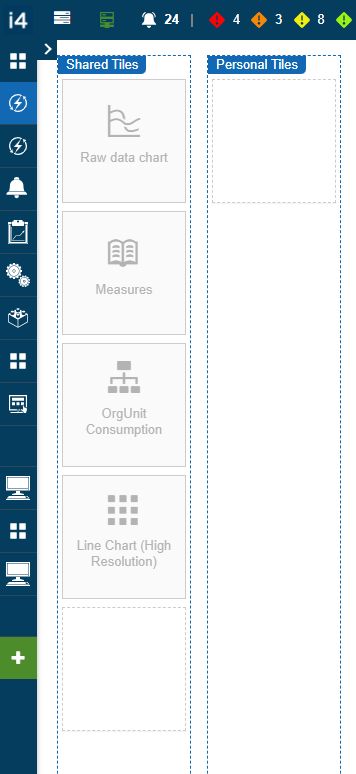
The Shared Tiles - this section allows the possibility to add and manage tiles that will be shared will all the system users. To be able to add new tiles in this section, the user needs to have the Manage shared tiles permission enabled on a global level. When creating a tile from the Shared tiles section, this tile will be added to the Shared tiles.
The Personal Tiles - this section sets a tile to type Personal and will make the tile available only for the creator user. Personal tiles do not expect Role assignments, as they will inherit the owner's roles.
The Layout management mode sets all tiles as editable entities. Empty spaces on the page view can be used to add new pages by hovering an empty area.
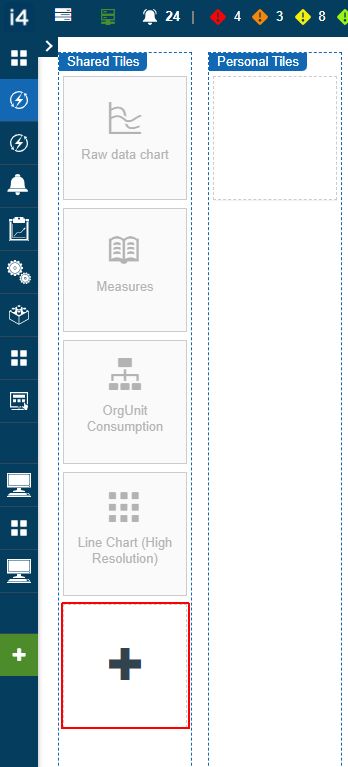
By clicking on the + buttton, the Add tile panel is opened, allowing the user to fill in the following settings:
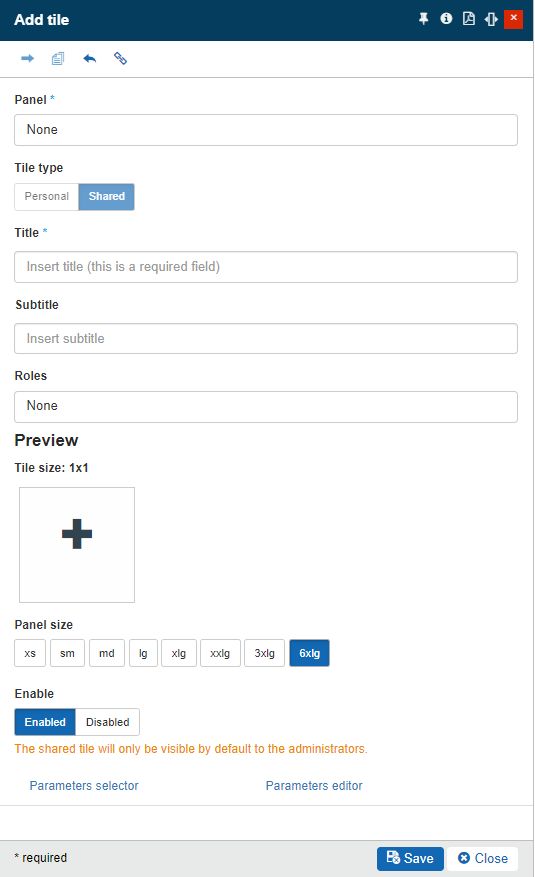
Panel - The Panel parameter will be prefilled with the panel used by the currently selected Tile.
Tile type The tiles can be of types:
Tiles of type Personal are visible only to the currently logged-in user. On the other hand, the Shared Tiles will be visible to all users, that have the assigned Tile roles.
Personal - setting a tile to type Personal will make the tile available only for the creator user. Personal tiles do not expect Role assignments, as they will inherit the owner's roles.
Shared - setting a tile to type Shared will make the tile available for all system users that share the same roles as the respective tile.
Title - The Tile name, displayed when the panel is opened.
Subtitle - The Tile subtitle, displayed underneath the Tile title. The scope of this field is to provide more information about the panel opened by the respective tile.
Url - Allows the user to insert the Url opened when accessing the Tile.
Title size - Allows the user to manually update the size of the respective Tile. The default Tile size is 1x1, which is also the minimum value, but it can be adjusted to higher values such as 1x2, 2x1, 2x2, 3x1, and the maximum of 3x2.
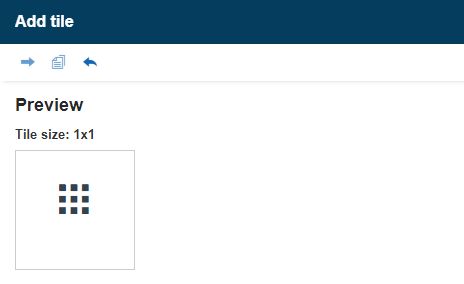
The Tile size
Panel size - Allows the user to select the size of the current panel. Users can select from the available options, starting with the smallest value of xs (extra small) and ending with the highest 6xlg (6 times large).

The Panel size
Enable - status - defines if the Tile is active (enabled) or inactive (disabled). A disabled Tile is grayed out in the Tiles grid.

Disabled Tile
Adding new tiles as Link tiles
Pin link as tile functionality allows the user with the possibility to add an Url link that will be linked to the newly added tile.
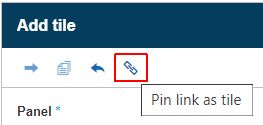
By clicking the Edit layout button, and opening a tile in Add tile mode, the user is able to Pin link as tile and fill in the following settings:

Tile type: The tiles can be of types:
Tiles of type Personal are visible only to the currently logged-in user. On the other hand, the Shared Tiles will be visible to all users, that have the assigned Tile roles.
Personal - setting a tile to type Personal will make the tile available only for the creator user. Personal tiles do not expect Role assignments, as they will inherit the owner's roles.
Shared - setting a tile to type Shared will make the tile available for all system users that share the same roles as the respective tile.
Title - The Tile name, displayed when the panel is opened.
Subtitle - The Tile subtitle, displayed underneath the Tile title. The scope of this field is to provide more information about the panel opened by the respective tile.
Url - Allows the user to insert the Url opened when accessing the Tile.
Title size - Allows the user to manually update the size of the respective Tile. The default Tile size is 1x1, which is also the minimum value, but it can be adjusted to higher values such as 1x2, 2x1, 2x2, 3x1, and the maximum of 3x2.
The Tile size
Panel size - Allows the user to select the size of the current panel. Users can select from the available options, starting with the smallest value of xs (extra small) and ending with the highest 6xlg (6 times large).
The Panel size
Url open mode - Allows the user to set up the open mode when accessing the Tile. The options are either opening the tile as a panel or opening it in a new browser tab.

The Url open mode
Enable - status - defines if the Tile is active (enabled) or inactive (disabled). A disabled Tile is grayed out in the Tiles grid.
Disabled Tile
Note
Tiles can have a custom class to feed them with some visibility particularities. To do that, an i4connected system admin can write their custom CSS in the accentClasses.json file.
To preserve the new Tile the user can click on the Save button. To leave the Add tile page without saving any changes, the user can click on the Close button.
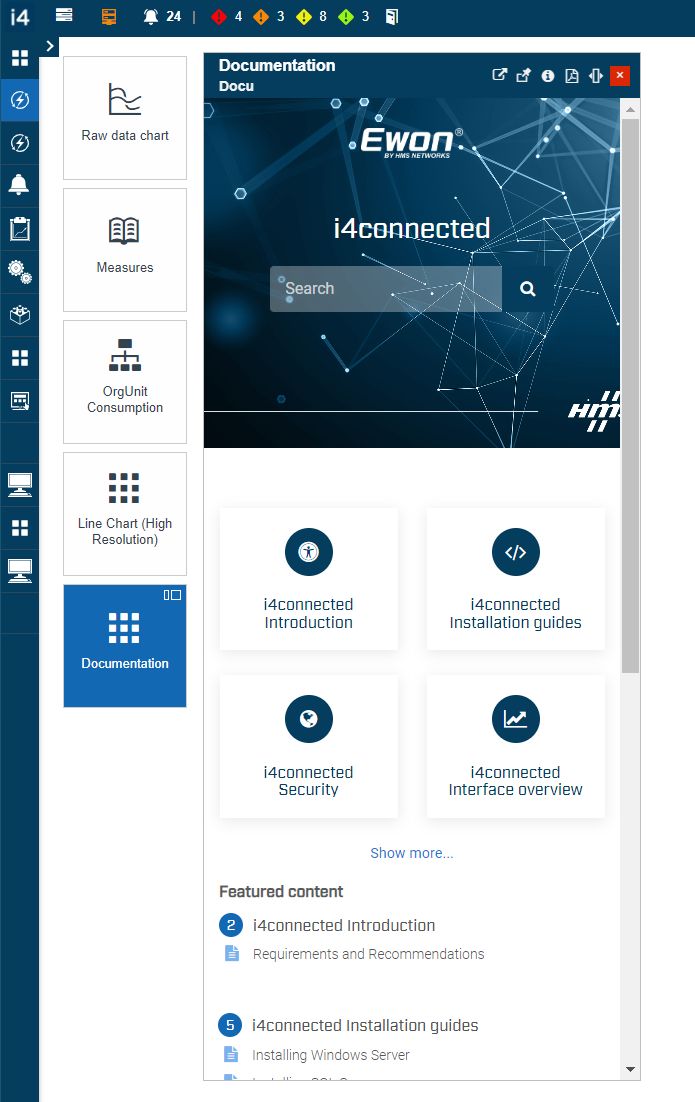
After saving the changes, the user is able to open the newly created tile.