Usage of placeholders for Sites Analysis
The scope of this article is to guide you through setting up site analysis placeholders. Follow these steps and start using those placeholders!
The scope of this article is to guide you through setting up site analysis placeholders.
Creating the Site Details page
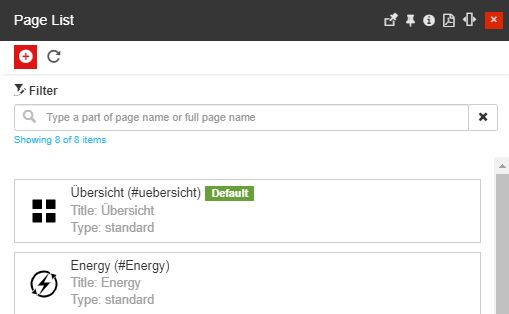
Open an i4connected project and click on the Page List tile.
The Page List panel is opened.
Click the Add toolbar button.
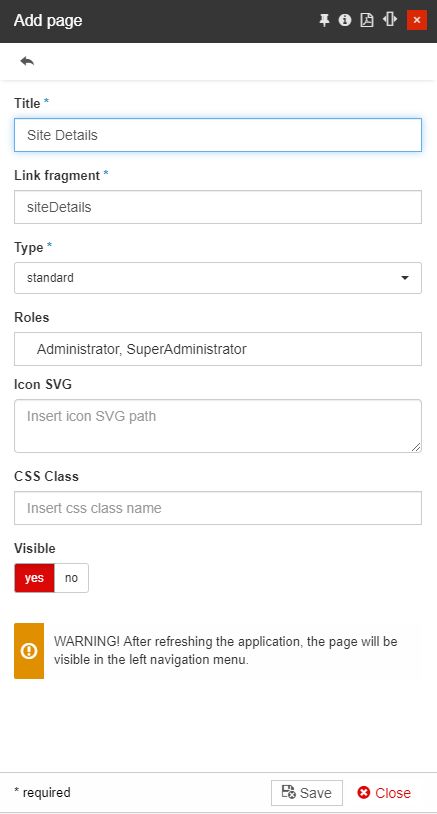
The Add page panel is opened.
Fill in all the mandatory fields, set the page to Visible, and press the Save button. In the present use case, the new page shall be named "Site Details".
Refresh the browser running your i4connected project.
The newly created page is visible in the side navigation bar.
Next, click on the Edit tiles button, located in the top navigation bar.
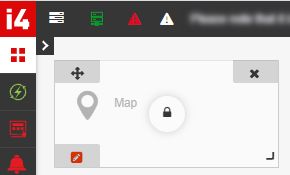
Browse through your project pages and tiles to identify the Map tile.
Click on the pen symbol
 in the Map tile, in order to edit this tile parameter.
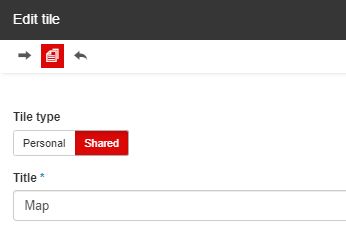
The Edit tile panel is opened.
Click on the Copy tile toolbar button.
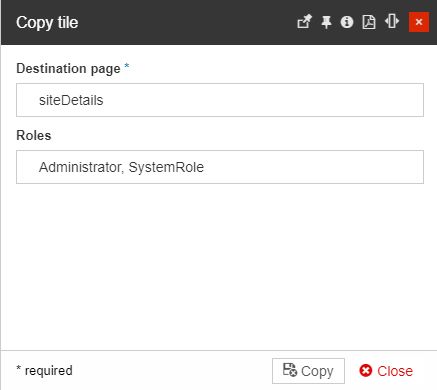
The Copy tile panel is opened.
Select as Destination page, the Site Details page, and press the button Copy.
Creating the Energy Analysis page
As a next step within the present tutorial, we shall set up a second i4connected page, where the analysis tiles can be added:
Return to the Page List tile and add a second page. In the current use case, we shall create the Energy Analysis page.
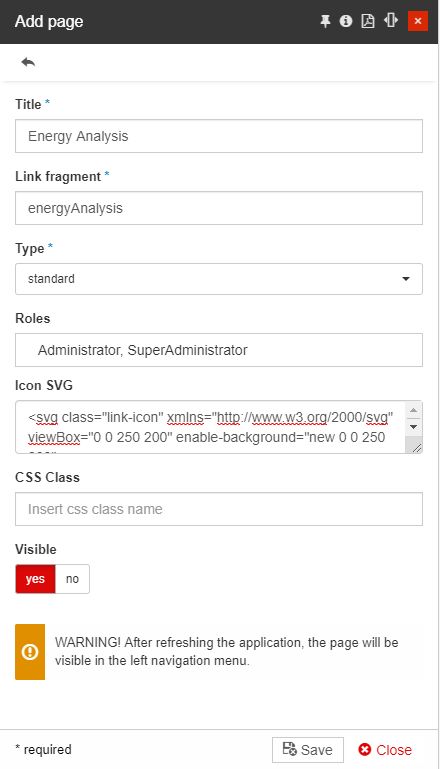
After saving the page, refresh the browser. The newly created page is available in the side navigation bar.
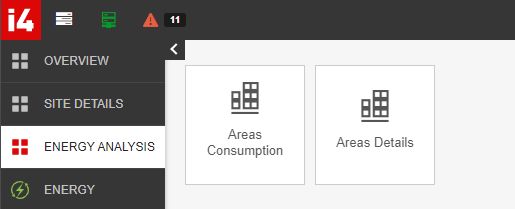
Search through the project tiles and pages, to identify the desired Analysis tiles. For the current Use Case, we shall refer to the Areas Consumption tile.
The tile can be copied to the Energy Analysis page, by means of the Copy function, the same as it was done for the Map tile.
Linking a Site to the Energy Analysis page
To ensure that the Energy Analysis page is linked to the Site of interest, proceed with the following settings:
Open your Site of interest in Edit mode.
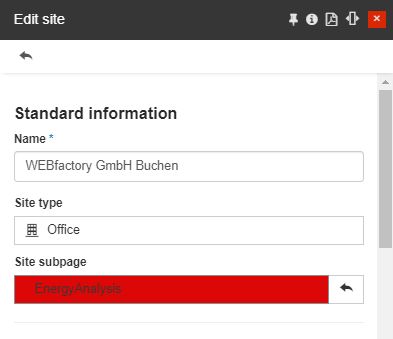
In the Edit site panel, add the page "Energy Analysis" as the Site subpage.
Save your changes and go to the Site details page.
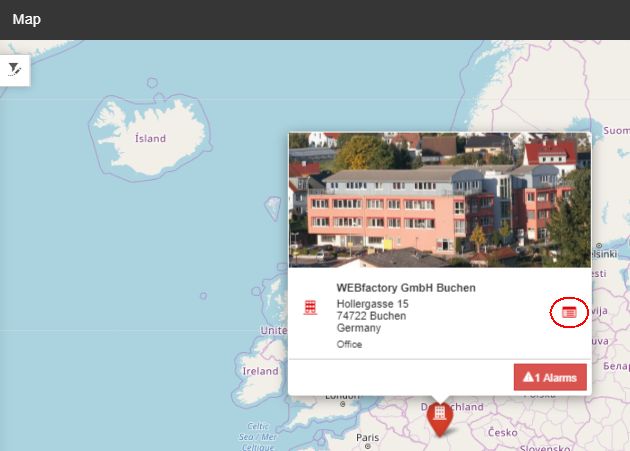
Open the Map panel and check for your Site.
Click on the Site Details button, in order to view the selected Site.
Warning
If i4designer Applications have been linked to your Site of interest, the Site details panel will not be opened.
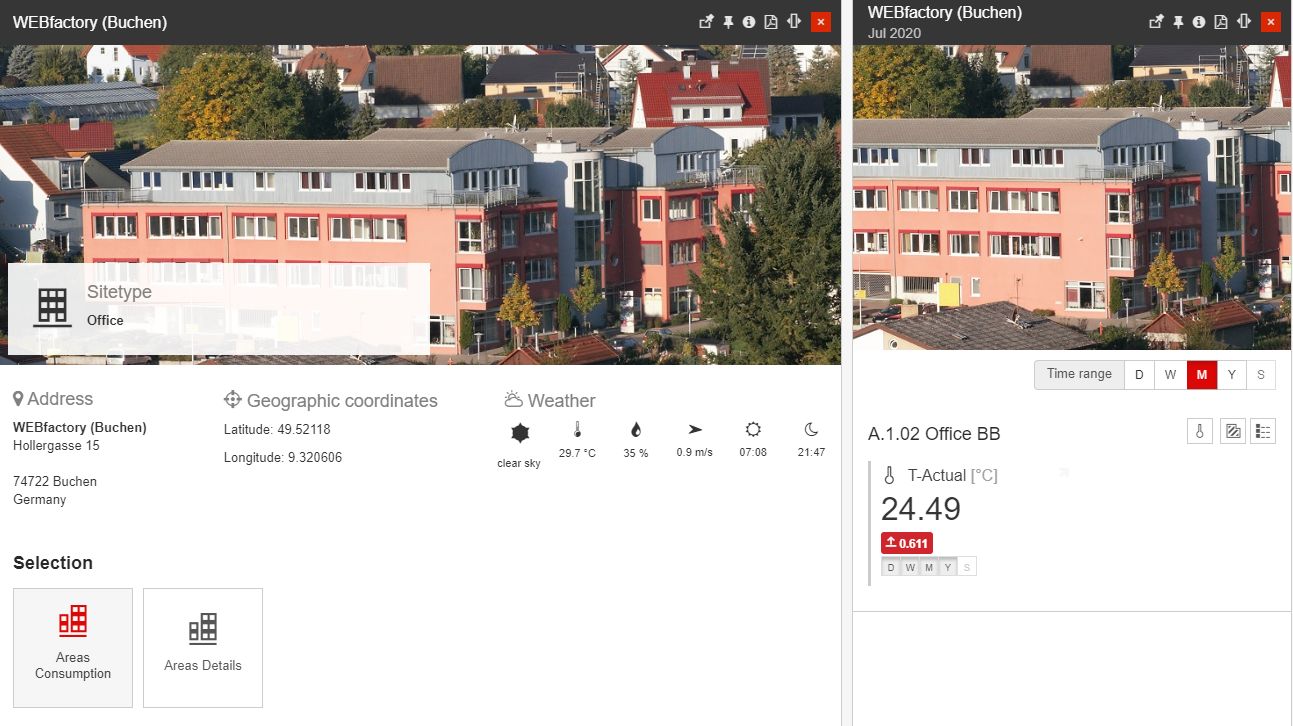
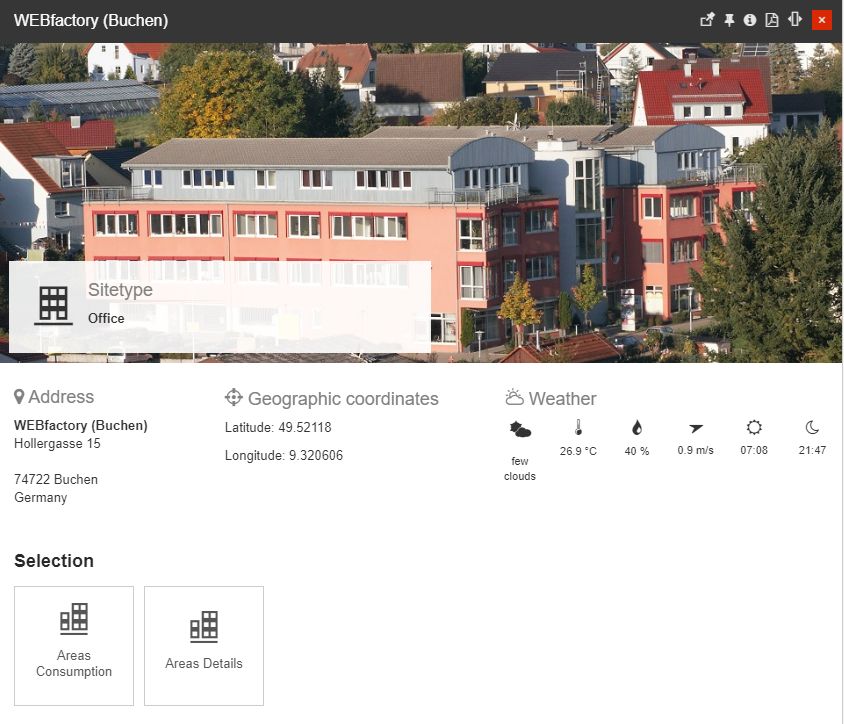
The Selection area is injected into the Site details panel, displaying the analysis tiles, you copied to the Energy analysis page.
Setting up the Site placeholders
Now, by clicking the tiles of Analyse area of a Site, the panel will be displayed as empty.
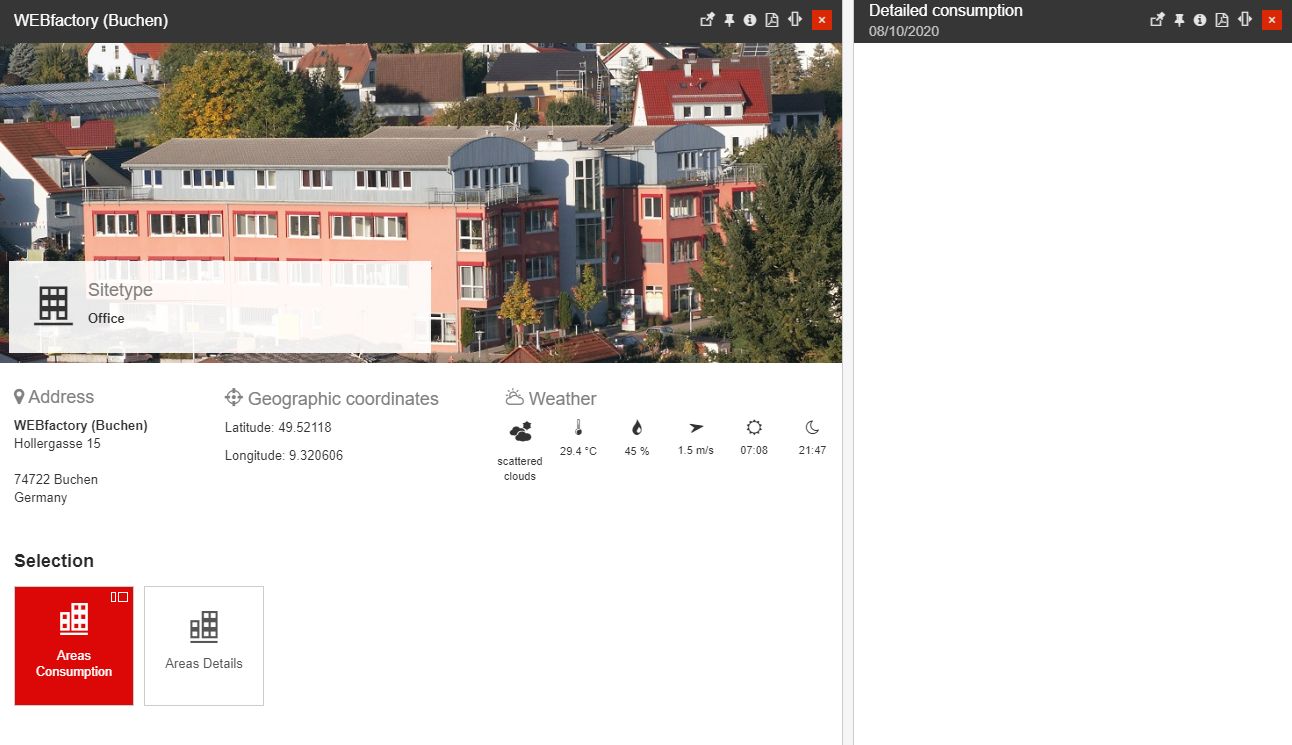
The following settings are necessary, to make sure that the panels contain relevant analysis data:
Go to the Energy Analysis page.
Click the Edit tiles toolbar button.
Open the Areas Consumption tile, in edit mode.
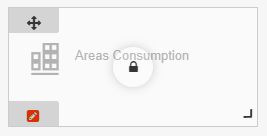
In the Edit tile panel, scroll down to the Parameters selector area. Here, proceed as follows:
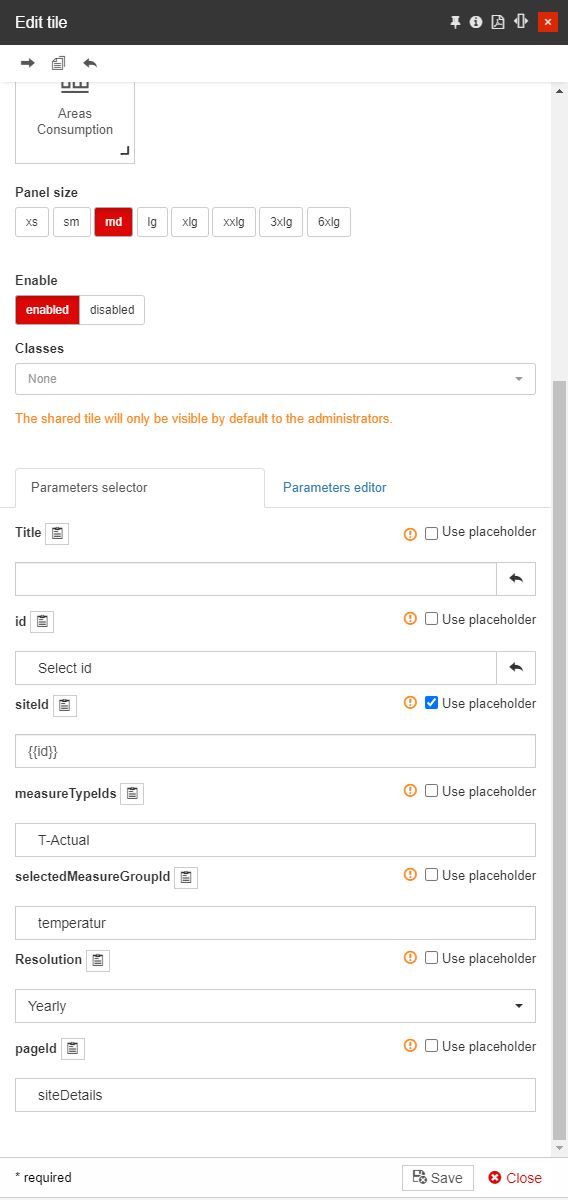
In siteId field, mark the Use placeholder check-box and add the placeholder {{id}}.
Add the desired measureTypeIds (clicking on the respective field opens the Select Measure Type panel).
Add the desired selectedMeasureGroupId (clicking on the respective field opens the Select SelectedMeasureGroup panel).
Set the time Resolution that the Areas Consumption analysis panel should consider.
Set the "siteDetails" page at pageId field.
Save the changes made.
Tip
For more details about placeholders, please also read the Edit tiles article, where a more detailed description can be found.
Checking the results
Now, that all the settings have been processed, we can check the results, as follows:
Go to the Site Details page and open the Map panel.
Select the focused Site, in detailed view mode.
Scroll down to reach the Analyze area.
Click on the Areas Consumption tile.
The Site panel is opened, displaying the consumption measurements for all the related areas.
