i4messenger MobileApp
Check out these articles and learn more details about the new mobile alarm management application for i4connected.
i4messenger MobileApp overview
Check out this article and learn more details about the new mobile alarm management application for i4connected.
i4messenger is Ewon by HMS Networks's mobile alarm management application for i4connected. It allows you to view and interact with i4connected alarms using your smartphone, extending the versatility of i4connected.
i4messenger MobileApp benefits
The most worth mentioning i4messenger MobileApp benefits are:
can be used as a Web application, but also on any Android device (phone, tablet, or Chromebook) or iOS device (iPhone, iPad, or iPod touch);
interacts with the i4connected platform, while always being available in the user's bag or pocket;
it is compatible with i4connected 5.5 and higher;
login with an active and valid i4connected user;
provides an easy way to i4connected alarms and easily interact with them.
i4messenger MobileApp features
The i4messenger provides you with the following features:
take ownership of alarms;
acknowledge alarms;
close alarms;
connect to any active and publicly available i4connected environment via endpoints.
Getting started
Check out this article and learn how to install the i4messenger MobileApp and how to connect it to the i4connected platform.
Important
Please note that the i4messenger MobileApp is compatible with i4connected 5.5.21 and higher.
Installing the application
The i4messenger MobileApp is available for free download on one of the following supported application marketplaces:
Google Play Store (for Android)
Apple App Store (for iOS)
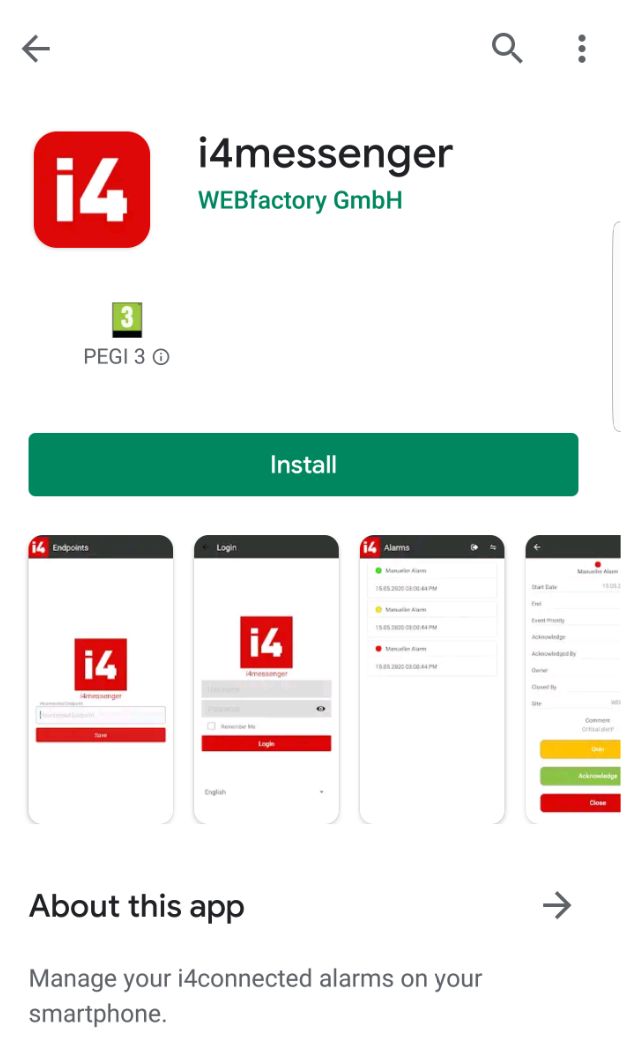
i4messenger MobileApp for Android
By selecting the Install button the application is installed on the device and the user can decide to open it, directly from the Store.
Opening the i4messenger App directly from Store
Alternatively, the application can be opened later on by accessing the app icon, on the device.
i4messenger Mobile App installed on the device
When opening the i4messenger MobileApp for the first time, the user needs to fill in the Endpoint of an active and publicly available i4connected environment.
i4connected Endpoint - the address to the proxy web server - For example http://<Your URL>/api
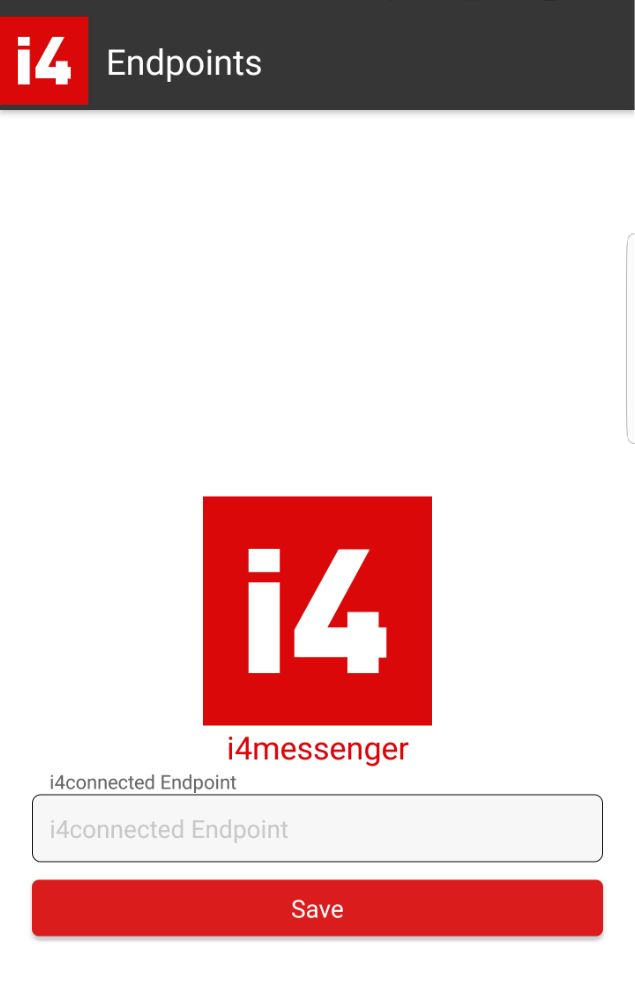
i4connected Endpoint
Note
In case the i4connected environment that you are using is not publicly available, it should be at least available on the same network as you are.
Otherwise, please make sure to install a firewall program on your device and use it to establish the connection between your network and the i4connected environment network.
Press the Save button in order to proceed to the Login page.
Logging into the application
In the Login view, the user is required to type in the User name and the Password of an i4connected user. The User name field is case-insensitive, so the user does not need to worry about this point.
Warning
Since i4connected 5.6, access to the i4messenger MobileApp alarms are granted on basis of a set of permissions.
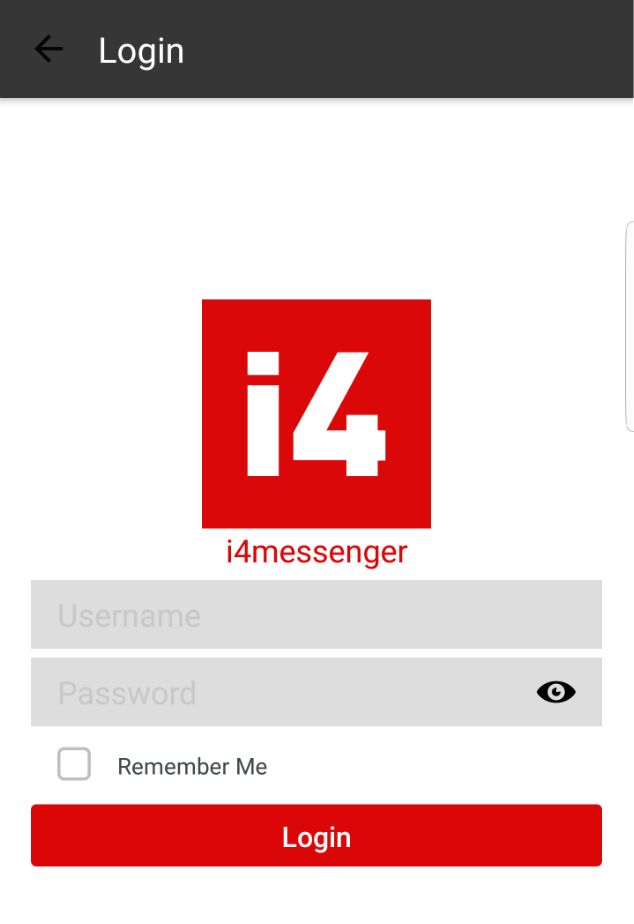
The i4messenger MobileApp Login
By selecting the Remember me check-box before logging into the application, the Username field will be maintained even after logging out of the application or the session expires.
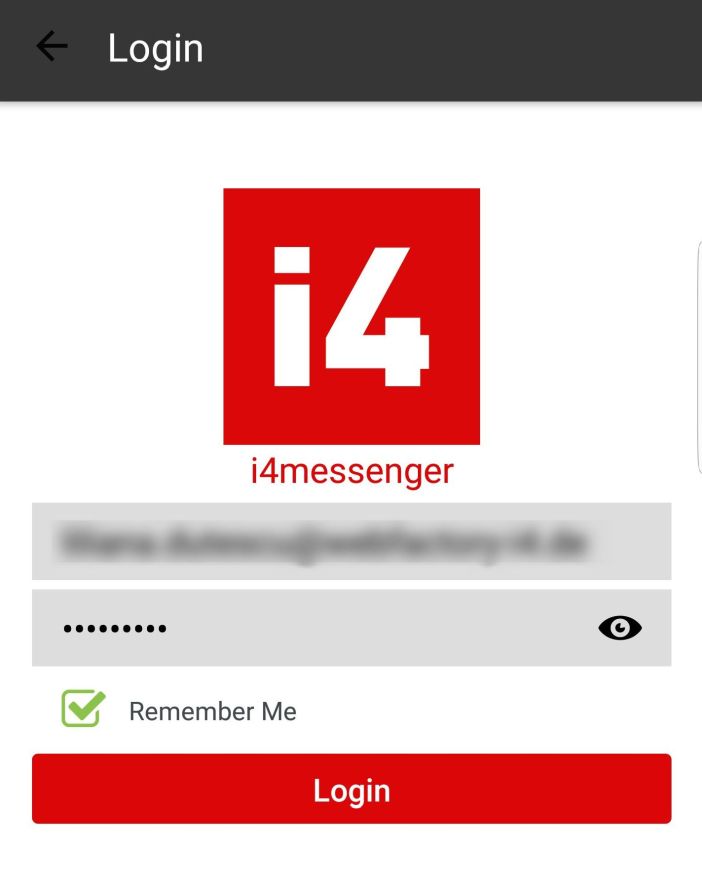
The Remember me check-box
Further on, the Login page allows the user with the possibility to change the application language.
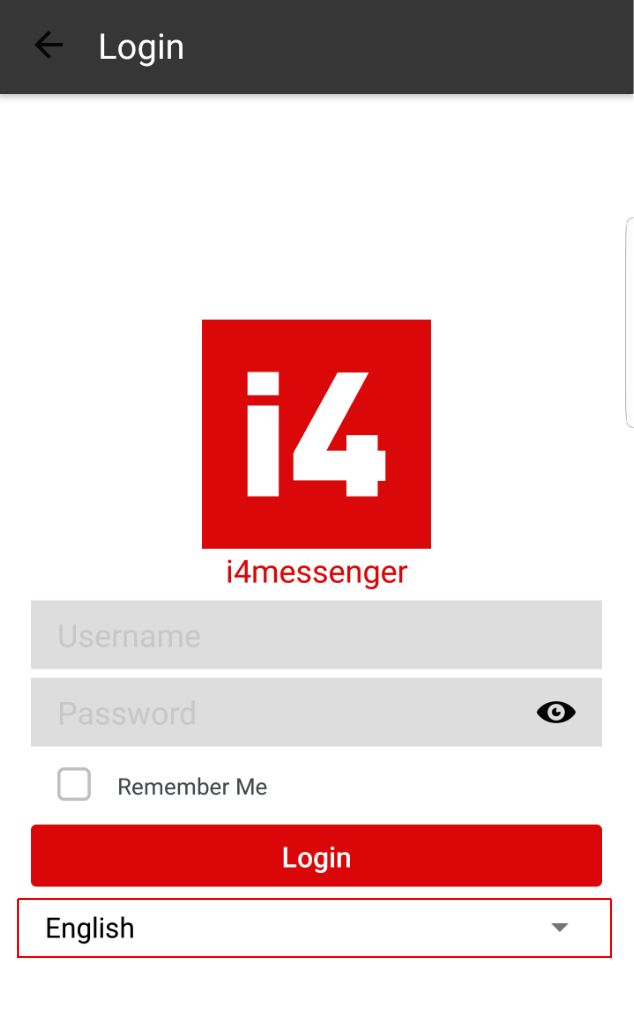
The Language selector
By clicking on the Language selector, a pop-up list is opened allowing the user to select another language from a wide list of options.
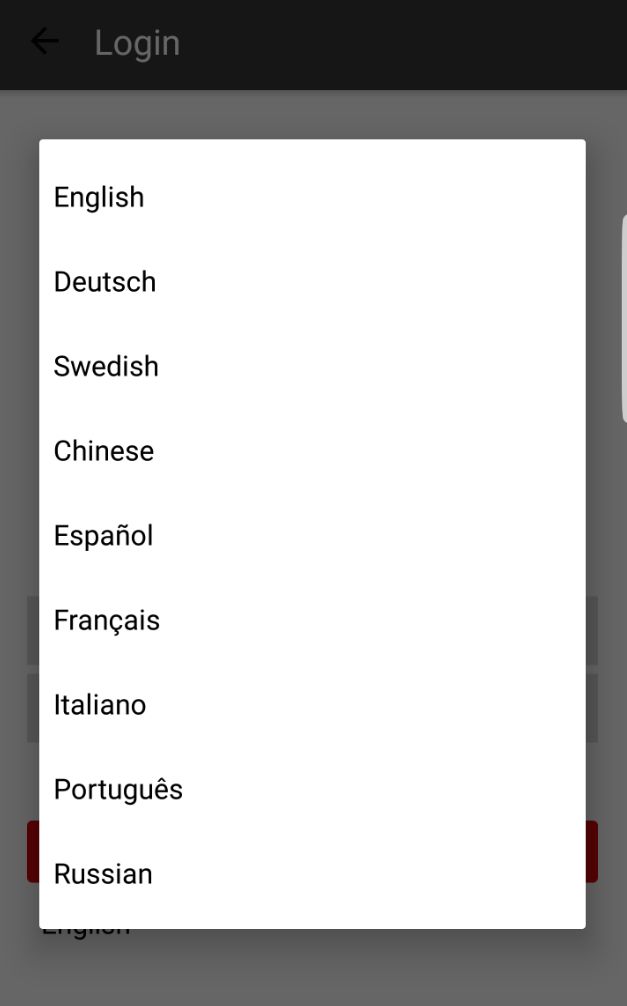
The list of languages
Note
In case the User name or the password is incorrect, the Login dialog displays a "Login failed" message.
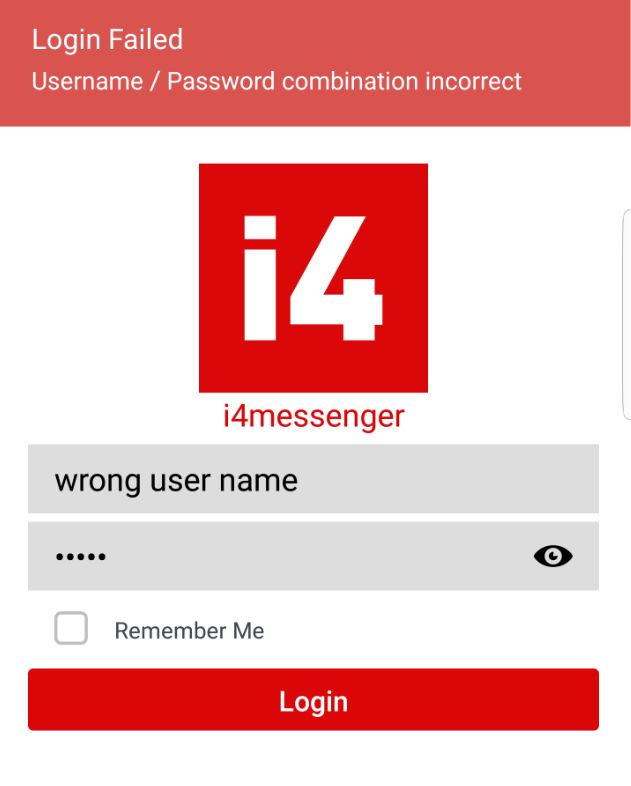
Login failed
Visual structure
Learn how to move around the i4messenger Mobile Application or take a look at these screenshots to get an idea.
After logging into the i4messenger Mobile App the user is prompted to the main view of the application. In this view, the Alarms that the user is permitted to view, are listed.
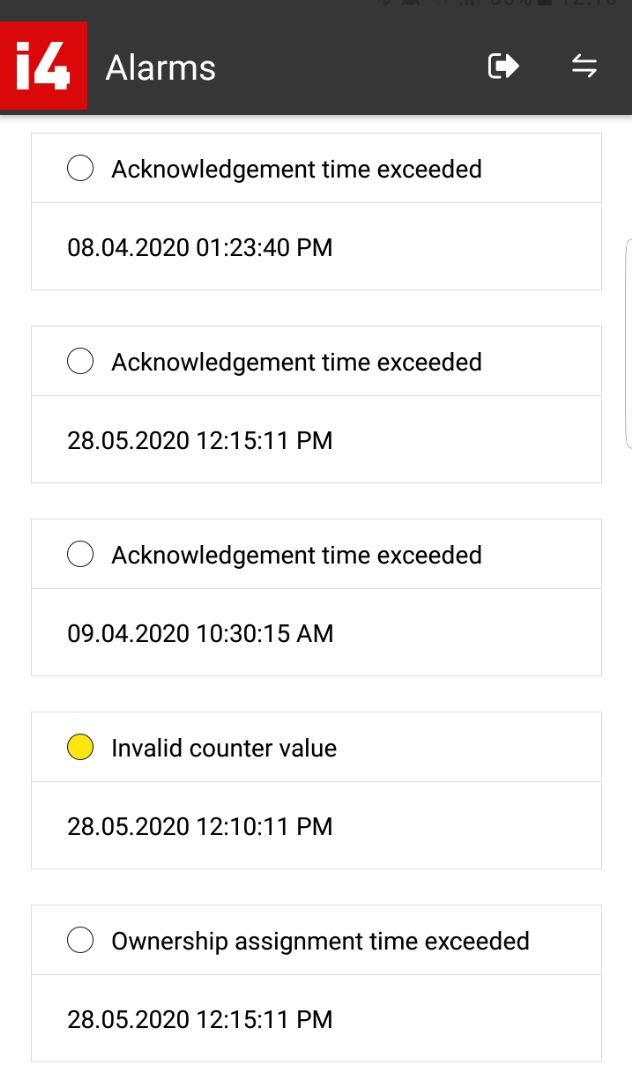
i4messenger MobileApp - Main view
Note
Based on the definition of i4messenger Notification Profiles, within the i4connected desktop application, the system administrator can define which Alarms will be visible in the Mobile App. Hence, some Alarms will be visible ONLY using the i4connected desktop application.
The Alarms are displayed as cards in a scrollable list view. Each Alarm card displays the following information:

i4messenger MobileApp - Alarm card
Event priority can be displayed by an Alarm card if the respective alarm has been prioritized. Otherwise, the priority bullet will be left blank.
Event occurrence name
Date and Time when the Alarm was triggered.
The toolbar of the i4Alarms panel features the following options:
Logout - by clicking the Logout button the current session will be terminated prompting the user to the Login page.
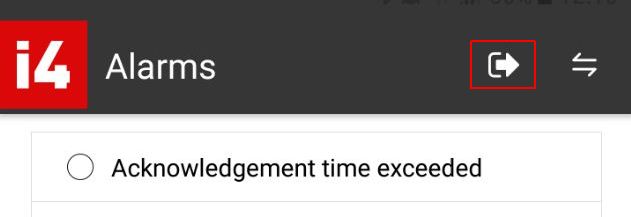
The Logout button
Change Endpoint - by clicking the Change Endpoint button the i4Endpoints panel will be opened, allowing the user to change the i4connected Endpoint.
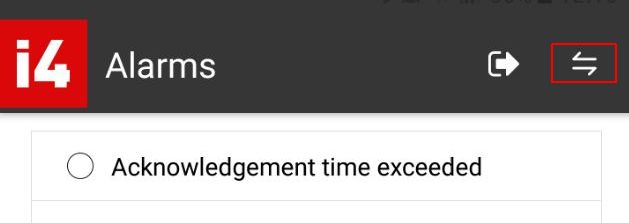
The Change Endpoint button
In the i4Enpoints panel, the user can manually fill in another i4connected Endpoint and click the Save button to access the application.
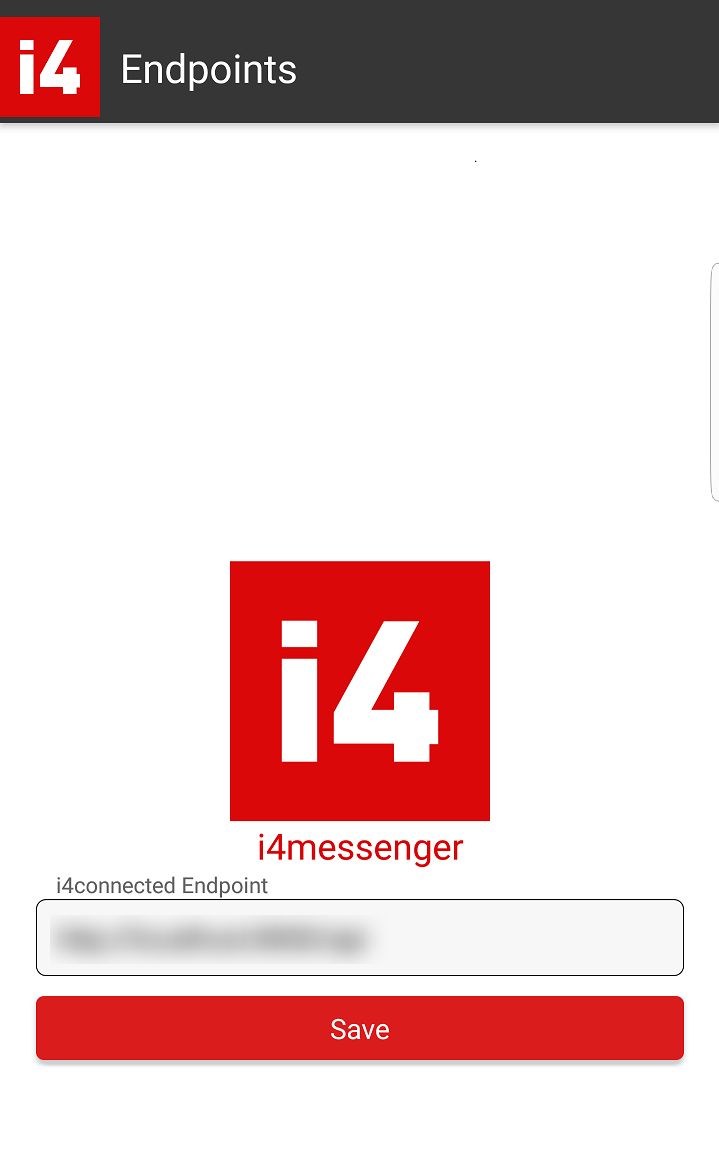
The i4Endpoints panel
This action will also terminate the previous session and the user will be requested to fill in the login credentials, for the new session.
Own, acknowledge, and close Alarms
This article describes the alarm management options provided by the i4messenger MobileApp.
Opposed to the bulk alarms management options, provided by the i4connected Online alarms panel, when using the i4messenger MobileApp, Alarms can only be managed individually.
In order to manage an Alarm, outside of the i4connected portal, the user can access it, by two means:
Opening an Alarm directly in the i4messenger MobileApp
Navigating to an Alarm from the Email or SMS notification.
Either way, the user does not need to log into the i4connected portal to manage an Alarm. The i4messenger MobileApp enables the possibility to own, acknowledge or close alarms, by using a portable device.
Processing Alarms in the i4messenger MobileApp
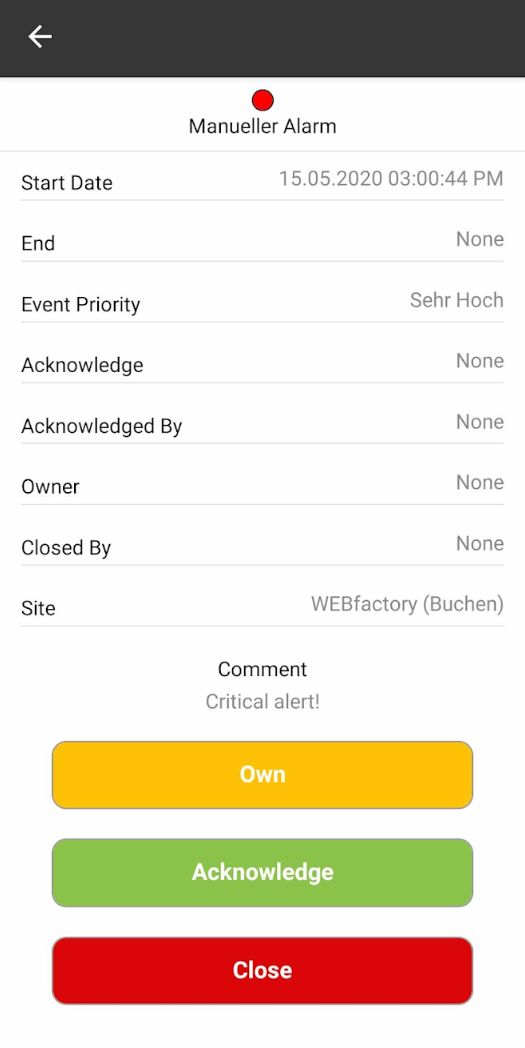
By clicking on an Alarm card listed in the i4messenger MobileApp, the Alarm details panel is opened, featuring the following information and management options:
The Alarm details panel
Information about the Alarm
the Name of Event occurrence is displayed at the top of the panel, along with the Alarm priority bullet, which inherits the color of the Event priority;
the Start Date indicates the exact date and time when the Alarm was triggered;
the End field indicates the amount of time that has passed since the Event occurrence is open, by means of a live counter.
the Event Priority indicates the priority associated with the Event.
the Acknowledge field indicates the exact date and time when the alarm was acknowledged.
the Acknowledged by field indicates the name of the user who acknowledged the alarm.
the Owner field indicates the name of the user that owns the alarm.
the Closed By field indicates the name of the user that closed the alarm.
the Site field displays the name of the Site associated with the Alarm.
the Comment field displays the last comment of the Alarm.
Option to Own the Alarm
Option to Acknowledge the Alarm
Option to Close the Alarm
In this view, the user can either Own, Acknowledge or Close the Alarm. By clicking on any of these buttons, a confirmation toast message will be displayed on the top of your device screen, indicating that the operation was successful.
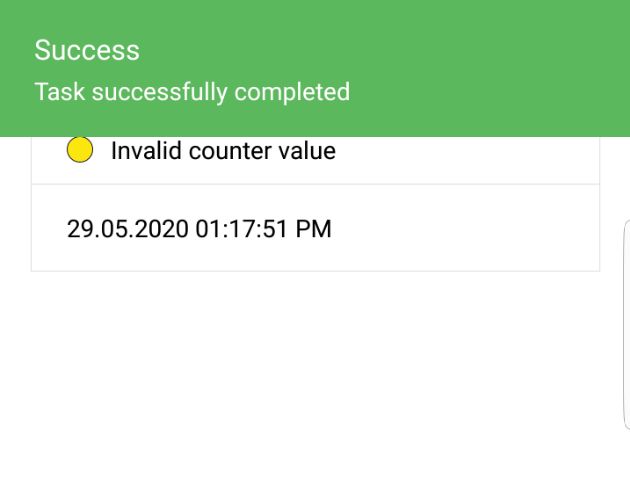
"Task successfully completed" toast message
As long as your device has an internet connection, the operation will be parsed to the i4connected server and the Online Alarms panel of the desktop application is updated accordingly, as well.
Processing Alarms from the Email / SMS Notification
Based on the i4messenger Notification Profile settings, when a new Alarm is triggered, all the members of its associated Response Team are notified via Email or SMS.
The delivered Notification can contain a set of URLs pointing to a specific action that the Alarm requires, such as Own, Acknowledge, or Close.
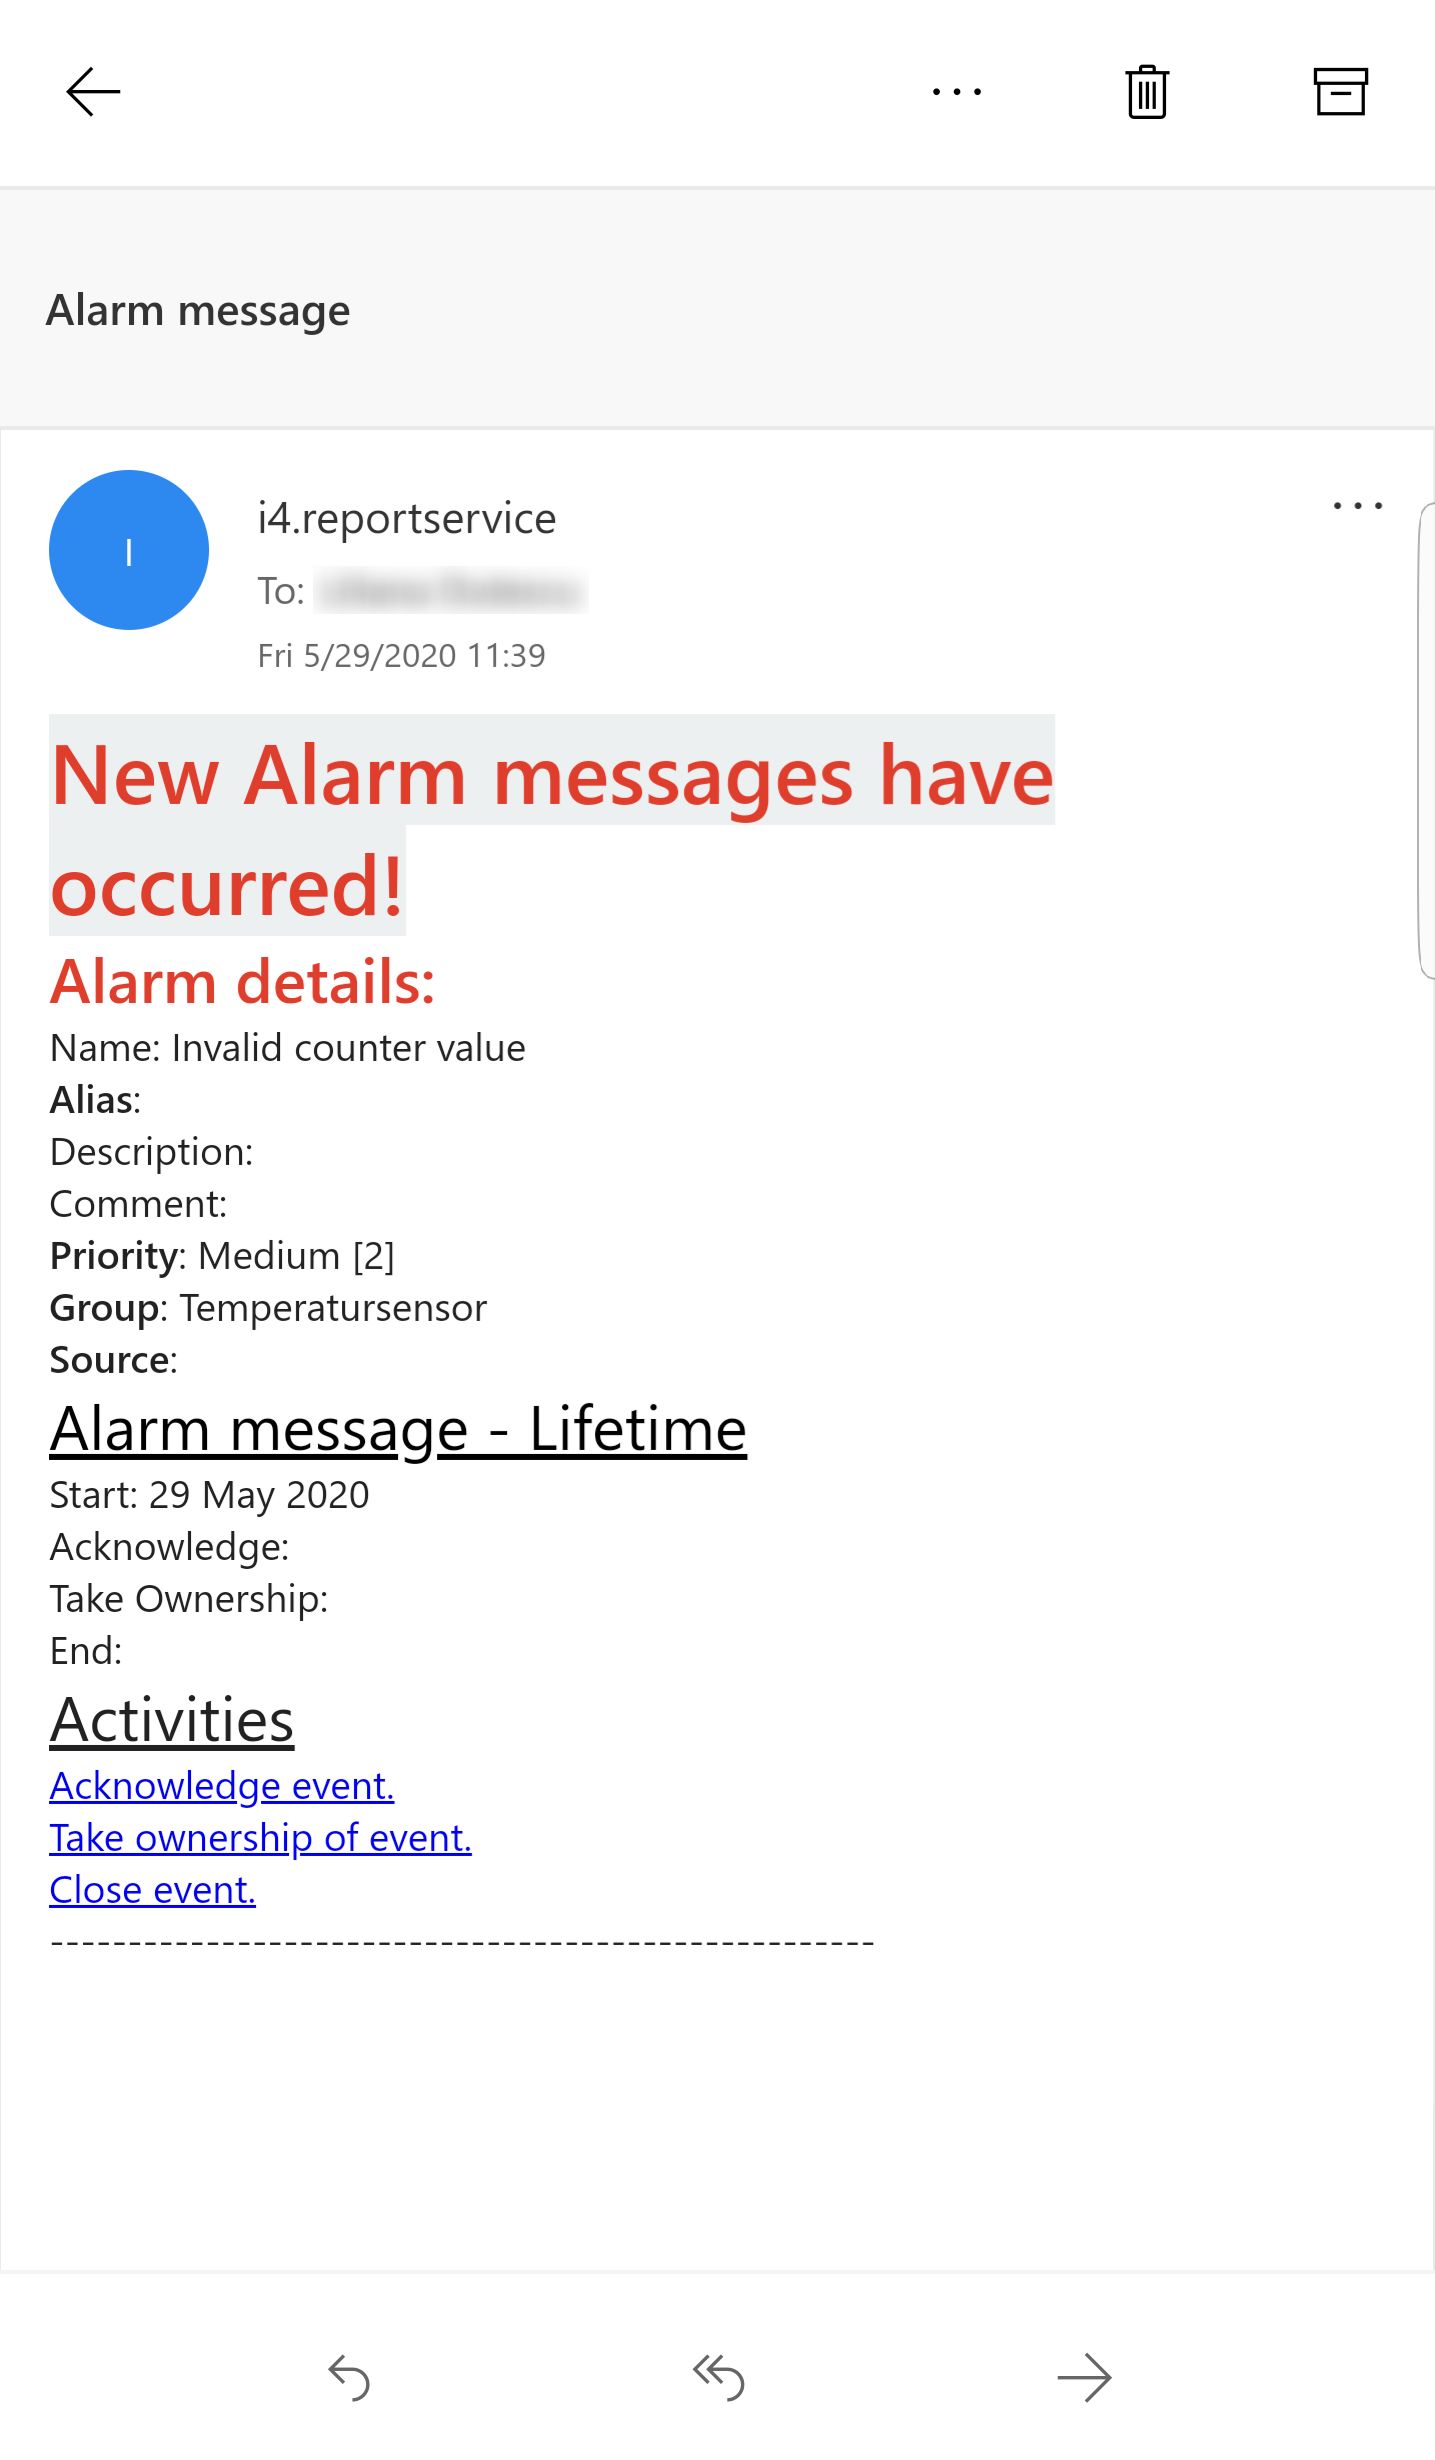
Example of Email notification
When opening a notification on the portable device and selecting one of these URLs, the user is prompted to the i4messenger web application. A toast message is displayed at the bottom of the screen, allowing the user to switch to the MobileApp.
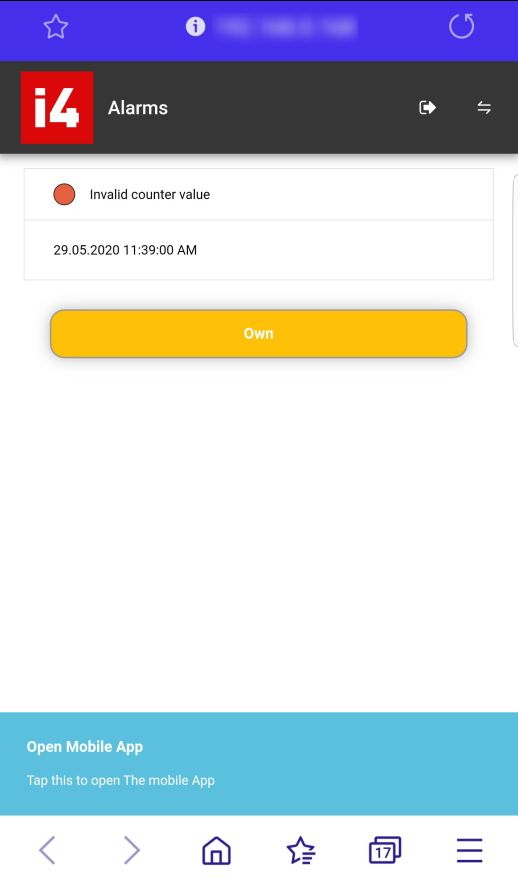
Open MobileApp - toast message
By tapping the screen of the device, the user is redirected to the i4messenger MobileApp which allows the user to directly take the desired action. Hence, instead of having all three management options (Own, Acknowledge and Close), only the called action will be available.
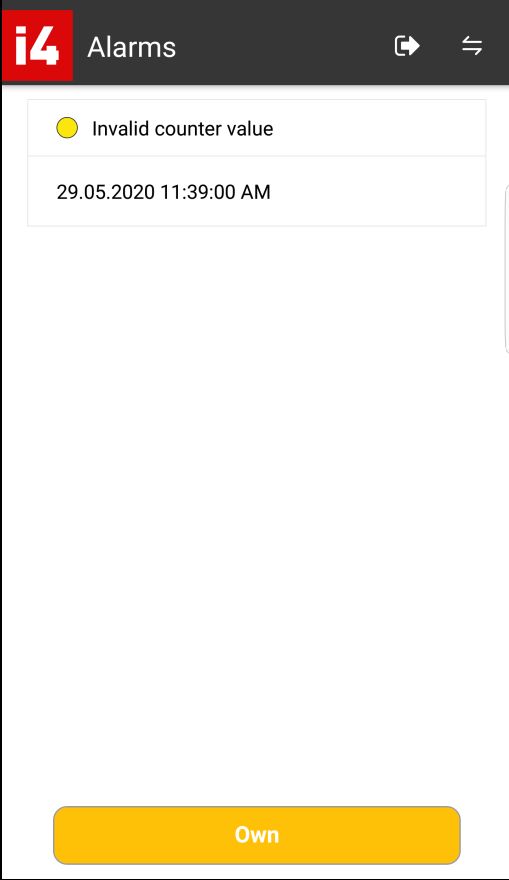
i4messenger MobileApp focused on called action
By selecting the Alarm card, the Alarm is opened in detailed view mode providing information about the respective Alarm and allowing the user to process the called action.
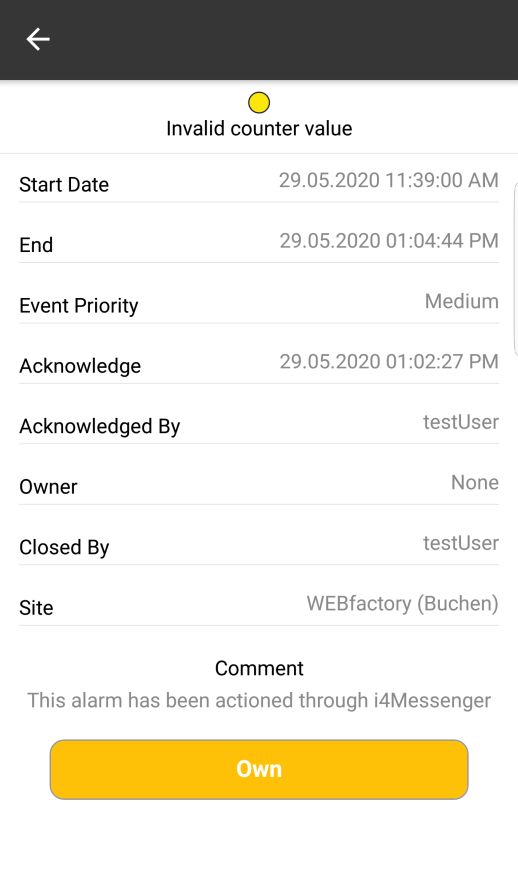
The alarm opened in detailed view mode
A toast message confirming the successful operation is displayed at the top of the screen.

"Task successfully completed" toast message