Events script list
Learn how to set up Events triggered based on a Script, in your i4connected project, by reading this article.
The scope of the present article is to describe the Events script list functionality. This panel is accessed by clicking the Alarms tile, from the View Device panel.
The Event script list panel can be accessed by users having at least the View device permission enabled. However, any existing Event script lists will only be visible to users having the Manage event scripts permission enabled.
In this view, the user can see the device's alarm conditions (events scripts), listed in the main area of the panel, in a card-based scrollable list.
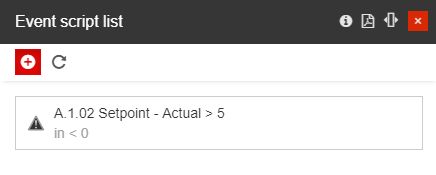
The Event script list panel
Each event script card displays information about the Event and the used formula.

The Event Script card
By clicking the Refresh toolbar button, the user can manually reload/update the Event script list.
Adding a new Event Script
The list of Event scripts of a Device can be updated by adding new Event scripts, by all users having the Manage event scripts permission enabled. By clicking the Add toolbar button, the Add alarm condition panel is opened.
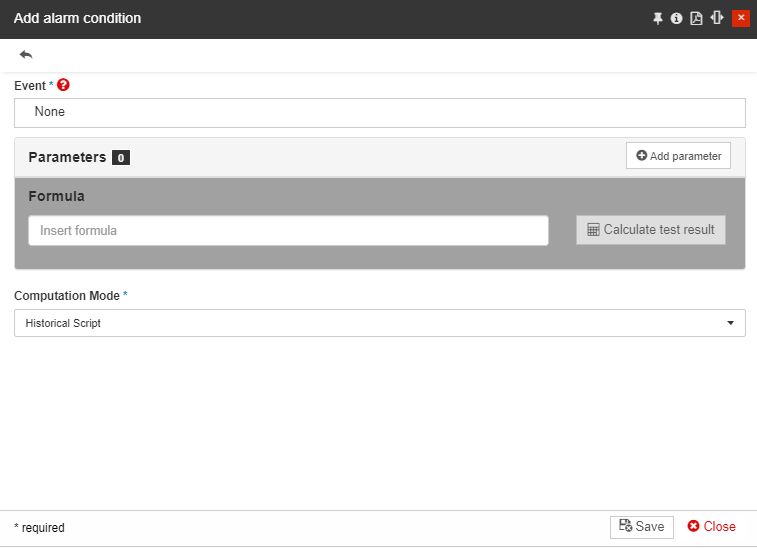
The Add alarm condition panel
The user must provide the required (and optional) alarm condition settings and click Save to add the alarm condition to the device's event scripts list. The alarm condition settings are the following:
Event - The actual event that will be triggered when the current condition is satisfied. Clicking on the Event button will open the Events panel, which allows the user to select an existing event or add a new one.
Parameters - Input signals that can be used in the formula to calculate the expected values. A new parameter can be added by clicking the Add parameter button which opens the Signal List panel. In this view, all the Signals assigned to the current Device are listed. The user can select a signal to act as input for the formula. The parameters can be either a standard signal or a virtual signal. Multiple parameters of mixed types (standard signals and virtual signals) are supported.
Once a parameter is defined, it will be displayed in the table below the Add parameter button. Here the user can set the name of the parameter (which will be used inside the formula) and input a test value, allowing the user to test the alarm condition formula.
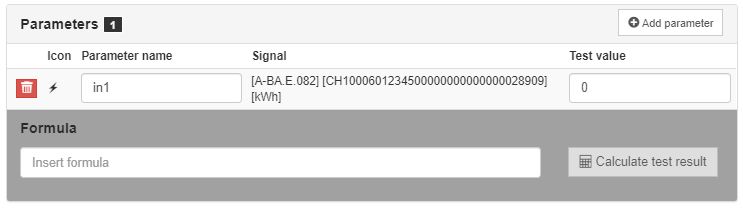
The Parameters area
Formula - The expression that defines the alarm condition. The expression can use input parameters defined in the Parameters options. The expression can be a simple online calculation or can be a complex, multi-line C# function enclosed in curly brackets {}, in which case a return function is required. The advantage of using complex C# expressions is the availability of variables, loops, etc.
The value returned by the expression must always be boolean! The alarm condition is satisfied only when the formula's result is True.
Simple expression example:
in1 > 10
Multi-line expression example:
var calculatedValue = in1 + 10;
if (calculatedValue > 20) {
    return true;
} else {
    return false;
}
When using parameters in your expression, you are not limited only to the value of that parameter. Several properties of the signal used as input parameters can also be used inside the expression:
Delta (double), ex:
in1.DoubleInterpolated (bool), ex:
in1.InterpolatedPlausible (bool), ex:
in1.PlausibleTimestamp (DateTime), ex:
in1.TimestampValue (object), ex:
in1.ValueCounter (double), ex:
in1.Counter
For example:
var signalDelta = in1.Delta;
if (signalDelta > 20) {
    return true;
} else {
    return false;
}
The below list illustrates the logical operators that can be used when writing event script list expressions:
> - higher
< - smaller
>= - higher or equal
<= - smaller or equal
== - equal
!= - different
&& - and
|| - or
~ - Bit-wise NOT
^ - Bit-wise XOR
& - Bit-wise AND
| - Bit-wise OR
The value returned by the expression must always be boolean! The alarm condition is satisfied only when the formula's result is True.
The formula can be tested using the Calculate test result button. This will use the parameter's test value as input value and the result will be listed below.

The Formula area
Computation Mode - The method of using the parameter values.
Historical script - uses the values already existing in the database. The alarm condition is evaluated whenever a timestamp match is found in the database and uses the corresponding value for the input parameter. The maximum alarm condition evaluation rate is limited to 15 minutes.
Online script - uses the online values of the input parameters. The alarm condition is evaluated whenever the input parameter signal is updated, and the new value of the input parameter is used in the alarm condition's formula.
Editing Event scripts
Clicking on an alarm condition in the Event script list opens the Edit alarm condition panel, where the alarm condition settings can be changed, by all users having the Manage event scripts permission enabled.
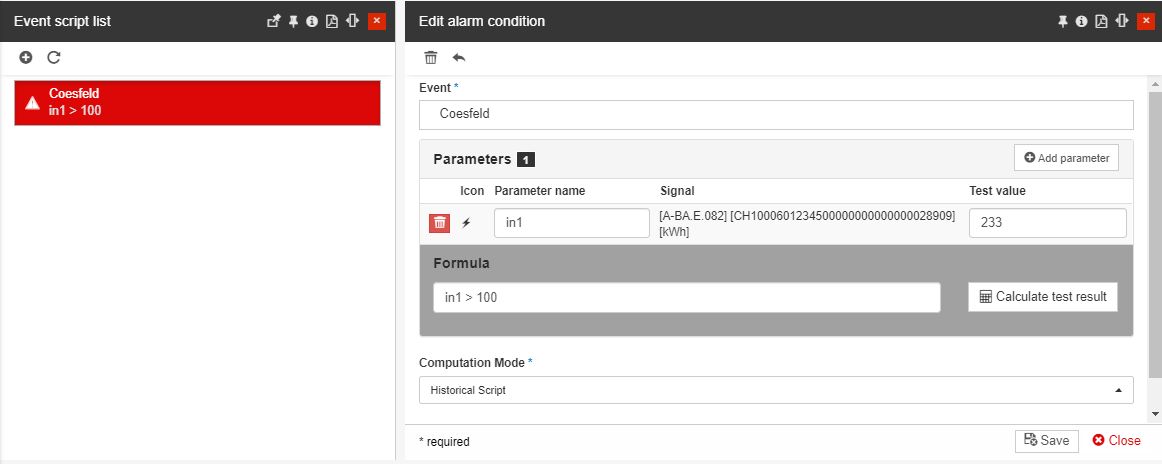
The Edit Alarm condition panel
Deleting an Event script
The Edit alarm condition panel provides the user with the possibility to remove the entity, by clicking the Delete toolbar button. In the Delete event script panel, the user is requested to manually fill in the deletion confirmation code. To proceed with the deletion operation the user can click the Delete button.
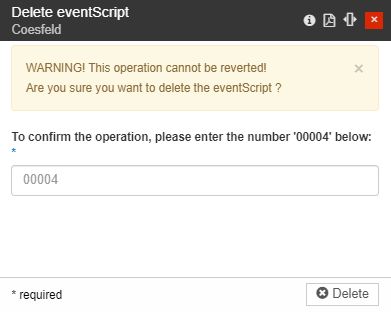
The Delete event script panel