Managing Applications and Application Mappings
Check out this article and learn how to create a new Application Mapping and consequently use it as a Site Application and Site Selector Application.
Creating a new Application
To create a new Application, please follow the below-described steps:
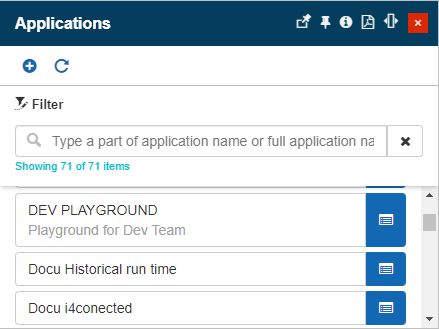
Open the Applications panel, by clicking the Applications tile. In this view, all the existing applications are listed.
Important
To proceed with this tutorial, your user should have the Manage Application Mappings permission enabled.
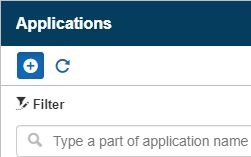
Click the Add toolbar button.
In the Add application panel, start filling in the following information:
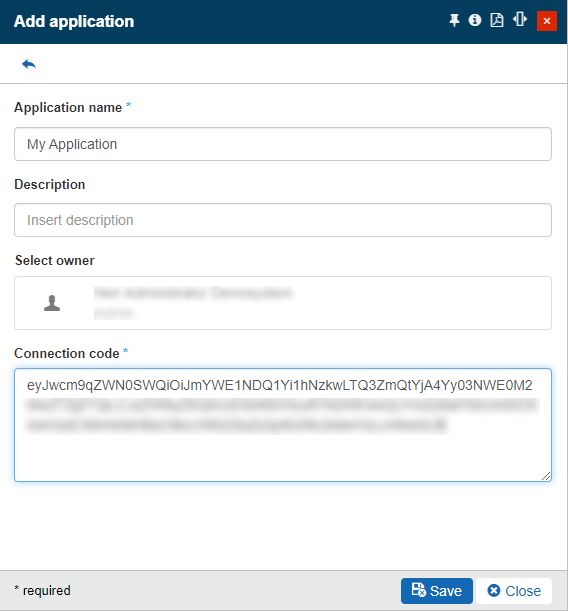
Application name - sets the name of your new Application.
Application description - set a friendly description of your new Application.
Application connection code - sets the i4designer connection-token.
Tip
The i4designer connection-token can be extracted from Control Center, in i4designer environment.

For more details about i4designer please also read our dedicated documentation articles here.
After filling in all the desired information, click the bottom Save button to preserve the newly created Application.
Note
As soon as a new application is created, the following entities are automatically synchronized to the i4designer project:
Key Performance Indicators
Measure Types
Measure Groups
Signal Types
Roles
Permissions
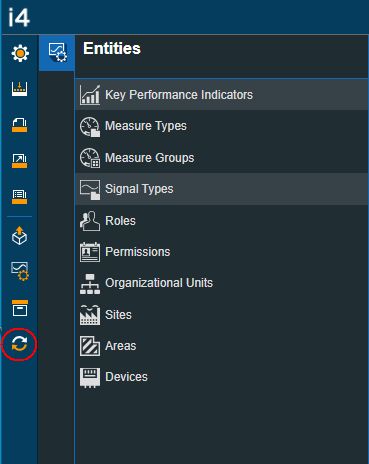
These entities are displayed under the Connected Entities Page, on the i4designer application:

The i4designer Connected Entities Page
As soon as the i4designer project has been published, the new Application can be opened in view mode, using the Applications list.

Setting an Application Mapping as Site Selector application
Application Mappings can be displayed in the context of a Site, under the Site Selector panel, as follows:
Open the Sites panel and select your Site in detailed view mode.
Tip
Your user should be equipped with the Manage Sites and Areas permission and have view rights for at least one Site.
In the Site detailed view mode, click the Application Mappings toolbar button.

Tip
To have access to the Application Mappings button, your user needs to have the Manage site applications permission enabled.
The Manage Application Mappings panel is split up into two areas.: the Site Selector Application area and the Default Application area.
Tip
Throughout this tutorial, we shall focus our attention on the Site Selector Application area.
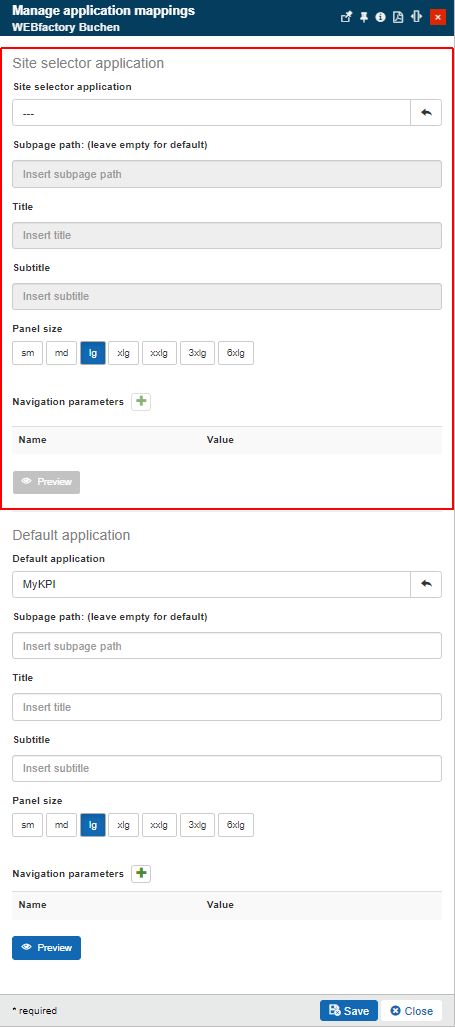
To set up an Application Mapping for your Site, that will be visible under the Site Selector area, please proceed as follows:
Click on the Site Selector Application selector. Select from the Applications panel your application.
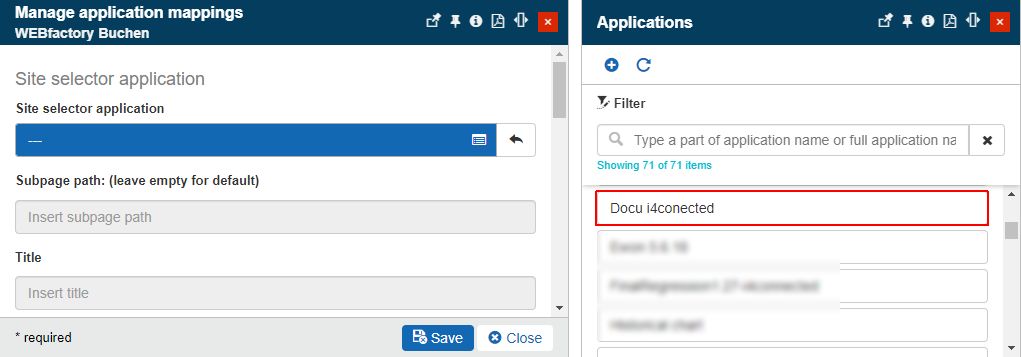
Next, set up the subpage path, for your application.
Tip
By setting up this field, you can select which of your i4designer project pages, will be by default displayed. The sub-page path is given by the project's sub-page exact name. If the field is left empty, the project's default page will be displayed.
Fill in the Title and Subtitle of the Site Selector Application.
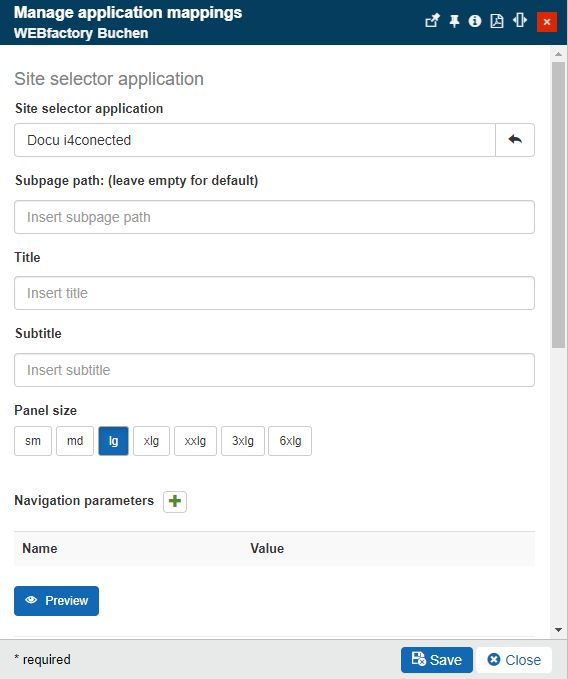
After you have filled in all the required fields, click on the Save button located at the bottom of the Manage Application Mappings panel.
To check the results, open the Site Selector panel and identify your Site.
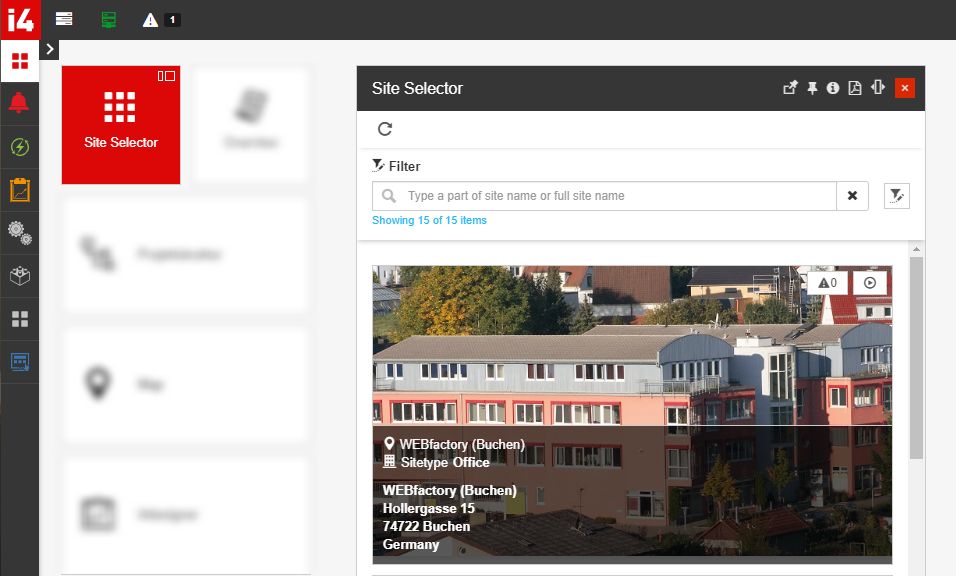
By clicking the Details button, the previously applied Application Mapping is opened in a separate panel.
Setting an Application Mapping as the default application
Application Mappings can be displayed in the context of a Site, under the Site details panel, as follows:
Open the Sites panel and select your Site in detailed view mode.
Tip
Your user should be equipped with the Manage Sites and Areas permission and have view rights for at least one Site.
In the Site detailed view mode, click the Application Mappings toolbar button.

Tip
To have access to the Application Mappings button, your user needs to have the Manage site applications permission enabled.
The Manage Application Mappings panel is split up into two areas.: the Site Selector Application area and the Default Application area.
Tip
Throughout this tutorial, we shall focus our attention on the Default Application area.
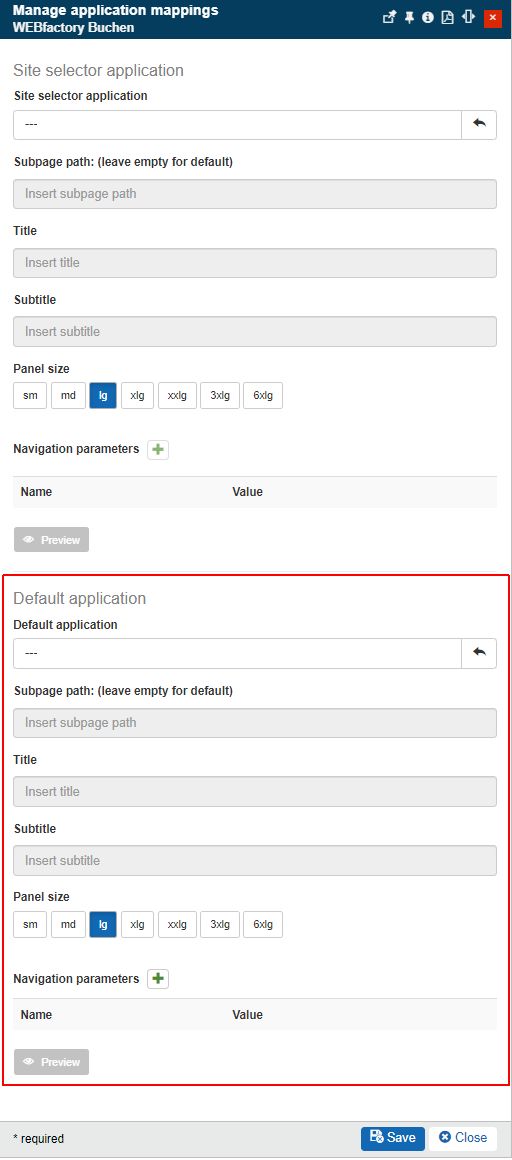
To set up an Application Mapping for your Site, which will be visible under the Site details panel, please proceed as follows:
Click on the Default Application selector. Select from the Applications panel your application.
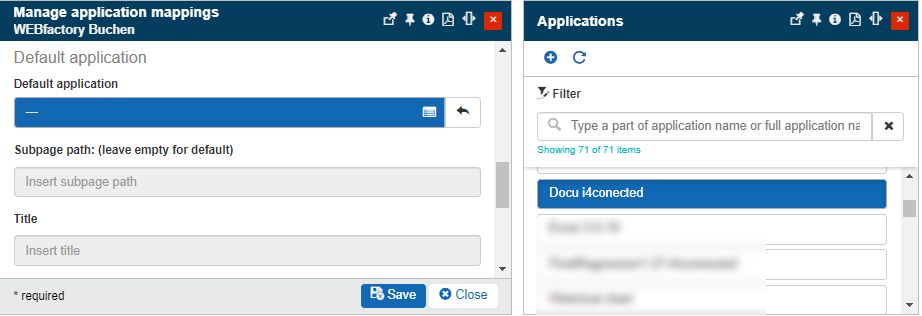
Next, set up the subpage path, for your application.
Tip
By setting up this field, you can select which of your i4designer project pages, will be by default displayed. The sub-page path is given by the project's sub-page exact name. If the field is left empty, the project's default page will be displayed.
Fill in the Title and Subtitle of the Default Application.
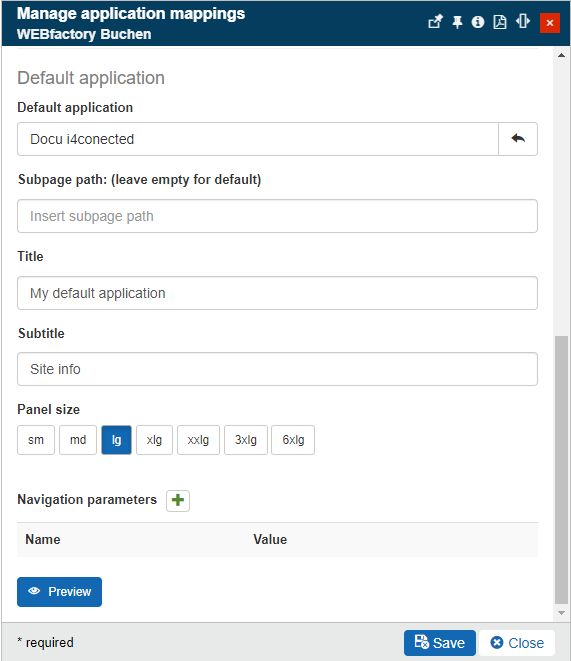
After you have filled in all the required fields, click on the Save button located at the bottom of the Manage Application Mappings panel.
As soon as the previous changes are saved, the Site details panel will be updated to display the applied Application Mapping.

Note
The same Application Mapping can be selected as Site Selector and Default relevant, for the same Site, without leading to any conflicts.
Synchronizing Entities to i4designer
The user can synchronize multiple i4connected Entities to the linked i4designer project, by processing the following steps:
Open the Applications panel, by clicking the Applications tile. In this view, all the existing Application Mappings are listed.
Important
To proceed with this tutorial, your user should have the Manage Application Mappings permission enabled.

Select your Application, from the list view, by clicking the Edit button.
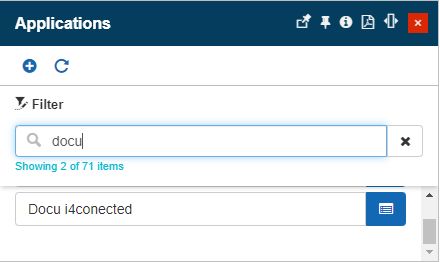
The Edit application panel allows you to synchronize the following entities:
Click the Synchronize Global Entities toolbar button, to synchronize all system Key Performance Indicators, Signal Types, Measure Groups, and Measure Types. Also, your user's Roles and Permissions will be synchronized to the i4designer project. For more details, please visit the dedicated article, here.
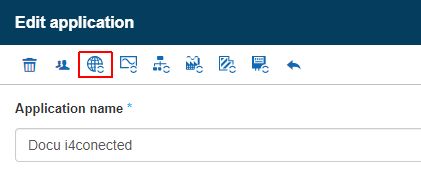
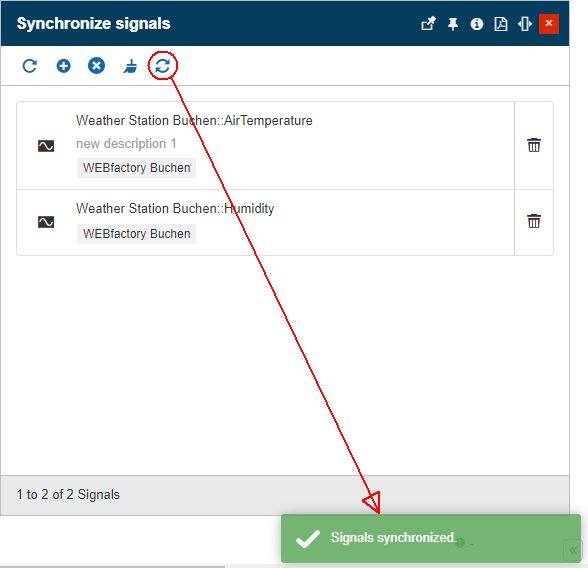
Click the Synchronize Signals toolbar button, to choose the signals to be synchronized with your i4designer project.
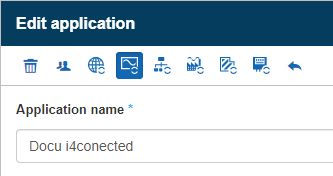
The list of signals can be managed in the Synchronize Signals panel. For more details, please visit the dedicated article, here.
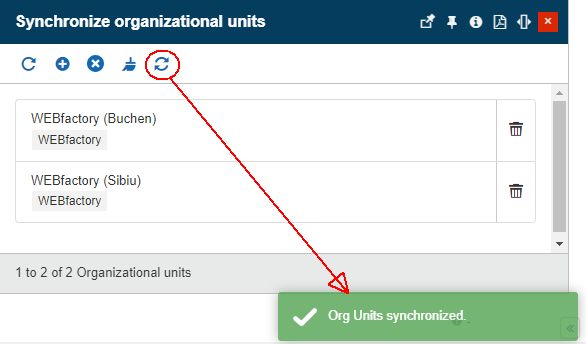
Click the Synchronize Org Units toolbar button, to select Organizational Units and synchronize them with your i4designer project.
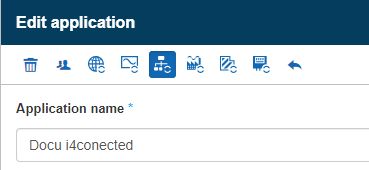
The list of Organizational Units can be managed in the Synchronize Organizational Units panel. For more details, please visit the dedicated article, here.
Click the Synchronize Sites toolbar button, to select Sites and synchronize them with your i4designer project.
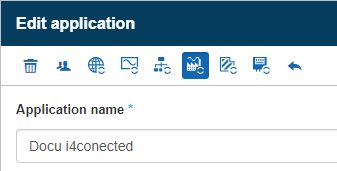
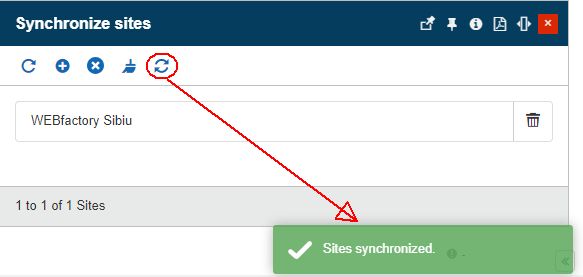
The list of sites can be managed in the Synchronize Sites panel. For more details, please visit the dedicated article, here.
Click the Synchronize Areas toolbar button, to select Areas and synchronize them with your i4designer project.
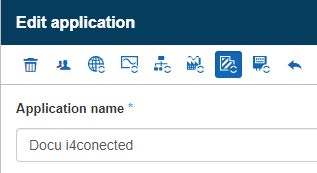
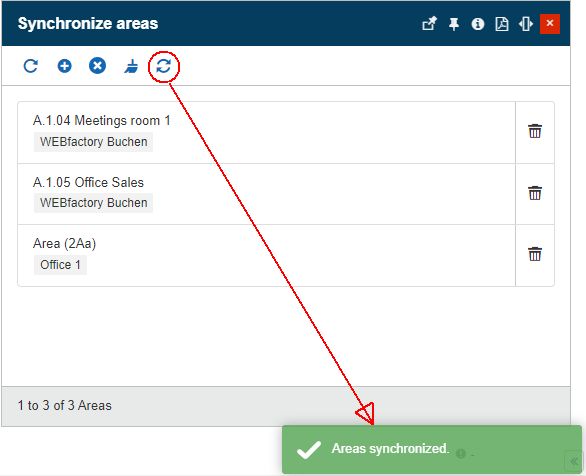
The list of Areas can be managed in the Synchronize Areas panel. For more details, please visit the dedicated article, here.
Click the Synchronize Devices toolbar button, to select Devices and synchronize them with your i4designer project.
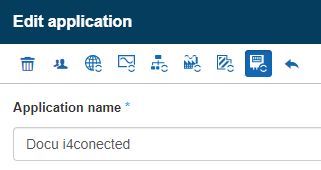
The list of Devices can be managed in the Synchronize Devices panel. For more details, please visit the dedicated article, here.
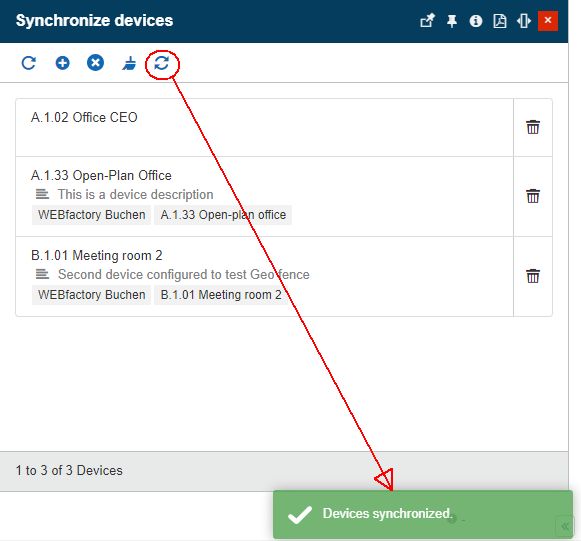
After synchronizing all the desired entities, click the bottom Save button to preserve any further Application updates.
Now, let's check the results at the level of the i4designer Application, as follows:
Open your i4designer project, in design mode.
Warning
If the i4designer project was already opened, when the synchronization actions took place, the i4designer browser page, should be manually refreshed.
Open the Connected Entities Page menu entry. In this view, the lists of Key Performance Indicators, Measure Types, Measure Groups, Signal Types, Organizational Units, Sites, Areas, Devices, Roles, and Permissions will be listed here.
Next, open the Signal configuration menu entry. In this view, the list of synchronized Signals will be listed here.
