Users management
This article describes the Users Management functionality from the Admin section of the i4connected portal.
This article describes the Users Management functionality from the Admin section of the i4connected portal. The i4connected Users can be managed in the Users panel, accessible through the dedicated tile. The Users list can be accessed only by users having at least the View users permission available.
The Users tile and panel
The Users panel provides the user the possibility to process the following operations:
Viewing, filtering, and refreshing the users' list
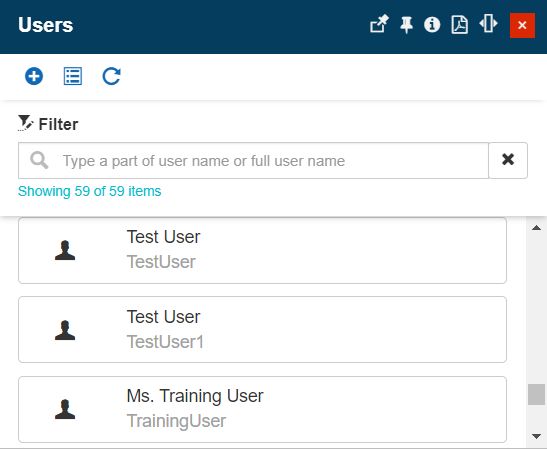
The Users panel lists all the existing i4connected users. The Users are positioned in the panel's central area, like cards in a scrollable list.
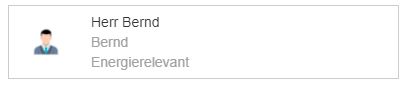
Example of User card
Each User card displays information about the User, that can be changed as desired, by using the Display settings option as follows:
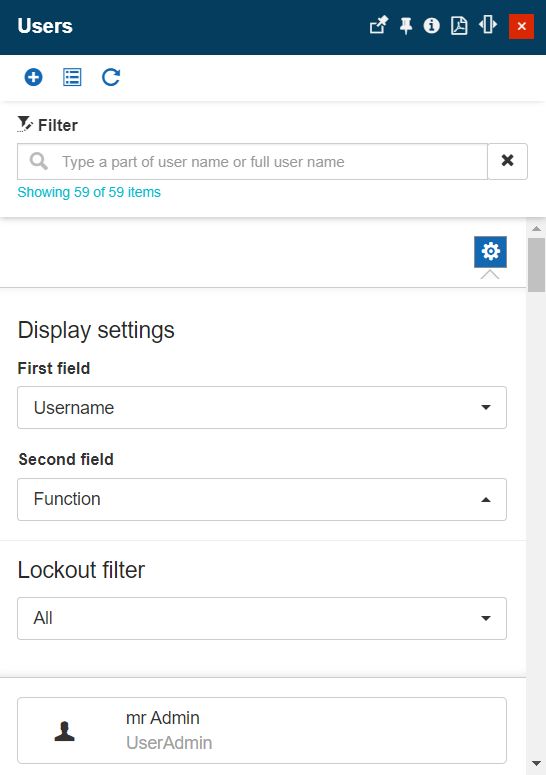
The Display settings
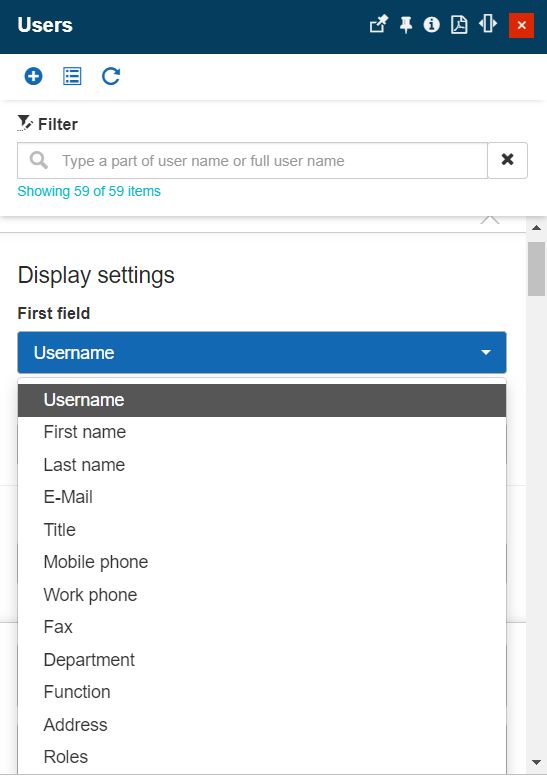
First field - allows the user to define the information displayed by the First field, of the User card. The user can select an option from the drop-down list.
Second field - allows the user to define the information displayed by the Second field, of the User card. The user can select an option from the drop-down list.
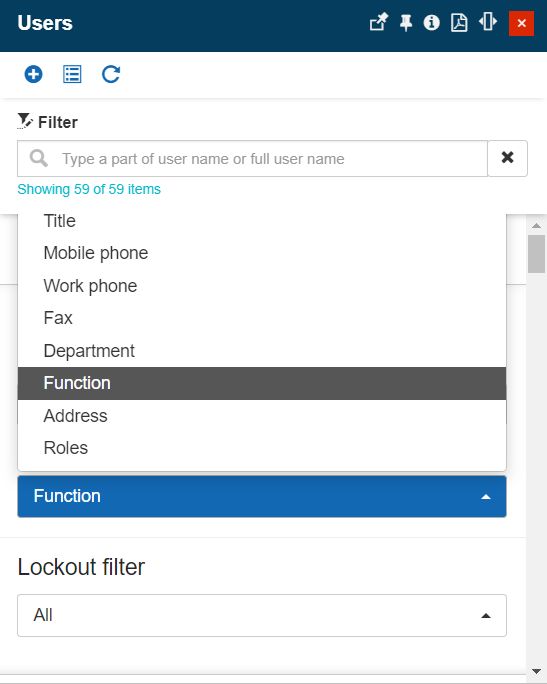
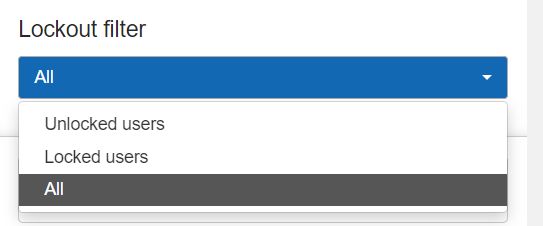
Lockout filter - allows the user to search by All users, Locked users , or Unlocked users.
The list of users can be filtered by typing in the designated search field one of the following criteria: Username, Addressing title, First name, Last name, Address information, Function, and Department.
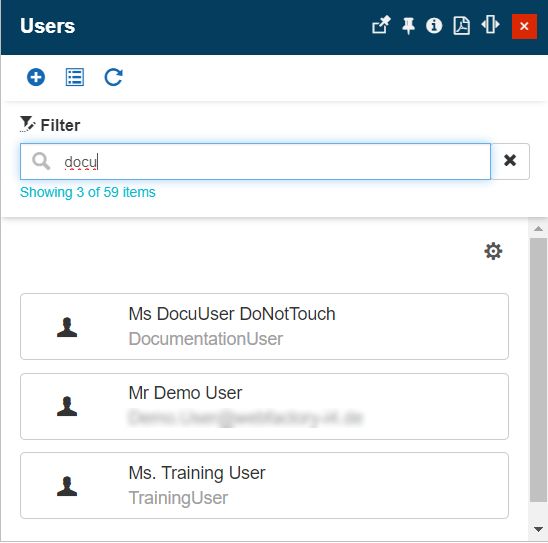
Example of filter applied to the Users list
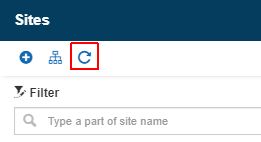
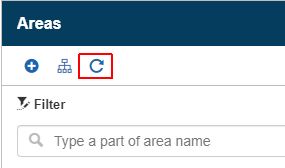
The Refresh button from the top menu provides a manual way to reload/update this user's list.
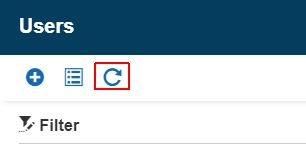
The Refresh button
Further on, system administrators having the Manage configuration permission enabled can manage Custom field definitions by clicking the Metadata toolbar button.

The Metadata button
Tip
For more details about the Custom field definitions panel, please visit the dedicated article here.
Viewing a User in detailed view mode
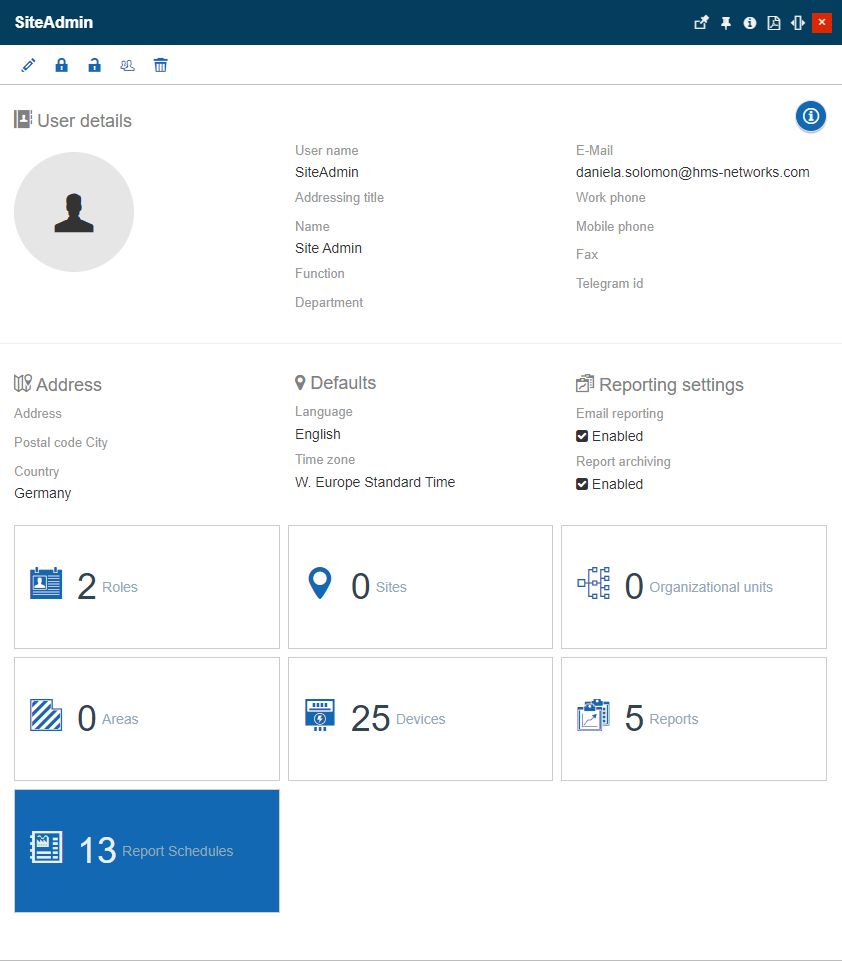
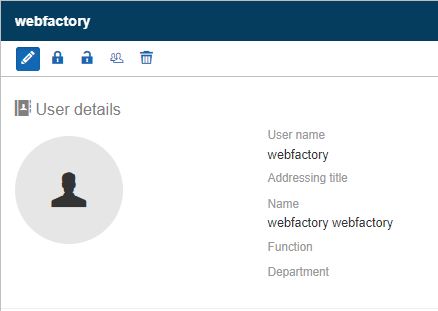
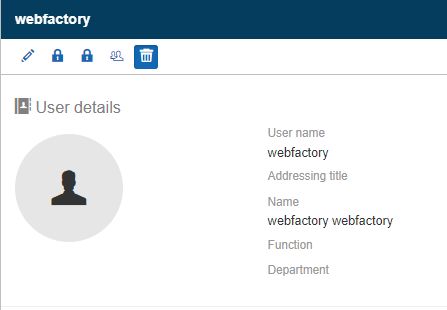
When clicking on a listed user, all the user details are displayed in a new panel on the right side. The View user panel will have the same name as the selected user and will display the following information:
User picture (if available)
User details (user name, addressing title, first and last name, function, department, email, work phone, mobile phone, fax number, Telegram id)
Address information (Address, Postal code of the City, Country)
Defaults (language and time zone)
Reporting settings (email and reporting status)
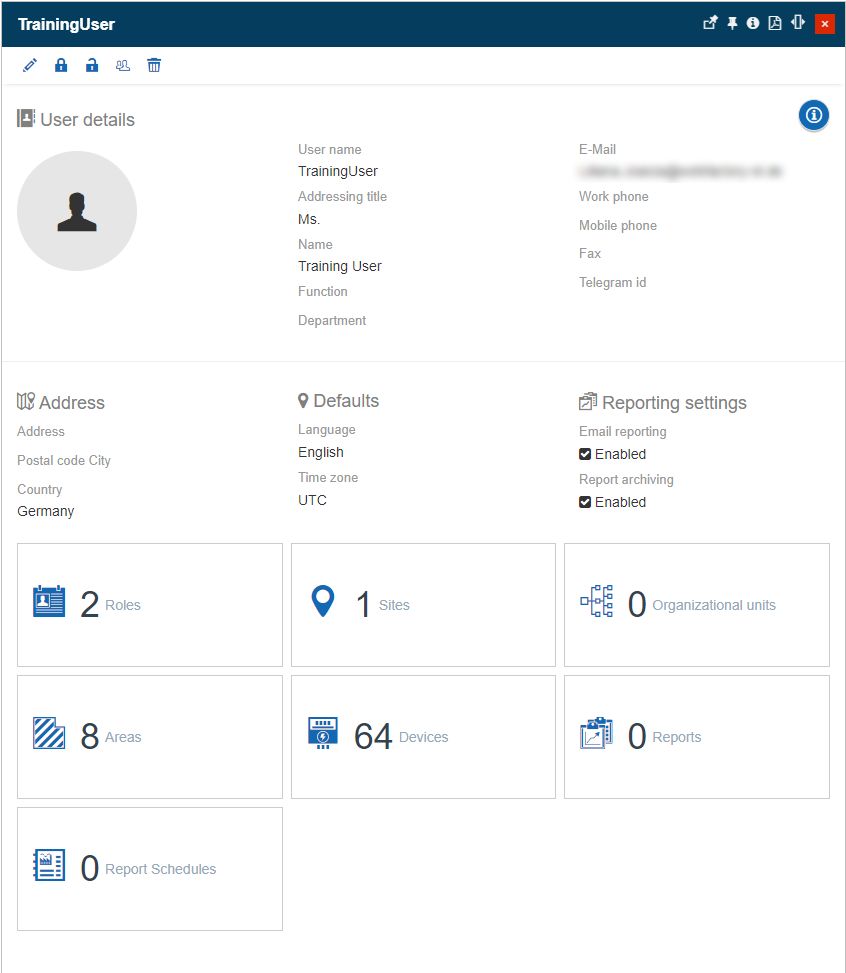
The View user panel
Additionally, by clicking the Extra information button, the View user panel is expanded to display all the predefined metadata.
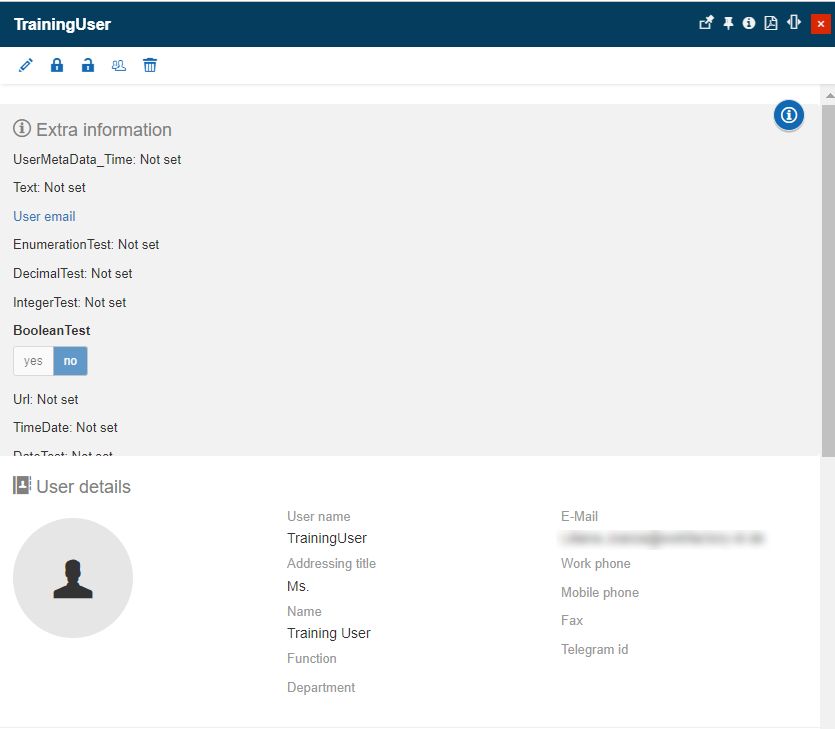
The Extra information area lists all the User-specific Custom field definitions, in view mode only. However, there is some metadata that allows the user interaction, as follows:
when clicking the linkable field of the metadata of type Url, the URL address is opened in a new tab of the used browser.
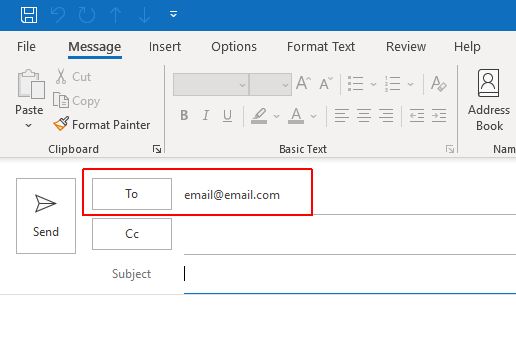
when clicking the linkable field of the metadata of type Email, the default email application is opened, having the user's email address prefilled, in the "To" field.
Further on, the User's detailed panel features a set of management tiles, as follows:
User's management tiles
The Roles tile
The Roles tile displays the number of roles assigned to the current User. By clicking this tile the Roles panel is opened, where all the roles of the selected user are listed. To update the assigned Roles, the user can select the Change button.
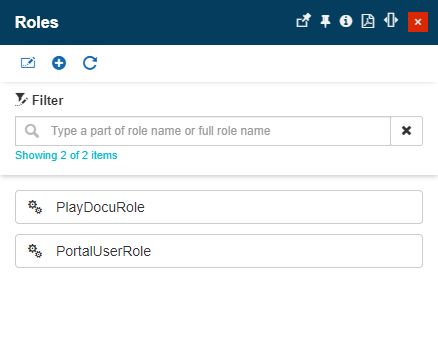
The User Role panel
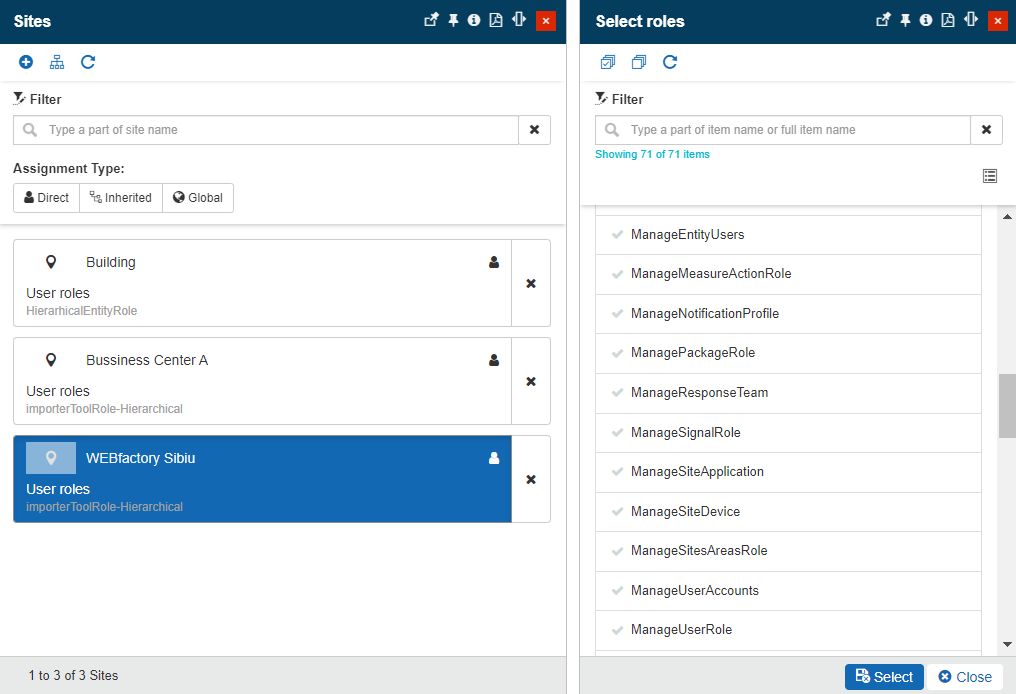
Clicking on the Change button opens the Select roles panel, where the user can select/unselect the listed roles. Roles that are already assigned to the selected User are highlighted in green color.
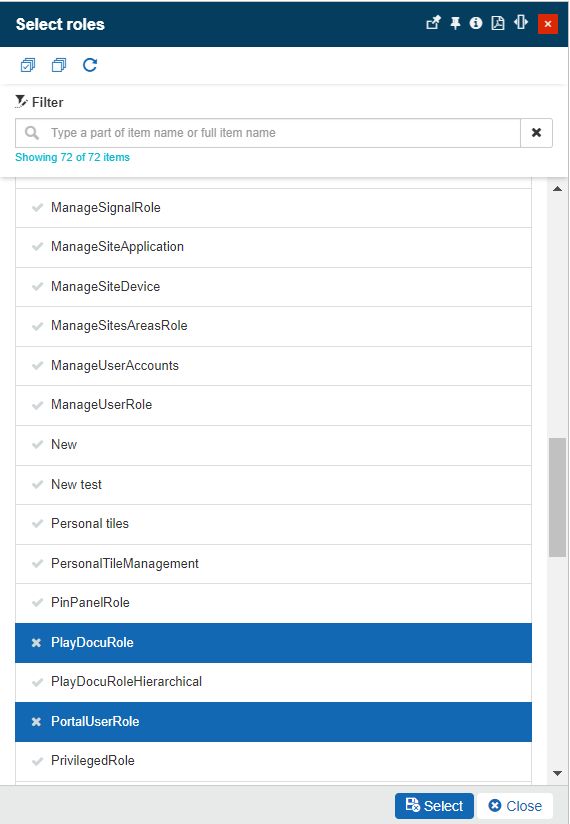
The Select roles panel
Note
For more details regarding Roles management please also visit the article here.
The Sites tile
The Sites tile opens the Sites panel. In this view, all the Sites where the current user is assigned are displayed.
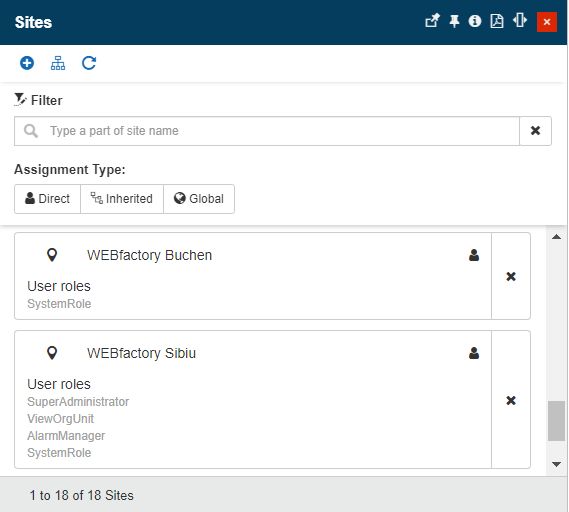
The User Sites panel
There are several actions the user can organize in this view:
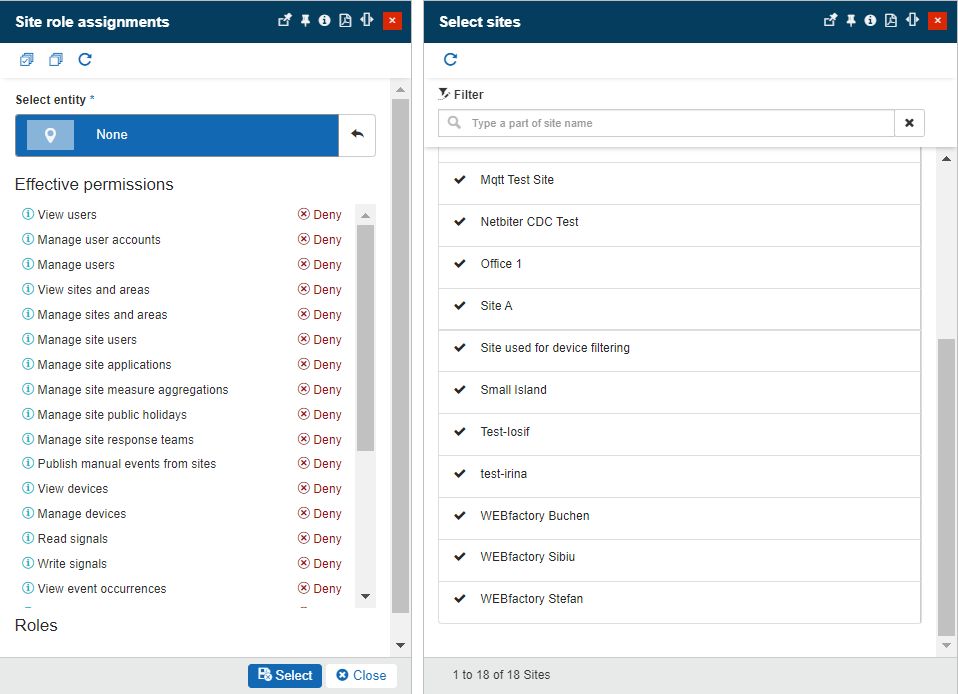
Open the Site role assignments panel by clicking on the Add button. The panel allows the user the possibility to select the Entity and the Roles.

Tip
For more details about the Entity role assignments, please visit the dedicated article, here.
To choose the Site you want to select, click on the panel where the list of the sites available for selection is displayed.
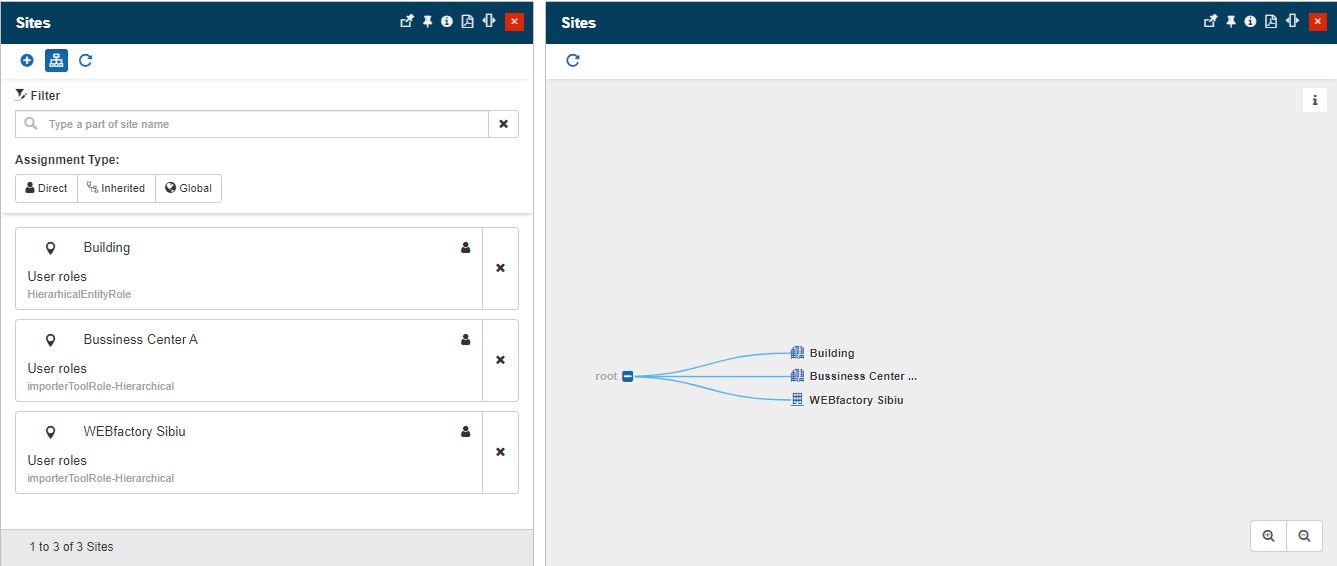
Open the hierarchical tree view by clicking the Open tree button. All the Sites where the current user is assigned are visible in the tree view.
Refresh the list by clicking the Refresh button.
Filter the list of Sites by means of simple textual search.
Tip
For more details about the Simple filter, please visit the dedicated article here.
Filter the list of Sites by means of Assignment type, using the predefined filtering options:
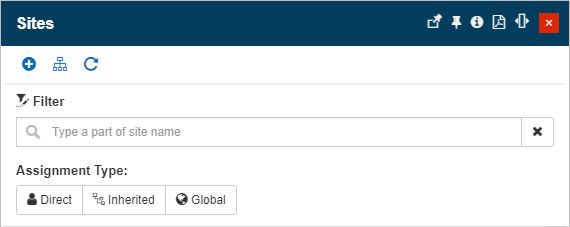
Direct
Inherited
Global
Open the Select Roles panel to edit the set of roles available for the current user in the context of the respective entity.
Note
For more details regarding the Sites management, please also visit the article here.
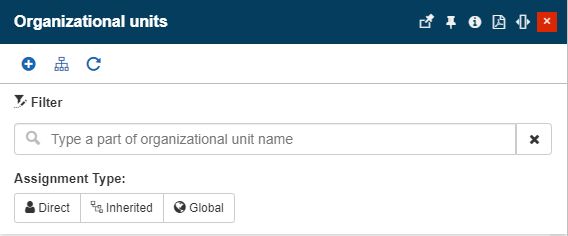
The Organizational Units tile
The Organizational Units tile opens the panel with the same name. In this view, a list of all Organizational Units assigned to the current user is displayed.
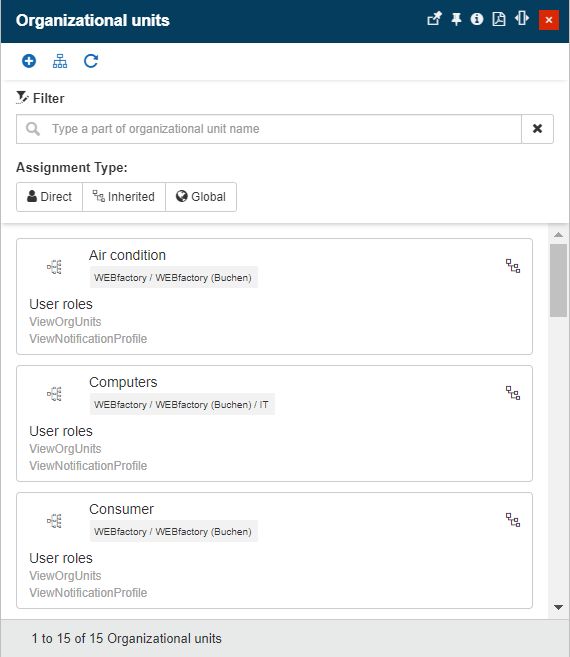
The User Organizational Units panel
The user can organize the following operations:
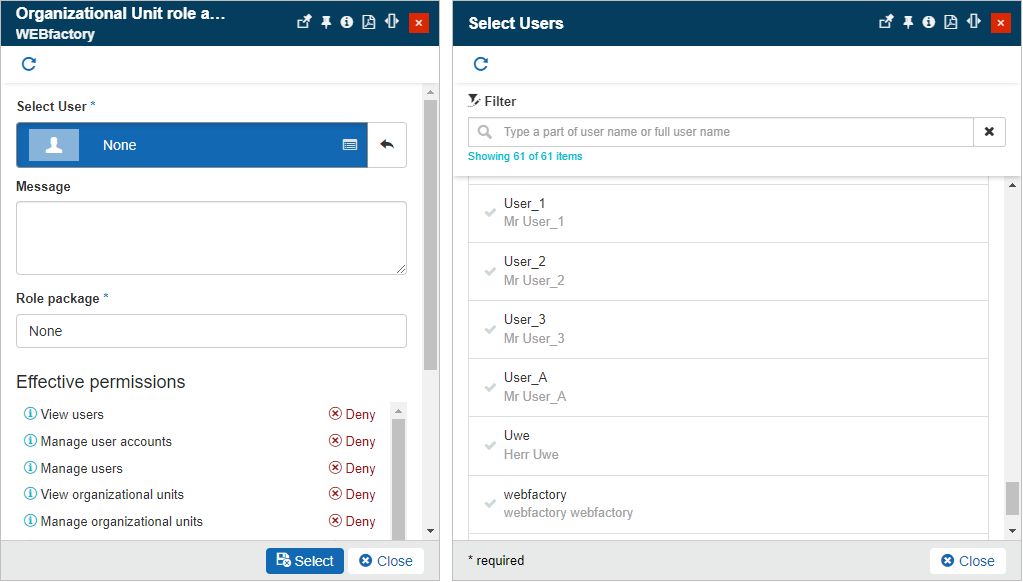
Open the Organizational Unit role assignments panel by clicking on the Add button. The panel allows the user with the possibility to select the Entity and the Roles.
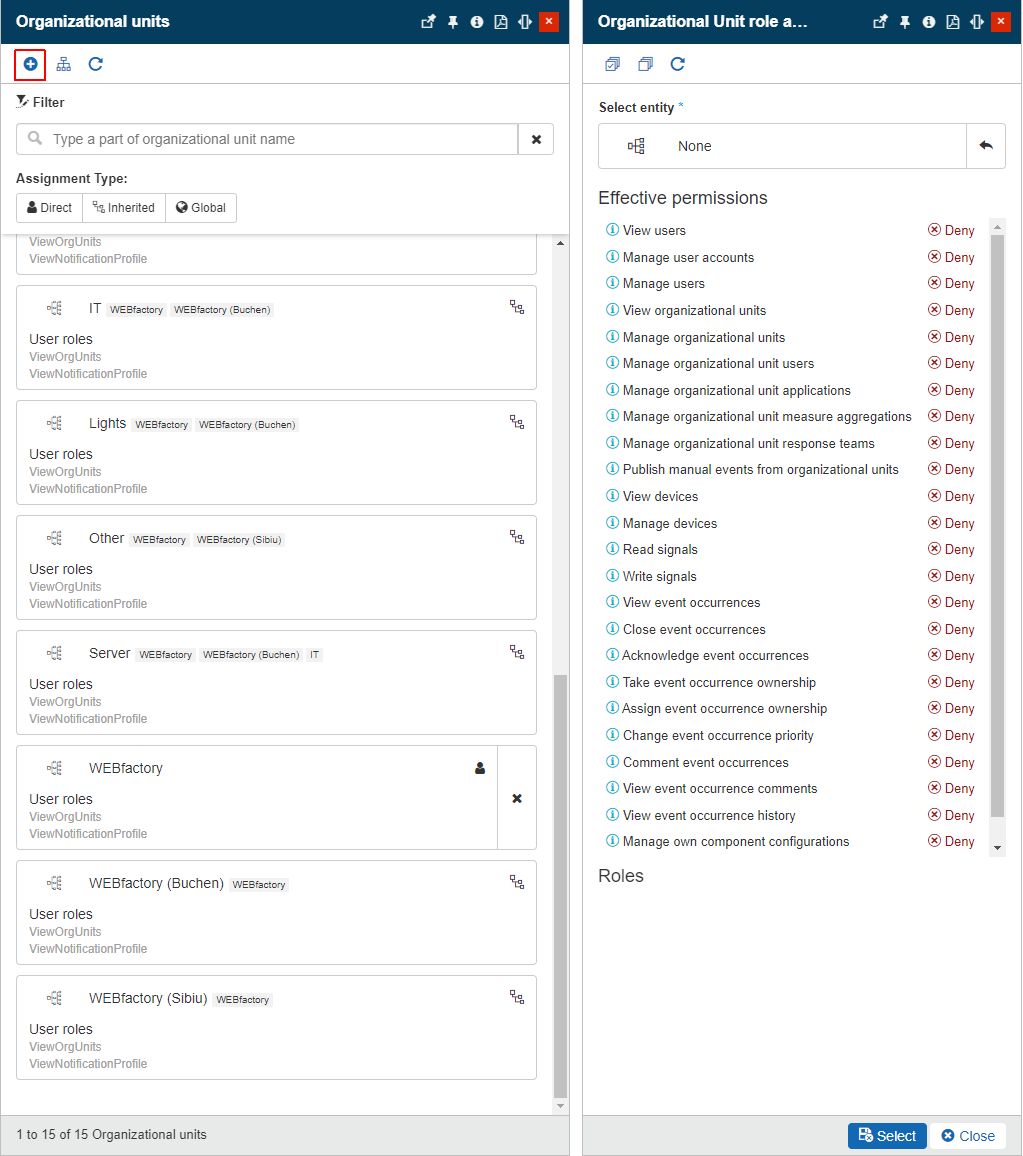
Tip
For more details about the Entity role assignments, please visit the dedicated article, here.
To choose the Organizational Unit you want to select, click on the panel where the list of the organizational units available for selection is displayed.
Open the hierarchical tree view by clicking the Open tree button. All the Organizational Units where the current user is assigned are visible in the tree view.
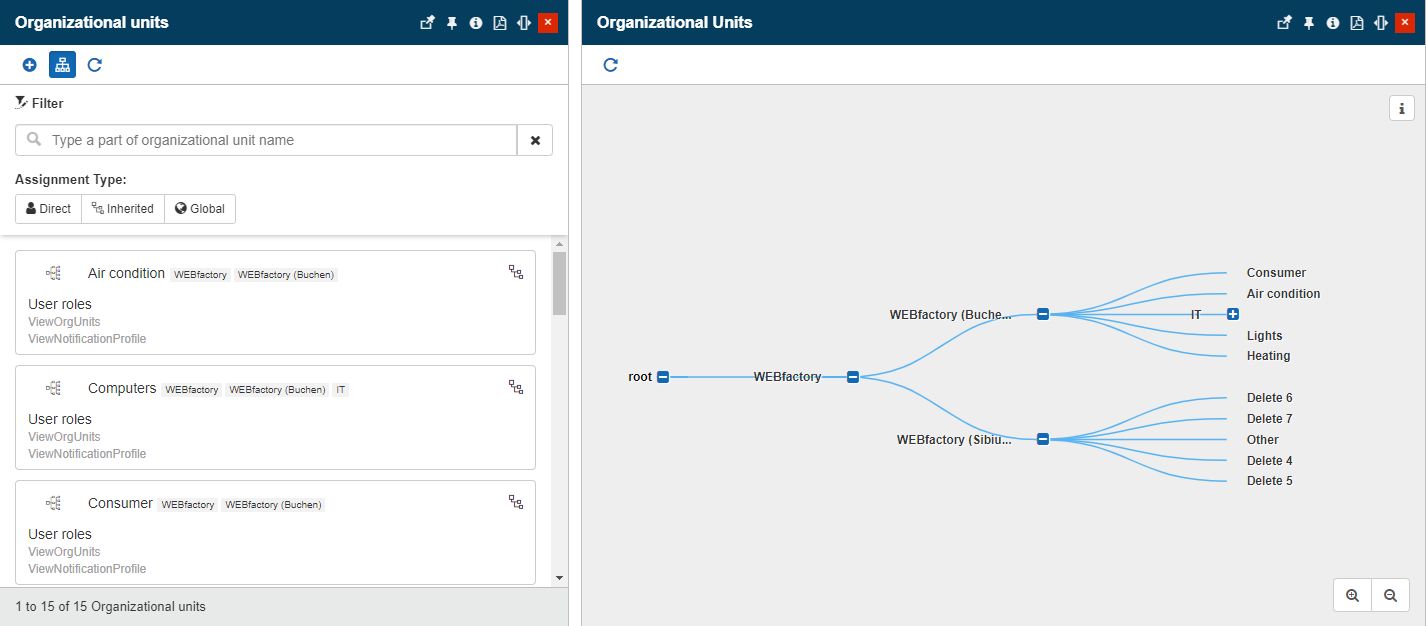
Refresh the list by clicking the Refresh button.
Filter the list of Organizational Units by means of simple textual search.
Tip
For more details about the Simple filter, please visit the dedicated article here.
Filter the list of Organizational Units by means of Assignment type, using the predefined filtering options:
Direct
Inherited
Global
Open the Select Roles panel to edit the set of roles available for the current user in context of the respective entity.

Note
For more details regarding Organizational Units management, please also visit the article here.
The Areas tile
The Areas tile displays the number of Areas assigned to the current User.
Clicking on this tile the Areas panel is opened. Here, only the assigned areas are listed, allowing the user to organize the following operations:
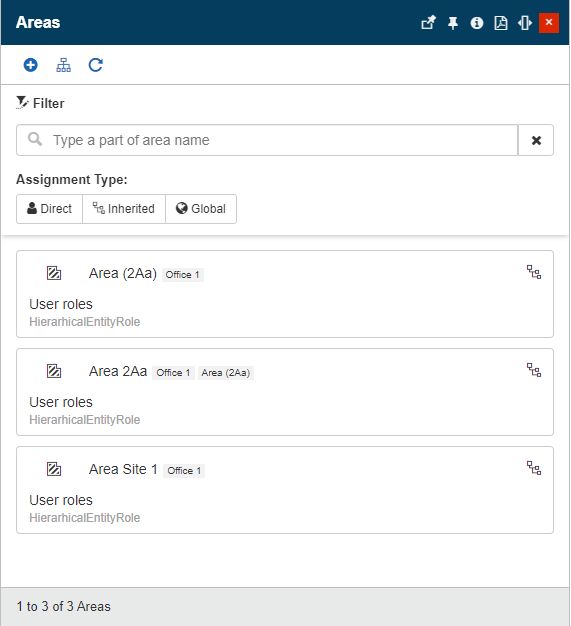
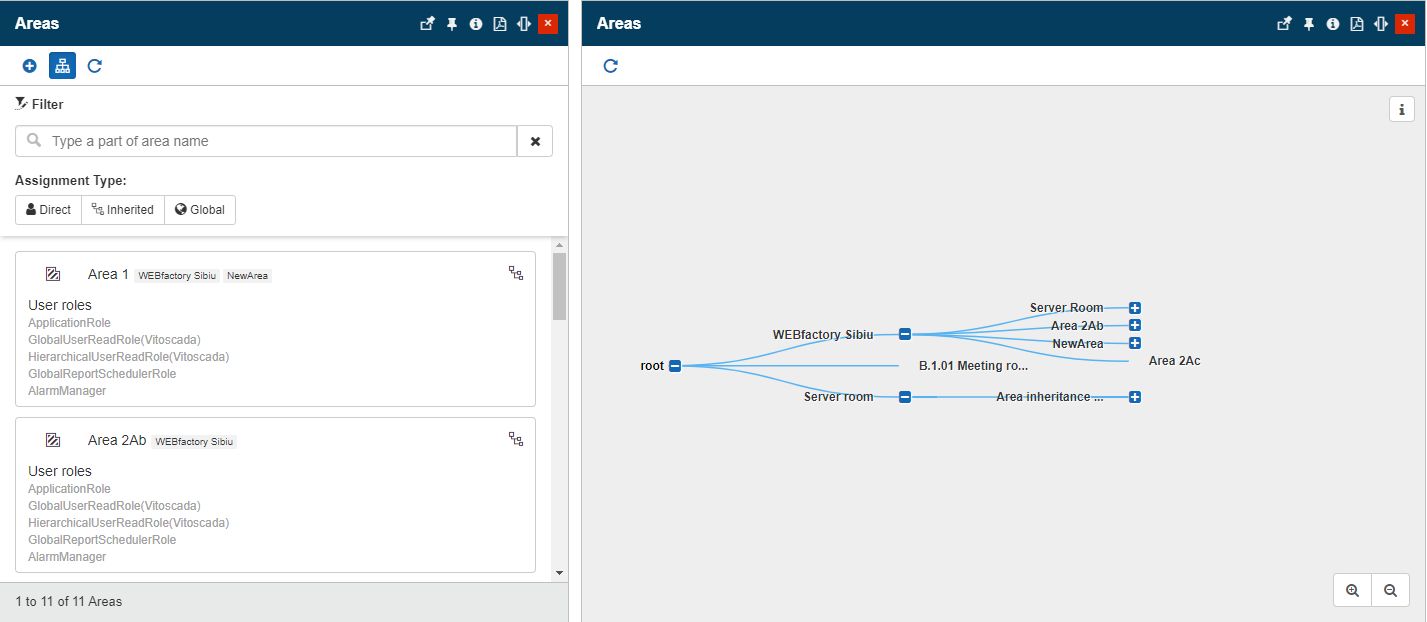
The User Areas panel
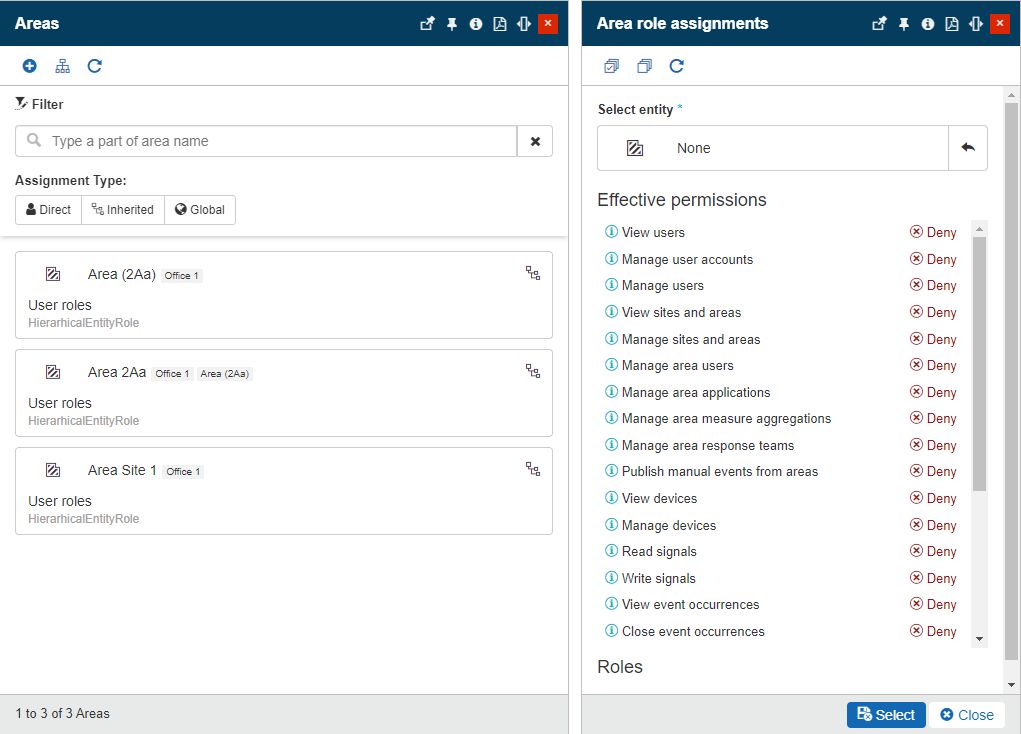
Open the Area role assignments panel by clicking on the Add button. The panel allows the user with the possibility to select the Entity and the Roles.
Tip
For more details about the Entity role assignments, please visit the dedicated article, here.
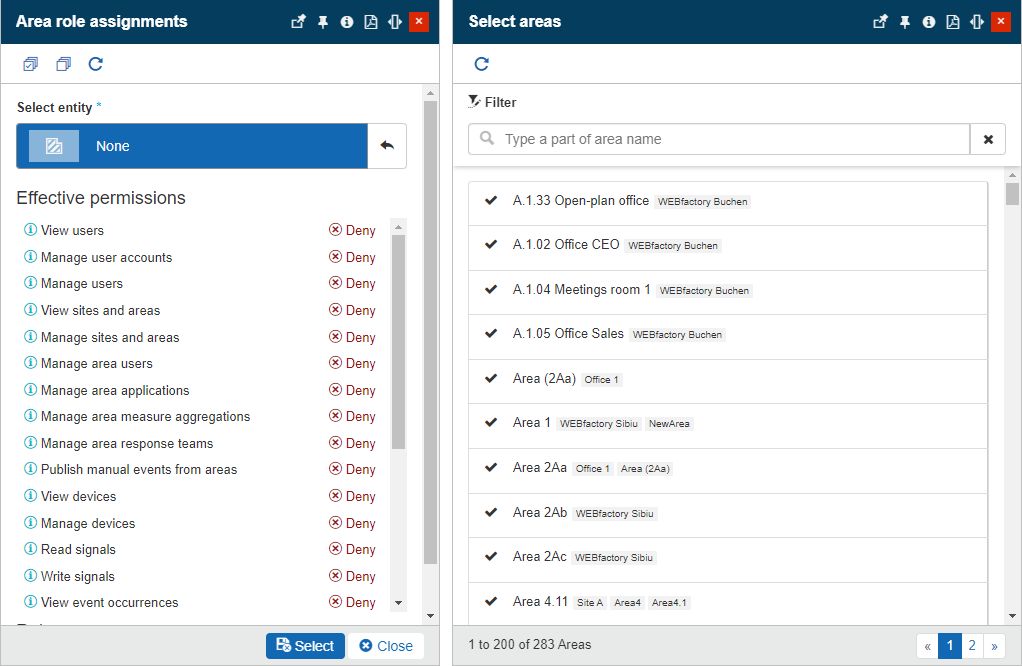
To choose the Area you want to select, click on the panel where the list of areas available for selection is displayed.
Open the hierarchical tree view by clicking the Open tree button. All the Areas where the current user is assigned are visible in the tree view.
Refresh the list by clicking the Refresh button.
Filter the list of Areas by means of a simple textual search.
Tip
For more details about the Simple filter, please visit the dedicated article here.
Filter the list of Areas by means of Assignment type, using the predefined filtering options:
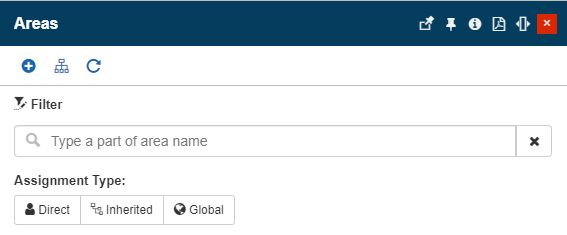
Direct
Inherited
Global
Open the Select Roles panel to edit the set of roles available for the current user in the context of the respective entity.
Tip
For more details regarding Areas management, please visit the dedicated articles here.
The Devices tile
The Devices tile displays the number of devices assigned to the current User.
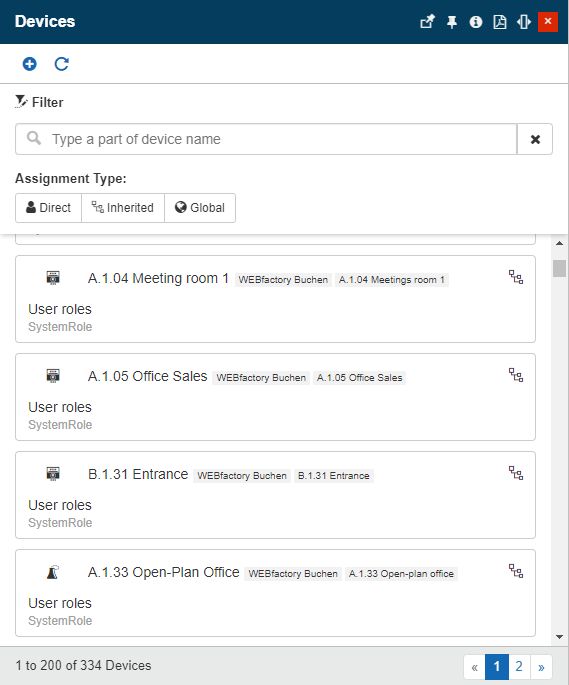
The User Devices panel
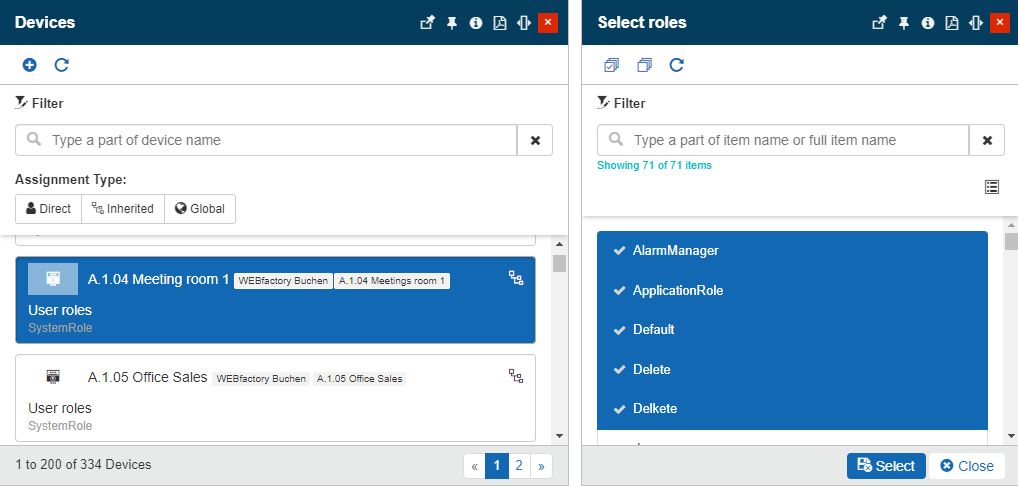
Clicking on this tile the Devices panel is opened. Here, only the assigned devices are listed, allowing the user to organize the following operations:
Open the Devices role assignments panel by clicking on the Add button. The panel allows the user with the possibility to select the Entity and the Roles.
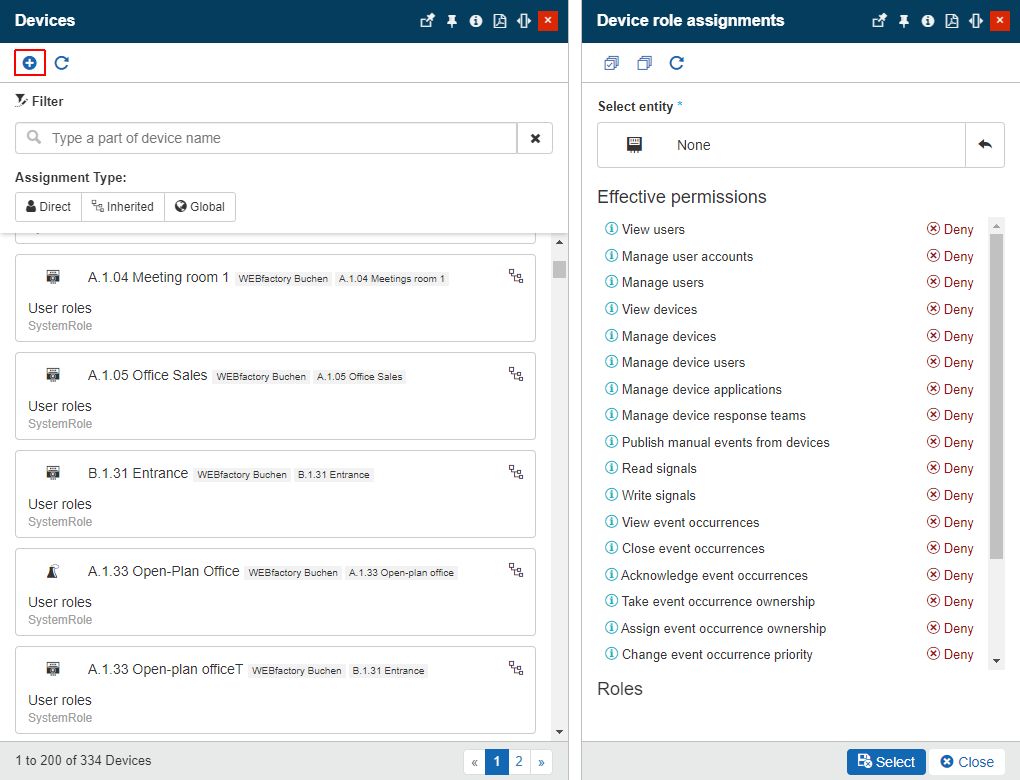
Tip
For more details about the Entity role assignments, please visit the dedicated article, here.
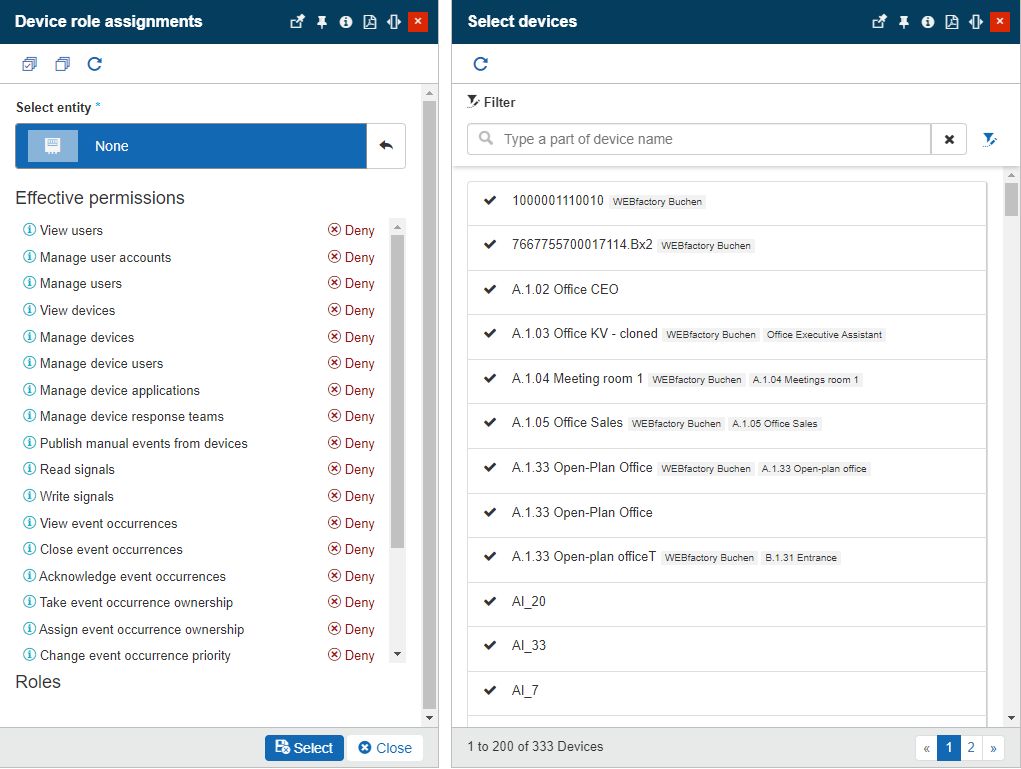
To choose the Device you want to select, click on the panel where the list of devices available for selection is displayed.
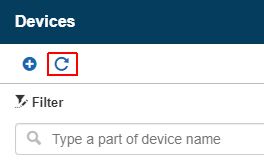
Refresh the list by clicking the Refresh button.
Filter the list of Devices by means of simple textual search.
Tip
For more details about the Simple filter, please visit the dedicated article here.
Filter the list of Devices by means of Assignment type, using the predefined filtering options:
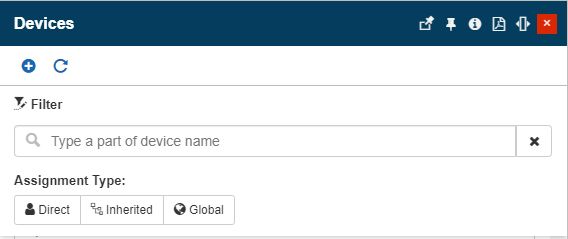
Direct
Inherited
Global
Open the Select Roles panel to edit the set of roles available for the current user in context of the respective entity..
Tip
For more details regarding Device management, please visit the dedicated articles here.
The Reports tile
The Reports tile displays the number of reports assigned to the current user. By clicking this tile, the Reports panel is opened.
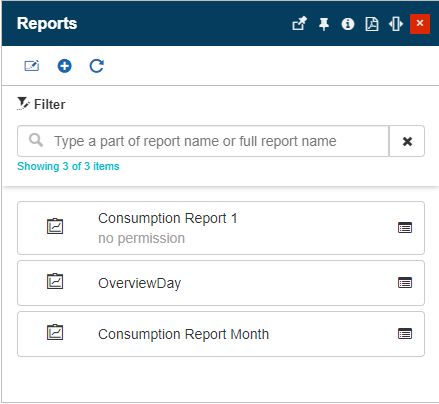
The User Reports panel
To update the User Reports list the user can click on the Change button. The Select reports panel is opened, allowing the user to select/unselect the listed reports. The selected reports are highlighted in green color.
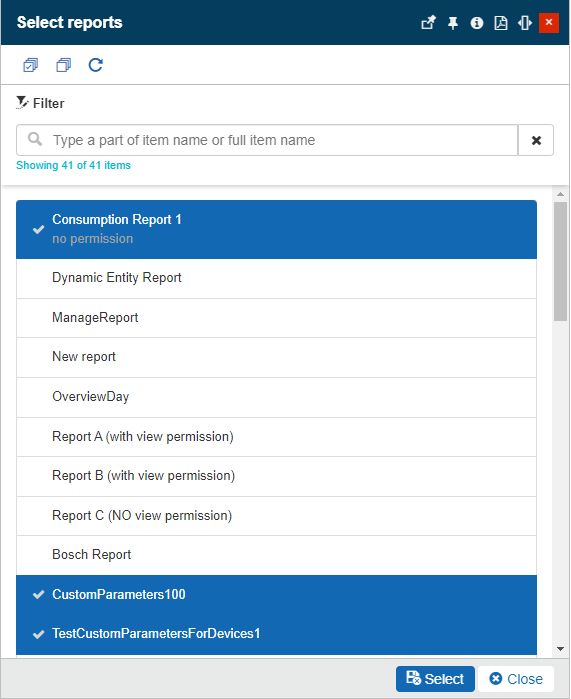
The Select reports panel
Besides changing the assigned reports the user can organize the following operations:
Add reports
Refresh the list of reports
Open listed reports in edit mode
Note
For more details regarding Reports management, please also visit the article here.
The Report schedules tile
The Report schedules tile is displayed only for administrator users, having the Manage report schedule permission assigned. This tile displays the number of report schedules available for the user opened in detailed view mode.
User's Report Schedules tile
Tip
For more details regarding the Reports Schedules table, please visit the dedicated article, here.
Adding a new User
Users having the Manage user accounts permission enabled can create new users. The Add user panel is opened using the Add button from the top side of the Users panel.
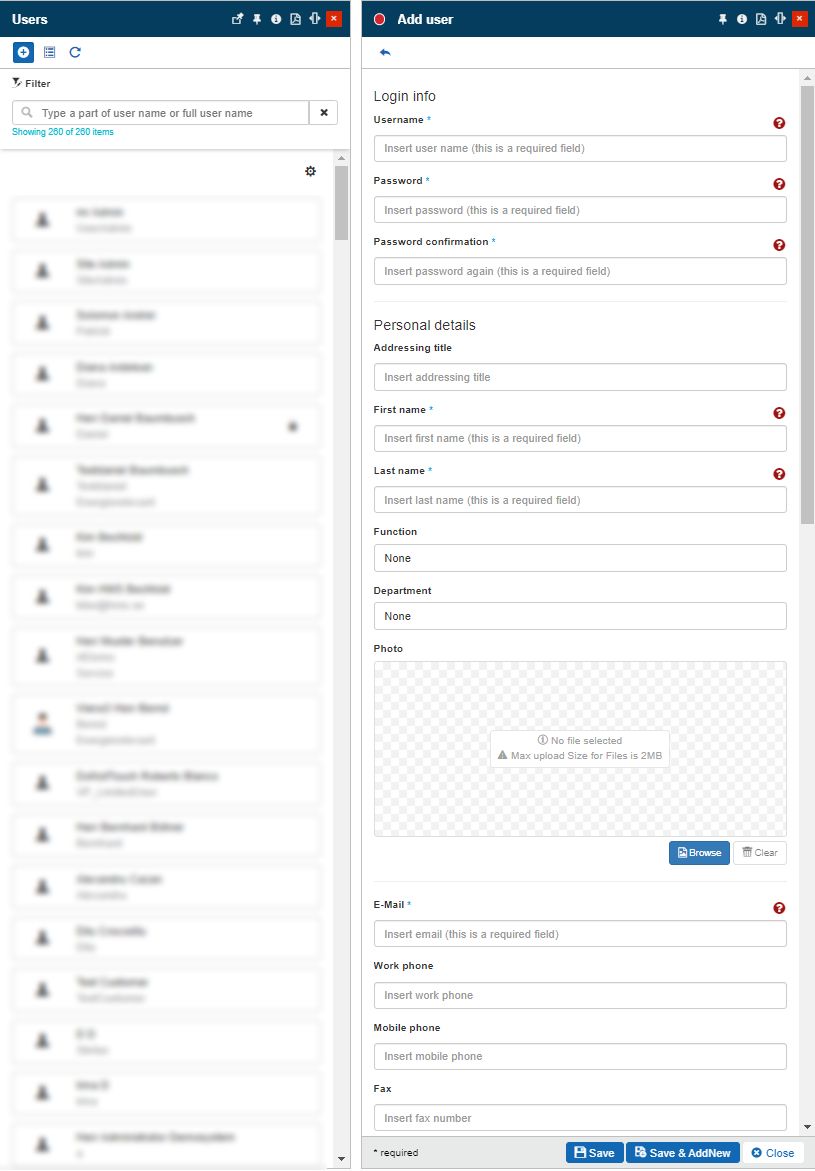
The Add user panel
To add a new user, the minimum required details must be filled in (marked with an asterisk in the Add user panel):
Login info
User name - the login name must correspond to the system standards, as follows:
The username must be unique.
The username should not contain the space element.
Usernames must start with a letter. Allowed characters are a-z, 0-9, _, - (dash), . (dot) and @ (at).
Password - the password must correspond to the system standards, as follows:
Password must be at least 6 characters long
Passwords must have at least one digit ('0' - '9')
Password must have at least one uppercase character ('A' - 'Z')
Password must have at least one alphanumeric character
Password confirmation - the Password confirmation field expects that the value entered here is equal to the one at field "Password".
Personal details
Addressing title
First name
Last name
Function - selection of the User Function is processed from the dedicated panel. Please also read more details about Functions.
Department - Department - selection of the User Department is processed from the dedicated panel. Please also read more details about Departments.
Photo - optionally, the user profile can have an associated photo, that can be uploaded by clicking the Browse button.
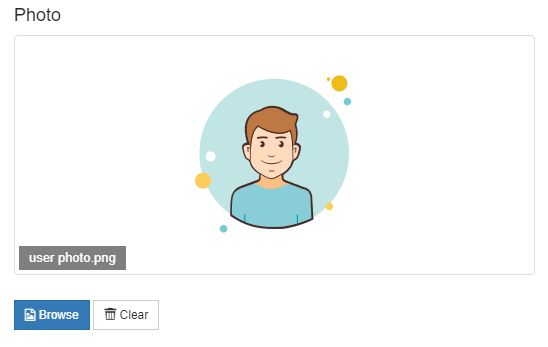
Photo
E-mail - the E-mail address used for the i4messenger Email notifications. This field is capable of validating the inserted address.

E-Mail validation
Work phone - the work phone number.
Mobile phone - the mobile phone number used for the i4messenger SMS notifications.
Fax - the fax number
Telegram Id - the identification number provided by the Telegram bot, used for the i4messenger Telegram notifications.
Address
Street
Postal code
City
Country - the country can be selected from the predefined countries, available in the drop-down list.
Defaults
Email reporting enabled - if the setting is enabled, the user will receive emails, generated by reports.
Report archiving enabled - if the setting is enabled, the user will be allowed to send reports to an archive, as described by the dedicated article.
Language - the language can be selected from the predefined languages, available in the drop-down list.
Time zone - the time zone can be selected from the predefined time zones, available in the drop-down list.
Tip
In case your time zone is not available in the drop-down list, please address to your system administrator who can activate it from the TimeZones table, directly in the i4connected Database.
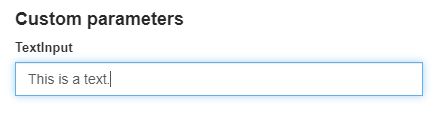
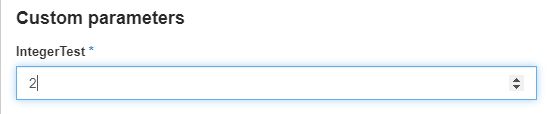
Custom parameters
Important
If no Custom field definitions were specified for Users, the Custom parameters area will be hidden from the Add / Edit user panel.
As soon as at least one Custom field definition is available, the Custom parameters area allows the user to fill in the User's metadata, as described below.
For more details on the Custom field definitions validation rules, please also visit the dedicated article here.
Text metadata - expects textual metadata, with the scope to provide additional information about the user. When setting the textual metadata, the introduced value will be validated against the rules specified at the level of the Text Custom field definition.
Email metadata - expects a valid email address. When setting the email metadata, the introduced value will be validated against the rules specified at the level of the Email Custom field definition.

Integer metadata - expects an integer value. When setting the integer metadata, the introduced value will be validated against the rules specified at the level of the Integer Custom field definition.
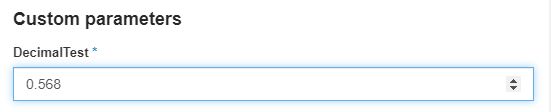
Decimal metadata - expects a decimal value. When setting the decimal metadata, the introduced value will be validated against the rules specified at the level of the Decimal Custom field definition.
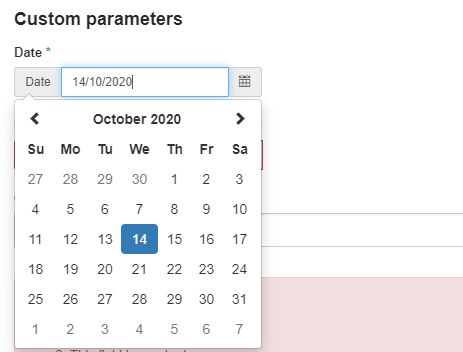
Date metadata - expects a date metadata, that can be selected using the calendar pop-up. When setting the date metadata, the introduced value will be validated against the rules specified at the level of the Date Custom field definition.
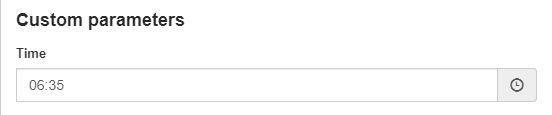
Time metadata - expects time metadata, that can be selected using the Clock pop-up. When setting the time metadata, the introduced value will be validated against the rules specified at the level of the Time Custom field definition.
DateTime metadata - expects a date and time metadata, that can be selected using the calendar pop-up. When setting the DateTime metadata, the introduced value will be validated against the rules specified at the level of the DateTime Custom field definition.

Url metadata - expects an URL. When setting the Url metadata, the introduced value will be validated against the rules specified at the level of the Url Custom field definition.

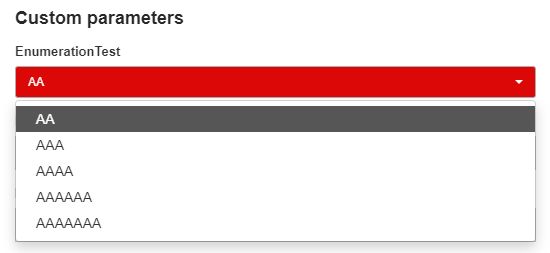
Enumeration metadata - expects the selection of one of the values defined by the Custom field definition. Selection can be done using the drop-down list. When setting the Enumeration metadata, the introduced value will be validated against the rules specified at level of the Enumeration Custom field definition.
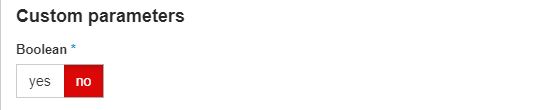
Boolean metadata - expects the selection of one of the Yes/No values. Selection can be done using the toggle button. When setting the Boolean metadata, the introduced value will be validated against the rules specified at level of the Boolean Custom field definition.
The validation system will notify the user if the provided information is not sufficient for creating the new user. Also, the panel header is highlighted in red, until all required information is filled in.

Validation error - This field is required
The bottom section of the Add user panel provides the following options:
Save - Saves the user and opens it in detailed view mode
Save and Add new - Saves the user and reopens the Add user panel
Close - Closes the Add user panel without preserving any changes
Important
An email notification will be delivered to all the new users, for which a valid address has been provided. The notification asks for the account confirmation.
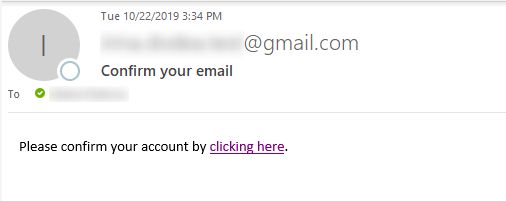
The Email notification
By clicking the provided link, the i4connected Identity page is opened in your browser and automatically processed the Email Confirmation.
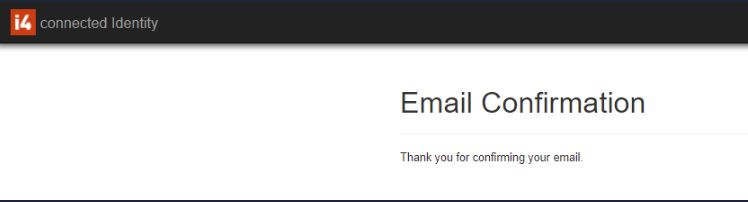
i4conected Identity - Email Confirmation
Editing a User
The top menu of the View User panel provides the options for updating the selected user information, for users having the Users permission enabled.
The Edit user button
The Edit button opens the Edit user panel which allows the user to modify all the user information provided when creating the user (see the Adding new users article).

The Edit user panel
Changing the password of a User
The Change password button opens a panel with the same name where the system administrator can change the login password, of the currently selected user. This option is guarded by the Manage user accounts permission.

The Change password button
In this view, the New Password and the Password Confirmation need to be filled in. In order for the save operation to be possible, the new password needs to correspond to the system standards. Another condition is that the two entries need to be equal.

The Change password panel
Important
The validation system will notify the user if the provided information is not sufficient or does not correspond to the standards. Also, the panel header is highlighted in red, until all required information is filled in.
Locking and Unlocking a User
Any user can be locked out of the i4connected portal either by intentionally locking the selected user from the administration section or if the user tries to log in using the wrong password, more than five times in a row. The Lock and Unlock User options are available in the toolbar of the View User panel. This option is guarded by the Manage user accounts permission.
Tip
For a step-based tutorial describing this function, please visit the Locking and unlocking userstutorial here.
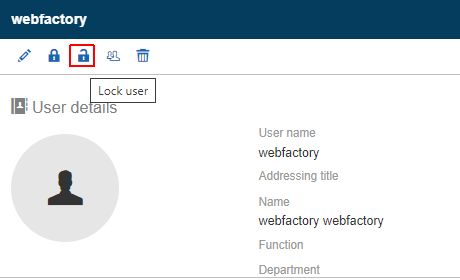
The Lock user button
A lock symbol will be displayed for all the users that have been locked.

Example of a locked user
A locked user can be unlocked by the system administrator, at any point.
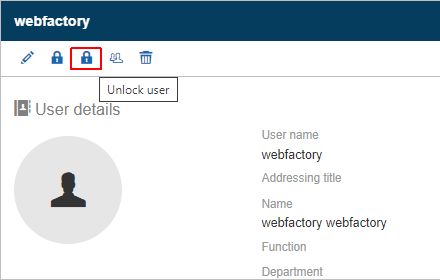
The Unlock user button
Important
The Lock user option is disabled for the currently logged-in user, as this action might cause further conflicts.
Copying a User
By clicking the Copy user button in the toolbar of the User detailed view mode panel, the Copy user settings panel is opened. This option is guarded by the Manage user permission.
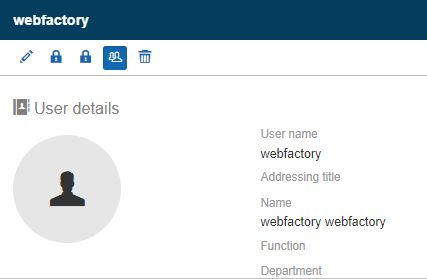
The Copy user button
In this view, the system administrator can decide to update the selected user by copying the settings of another user.
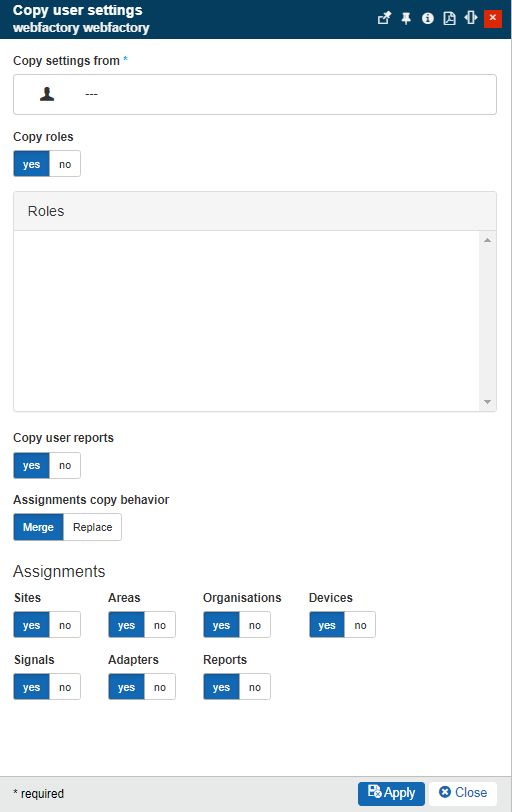
Copy user settings panel
The Copy user settings panel features the following options:
Copy settings from - opens the Select Users panel where the system administrator can select one user from which the settings will be copied to the currently edited user.
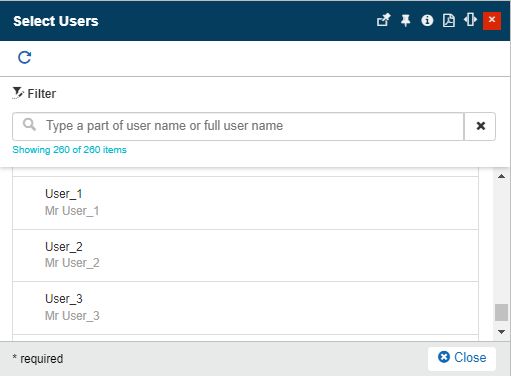
The Select Users panel
Copy roles - allows the administrator to choose if the roles of the source user will be copied or not. When copying the roles of the source user, the roles of the currently edited user will be completely replaced by the new ones, without merging or keeping any of the initial roles. The source user's roles are listed in the Roles panel.
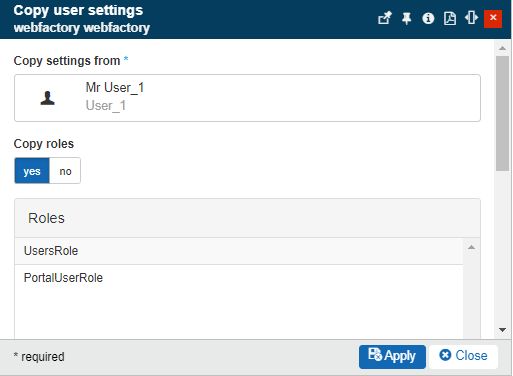
The Copy roles area
Copy user reports - allows the administrator to choose if the source copy user reports will be copied or not.

The Copy user reports area
Assignments copy behavior - allows the administrator to choose a method for copying the assignments of the source user to the currently edited user. The two options are:

Assignments copy behavior
Merge - replaces the selected assignments from the currently edited user with the ones from the source user. The assignments that are not selected will not be modified on the currently edited user.
Replace - replaces the selected assignments from the currently edited user with the ones from the source user. The assignments that are not selected will be removed from the currently edited user.
Assignments - features all the i4connected entities carrying roles or permission settings involving Sites, Areas, Organizations, Devices, Signals, Adapters, and Reports. By toggling the Yes/No buttons, the administrator can decide which entity role assignments to copy.
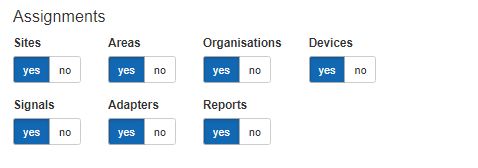
The Assignments area
After all the desired changes have been organized, the user can click on the Apply button, to confirm the settings. Another panel is opened on the right side, the Confirm user settings panel, which lists the summary of the operation and asks for manual confirmation before proceeding.
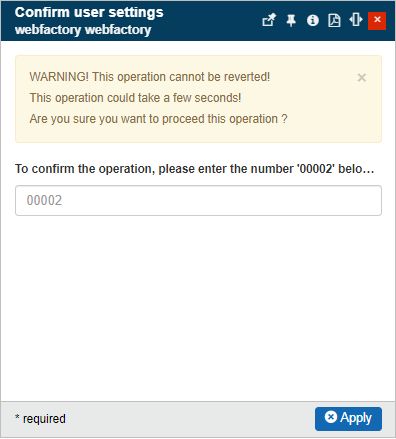
The Confirm user settings panel
Note
A system administrator is not able to copy another user's settings onto itself, hence the button is not active.
Also, the system administrator user cannot copy the user settings of a user belonging to a customer to which he does not have access.
If the source user has assignments to which the administrator does not have access, these will not be copied.
As Super-administrators have access to all customers, the above-described notes do not apply.
Deleting a User
A user can be permanently removed by clicking the Delete toolbar button. This option is guarded by the Manage user accounts permission.
The Delete user button
In the Delete user panel, the user is provided with information upon the effect of the deletion. To confirm the deletion the user is requested to fill in the provided code and press the Delete button.

The Delete user panel
Note
The Delete button is not active for the currently logged-in user, as performing this operation will lead to conflicts.