Scheduling reports table
Yes, the reports schedules table is possible in the i4connected portal! Check out this article for more details about this functionality.
Users having the Manage report schedules permission enabled, can create, edit, and delete report schedules for the users to which the administrator has a relationship.
This can be done by a system administrator, in the Users panel, by selecting a user in detailed view mode and selecting the Reports Schedule tile.
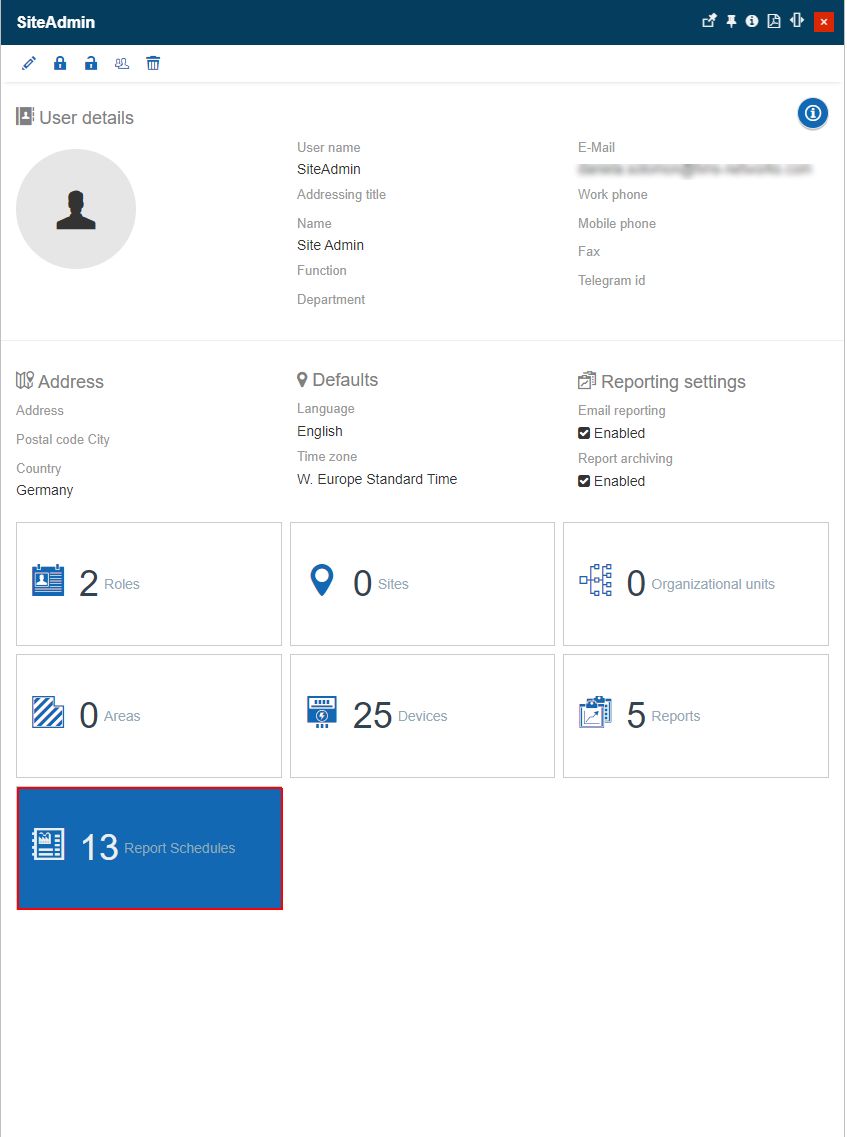
User's Report Schedules tile
As soon as the Report Schedules tile has been selected, the Report Schedules panel is opened. In this view, the system administrator can add, edit, and delete the user report schedules.
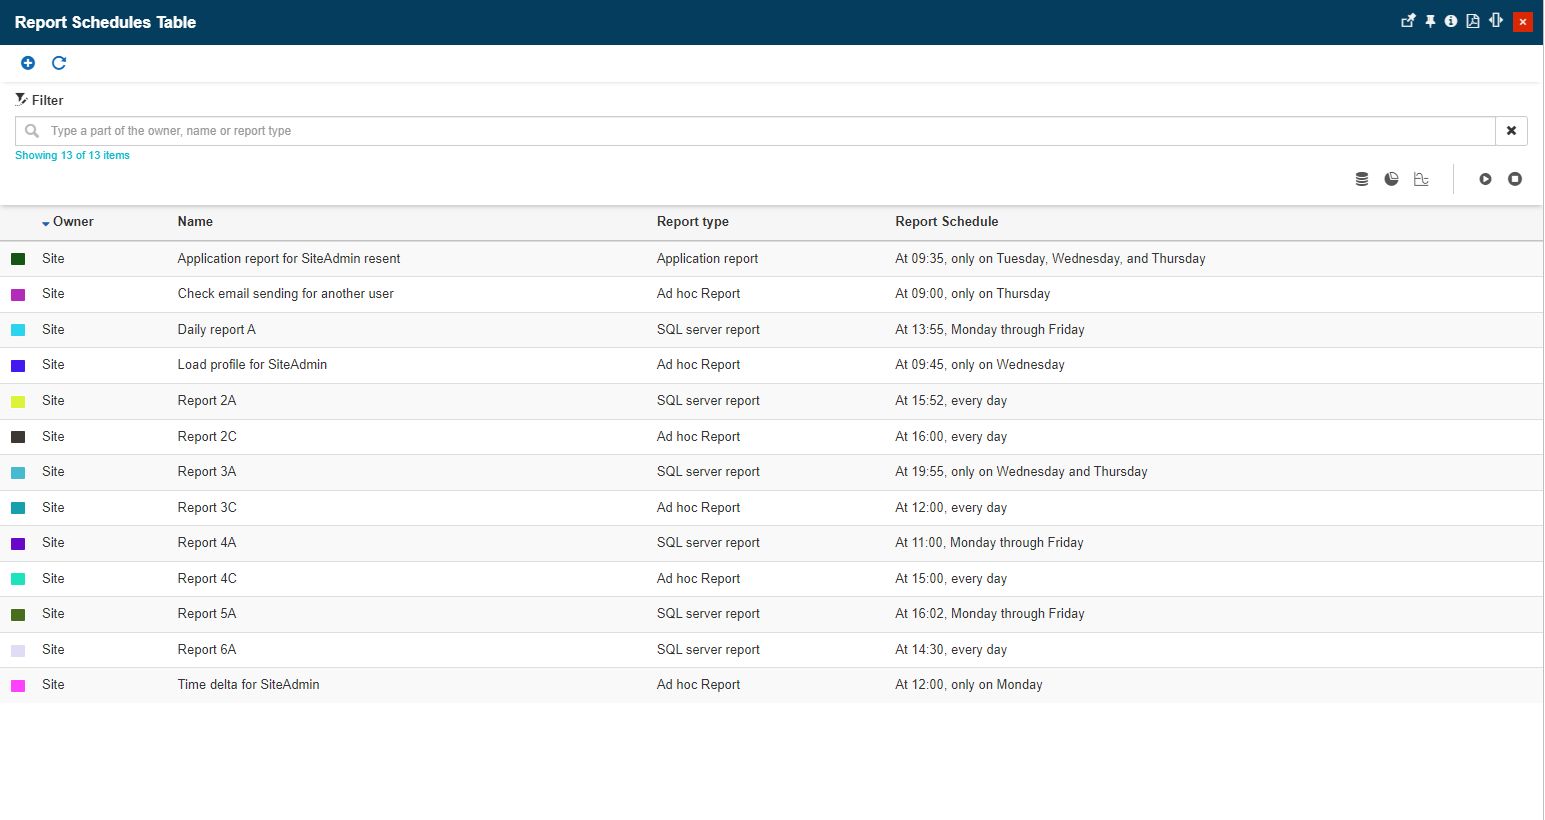
Existing schedules are represented by specific icons in the panel list. The user can distinguish between three types of reports: SQL server report , Application report
 , and Ad hoc report
 .
.
By clicking on one of the specific icons, the list is filtered to display the selected report type.
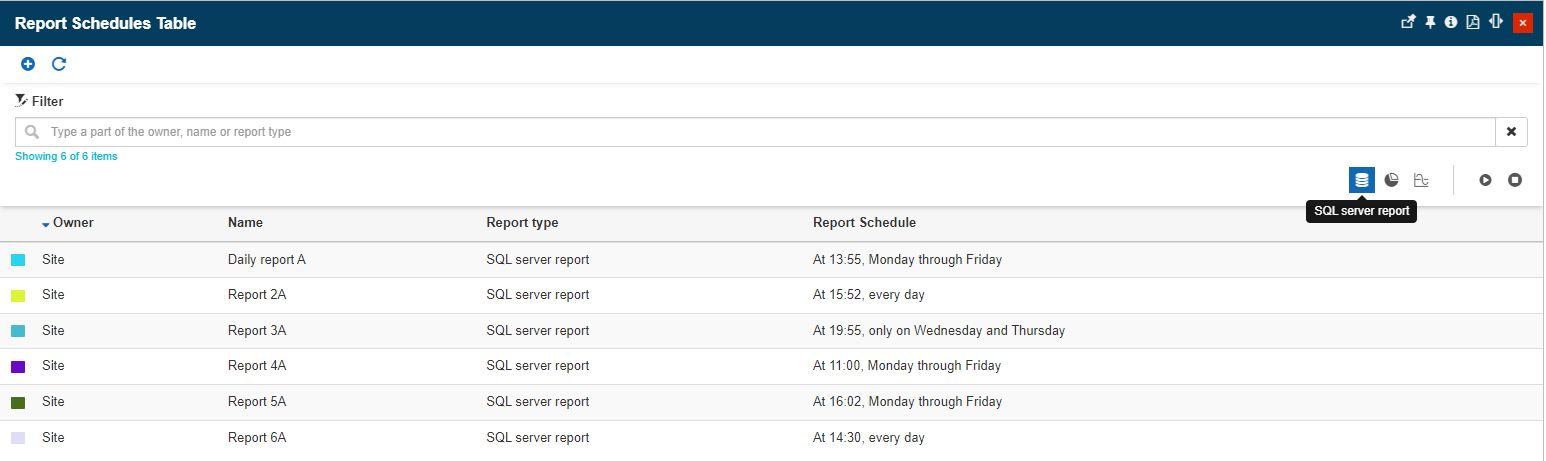
The SQL server report type
In this view, the user can also filter by Active or Inactive reports, by toggling between the respective buttons.

It is also possible to define a new Report schedule, by clicking the Add toolbar button, in the Main panel.

The Add report schedule button
The Add report schedule panel is opened, allowing the administrator to add a new report for a user that he is in a relationship with and customize its scheduling parameters.
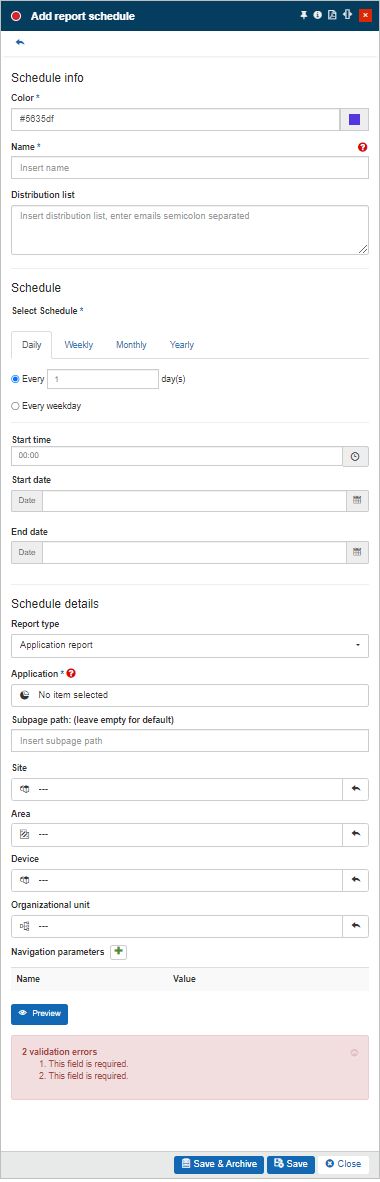
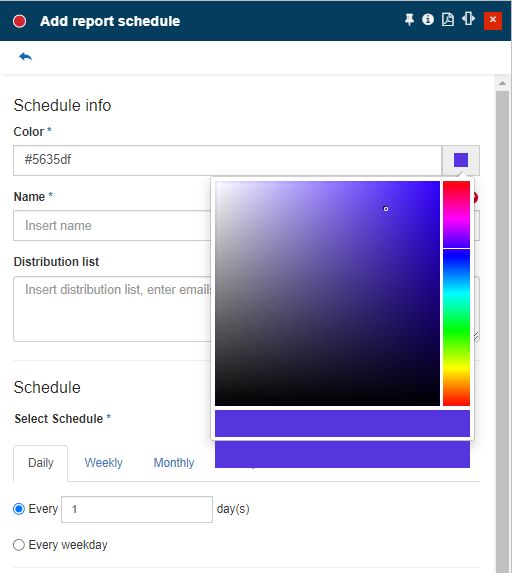
Add report schedule panel
Using the Add Report Schedule panel, the administrator can define the schedule by means of the following parameters:
Color sets the color marking the schedule, in the calendar. Selection is done from the color picker tool.
Name - sets the name of the report.
Tip
The report schedules need a unique name in the system. If a schedule is changed, the report needs to be renamed.
Select User - allows the selection of the user to which the report will be scheduled. The user's list will be automatically filtered to only show the users with whom the administrator has a relationship.
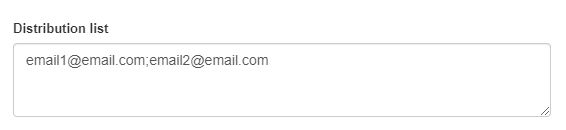
Distribution list - allows the scheduler user to add the email addresses of the other users, to which the scheduled report will be sent.
The distribution list is a free text field that expects one or multiple valid email addresses. When introducing multiple email addresses, they should only be separated by the semicolon ; symbols, and whitespaces are not permitted.
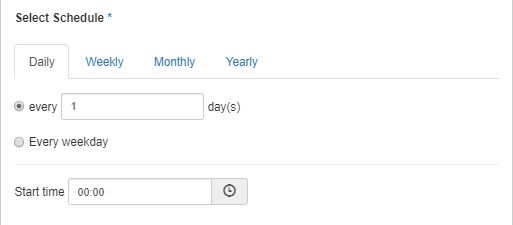
Select schedule - the actual schedule from a chronological point of view can be:
the Daily report delivery can be scheduled to occur at an exact time (Start time), every weekday, or at specific daily intervals, during a predefined period (Start time / End time).
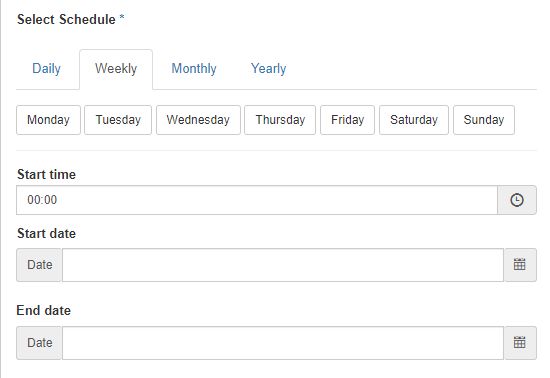
the Weekly report delivery can be scheduled to occur at the exact time (Start time), on predefined days of the week, during the specified period (Start date / End date).
the Monthly report delivery can be scheduled to occur at the exact time (Start time), on predefined days of the month, during the specified period (Start date / End date).
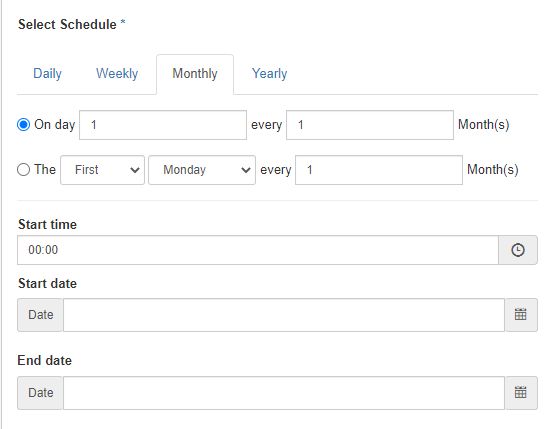
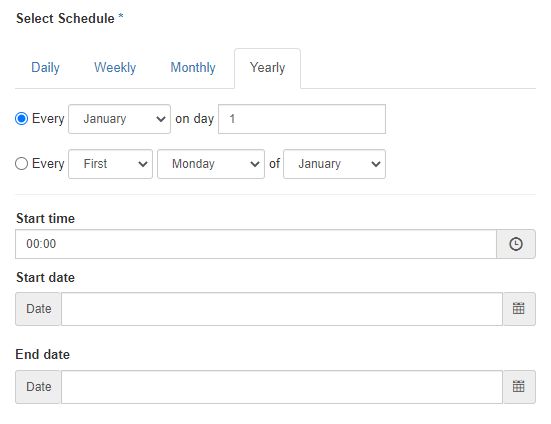
the Yearly report delivery can be scheduled to occur at the exact time (Start time), on a predefined day of the month, during the specified period (Start date / End date).
Report type - allows the user to select the type of report to create, choosing between the following options:
SQL Server Report

Report - sets the Report that will be scheduled.
By clicking the Report button, the Reports list will be opened, allowing the user to select the desired report to be scheduled. In this view, the Reports list will display only the reports assigned to the user.
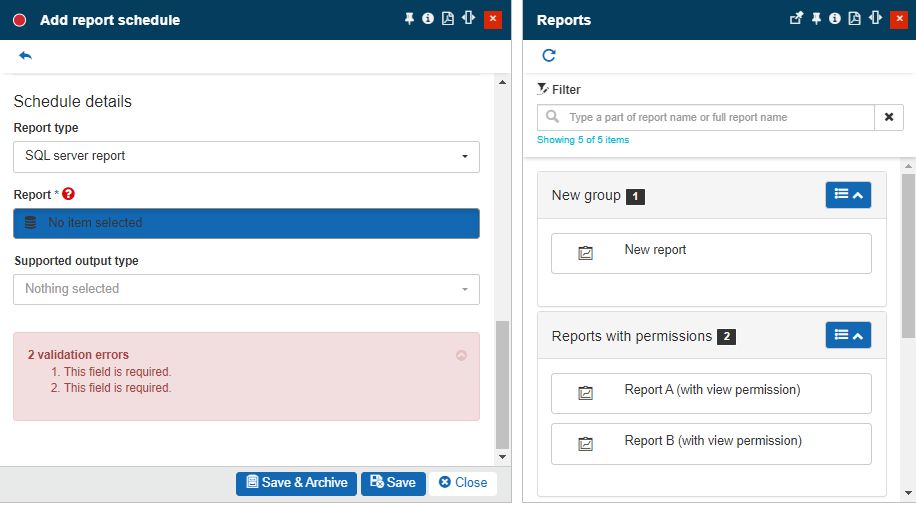
Select report for the schedule
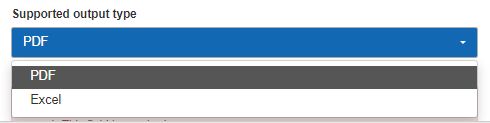
Supported output type - sets the format type supported by the current report. The user can select the format type from the drop-down list. The supported format types are PDF and Excel.
Custom report parameters - this area is enabled only after a report has been added to the schedule. This option allows the user to configure values for the custom parameters available for the selected Report.
This area will show all the custom parameters defined for the currently selected Report, allowing the user to manually fill in the desired values.
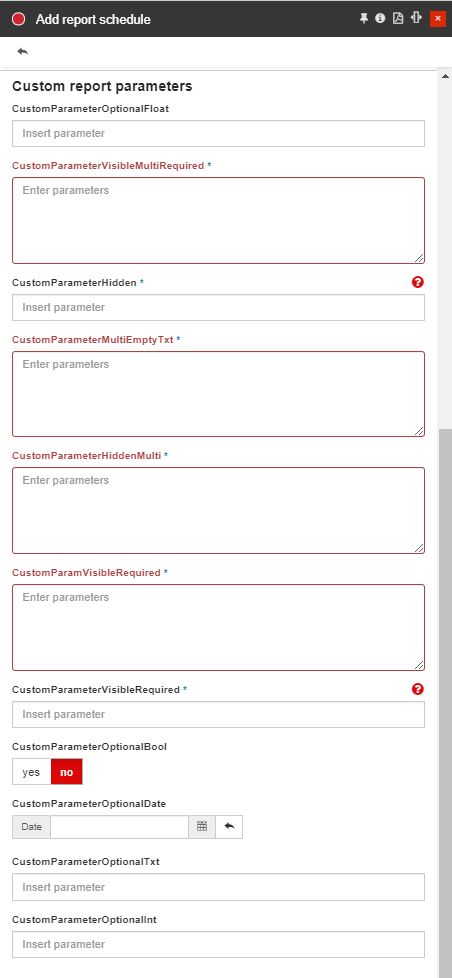
Example of Custom report parameters area
Application Report
Tip
For more details on how to schedule an application report, please visit the dedicated tutorial, here.
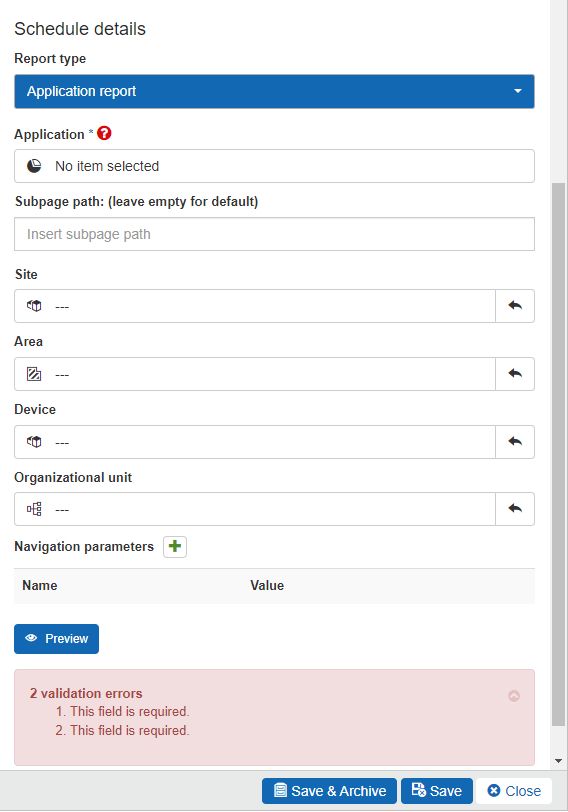
Application - set the Application report that will be scheduled.
By clicking the Application report button, the Applications list will be opened, allowing the user to select the desired application to be scheduled. In this view, the Applications list will display only the applications available for the currently logged-in user.
Subpage path - an optional sub-page of the i4designer project. The sub-page path is given by the project's sub-page exact name.
Site - allows the user to select a Site as an additional reporting parameter. The list of Sites is opened when clicking the respective Sites selector. The list of Sites will be by default filtered to only show the Sites available for the currently logged in user.
Area - allows the user to select an Area as an additional reporting parameter. The list of Areas is opened when clicking the respective Areas selector. The list of Areas will be by default filtered to only show the Areas available for the currently logged in user.
Device - allows the user to select a Device as an additional reporting parameter. The
Organizational unit - allows the user to select an Organizational unit as an additional reporting parameter. The list of organizational units is opened when clicking the respective Sites selector. The list of organizational units will be by default filtered to only show the Sites available for the currently logged in user.
Navigation parameters - an optional set of parameters that allow the user to parametrize the available components.
Navigation parameters can be added by clicking the Add parameter button
 . The user needs to manually input the Parameter Name and Value. Inserted parameters can be removed by clicking the Delete button
 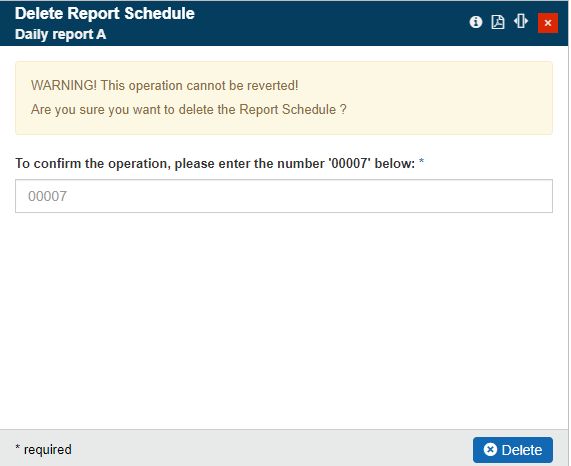 .
.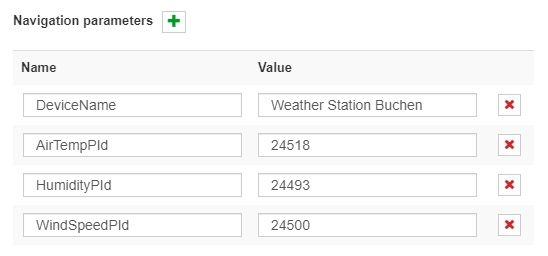
The Navigation parameters
Tip
For a step-based tutorial describing the usage of the Navigation parameters, please follow the dedicated article, here.
Besides the custom navigation parameters, the i4connected platform is also injecting a set of standard parameters. The standard parameters are capable of automatically resolving parsed information.
This table lists the parameters that can be used by the application designer and which will be automatically available to the applications targeting the i4connected platform:
I4C_SITE_ID - Contains the ID of the site to which the application is attached. Injected via query parameters.
Note
Available if the application is attached to:
A site
An area
A device connected to a site
I4C_SITE_NAME - Resolved at startup, it contains the name of the site (untranslated).
Note
Available if the application is attached to:
A site
An area
A device connected to a site
I4C_AREA_ID - Contains the ID of the area to which the application is attached. Injected via query parameters.
Note
Available if the application is attached to:
An area
A device connected to an area
I4C_AREA_NAME - Resolved at startup, it contains the name of the area (untranslated).
Note
Available if the application is attached to:
An area
A device connected to an area
I4C_ORG_ID - Contains the ID of the organizational unit to which the application is attached. Injected via query parameters.
Note
Available if the application is attached to:
An organizational unit
A device connected to an organizational unit
I4C_ORG_NAME - Resolved at startup, it contains the name of the organizational unit (untranslated).
Note
Available if the application is attached to:
An organizational unit
A device connected to an organizational unit
I4C_DEVICE_ID - Contains the ID of the device to which the application is attached. Injected via query parameters.
Note
Available if the application is attached to:
A device
I4C_DEVICE_NAME - Resolved at startup, it contains the name of the device.
Note
Available if the application is attached to:
A device
I4C_DEVICE_DESCRIPTION - Resolved at startup, it contains the description of the device.
Note
Available if the application is attached to:
A device
I4C_DEVICE_ALIAS - Resolved at startup, it contains the alias of the device.
Note
Available if the application is attached to:
A device
Ad hoc report

Panel - sets the Ad hoc report that will be scheduled.
By clicking the Panel button, the panel list will be opened allowing the user to select the desired panel to be scheduled, by choosing between the following options:
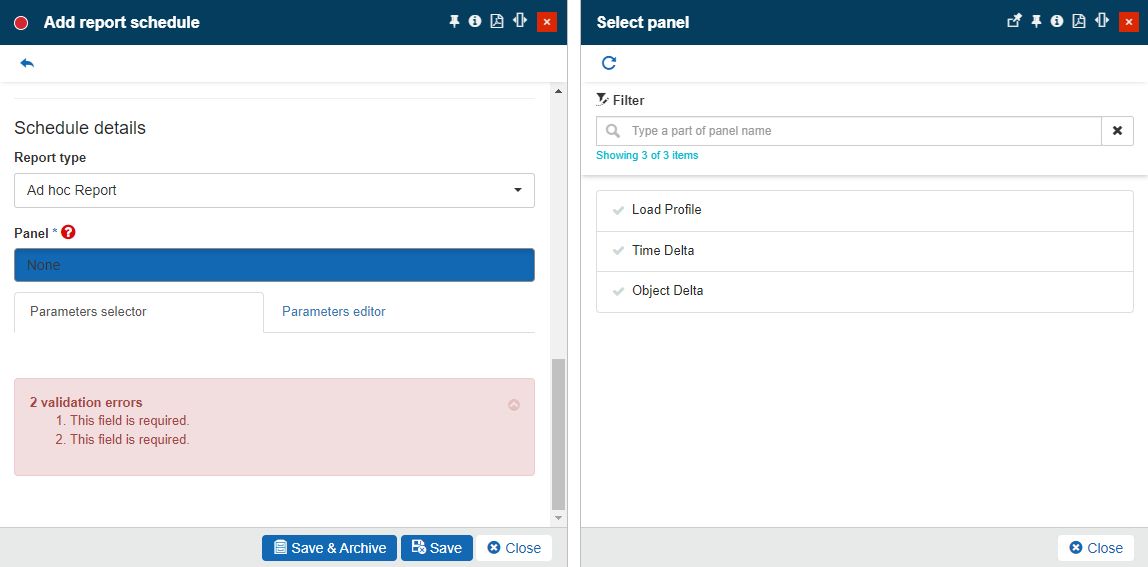
Parameters selector - this area is enabled only after a panel has been added to the schedule. This option allows the user to configure values for the parameters available for the selected Chart. This area will show all the default parameters defined for the currently selected Chart, allowing the user to manually fill in the desired values.
To save the new Report schedule the user can click the Save button or the Save and Archive button.
Tip
For more details about the Report archives please also check the next article.
A scheduled report of a user with whom the administrator is in a relationship can be opened in edit mode by selecting the desired report.
The user can also change all the report schedule properties and the values of the Report parameters and Custom report parameters.
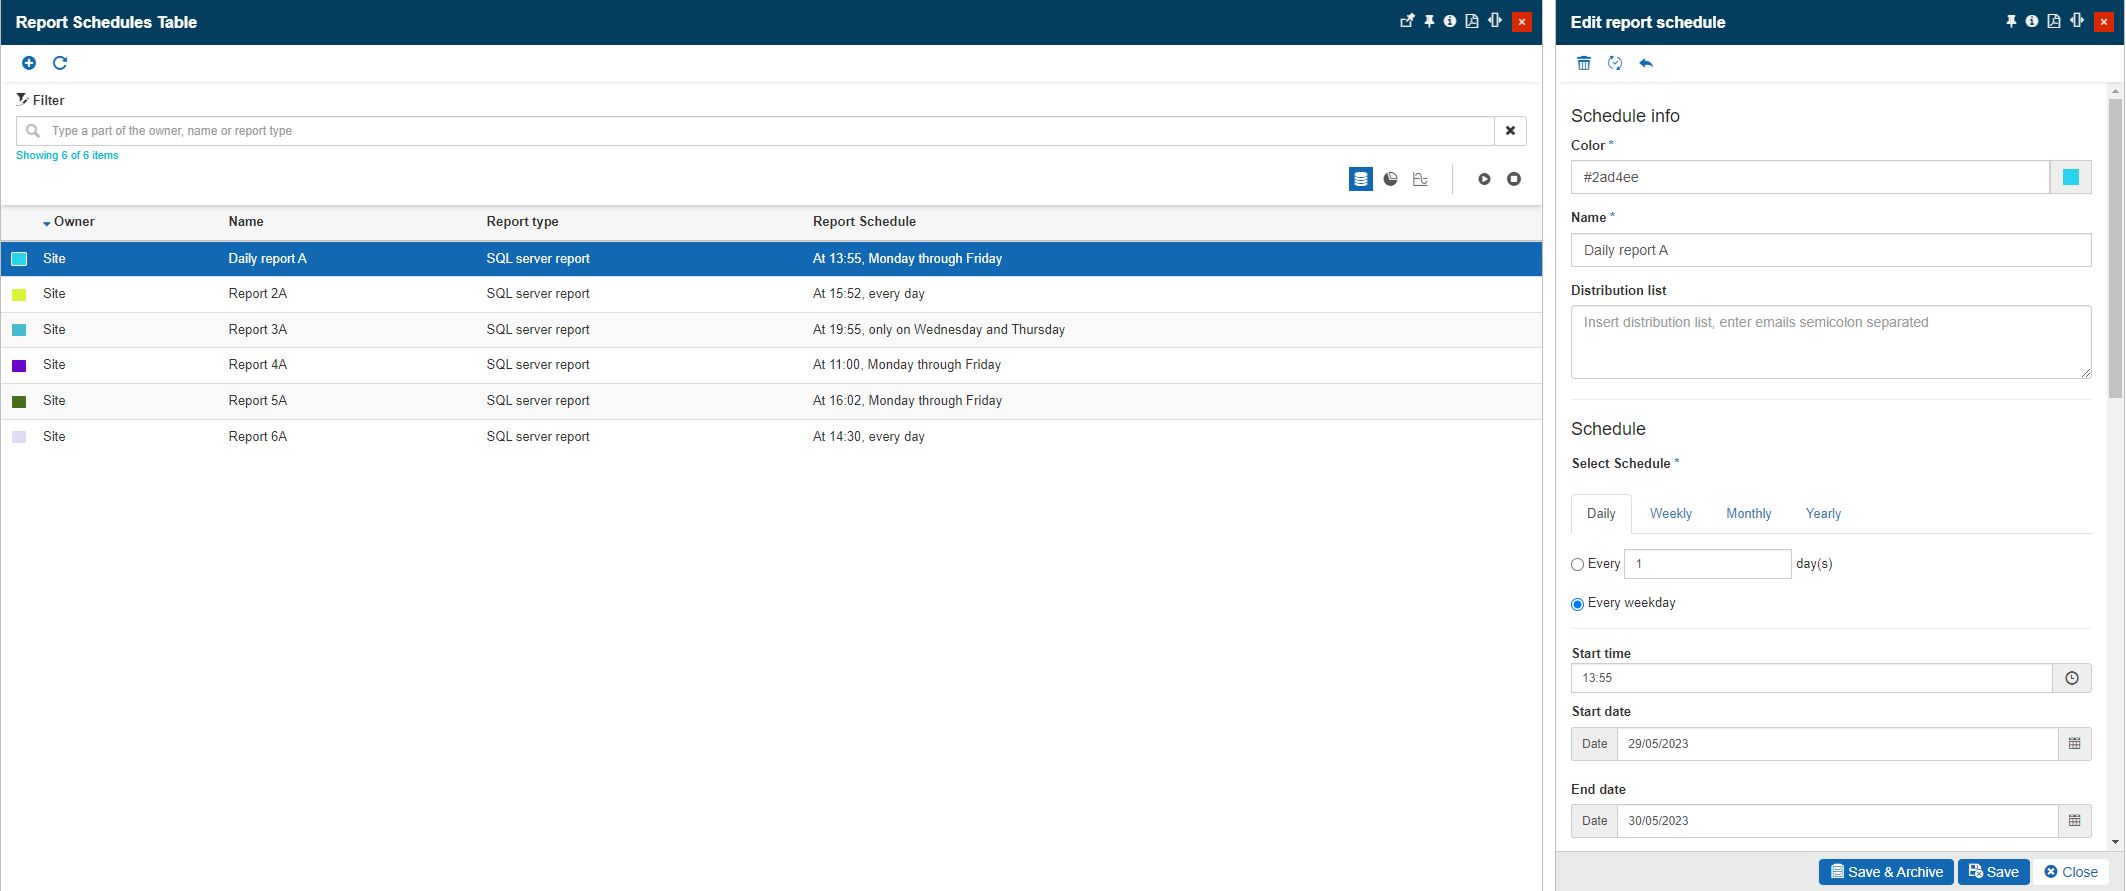
The Edit report schedule table panel
When editing a report schedule, the user can also choose to Regenerate report. This action resends reports that were previously scheduled for delivery at a specific time or interval. The resend action can only be performed after the report schedule definition has been saved,
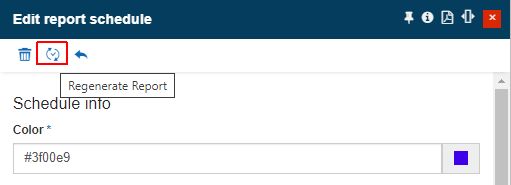
The Regenerate Report button
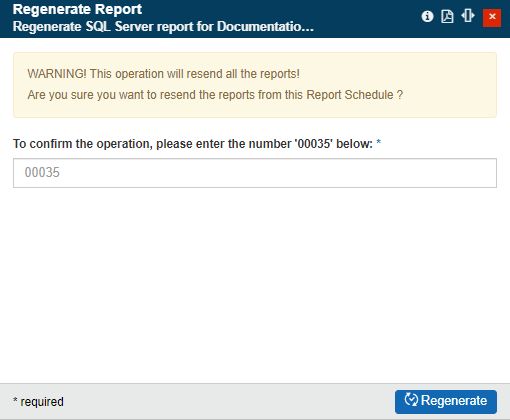
The regeneration of a report schedule follows the same method as any other object inside the i4connected portal. Clicking the Regenerate report button, opens the Regenerate report panel. Here, the confirmation code can be typed in, to confirm the resending operation.
Tip
When editing the Schedule details of a report, the user will no longer be able to Regenerate the report, and the button will be inactive.
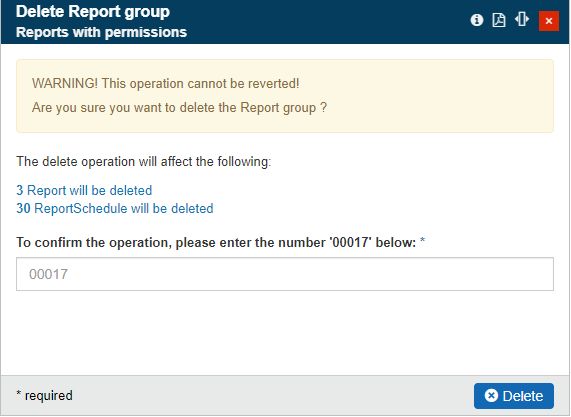
The deletion of report schedules follows the same method as any other object inside the i4connected portal. Clicking the Delete button opens the Delete Report Schedule panel. Here, the confirmation code can be typed, to confirm the deletion operation. Once deleted, the schedule will no longer be visible in the Report Schedule calendar.
Note
Deleting a Report schedule will NOT delete the Report definition itself. To delete the report, use the delete functionality from the Reports panel.
The Delete Report schedule panel