Event Priorities
An Event priority is an action that arranges events in order of importance. Learn all you need to know about the i4connected Event Priorities management!
An Event Priority is an action that arranges events in order of importance.
The dedicated Event Priorities tile opens the Event Priorities panel. The list of Event Priorities can be opened in view mode by all system users, regardless of their permissions set.
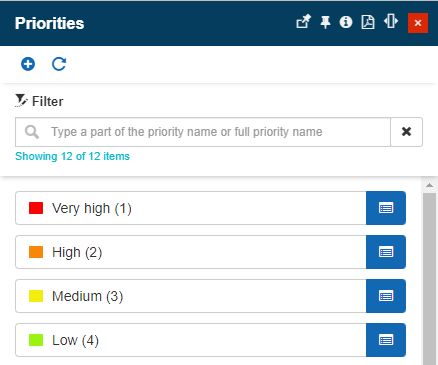
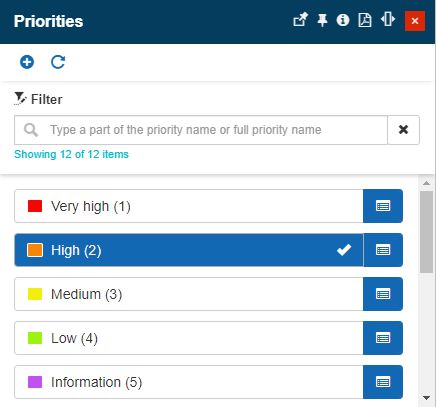
The Event Priorities panel
The Priorities panel lists all the Event priorities. By default, a set of priorities is available in the i4connected portal, but the user can customize them or add new ones, as described in this article.
The Priorities panel features a filtering mechanism, that allows the user the possibility to search by priority name. By clicking the Reset filter button  all the contents in the search field are removed and the filter is no longer applied to the list.
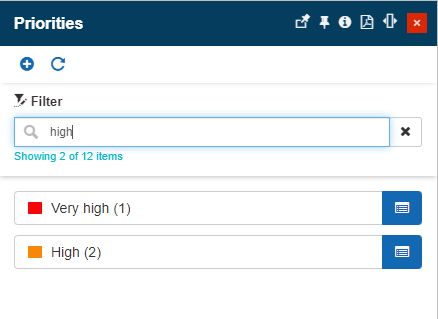
Event Priorities filter
By clicking the Refresh toolbar button, the user can manually reload/refresh the list of Event Priorities.
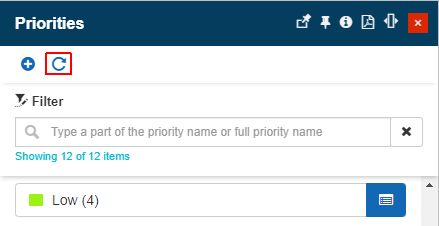
The Refresh button
Adding priorities
An administrator user can add new Event priorities by clicking the Add toolbar button. The Add new Event priority functionality is only available for users having the Manage Events permission enabled.
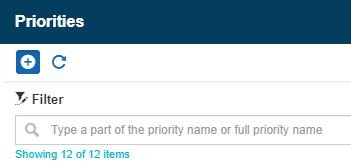
The Add Event priority button
The Add event priority panel features the following settings:
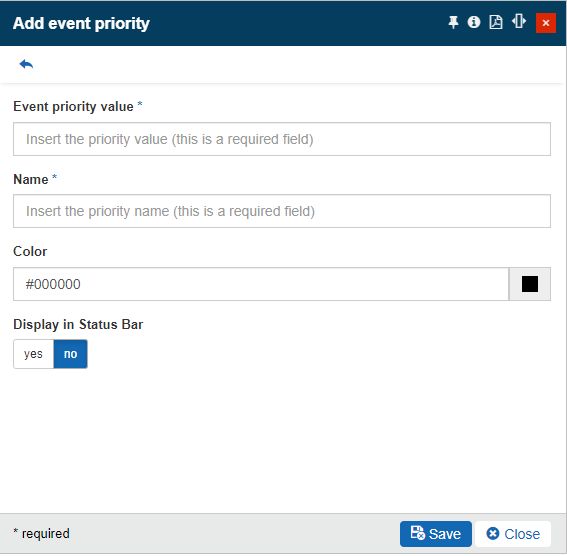
The Add event priority panel
Event priority value - The value associated with the event priority. This field expects a numerical value.
Name - The name of the event priority.
Color - The color associated with the event priority. The color is selected from the color picker tool. Once color is selected from the tool, the color code is filled in the field.
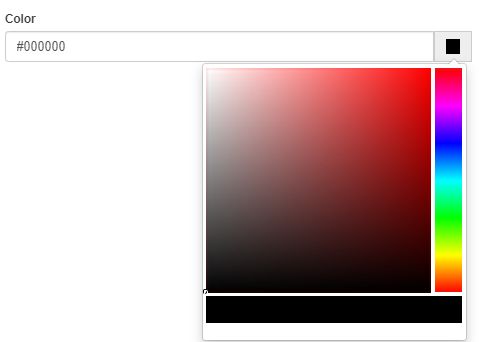
The color picker tool
Display in Status Bar - Enables or disables the priority counts to be shown in the status bar.
Note
All Events triggered with a Priority for which the Display in Status Bar setting was enabled, will appear in the portal's status bar, as an alarm counter.

Example of the status bar showing multiple priorities counters
This is a globally relevant setting, therefore, all the system users having access to the Alarms status bar will have the same view.
To preserve the new Event priority the user is expected to click the Save button. To leave the add mode, the user can click on the Close button.
Editing priorities
Users having the Manage events permission enabled can also change an Event Priorities settings. By clicking on a listed Event priority card, the Edit event priority panel is opened.
Opening an Event priority in edit mode
In this view, the user can change all the settings of the selected entity.
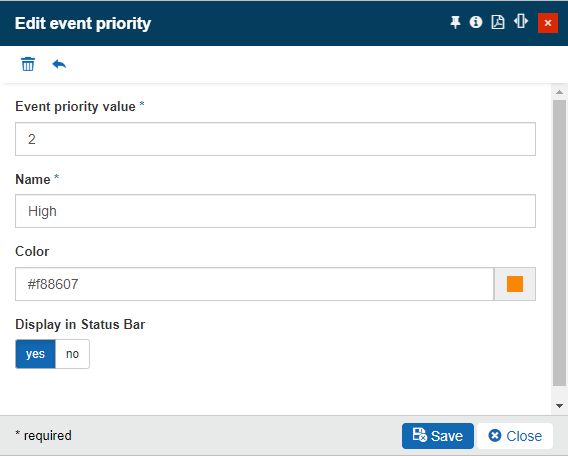
The Edit event priority panel
Deleting priorities
Users having the Manage events permission enabled can remove redundant Event Priorities.
While in the Edit event priority panel, the user can decide to remove the selected entity, by clicking the Delete toolbar button.

The Delete button
In the Delete priority panel, the user is requested to manually type the provided confirmation code. To proceed with the deletion operation the user can click the Delete button. The Event priority is removed from the list view, immediately after the user confirms the deletion operation.
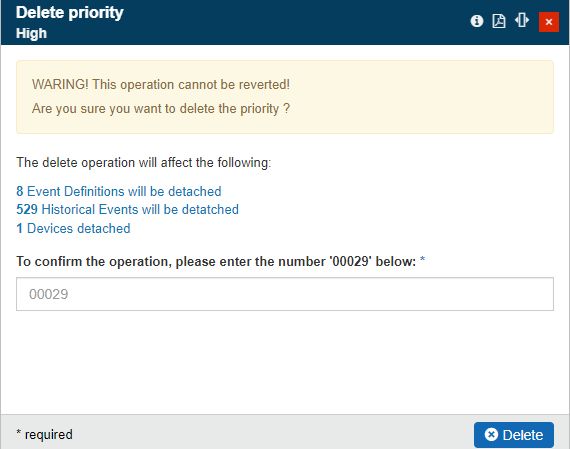
The Delete event priority panel