The Signal Compression feature
The Compression feature allows the user to choose, preview and apply compression settings to Signal data to reduce space and operational costs.
The i4connected Signal Compression feature allows users to choose, preview and apply compression settings to Signal data, with the scope to reduce space requirements and operational costs. This feature is available only for users having the Write signals permission enabled.
The steps to manage a Signal's compression, are:
Set up the Signal Compression
In order to set up compression for a signal, the user can open the Signal List panel, from the Device List.
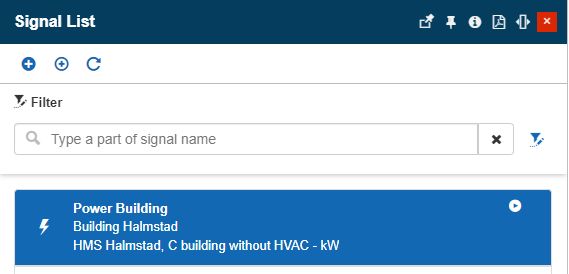
The Signal List panel
By selecting the listed signal, the Edit signal panel is opened. In this view, the toolbar button Setup Compression is available.
Warning
The Signal compression settings are only available for Signals having the Counter setting turned to False.
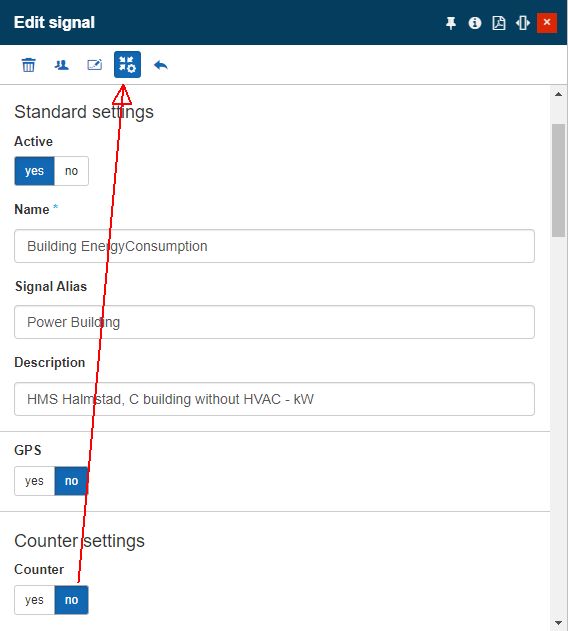
The Counter Setting
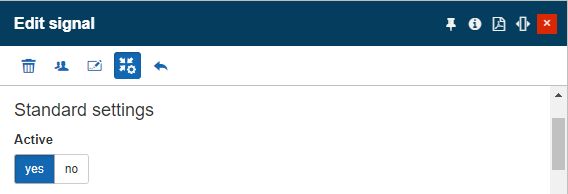
The Setup Compression button
By clicking the Setup Compression button, the Setup Signal Compression panel is opened. In the Add Compression panel, the user is required to add the following settings:
Deviation - is the most significant compression parameter, representing the half-width of the deviation blanket. The deviation blanket is extended between the last recorded value and the new value, with a width equal to twice the compression deviation specification. The Compression Deviation can be expressed as floating-point values, by manual input.
Insert Minimum Time Interval - the compression minimum time has as scope to prevent highly demanding values from using a large amount of archive space. For example, a new log is not recorded if the time since the last recorded event is less than the compression minimum time for the point. The timestamp for minimum compression interval can be defined in minutes, seconds, and milliseconds.
Insert Maximum Time Interval - the compression maximum time is usually set to one value that covers all points in the system. It should be large enough that a point that does not change at all, uses very little archive space. For example, a compression maximum time of one work shift (8 hours) is often a good choice. The timestamp for maximum compression interval can be defined in minutes, seconds, and milliseconds.
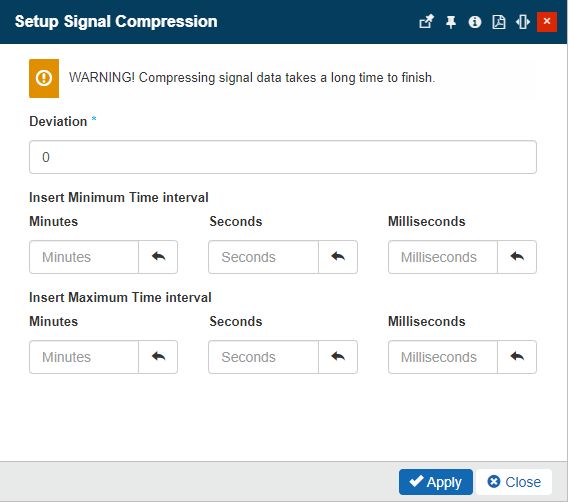
The Setup Signal Compression panel
After filling in the desired compression settings, the user can either apply the signal compression or cancel and close the operation, using the bottom featured buttons Apply and Close.
By clicking the Apply button, the Setup Signal Compression panel is closed and the compression signal is generated automatically. The Preview Compression Settings area will be updated, to display the entered values. Additionally, the Signal's compression status will be set to status "In preview".
Note
The Preview Compression settings area will be displayed by the Edit signal panel until the user applies the compression to the Signal.
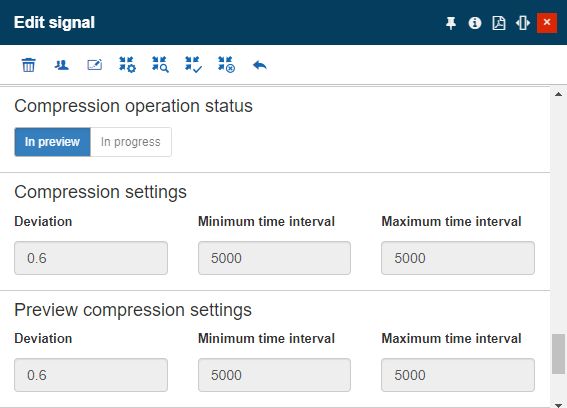
The Preview Compression settings area
Note
As specified by the Warning displayed in the Setup Signal Compression panel, applying the compression preview will process signal measurement history, which is a long-running and continuous process. However, this process is done in the system's background without slowing down other operations.
The compression settings can be set in two situations:
When setting up a preview signal - the user only provides the compression settings, all other signal parameters deriving from the original signal.
In a regular signal that is compressed - when changing these settings, the new values take effect from that point onward (they are not applied to the past measurements).
Preview Signal Compression
The next step in the Signal Compression process is given by the ability of the user to preview the settings, before applying them. As soon as the compression settings are added to a signal, the toolbar of the Edit signal panel will be updated, displaying the Preview Compression button.
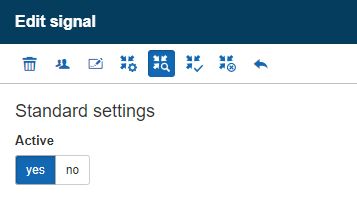
The Preview Compression button
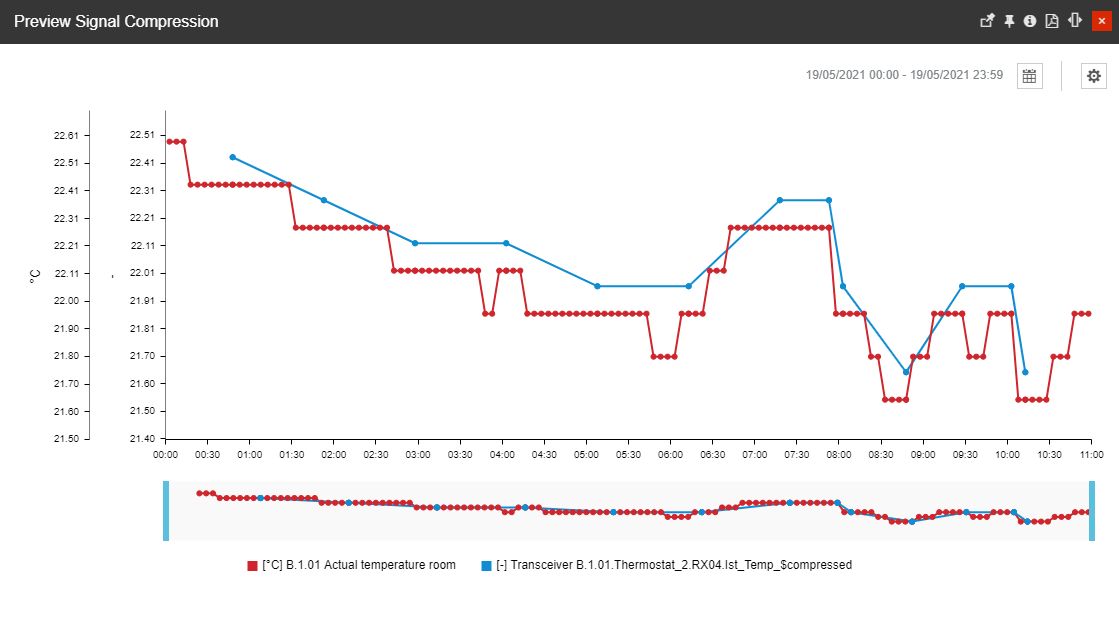
By clicking the Preview Compression button, a new panel is opened, displaying the real-time chart of the original signal and the compressed signal.
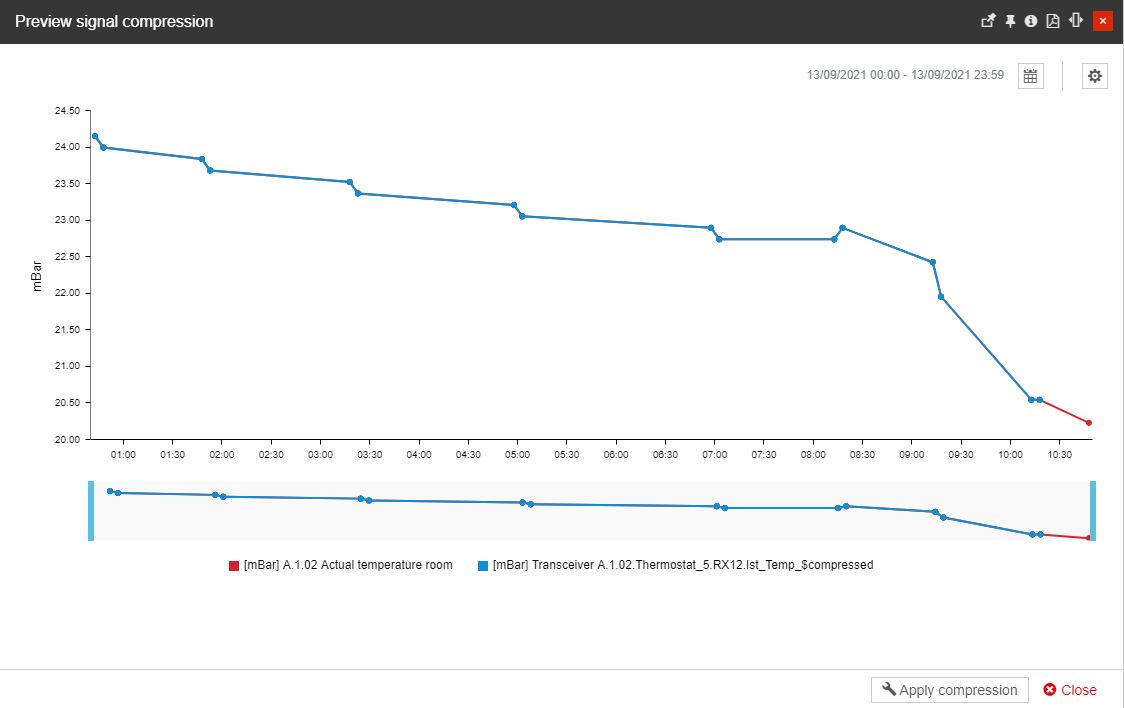
The Preview Signal Compression panel
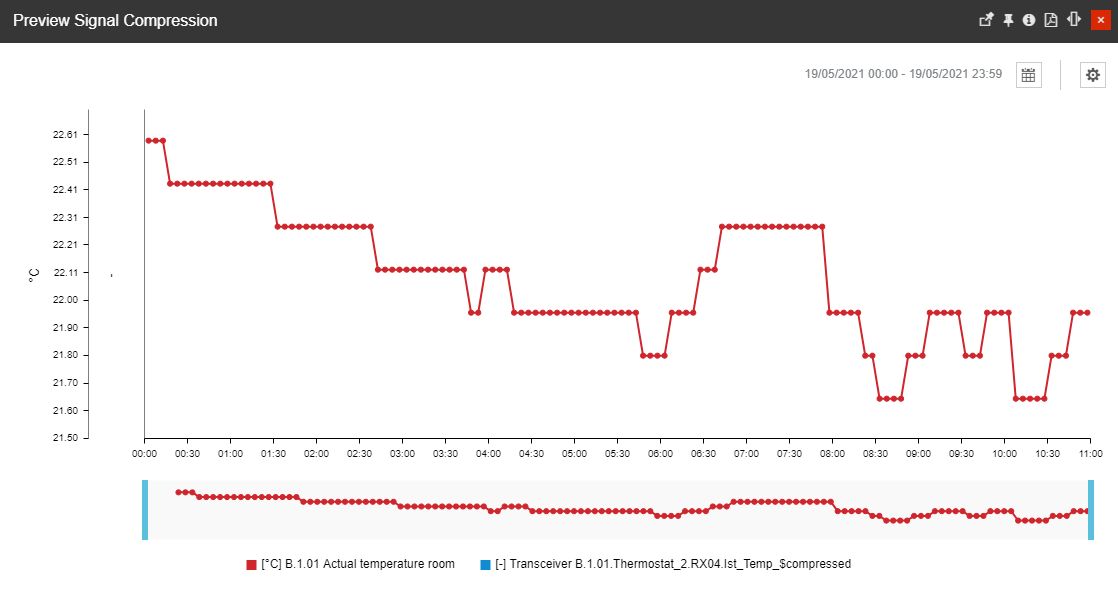
In the Preview Signal Compression panel, the red chart line represents the original signal and the blue one represents the compressed signal. The Chart can be customized to:
display only the compressed signal (blue line)
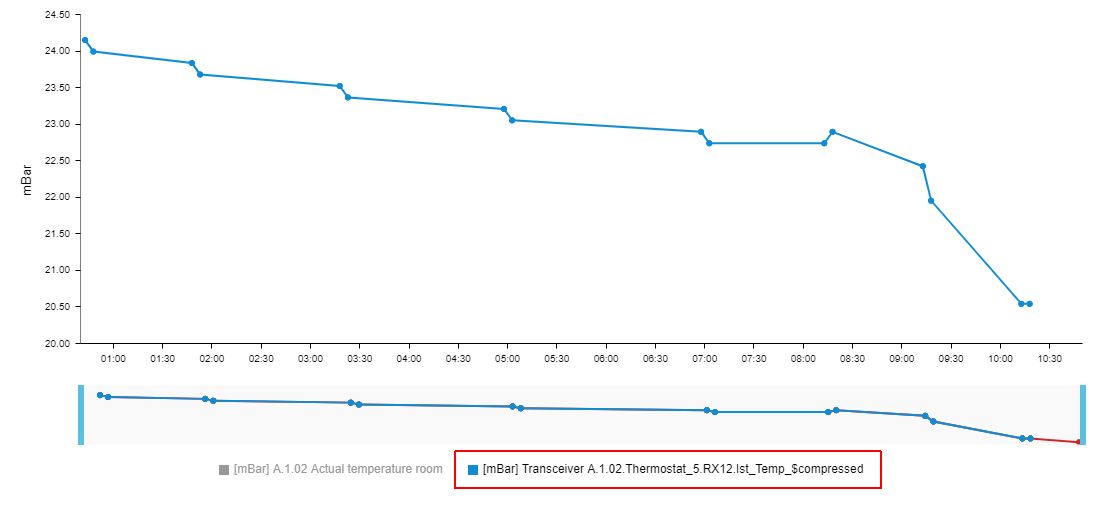
display only the original signal (red line)
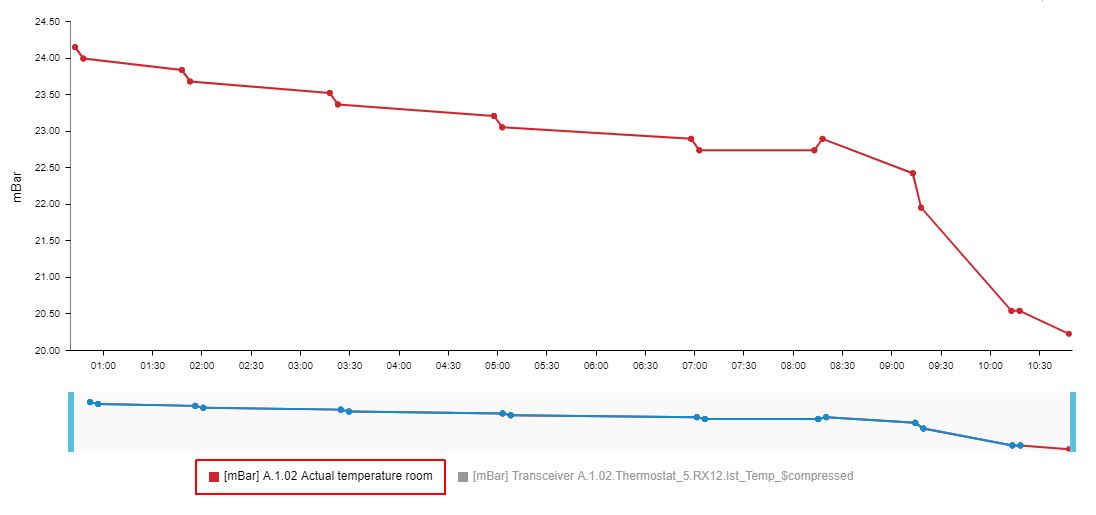
The user can also apply the following filters:
The Date filter can be applied by clicking the Calendar icon, in the panel toolbar. The user can select to Apply filters for a set of predefined Time range (the last hour, the last 8 hours, the last day, and the last week).

Predefined Time range filter
Additionally, the user can customize the time frame, by using the From / To calendar views.
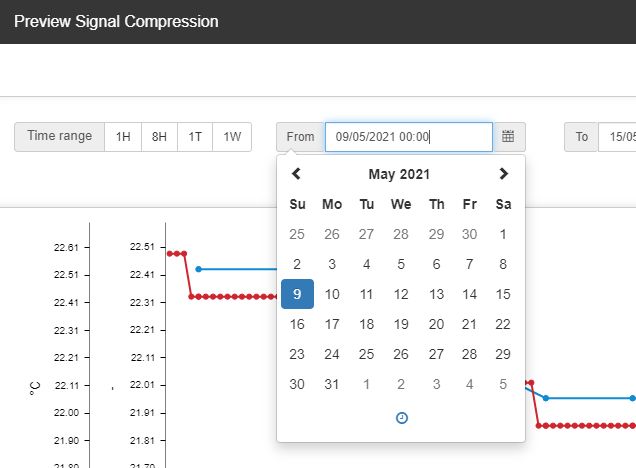
Customized Time range filter
The Maximal displayed measurements filter can be accessed by clicking on the Chart Settings toolbar button. In this view, the user can manually input the desired maximal measurements to be considered by the chart. The default value is set to 10000, but the user can increase/decrease it, as desired.

Chart Settings
When hovering the mouse cursor on top of the Signal Compression chart, the chart tooltips display the Signal names, values of the currently hovered measurement, and the exact timestamp.
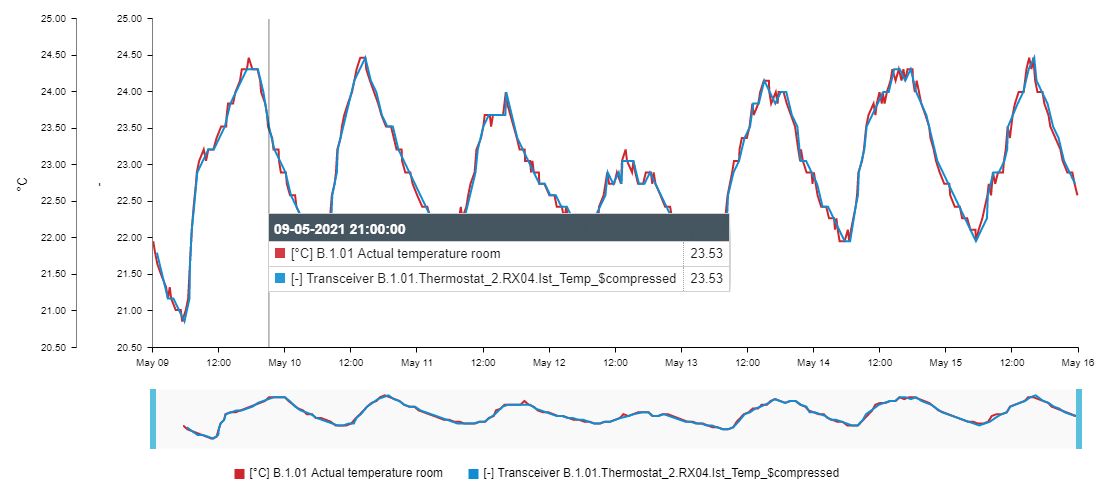
Chart tooltip
Further on, the zoom function allows the user to zoom in or out the chart view, by dragging the left and right boundaries of the zoom area. This way, the user can adjust the chart view, to focus on a specific time range, for a more detailed view.
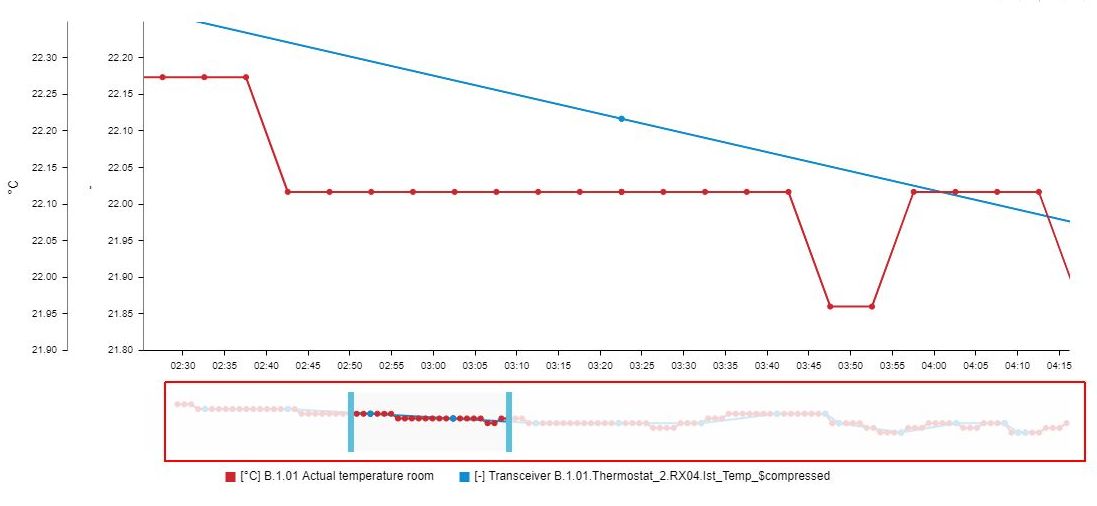
Define the zoom area
The user can save and apply the current compression settings by clicking the Apply compression button, at the bottom of the Preview Signal Compression panel.
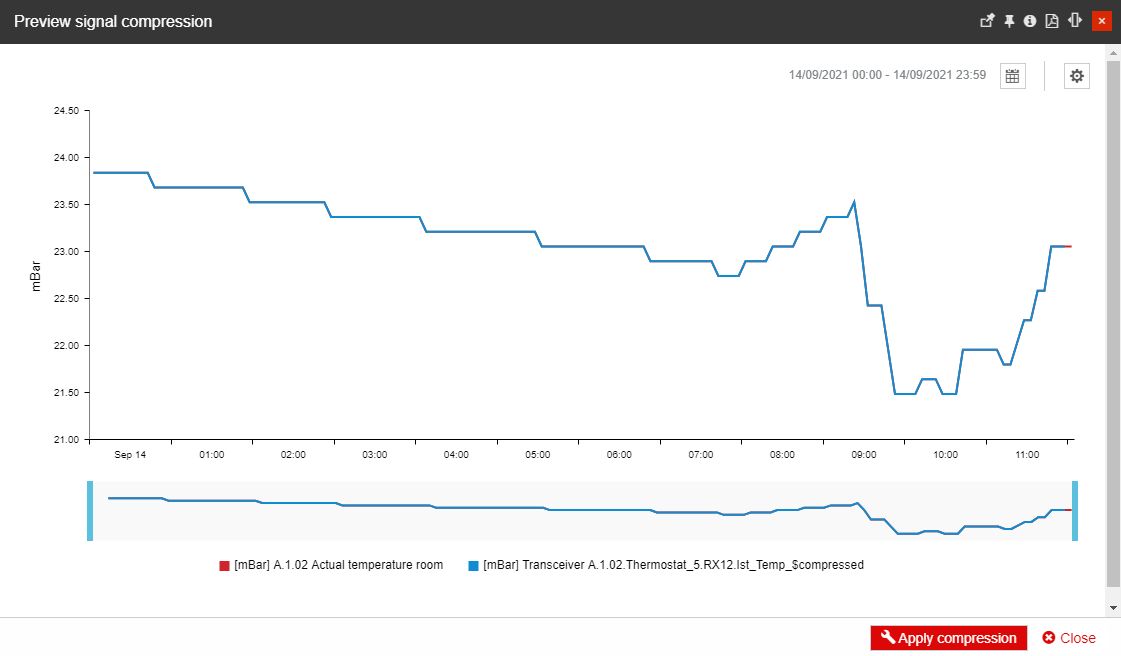
The Apply compression button
EXAMPLE:
For a better understanding of the Preview Signal Compression chart, we will check the chart of one Signal, for a period of 1 month, having different compression settings defined.
Compression settings:
The deviation blanket is 0.2
Minimum Time Interval is 100000 ms
Maximum Time Interval is 100000 ms
Compression settings:
The deviation blanket is 2
Minimum Time Interval is 100000 ms
Maximum Time Interval is 100000 ms
In the above examples (1 and 2) we can recognize how the compression settings can affect the chart view of the same Signal and same time range.
Edit Signal Compression settings
Before applying the Signal Compression, the user can decide to change the setup, by clicking the Setup Compression button. The Setup Signal Compression panel is opened, allowing the user to change the Deviation, the Minimum Time Interval, and the Maximum Time Interval.
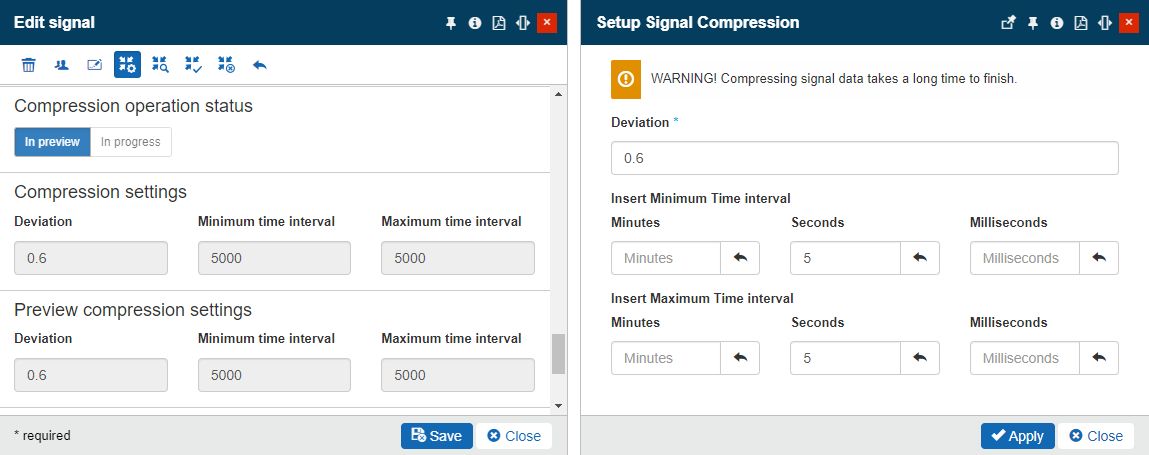
The Edit compression settings
Delete Signal Compression settings
As long as the Signal Compression is not applied, the user can decide to delete the defined settings, by clicking the toolbar button Delete Compression.
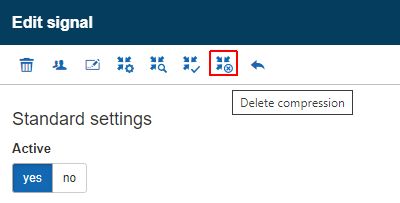
The Delete Compression button
By clicking the Delete Compression button, the settings organized at the first step of this process will be permanently deleted.
Important
When deleting the Compression settings, the user will no longer be asked for confirmation. The deletion will be processed automatically in the background.
Apply Signal Compression settings
After setting up the compression to a signal, the toolbar of the Edit Signal panel is updated to display the Apply Compression button. By clicking this button, the signal swap will be triggered.
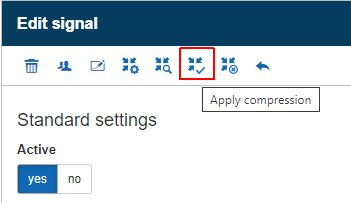
The Apply Compression button
As soon as the compression settings have been applied to a Signal, using the toolbar button, a notification toast will be displayed to confirm the operation.

The confirmation toast message
Since this is a complex operation that might require a long time to be processed, it is performed in the system's background without affecting other ongoing or further operations. The Compression status area, of the Edit signal panel, will be set to the status "Compressing history".
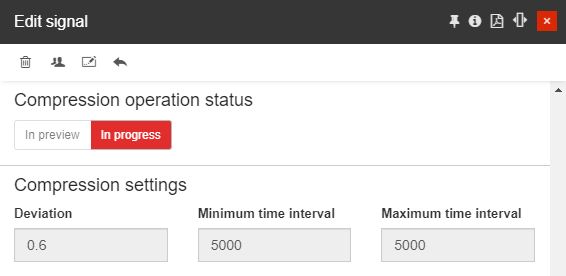
Status "Compressing history"
Note
Consequently, the toolbar of the Edit Signal panel will no longer display the compression settings buttons, until the operation is finished.
As soon as the Signal's historical data is compressed, the user will be allowed to change the previously applied compression settings, using the Setup compression button.
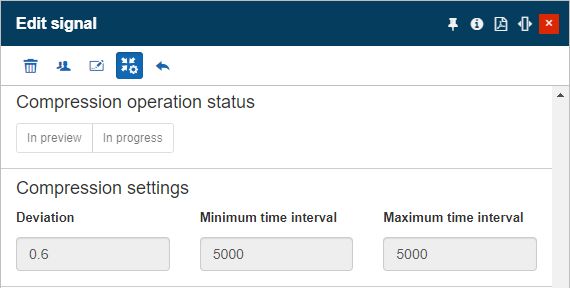
Compression applied
