The Site types
Learn about the usage of Site types and how to manage them, in the context of your i4connected project, by reading this article!
The list of Site types can be accessed either from the dedicated Tile or in the context of Adding / Editing an existing Site.
The Site type tile
The Site types allow the user to perform the following actions:
Viewing the list of Site types
The Site types panel lists all the existing Site types available in the system.
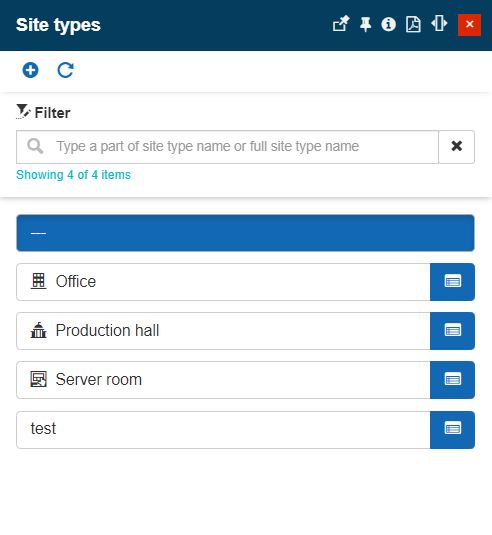
The Site types panel
Refreshing the list of Site types
The Refresh toolbar button from the Site types top menu provides the user with a manual way to reload/update the list.
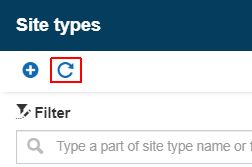
The Refresh button
Filtering the list of Site types
The Site types list provides the user with the possibility to filter the listed items by typing in the Site type name or a part of its name.
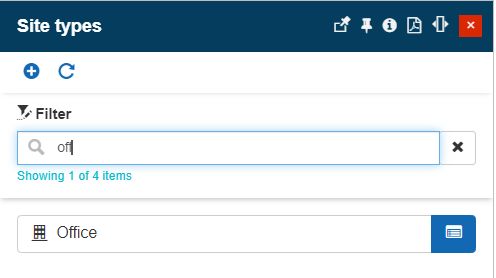
Example of a filtered Site type list
By clicking the X button near the search field, all the contents here are removed and the applied filter is removed.
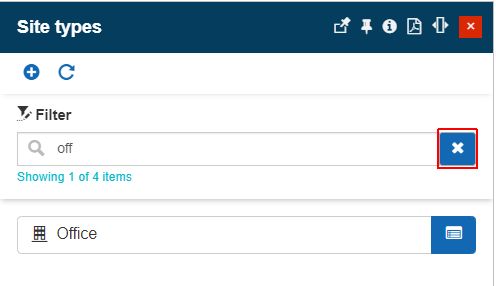
The Reset filter button
Adding new Site types
Users having the Manage configurations permission enabled are allowed to create Site types, by clicking the Add toolbar button.
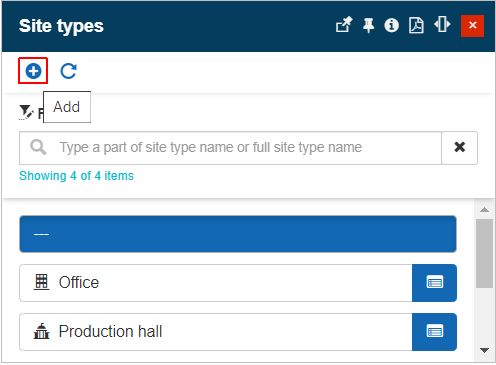
The Add Site type button
The Add Site type panel allows the user to define a new name and icon for the new site type.
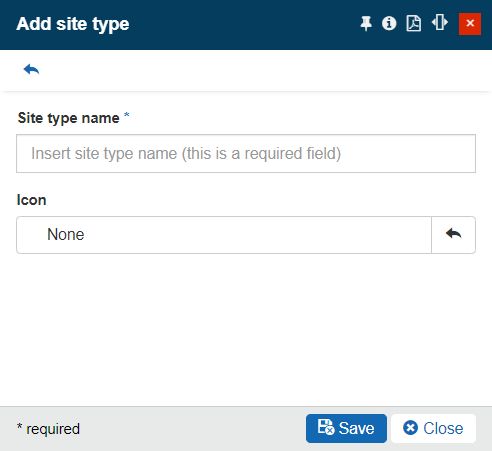
The Add Site type panel
The Site type icon will represent the current site type in the list view. The image can be picked up from the Select icon panel, opened when clicking the Icon field.
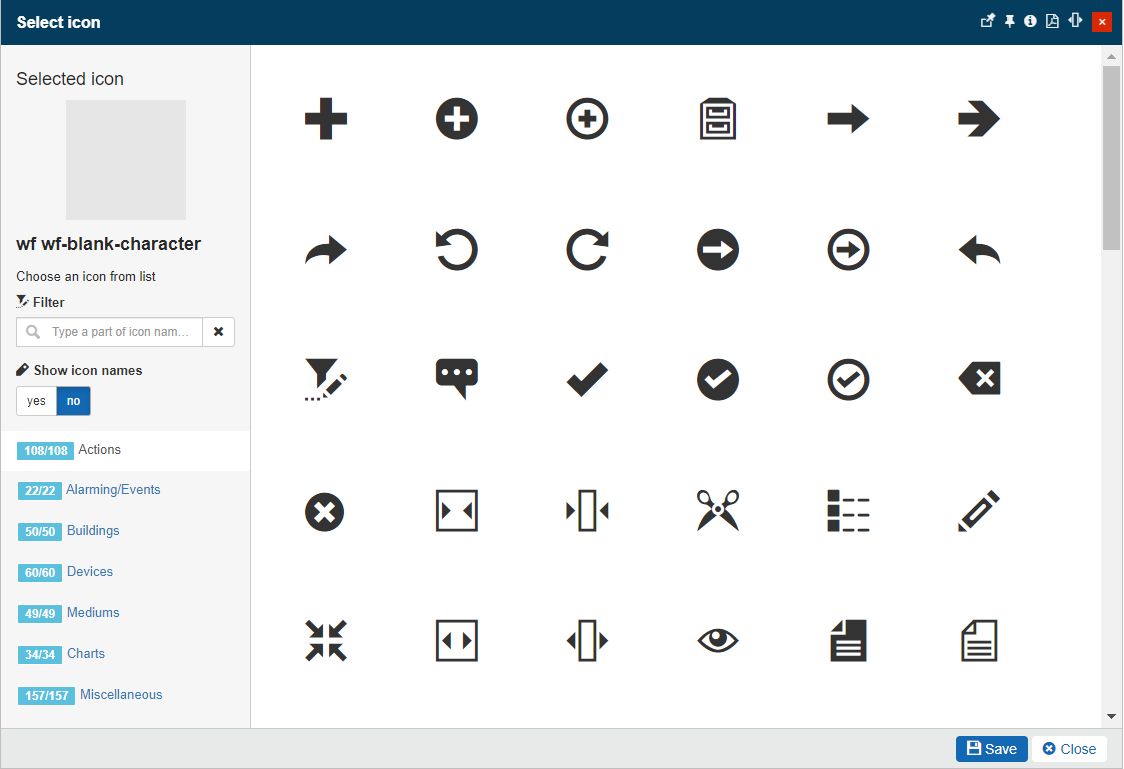
The Select icon panel
Important
The Site type icon will be displayed for the Site to which the Site type is used, in multiple contexts, such as:
the Online Alarms panel, for all Events having that respective Site as a source.
the Historical Alarms panel, for all Events having that respective Site as a source.
Editing Site types
Site types can be opened in edit mode by users having the Manage configurations permission enabled. While in edit mode, the Site type name and Site type Icon can be changed.
To preserve the changes the user can click the Save button. To leave the edit mode without making any changes, the user can click the Close button.
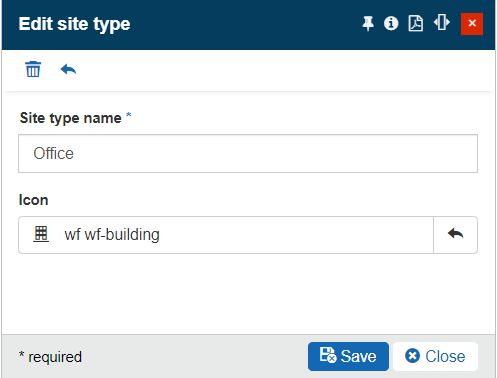
The Edit site type panel
Deleting Site types
The Site type edit mode provides the users with the possibility to remove the Site type, by clicking the Delete toolbar button.
The Delete site type button
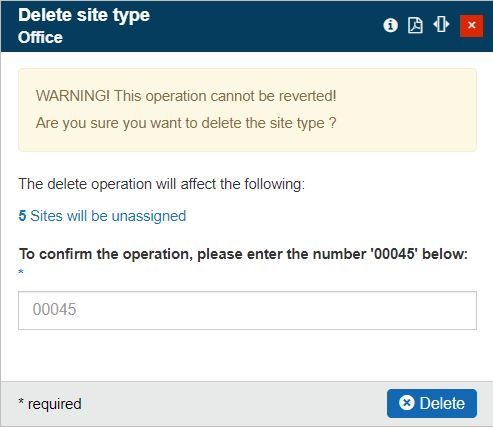
In the Delete site type panel, the user is provided with information about the impact of the deletion on the whole system. To acknowledge the consequences and proceed with the deletion, the user has to type in the designated field, the displayed confirmation code. To proceed with the deletion, the user can press the Delete button, located at the bottom of the panel. Deletion is immediately visible, in the Sites types panel.

The Delete Site type panel