i4connected Mobile App Tutorials
Check out this article for an easy step-based tutorial guiding you through a full use-case of the i4connected Mobile App.
Basic usage flow
By following the below-described steps, you will be able to collect, validate, submit and synchronize data, using the i4connected Mobile App.
By following the below-described steps, you will be able to collect, validate, submit and synchronize data, using the i4connected Mobile App.
Open the i4connected Mobile App, on your device.
Fill in your user credentials, in order to access the application.
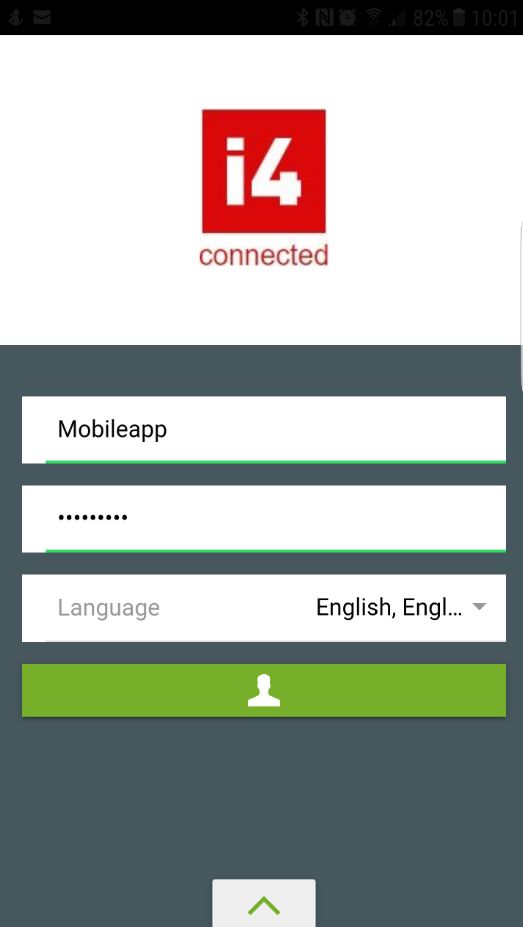
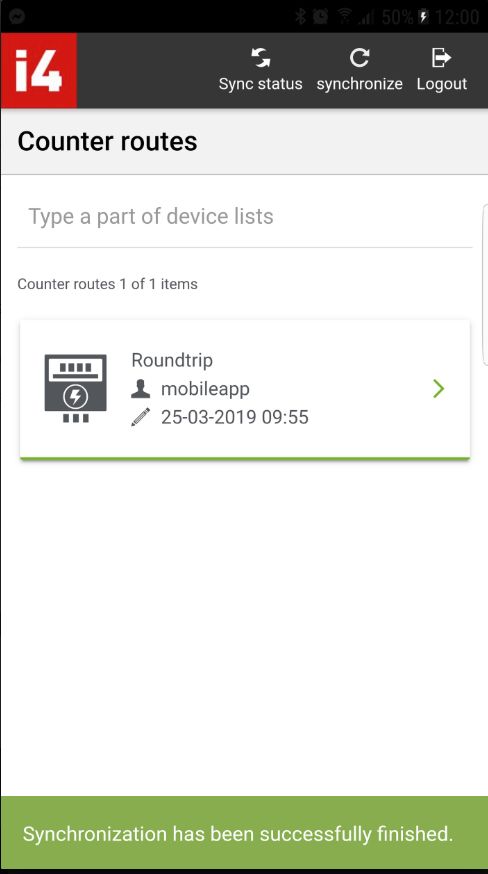
Press the green Login button. The Counter routes list is displayed.

Select the desired Counter Route, from the list view. The list of Devices is displayed.

Select the desired Device, from the list view. The measurements collection panel is displayed.
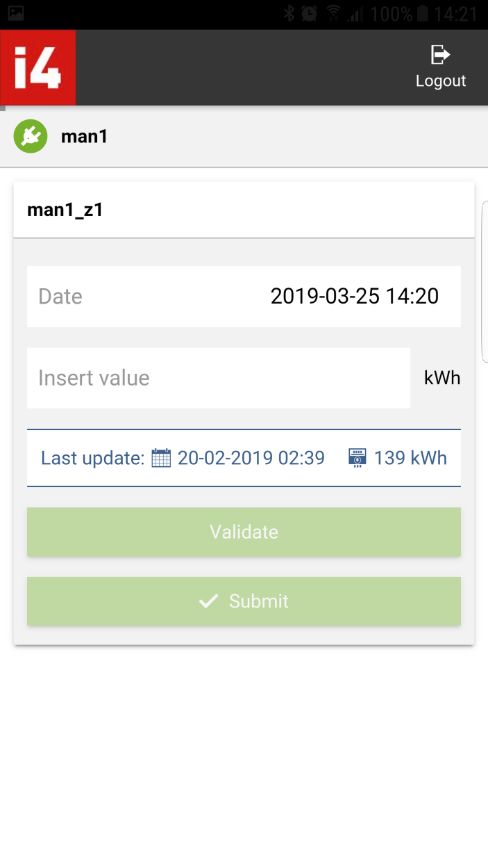
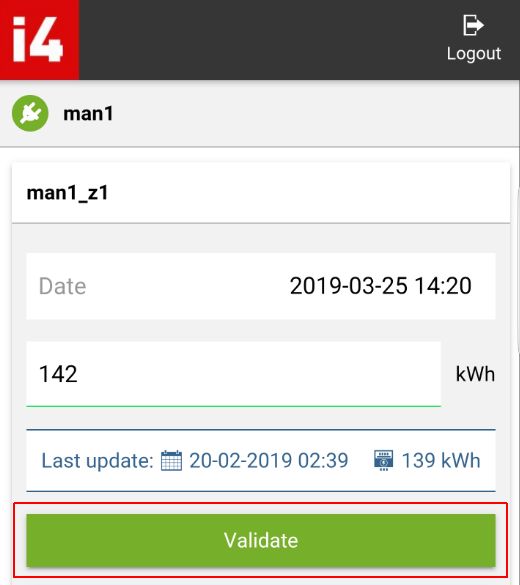
Select the Insert value field and start typing in the collected signal value. The Validate and Submit buttons are activated.
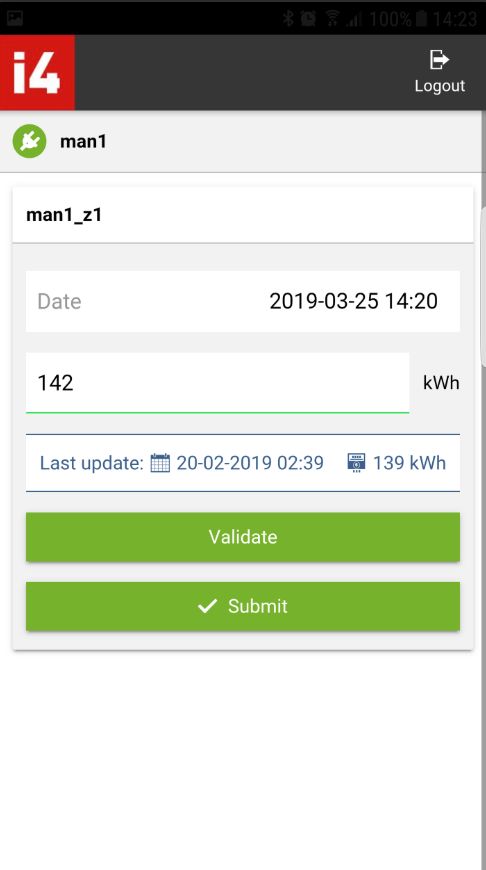
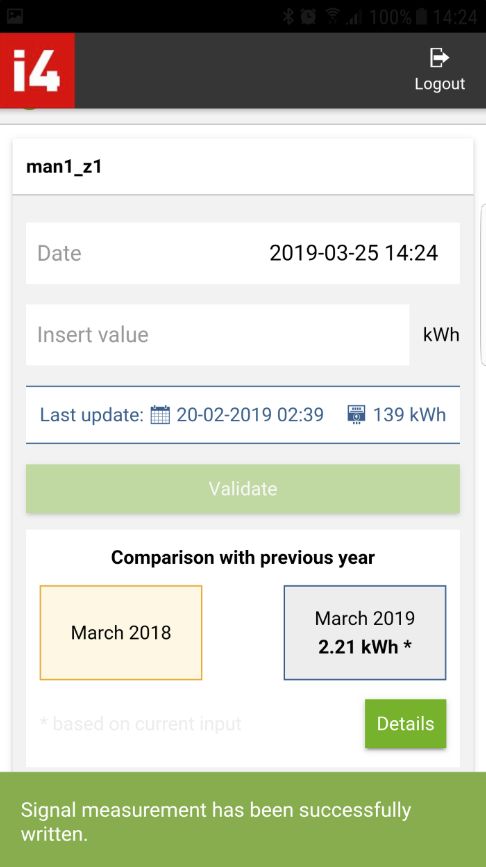
Select the Validate button. A confirmation message and the panel "Comparison with previous year" are displayed.
Scroll down in the application and select the Submit button. A confirmation message is displayed.
Go back to the main view. The Synchronize toolbar button is highlighted with red color.
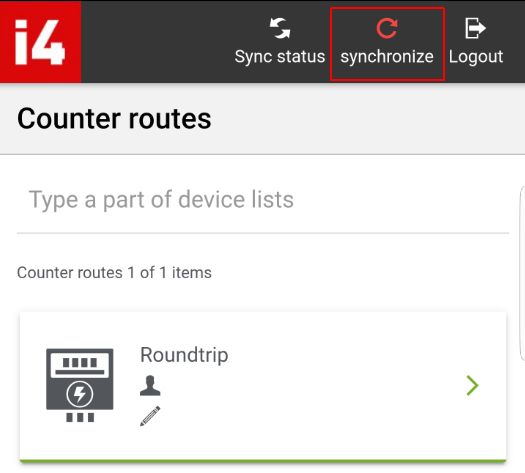
Make sure that your device has a valid network connection and select the Synchronize button. The application starts synchronizing the submitted data.
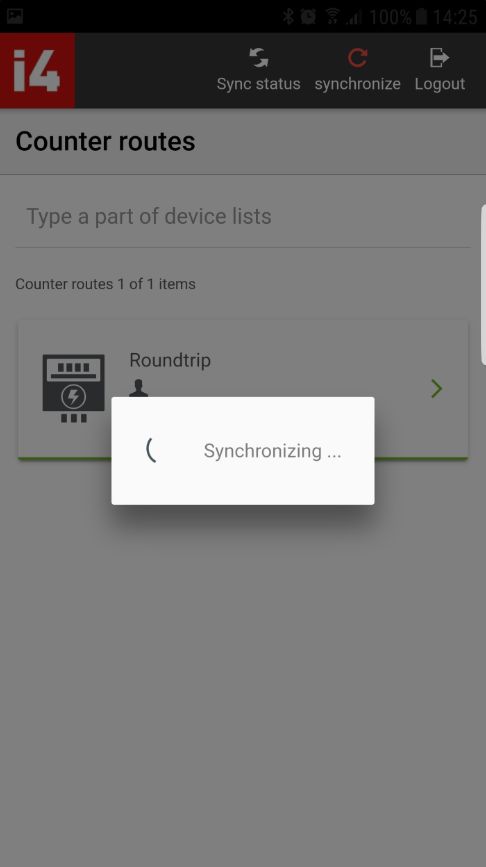
A confirmation message is displayed and the Synchronize toolbar button is no longer highlighted in red color.
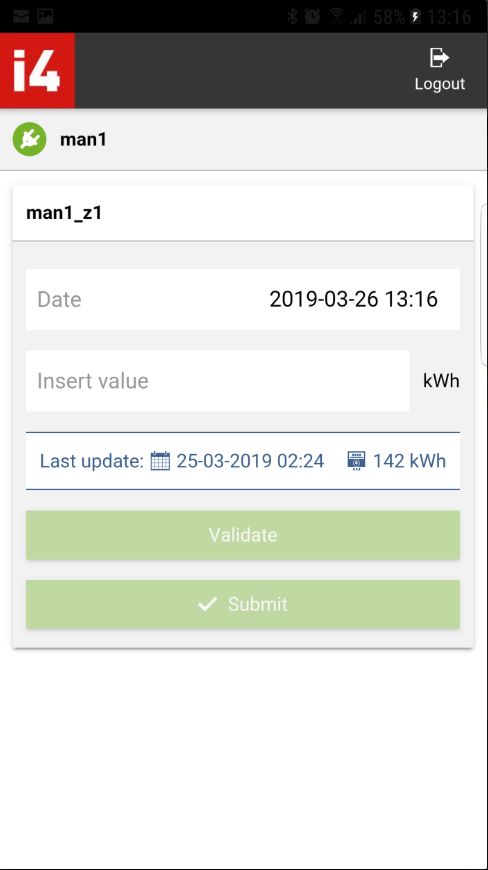
Go back to the measurements collection panel, by selecting the previously processed Counter Route and Device.
Check the Last update field, in order that the date and value are changed to the previously synchronized ones.