Installing Windows Server
Learn how to install the Windows Server and enable Roles and Features on your machine, to get it ready for using the i4connected application.
In order to ensure that your operating system is compatible and ready to use the i4connected application, a set of Features and Role Services need to be installed on Windows Server.
Note
i4connected 5.6 is compatible with Windows Server 2016 and higher.
Open the Server Manager as Administrator.
By default, the Server Manager Dashboard is displayed.
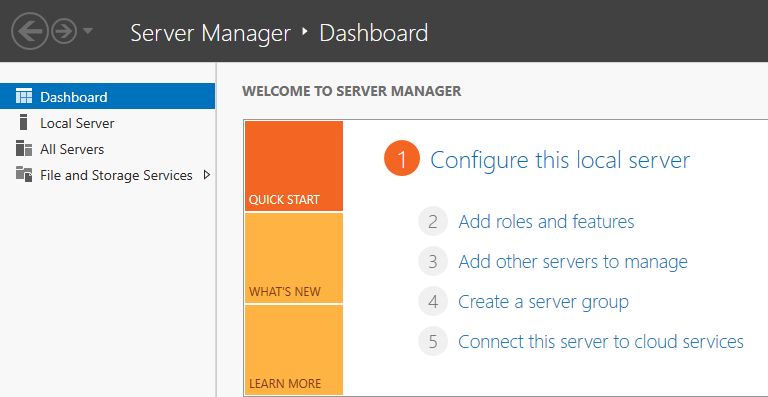
Select the option Add roles and features.
The Add Roles and Features Wizard are displayed. Follow the wizard until reaching the Features section.
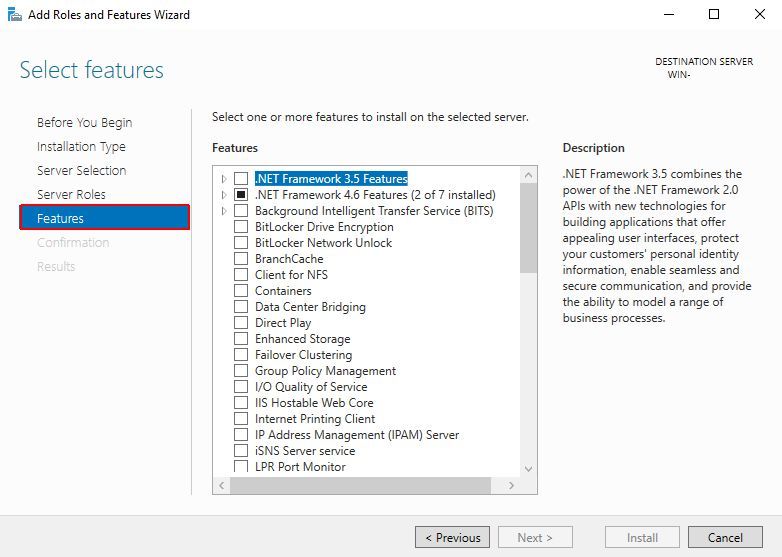
Expand the .NET Framework 4.6. Features node and mark all its sub-nodes.
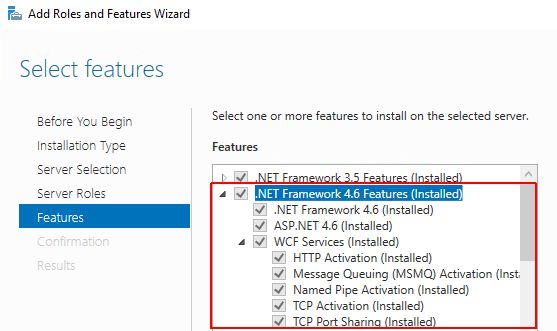
Note
It may be the case that sub-nodes, such as HTTP Activation require further feature activation. In this case, an Add Roles and Features Wizard dialog pops up displaying those features.
Click Next in the Add Features and Roles Wizard until reaching the Web Server Role (IIS) section.
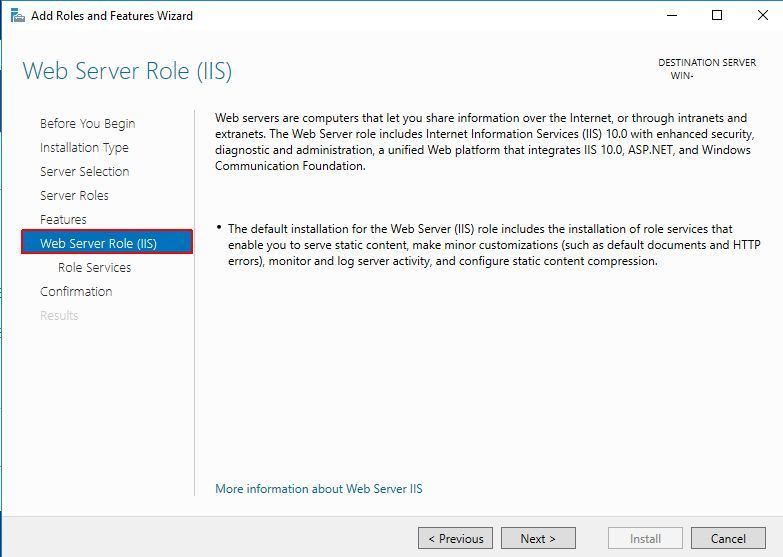
Clicking Next will lead you to the Role Services sub-section.
Make sure that the Role Services nodes and sub-nodes are checked and click the Next button.
Note
Web Server
Common HTTP Features
Health and Diagnostics
Performance
Security
Application Development
Management Tools
IIS Management Console
IIS Management Scripts and Tools
Management Service
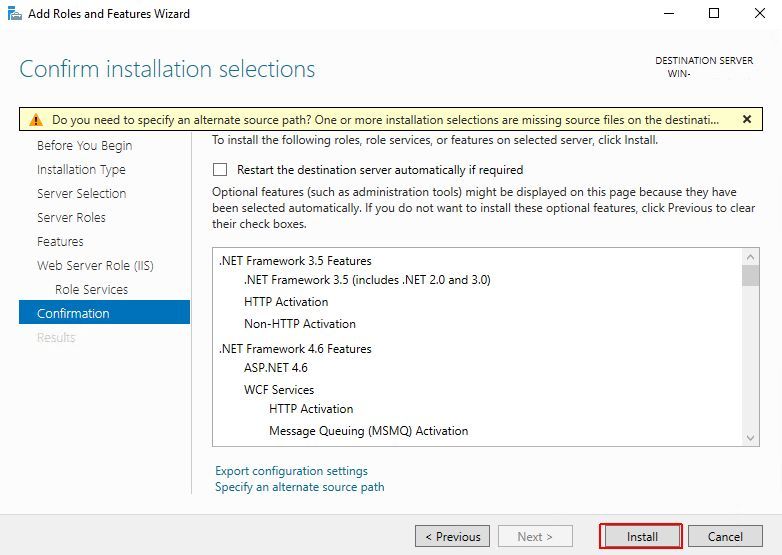
In the Confirmation section, a warning is displayed: "Do you need to specify an alternate source path?". If the target computer does not have access to Windows Update, click the Specify an alternate source path link to specify the path to the \sources\sxs folder on the installation media and then click OK."
After you have specified the alternate source, or if the target computer has access to Windows Update, click the X next to the warning, and then click Install.
The Results section is opened. The progress of the processing tasks is displayed in a bar.
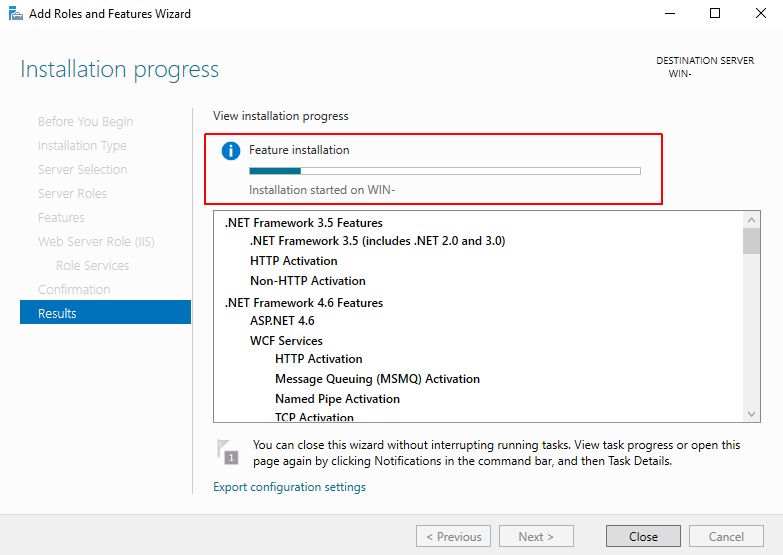
Once progress is finished, click Close. It might be necessary that you restart your computer.
Note
Additional Server prerequisites - Oracle JRE 7 or later, required by SQL Server for its feature rules.