Accessing a remote SQL Server database with WEBfactory 2010Studio
Check ou this tutorial and learn how to access a remote SQL server database with WEBfactory 2010 Studio.
The following tutorial explains the steps needed to remotely access a SQL Server database and it is structured in two parts:
Accessing the remote database using WEBfactory 2010Studio
In order to be able to access a remote SQL Server database, the following prerequisites need to be met:
SQL Native Client needs to be installed on the client PC.
SQL Server Service needs to be enabled on the server PC.
Enabling remote access to SQL Server 2008 R2
Allow remote connections to the desired SQL server
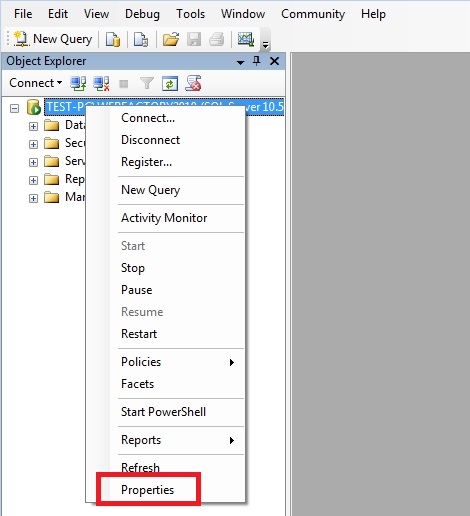
Open the SQL Server Management Tool. Right-click on the SQL server for which you need to allow remote access. Select Properties.
In the Server Properties windows, go to the Connections page. Make sure that the Allow remote connections to this server option is enabled.
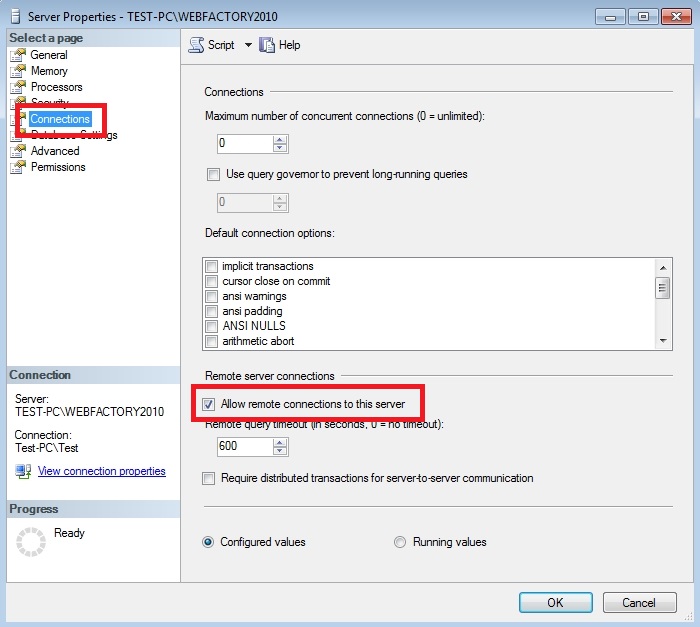
Click OK to confirm the change. The change will be applied without needing to restart the SQL server.
Grant User Access
To allow access to users in a Windows domain
In SQL Server Management Tool, log in the desired instance of SQL Server. This step presumes that you are the administrator of the computer and the instance of SQL Server.
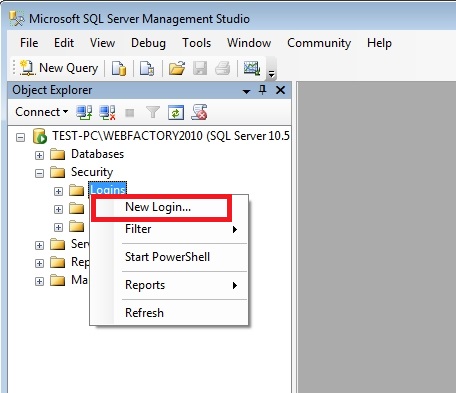
In Object Explorer, expand the Security node. Right-click Logins and click New Login....
Type the name of the user to allow by using the domain\username format. Optional, you can click Search and use the dialog to confirm that the user is a Windows authenticated user.
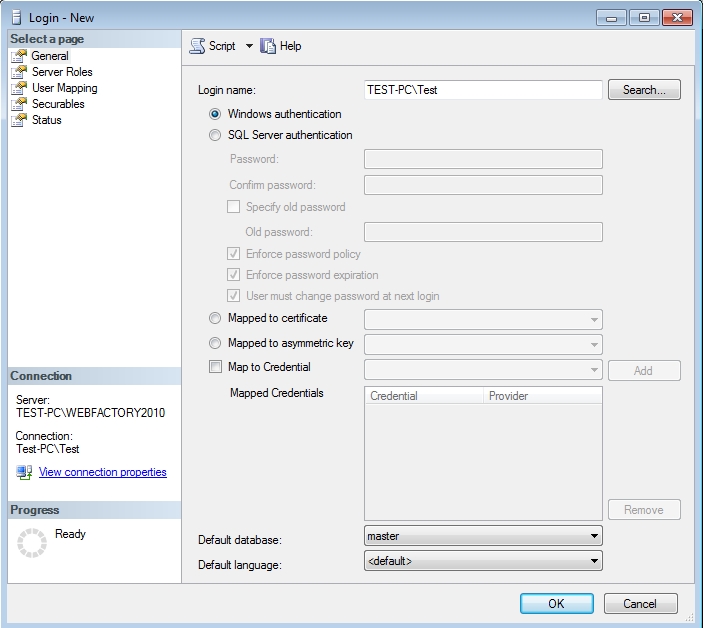
Click OK to close the Login - New dialog.
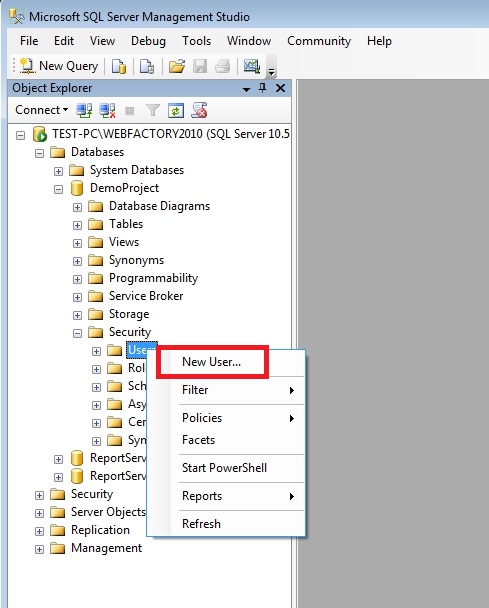
In Object Explorer, expand the Databases node. Expand the node of the database that you want to grant access to. Expand the Security node of the database. Right-click the Users node and click New User.
In the User name box, type in a name for the user. In the Login name box, type the name of the user by using the domain\username format. In the Database role membership section, select the role that you want to grant the user for the database.
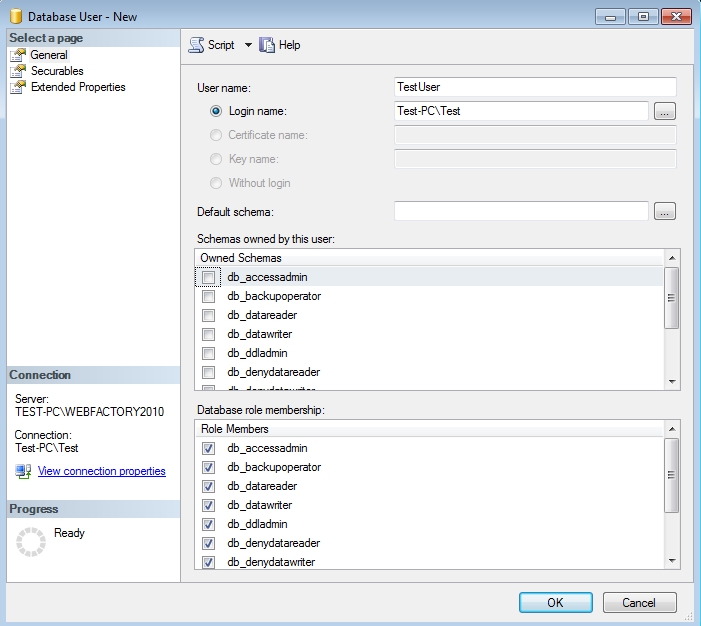
Click OK to confirm the Database User dialog.
Enable a Port
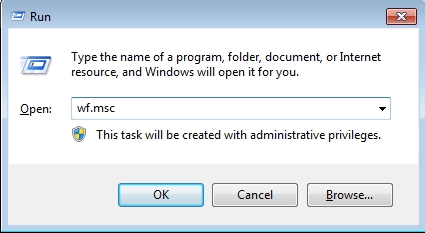
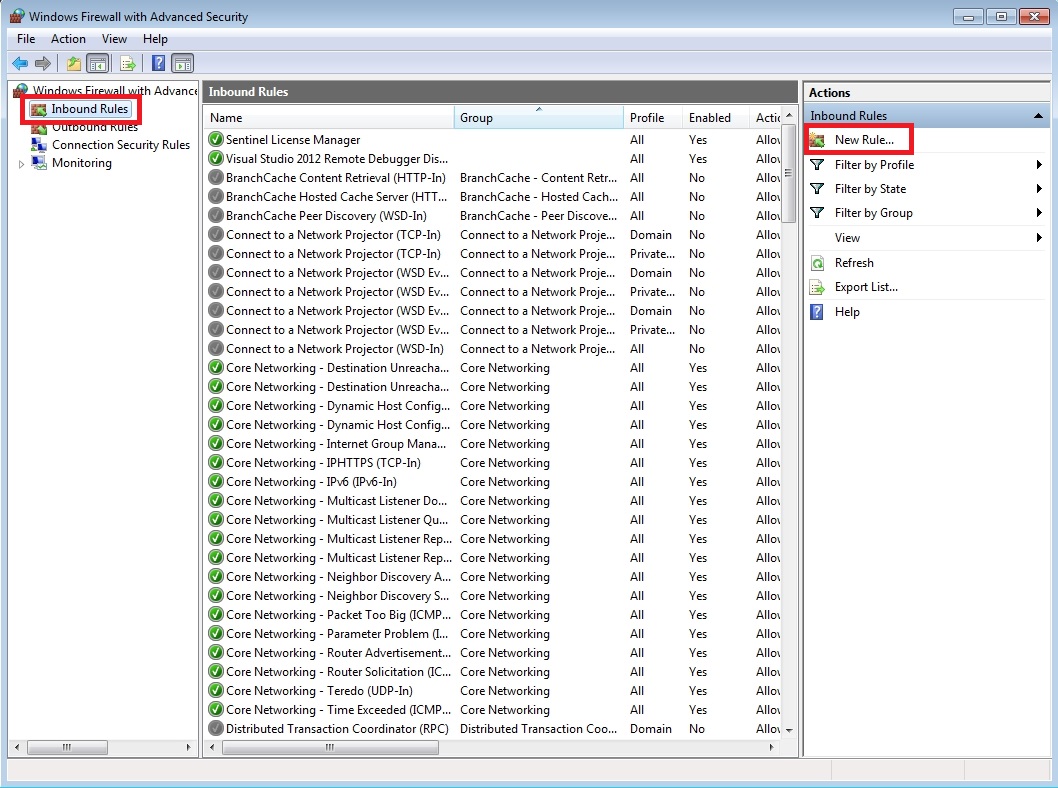
On the Start menu, click Run, type WF.msc, and then click OK.
In the Windows Firewall with Advanced Security, in the left pane, right-click Inbound Rules, and then click New Rule in the action panel.
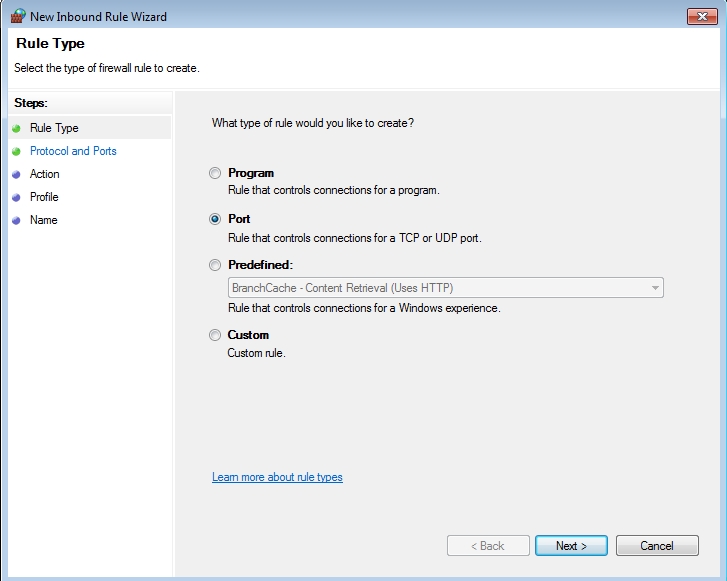
In the Rule Type dialog box, select Port, and then click Next.
In the Protocol and Ports dialog box, select TCP. Select Specific local ports, and then type the port number of the instance of the Database Engine, such as 1433 for the default instance. Click Next.

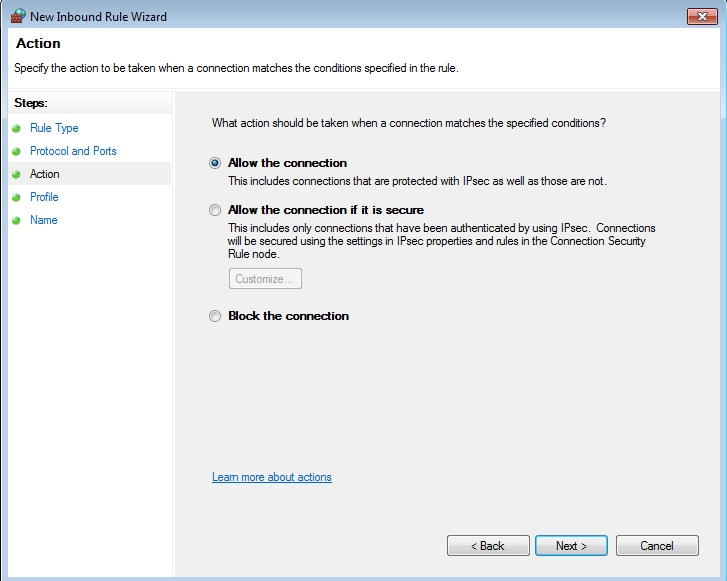
In the Action dialog box, select Allow the connection, and then click Next.
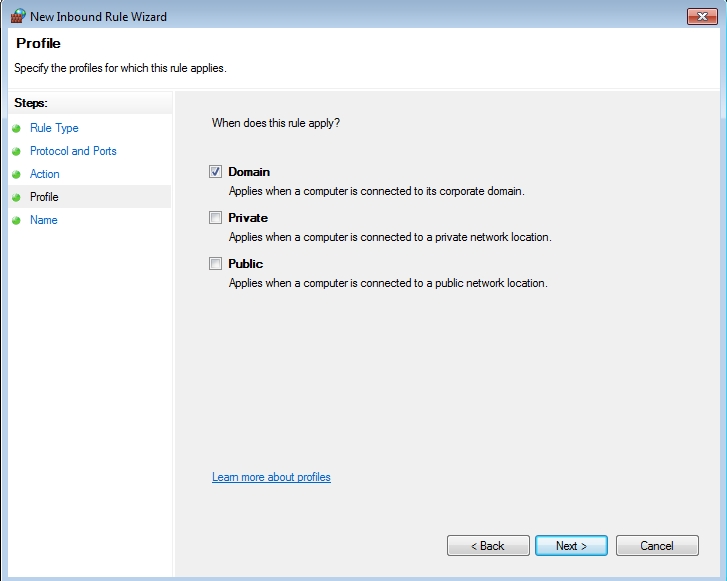
In the Profile dialog box, select any profiles that describe the computer connection environment when you want to connect to the Database Engine, and then click Next.
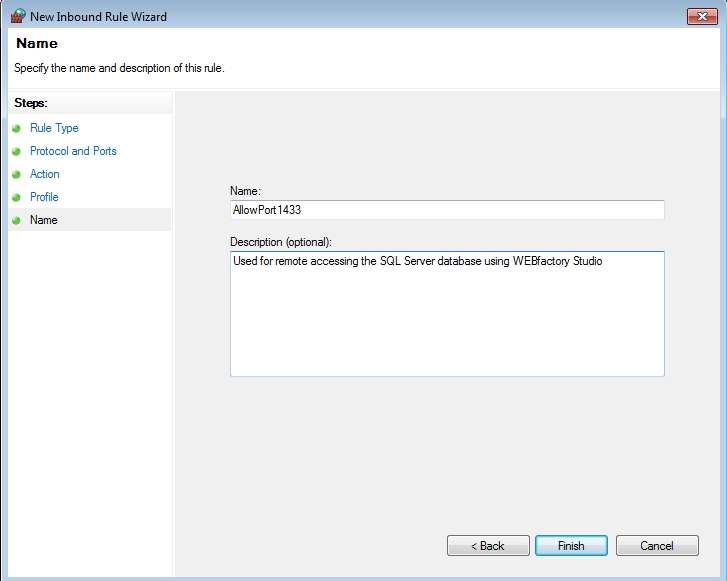
In the Name dialog box, type a name and description for this rule, and then click Finish.
Set a Protocol
This is also a one-time procedure that you perform on the computer that hosts the instance of SQL Server to indicate which protocol to use when communicating with remote clients. This procedure uses the TCP/IP protocol.
To set the protocol
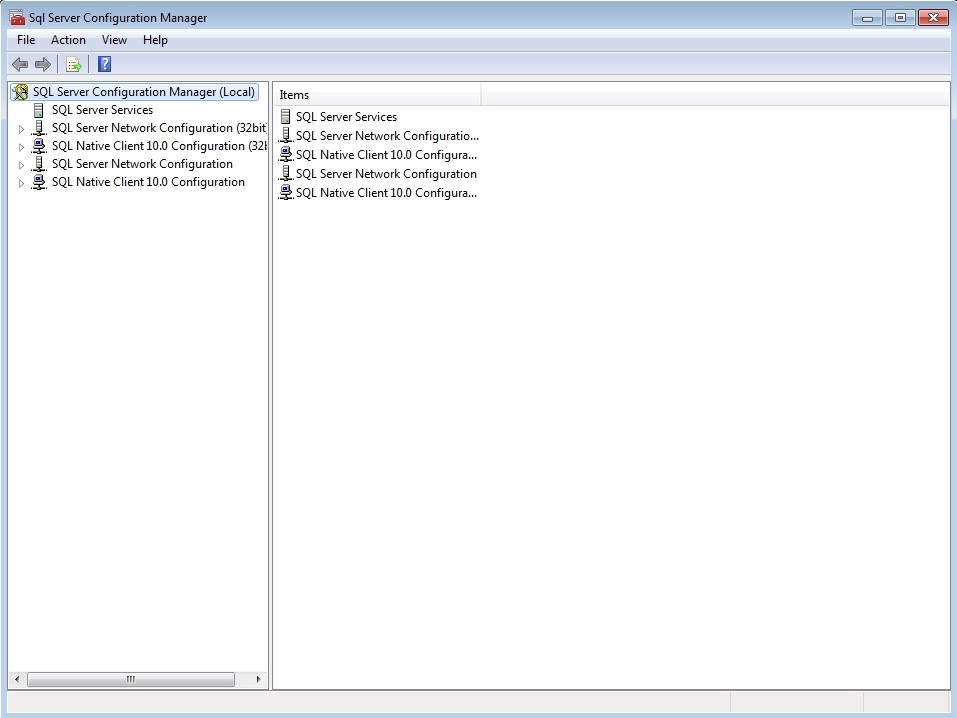
Open the SQL Server Configuration Manager application. This is found in the Configuration Tools folder of the Microsoft SQL Server 2008 folder.
Expand the SQL Server Network Configuration Manager node. Expand the SQL Server Network Configuration node. Click Protocols for MSSQLSERVER (If SQL Server Express is installed, the name of the node will be Protocols for SQLEXPRESS).
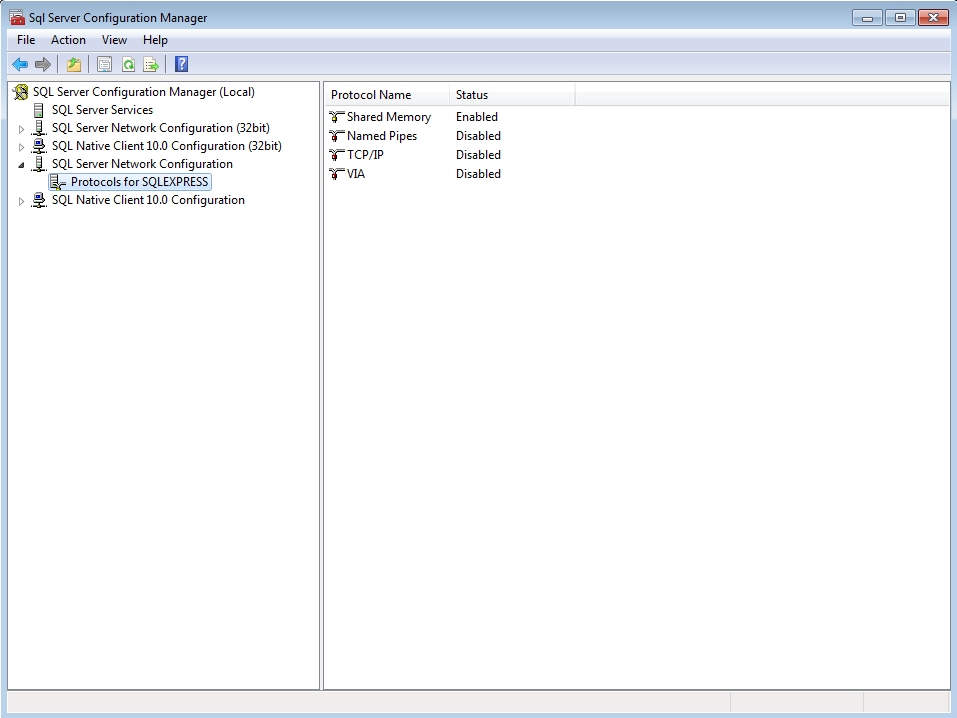
Right-click TCP/IP and click Enable.

After setting the protocol you must restart the SQL Server service. To restart the SQL Server service:
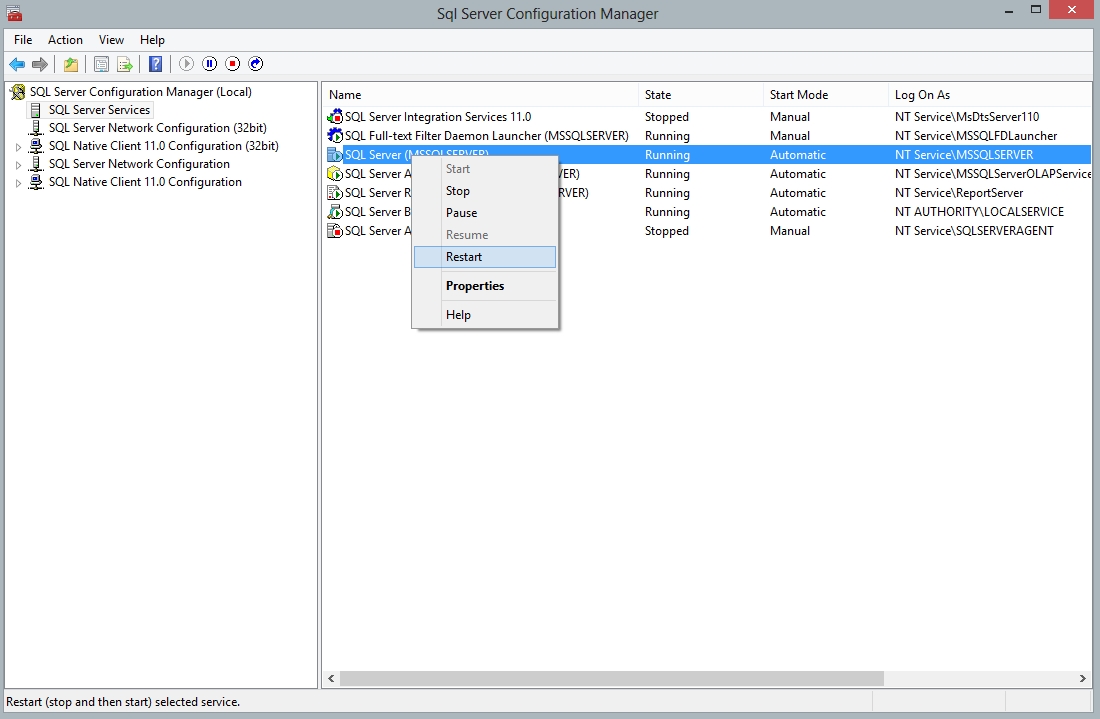
In the SQL Server Configuration Manager application, click the SQL Server Services node.
Right-click SQL Server (MSSQLSERVER) and click Restart.
Accessing the remote database using WEBfactory 2010Studio
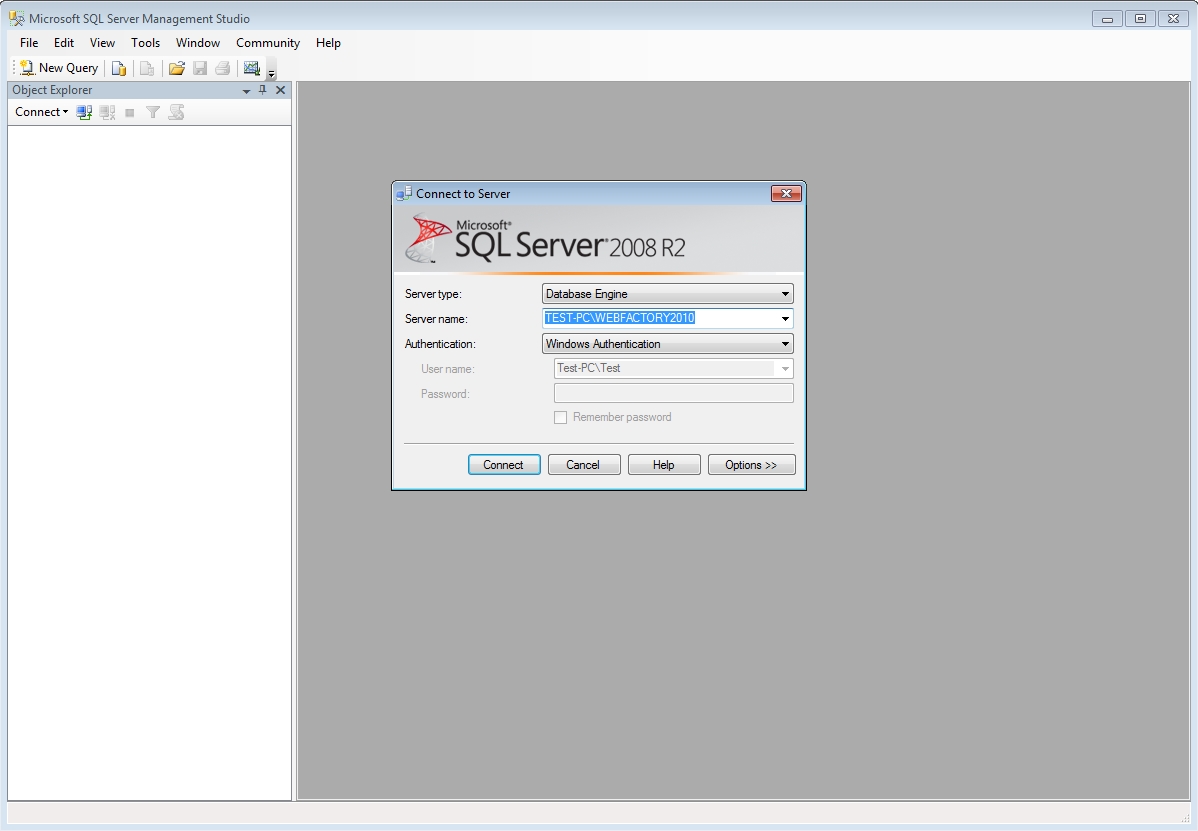
To access the database remotely, open the WEBfactory 2010Studio. The remote options will be available in the login dialog.
WEBfactory 2010Studio login dialog
Select the Database Server that hosts the remote database.
Enter the login credentials to connect to the database.
Choose the desired database from the SQL Server.
Press Login to log in that database with WEBfactory 2010Studio.
You now have access to all the information of the remote database in the Studio.