Upgrading a Silverlight project to Silverlight 5 using Visual Studio
Learn how to updgrade a WEBfactory 2010 project to Silverlight 5 using the Visual Studio application,
As WEBfactory 2010 version 3.6 comes with Silverlight 5, any existing projects based on the Silverlight framework must be upgraded to the latest version of the framework, Silverlight 5. This article will guide you through the steps required to upgrade your projects using Visual Studio.
Existing SmartEditor projects are update automatically to Silverlight 5.
After upgrading your WEBfactory 2010 installation to version 3.6, all the dll files from the Silverlight/Standard folder will be updated to version 3.6.x. This article covers three possible scenarios:
Upgrading a project to Silverlight 5 - the most common scenario.
Upgrading a project using a re-skinned WFTrending3 control to Silverlight 5 - the extra steps required to upgrade the project if using a re-skinned WFTrending3 control.
Upgrading a project with Service References to WEBfactory 2010 services to Silverlight 5 - the extra steps required to upgrade the Service References.
Upgrading a project with WEBfactory 2010 User Manager to Silverlight 5 - the extra steps required to upgrade a project containing the WEBfactory 2010 User Manager.
If, for any project, the referenced DLL files have a different location than the default one (the Silverlight/Standard folder from the installation directory), you need to replace the old DLL files with the latest version provided by the WEBfactory 2010 3.6 Setup.
All the projects inside a solution must be updated to Silverlight 5.
IMPORTANT: Silverlight 5 Toolkit must be installed!
Upgrading a project to Silverlight 5
Backup your project and the database.
Navigate to the project folder on the disk and delete the Bin and Obj folders. This will make sure that no errors will occur when updating the references.
Open the project in Visual Studio 2012.
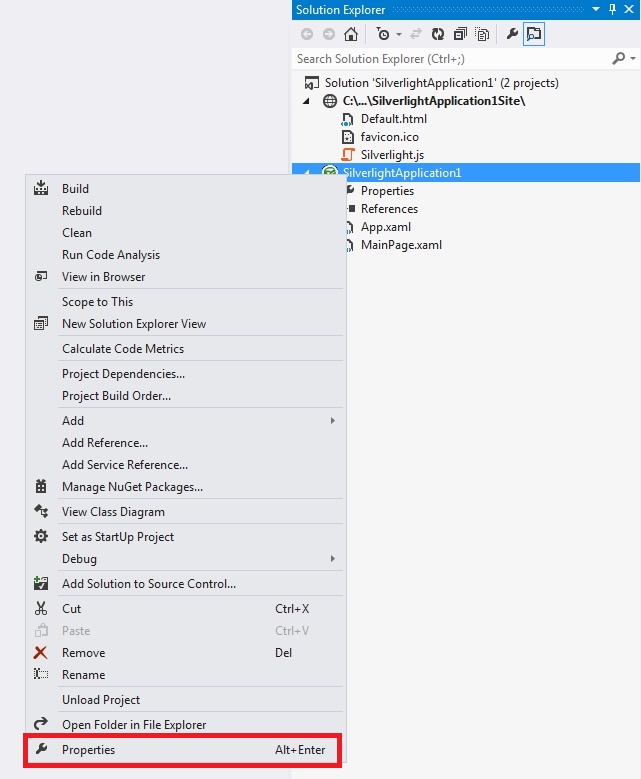
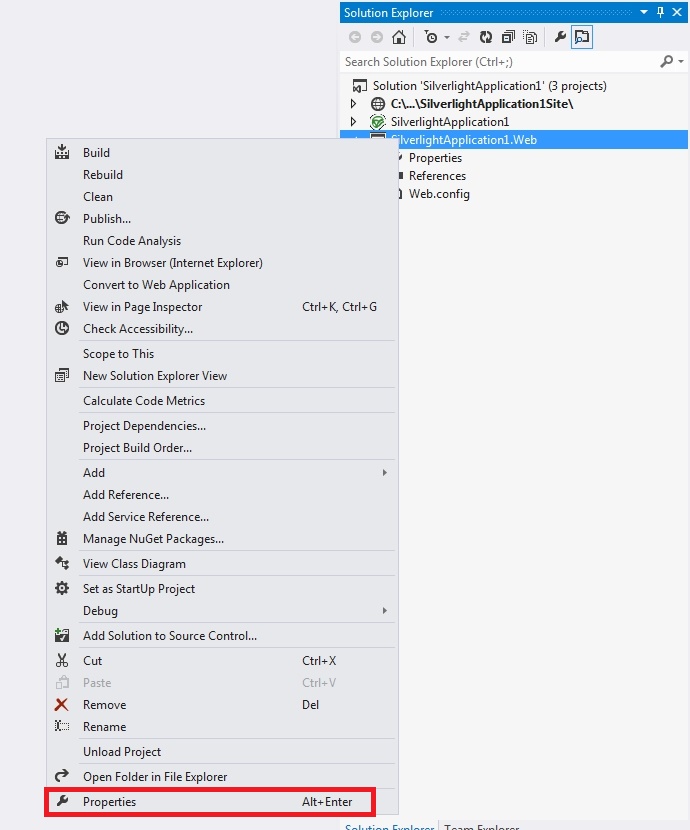
Right-click on the Silverlight project and select Properties (or press Alt + Enter while the project is selected).
In the Properties window, on the Silverlight tab, go to Silverlight build options and set the Target Silverlight Version to Silverlight 5.
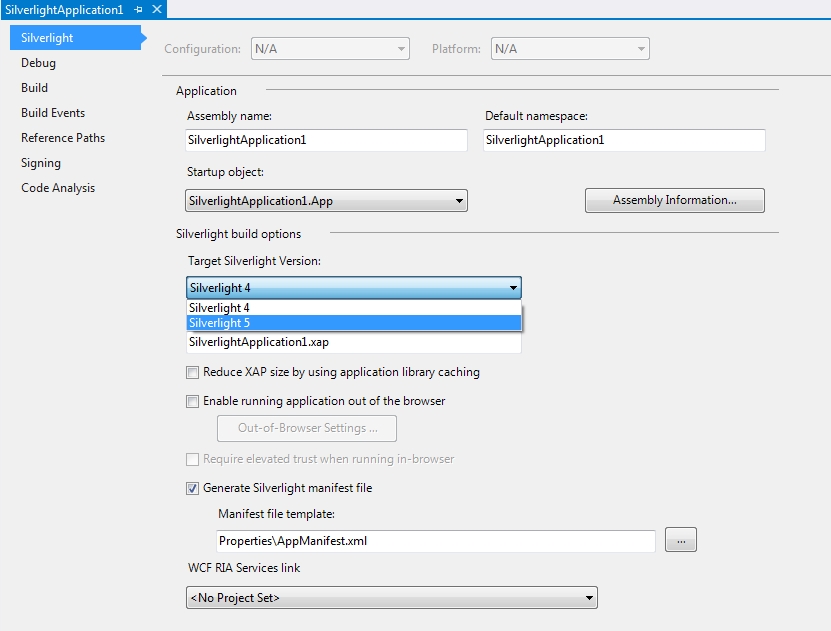
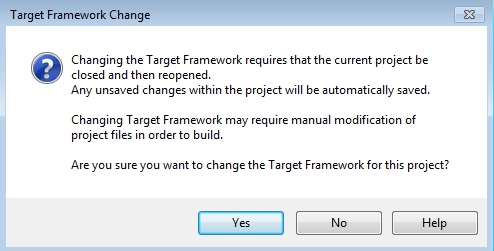
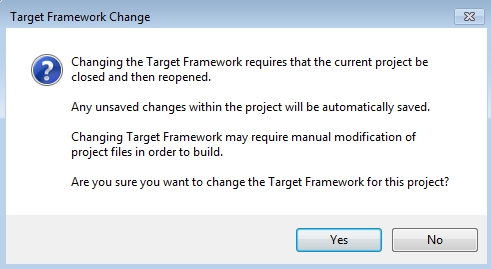
Confirm the Target Framework Change dialog and close the Properties window.
Back in the Solution Explorer, besides the Silverlight project, you will have either a Site project (e.g. SilverlightApplication1Site) or a Web project (e.g. SilverlightApplication1.Web). In both situations, the Target Framework version needs to be set to .NET Framework 4.5:
For Site projects (e.g. SilverlightApplication1Site):
Right click on the Site project and select Property Pages.

In the Property Pages window, select the Build section from the left side panel. Set the Target Framework to .NET Framework 4.5.
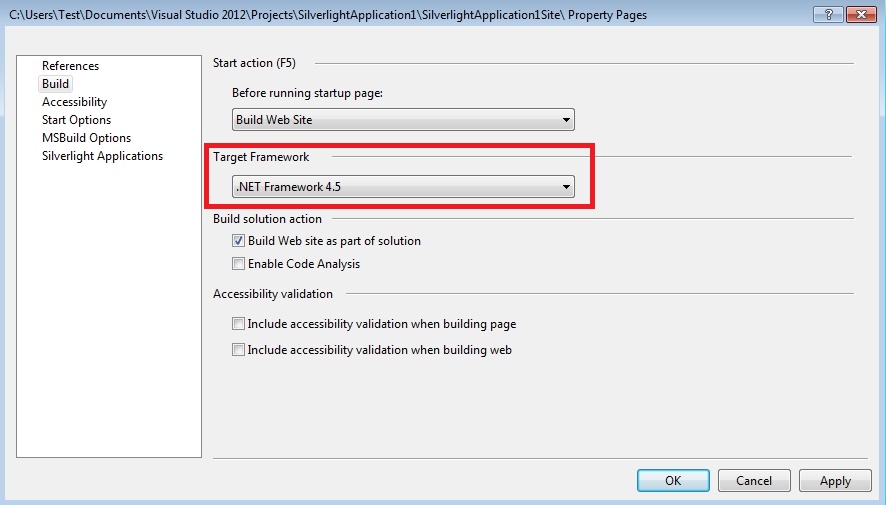
Click OK to confirm the change and also confirm the Target Framework Change dialog.
For Web projects (e.g. SilverlightApplication1.Web)
Right-click on the Web project and select Properties.
In the Properties window, under the Application tab, set the Target framework to .NET Framework 4.5.
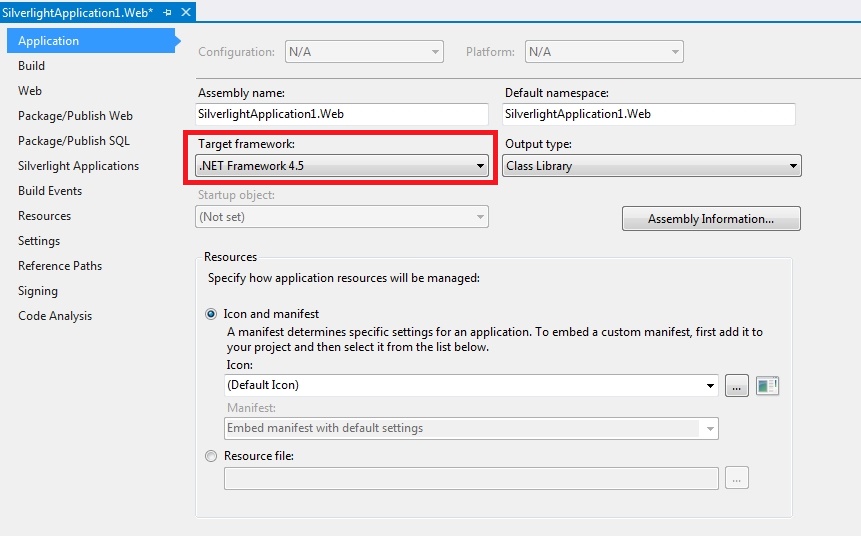
Confirm the Target Framework Change dialog and close the Properties page.

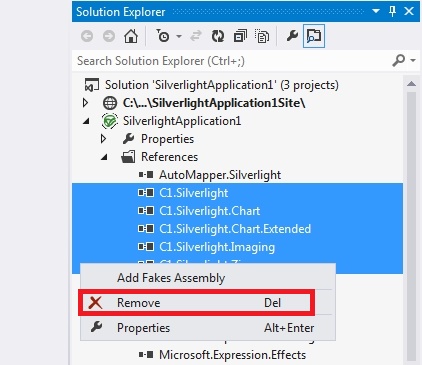
In the Solution Explorer, expand the References folder under the Silverlight project. The referenced WEBfactory 2010 DLL files must be manually updated to the Silverlight 5 version.
Select the references and from the contextual menu, select Remove (or press the Delete key). Confirm the reference removal.
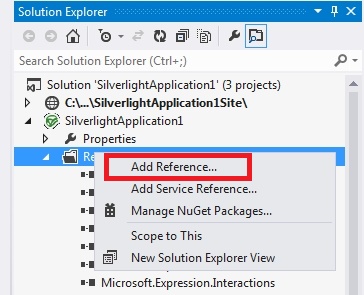
Right-click on the References folder and select Add Reference....
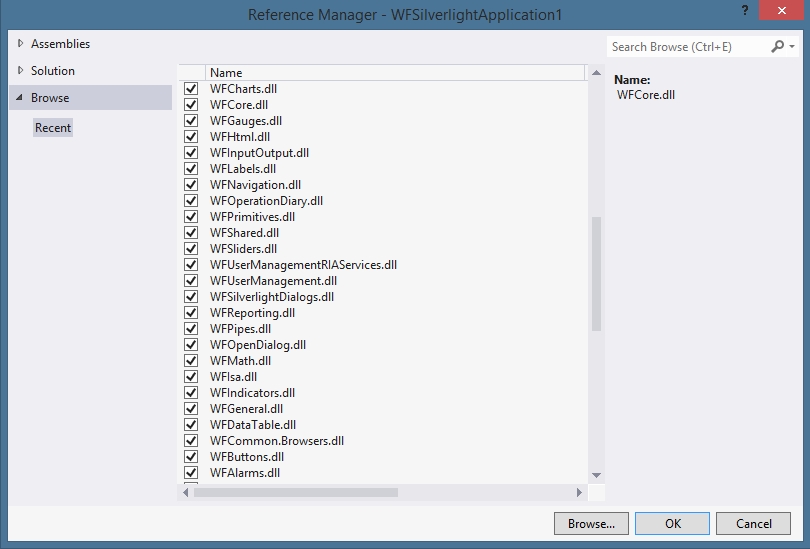
In the Reference Manager, use the Browse button to locate the new version of the DLL files. You can either use the Standard folder from the default WEBfactory 2010 installation directory or another folder containing the DLL files provided by the WEBfactory 2010 version 3.6 setup.
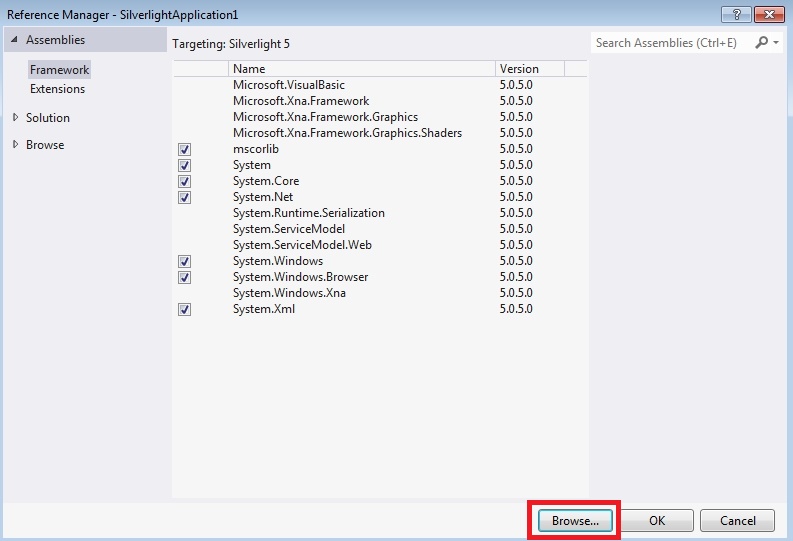
After selecting the new DLL files, click OK to confirm the references.
Note that the names of the Silverlight 5 version of the ComponentOne DLL files have .5 appended.
Clean the project and rebuild it. The project is now updated to Silverlight 5.
Upgrading a project using a re-skinned WFTrending3 control to Silverlight 5
This section describes the additional steps required to upgrade a project with a re-skinned WFTrending3 control to Silverlight 5. All the steps from the previous section, Upgrading a project to Silverlight 5, must be applied before.
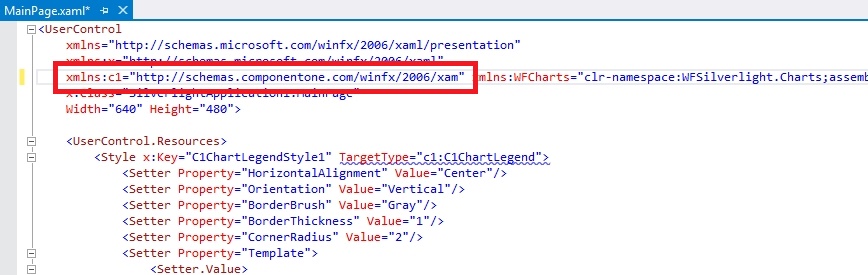
When upgrading a project containing a re-skinned WFTrending3 control, the ComponentOne namespace of the new style (xmlns:c1) must be update to http://schemas.componentone.com/winfx/2006/xaml.
Locate the style of the skinned WFTrending3 control.
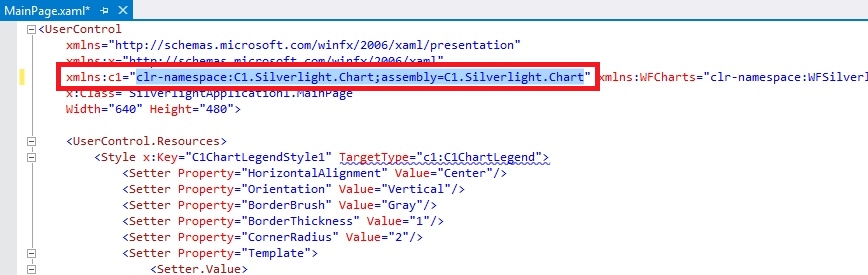
Find the obsolete ComponentOne namespace: clr-namespace:C1.Silverlight.Chart;assembly=C1.Silverlight.Chart.
Replace it with the new one: http://schemas.componentone.com/winfx/2006/xaml.
Alternatively, you can use the Find and Replace functionality of Visual Studio 2012 to quickly find the old namespace and replace it with the new one.
Clean the project and rebuild it. The project is now updated to Silverlight 5.
Upgrading a project with Service References to WEBfactory 2010 services to Silverlight 5
This section describes the additional steps required to upgrade a project having Service References to WEBfactory 2010 services to Silverlight 5. All the steps from the previous section, Upgrading a project to Silverlight 5, must be applied before.
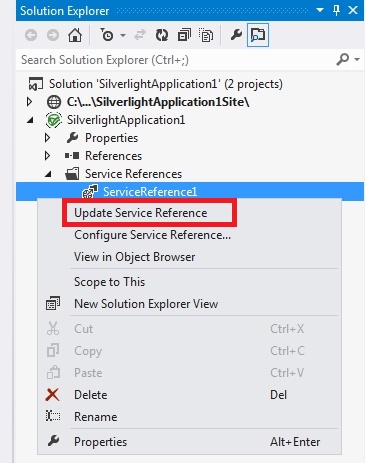
In the Solution Explorer, expand the Service References folder inside the Silverlight project.
Select all the service references and right-click. Select Update Service Reference.
Wait until the update is finished. Clean the project and rebuild it. The project is now updated to Silverlight 5.
Upgrading a project with WEBfactory 2010 User Manager to Silverlight 5
This section describes the additional steps required to upgrade a project containing the WEBfactory 2010 User Manager to WEBfactory 2010 services to Silverlight 5. All the steps from the previous section, Upgrading a project to Silverlight 5, must be applied before.
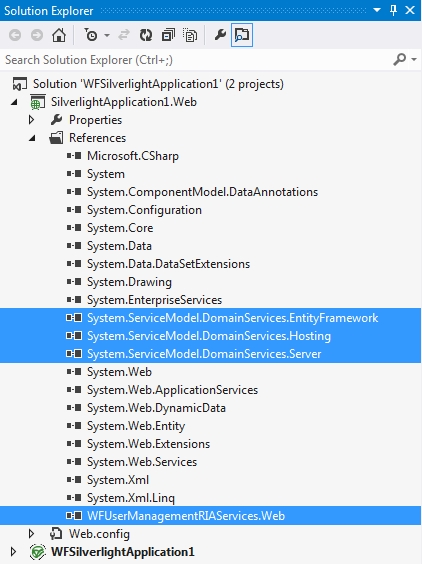
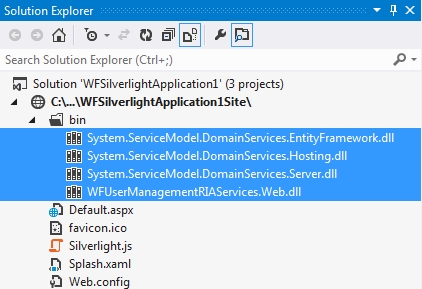
The User Manager specific references must be manually replaced with the newer versions (remove and add them again using the new DLL files):
System.ServiceModel.DomainServices.EntityFramework.dll
System.ServiceModel.DomainServices.Hosting.dll
System.ServiceModel.DomainServices.Server.dll
WFUserManagementRIAServices.Web.dll
The required DLL files are located in the Studio/UserManager/bin folder, inside the WEBfactory 2010 installation directory.
If using a Site project, the references to these DLL files are located in the Bin folder.
If using a Web project, the references to these DLL files are located in the References folder.