Custom Control Development: Using the SmartEditor Custom Control
Check out this article and learn how to start using the WEBfactory2010 SmartEitor Custom Control.
Up to this point, you have learned how to develop a Silverlight custom control that can be used in Ewon by HMS Networks visualization projects built with Visual Studio and Blend for Visual Studio and also how to adapt the Silverlight custom control to SmartEditor, creating it's WPF counterpart.
This section will guide you through the process of integrating the SmartEditor custom control into Ewon by HMS NetworksSmartEditor.
Obtain the SilverlightControlLibrary.dll and SmartEditorControlLibrary.dll from building the two solutions created in the previous sections.
Copy the SilverlightControlLibrary.dll to the Silverlight\Standard folder in the WEBfactory 2010 installation folder (by default C:\Program Files (x86)\WEBfactory 2010\Silverlight\Standard).
Copy SmartEditorControlLibrary.dll to one of the following locations, depending on your machine security. If the folders don't exist as specified, create them manually.
%AppData%\Roaming\Ewon by HMS Networks\WEBfactory 2010SmartEditor\Plugins (physical location C:\Users\User\AppData) - this location is accessible only by the current user. Other users trying to create a visualization using this custom control won't be able to access the SmartEditor version of the control and may encounter issues using SmartEditor.
%ProgramData%\Ewon by HMS Networks\WEBfactory 2010SmartEditor\Plugins (physical location C:\ProgramData) - this location is accessible by all the users of the machine, so any other users can use the SmartEditor custom control in their projects.
Important
The custom control DLL file must not be placed in the SmartEditor installation folder!
Edit the ControlCategories.xml from the SmartEditor\Mappings folder (by default C:\Program Files (x86)\WEBfactory 2010\SmartEditor\Mappings\) and add a new category. In this example, we will call it Sample Category.
<ControlCategory>
	<Name>Sample Category</Name>
</ControlCategory>
Edit the ControlMappings.xml from the SmartEditor\Mappings folder (by default C:\Program Files (x86)\WEBfactory 2010\SmartEditor\Mappings\) and add a new entry for the newly created control.
<ControlCategoryMapping>
	<ControlName>Custom Control</ControlName>
	<CategoryName>Sample Category</CategoryName>
	<AssemblyName>SmartEditorControlLibrary</AssemblyName>
	<ClassName>SmartEditorControlLibrary.Views.View</ClassName>
</ControlCategoryMapping>
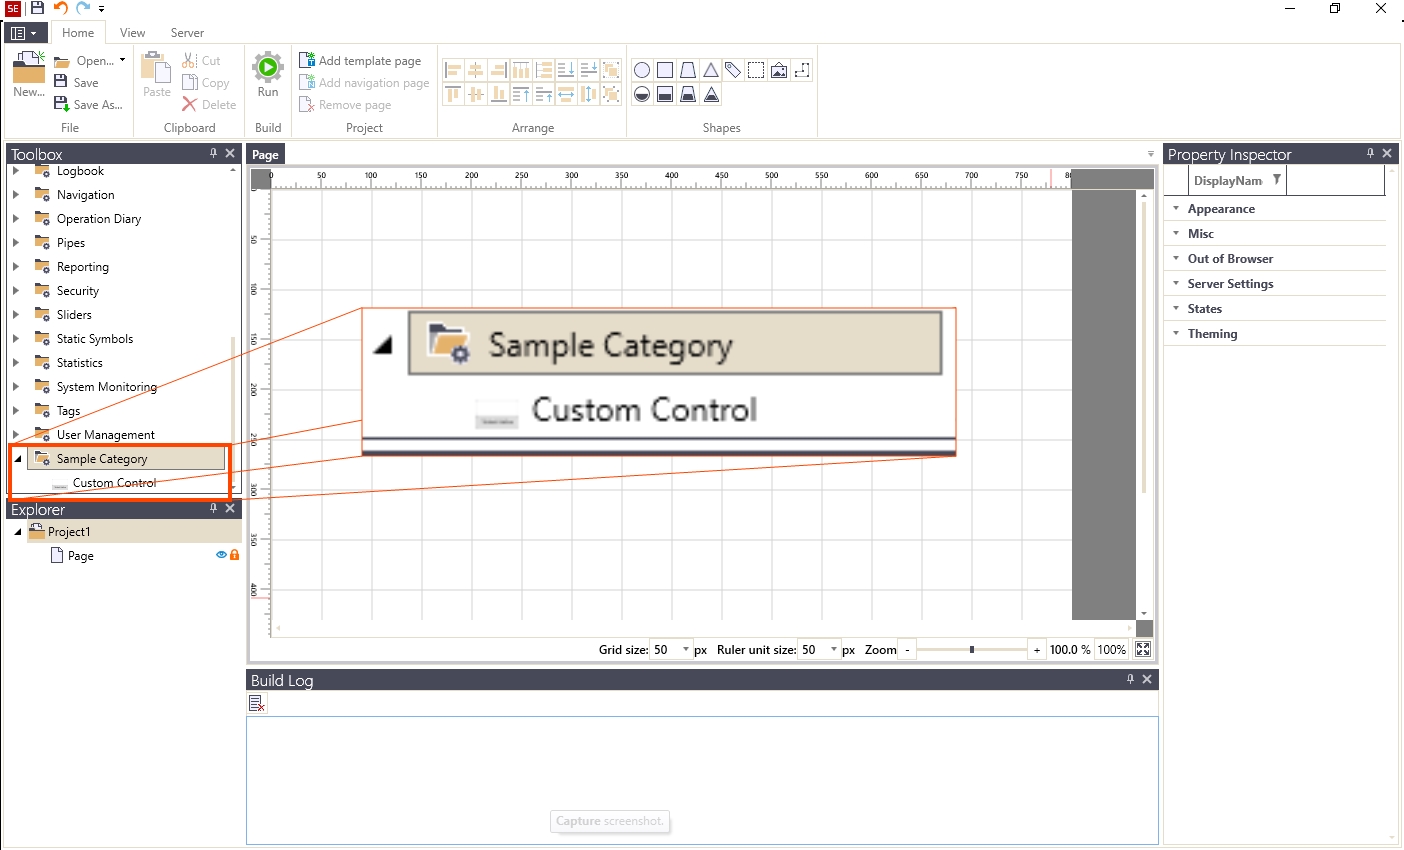
Open SmartEditor, create a new project and check for the new category and control inside the Toolbox.
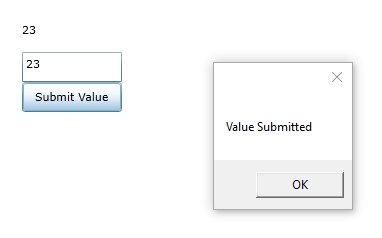
Add the control to the Page and build the project to test the new custom control at run time.