Custom Control Development: Programming the SmartEditor Custom Control
Check out this article and learn how to start programming the WEBfactory 2010 SmartEditor Custom Control.
So far, in our Custom Control Development series (Designing the Silverlight Custom Control and Programming the Silverlight Custom Control), we went through the step-by-step process of creating a custom Silverlight control that can be used in Ewon by HMS Networks visualization projects created in Silverlight (using Visual Studio or Blend for Visual Studio).
In this article, we will use the previously created Silverlight control to create a SmartEditor control (WPF). This will allow the user to use the custom control in WEBfactory 2010SmartEditor to create visualizations with less hassle and in less time.
The following procedure implies the usage of the SilverlightControlLibrary.dll built in the previous part of this series. We will use Microsoft's Visual Studio to further develop the SmartEditor control. The procedure is split in three chapters:
Creating the WPF Custom Control Library project
Create a new WPF Custom Control Library project using Visual Studio. We will name the project SmartEditorControlLibrary for demonstrative purposes.

Delete the default CustomControl1.cs file.
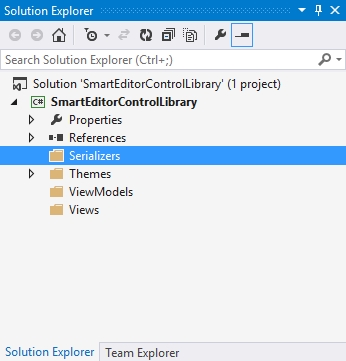
Add three new folders to the solution. These folders will be used to create the MVVM pattern and hold the Views, ViewModels and Serializers. Name the three folders accordingly: Views, ViewModels and Serializers.
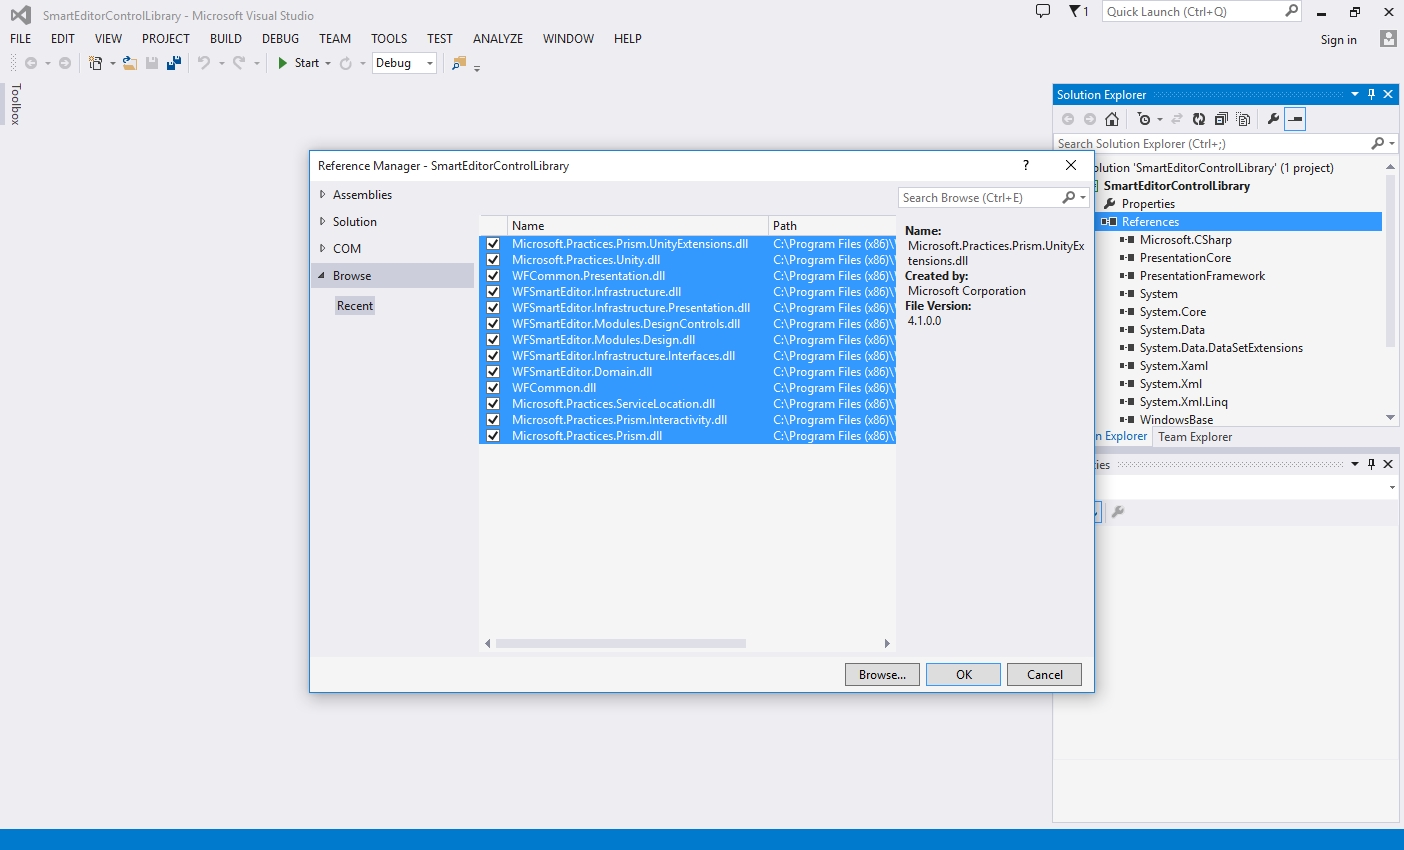
Now let's add the references required for building the SmartEditor control. The DLL files needed to be referenced are located by default in C:\Program Files (x86)\WEBfactory 2010\Smart Editor and are:
Microsoft.Practices.Prism.dll
Microsoft.Practices.Prism.Interactivity.dll
Microsoft.Practices.Prism.UnityExtensions.dll
Microsoft.Practices.ServiceLocation.dll
Microsoft.Practices.Unity.dll
WFCommon.dll
WFCommon.Presentation.dll
WFSmartEditor.Domain.dll
WFSmartEditor.Infrastructure.dll
WFSmartEditor.Infrastructure.Interfaces.dll
WFSmartEditor.Infrastructure.Presentation.dll
WFSmartEditor.Modules.Design.dll
WFSmartEditor.Modules.DesignControls.dll
Use the Reference Manager to add them to your solution in the References folder.
The ViewModel
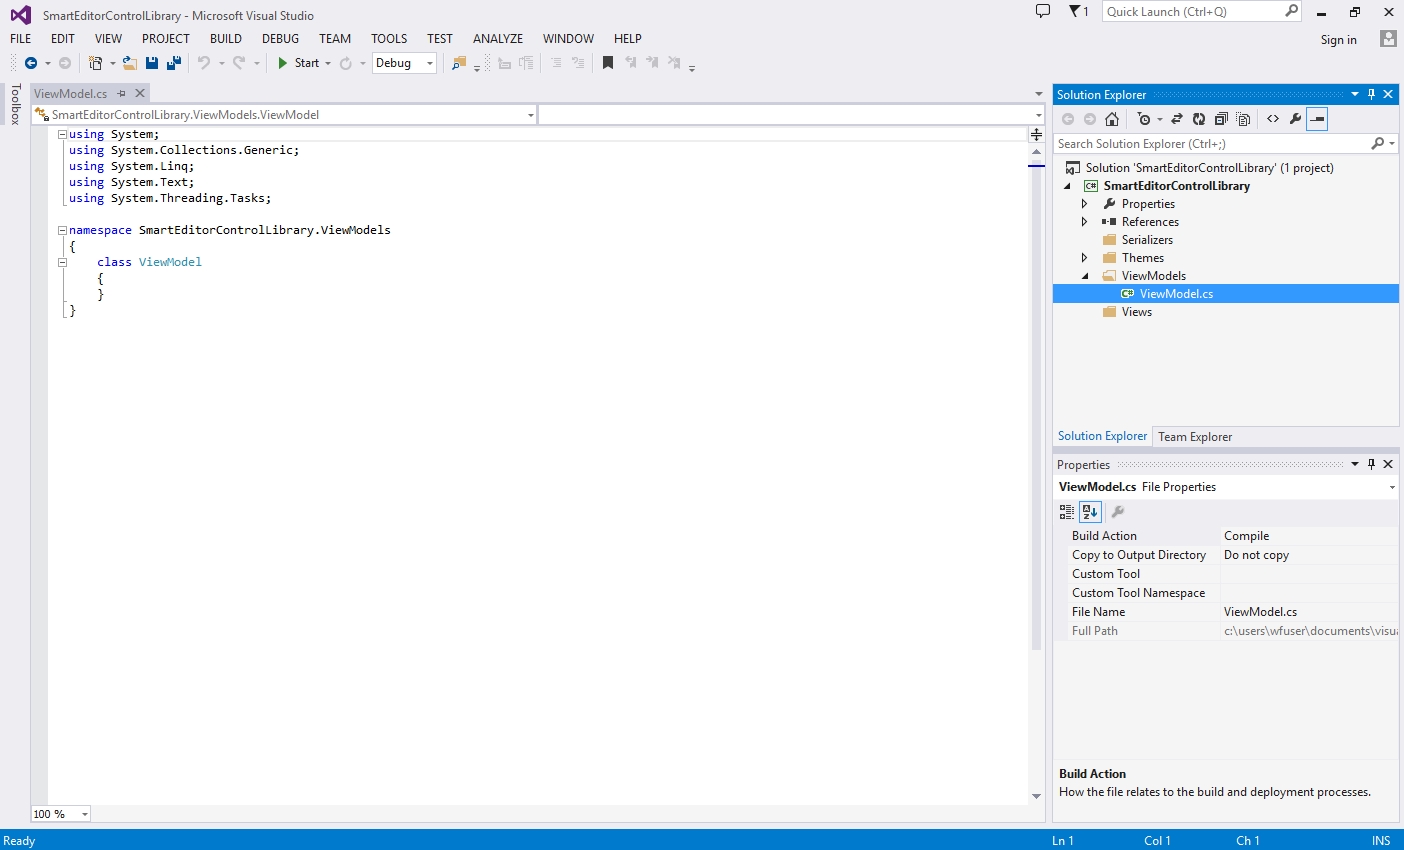
Inside the ViewModels directory, add a new class called ViewModel.
In the new class, we need to access the namespaces provided by the referenced DLL files by adding the following using declarations to the existing ones.
using System.ComponentModel;
using System.Windows.Media;
using Microsoft.Practices.Unity;
using WFSmartEditor.Infrastructure;
using WFSmartEditor.Infrastructure.Models;
using WFSmartEditor.Infrastructure.Presentation;
using WFSmartEditor.Infrastructure.Presentation.ViewModels;
using WFSmartEditor.Infrastructure.Resources;
using WFSmartEditor.Domain.Models;
using WFSmartEditor.Modules.Design.Attributes;
using WFCommon.Instrumentation.Events;
Change the visibility of the default ViewModel class to public and inherit the CommonControlViewModel class. This way our custom control will inherit the basic properties of the standard SmartEditor control.
public class ViewModel: CommonControlViewModel
{
}
Inheriting the CommonControlViewModel class requires the implementation of the GetXamlControlName() method, so override it below. This will return the Silverlight control name.
public override string GetXamlControlName()
{
    return "CustomControl";
}
Initialize the ViewModel by creating a constructor and call the base class constructor while passing the required parameters.
public ViewModel(
    IUnityContainer container,
    IExplorerNodeViewModel parent,
    Type controlType)
    : base(container, parent, controlType)
{
}
Override the DesignerDesiredSize property of the CommonControlViewModel class and return the default desired size of the control. For our sample, the default size will be 100,100.
public override System.Windows.Size DesignerDesiredSize
{
    get { return new System.Windows.Size(100, 100); }
}
Override the GetNamespaces() method to return all namespaces that the Silverlight control requires in order to run.
public override IEnumerable<string> GetNamespaces()
{
    return new[]
    {
        "SilverlightControlLibrary=\"clr-namespace:SilverlightControlLibrary;assembly=SilverlightControlLibrary\""
    };
}
Override the GetRequiredAssemblies() method to return all assemblies that the Silverlight control requires in order to run. In this case, we need the previously built SilverlightControlLibrary.dll which must be located in the Silverlight/Standard folder (by default, C:\Program Files (x86)\WEBfactory 2010\Silverlight\Standard).
public override IEnumerable<AssemblyReference> GetRequiredAssemblies()
{
    return new[]
    {
        new AssemblyReference("SilverlightControlLibrary.dll")
    }
    .Union(AssemblyGroups.WFCore)
    .Union(AssemblyGroups.WFShared);
}
Any other third party references that the custom control might need (in any particular case) must be added here as new assembly references and the DLL file must be copied in the Silverlight/Standard folder (by default, C:\Program Files (x86)\WEBfactory 2010\Silverlight\Standard).
The new assembly references must be declared using the same syntax:
new AssemblyReference("ThirdPartyReference.dll")Next we need to add the control's properties which will be editable from SmartEditor at design-time. For this example, we will add the SignalName property which has been defined in the Silverlight custom control.
private string signalName;
[Browsable(true)]
[SignalBrowser]
[PropertyCategory("Signals", typeof(StandardPropertyCategories))]
public string SignalName
{
    get
    {
        return signalName;
    }
    set
    {
        if (signalName != value)
        {
            var changedEventArgs = new ValueChangedEventArgs<string>(signalName, value);
            RaisePropertyChanging(() => SignalName);
            signalName = value;
            SignalNameChanged.Raise(this, changedEventArgs);
            RaisePropertyChanged(() => SignalName);
        }
    }
}
public event EventHandler<ValueChangedEventArgs<string>> SignalNameChanged;
Notice that the property's attributes are marked with square brackets.
[Browsable(true)]- allows the SignalName to be browsed.[SignalBrowser]- sets the signal browser as browsing method.[PropertyCategory("Signals", typeof(StandardPropertyCategories))]- sets the property in the Signals category
The property setter uses a predefined method of setting the signal's value and the event handler is used to notify the connector about the updated value.
Finally, override the AddXamlAttributes() method and add a call to AddXamlAttribute() for our property. This will write the property value in the generated Silverlight application from Smart Editor.
protected override void AddXamlAttributes()
{
    base.AddXamlAttributes();

    AddXamlAttribute("SignalName", SignalName);
}
The ViewModel code is complete and should look like this:
Implementing the Model View ViewModel (MVVM) pattern
Because Ewon by HMS Networks always recommends the usage of best practices, we also recommend using the MVVM pattern when developing the SmartEditor custom control. This will allow better code management, separation and extensibility.
The View
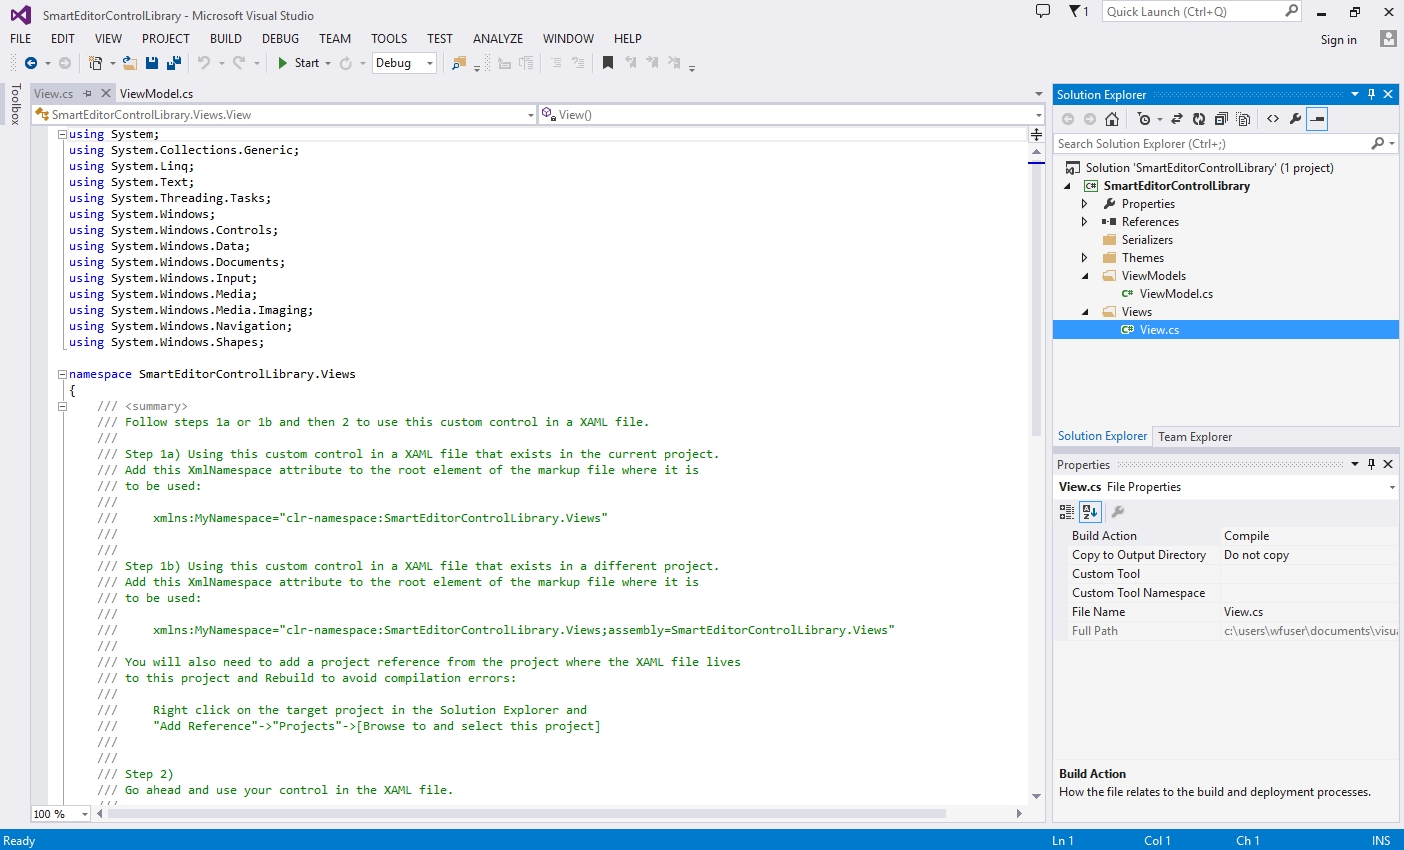
Inside the View folder, add a new Custom Control (WPF) and name it View.
Inside the new View, add the following using declaration to allow the access to the Views namespace.
using WFSmartEditor.Infrastructure.Presentation.Views;
Now make the View class inherit the CommonControl class, available in the new namespace.
public class View : CommonControl
The View of our custom control should look like this:
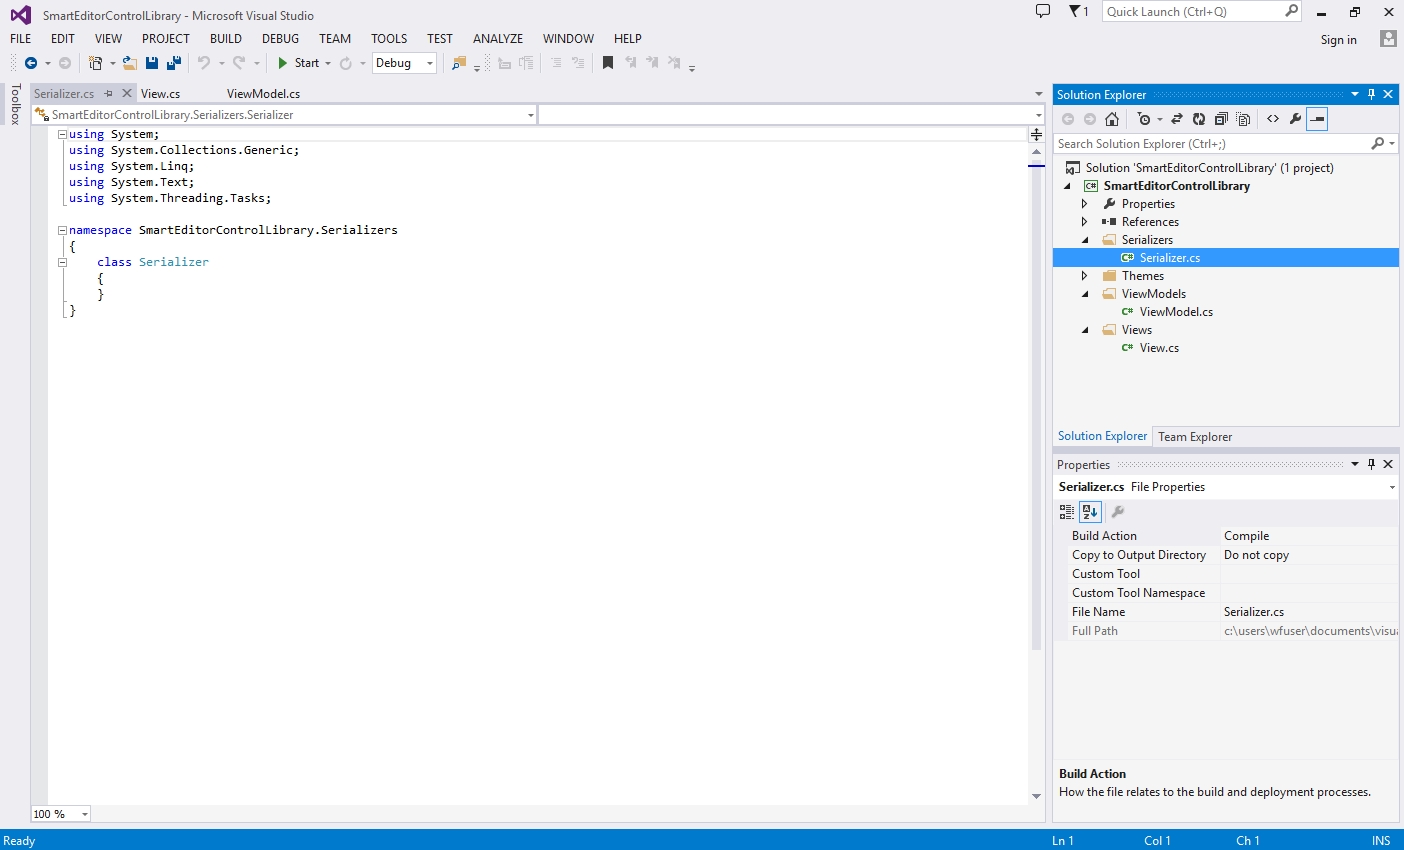
The Serializer
In the Serializers folder, add a new class called Serializer.
Add the following using declarations to enable the access to the required namespaces.
using Microsoft.Practices.Unity;
using System.Windows.Media;
using System.Xml.Linq;
using SmartEditorControlLibrary.ViewModels;
using WFSmartEditor.Infrastructure.Presentation;
using WFSmartEditor.Infrastructure.Presentation.Serialization;
using WFSmartEditor.Infrastructure.Presentation.Factories;
using WFSmartEditor.Infrastructure.Presentation.Services;
using WFSmartEditor.Infrastructure.Presentation.ViewModels;
Change the Serializer's class visibility to public and make it inherit the CommonControlSerializer class.
public class Serializer: CommonControlSerializer
{
}
Add a private field container of type IUnityContainer.
private IUnityContainer container;
Implement the constructor by passing the arguments to the base class constructor and save the container parameter in the container field.
public Serializer(ISerializerFactory serializerFactory, IUnityContainer container, IProjectManagerService projectManagerService)
: base(serializerFactory, container, projectManagerService)
{
	this.container = container;
}
Override the CommonControlSerializer 's CreateNode() method and return a new instance of the sample control view model.
protected override ICommonControlViewModel CreateNode(Type controlType, IExplorerNodeViewModel parentNode)
{
    return new ViewModels.ViewModel(container, parentNode, controlType);
}
Override the DeserializeProperties() method to implement property loading (deserialization).
protected override void DeserializeProperties(XElement properties, ICommonControlViewModel target, Version version)
{
    var node = target as ViewModel;

    base.DeserializeProperties(properties, node, version);

    this.SetSafeValue(properties.Element("SignalName"), (string value) => node.SignalName = value);
}
Override the SerializeProperties() method to implement property saving (serialization)
protected override IEnumerable<XElement> SerializeProperties(ICommonControlViewModel source)
{
    var node = source as ViewModel;

    var baseProperties = base.SerializeProperties(node);

    var properties = new List<XElement>();

    properties.Add(XElement(() => node.SignalName));

    return baseProperties.Concat(properties);
}
The Serializer's code is complete and should look like this:
The Module
The Module class is responsible for serializers registration, so for any new controls added to this solution, the Module class needs to be updated with the new serializers.
In the root of the solution, add a new class named Module.

Add the following using declarations to gain access to the required namespaces.
using SmartEditorControlLibrary.Serializers;
using SmartEditorControlLibrary.Views;
using Microsoft.Practices.Prism.Regions;
using Microsoft.Practices.Unity;
using WFSmartEditor.Infrastructure;
using WFSmartEditor.Infrastructure.Services;
using WFSmartEditor.Infrastructure.Presentation;
using WFSmartEditor.Infrastructure.Presentation.Factories;
Change the visibility of the Module class to public and make it inherit the PluginModule class.
public class Module: PluginModule
{
}
Implement the constructor and pass the arguments to the base class constructor.
public Module(IRegionManager regionManager, IUnityContainer container)
: base(regionManager, container)
{
}
Override the PluginModule's RegisterSerializers() method and register the previously created serializer.
protected override void RegisterSerializers(ISerializerFactory serializerFactory)
{
    serializerFactory.RegisterSerializer<View, Serializer>();
}
The Module is complete, it's code should look like this:
Editing the XAML code
The XAML code must be inserted and adapted to the WPF custom control.
Open Generic.xaml from the Themes folder and delete the automatically generated Style.
Change the local namespace to point to the Views directory.
xmlns:local="clr-namespace:SmartEditorControlLibrary.Views"
Paste the Style from the SilverlightControlLibrary project's Generic.xaml in the place of the previously deleted style.
<Style TargetType="local:CustomControl">
    <Setter Property="Template">
        <Setter.Value>
            <ControlTemplate TargetType="local:CustomControl">
                <Border Background="{TemplateBinding Background}"
                    BorderBrush="{TemplateBinding BorderBrush}"
                    BorderThickness="{TemplateBinding BorderThickness}">
                    <Grid>
                        <Grid.ColumnDefinitions>
                            <ColumnDefinition Width="100" />
                        </Grid.ColumnDefinitions>
                        <Grid.RowDefinitions>
                            <RowDefinition Height="30" />
                            <RowDefinition Height="30" />
                            <RowDefinition Height="30" />
                        </Grid.RowDefinitions>

                        <TextBlock x:Name="Value"
	                    Grid.Row="0"
	                    Grid.Column="0" />
                        <TextBox x:Name="Input"
	                    Grid.Row="1"
	                    Grid.Column="0" />
                        <Button x:Name="Button"
	                    Grid.Row="2"
	                    Grid.Column="0"
	                    Content="Submit Value" />

                    </Grid>
                </Border>
            </ControlTemplate>
        </Setter.Value>
    </Setter>
</Style>
Change the TargetType of the new Style and of the ControlTemplate to point to the View.
<Style TargetType="local:View">
    ...
            <ControlTemplate TargetType="local:View">
	...
Replace the TemplateBindings with Bindings in the Border's properties and point the bindings to the Brush property of the SmartBrush.
<Border Background="{Binding Background.Brush}"
        BorderBrush="{Binding BorderBrush.Brush}"
        BorderThickness="{Binding BorderThickness}">
If CompositeTransform is used in the Silverlight XAML, it must also be replaced with TransformGroup, along with all the used properties!
Example:
<CompositeTransform SkewX="3" SkewY="3.1" TranslateX="1" TranslateY="1.1" ScaleX="2" ScaleY="2.1" Rotation="4"/>
must become:
<TransformGroup>
	<SkewTransform AngleX="3" AngleY="3.1"/>
	<TranslateTransform X="1" Y="1.1"/>
	<ScaleTransform ScaleX="2" ScaleY="2.1"/>
	<RotateTransform Angle="4"/>
</TransformGroup>
The XAML code should now look like this:
The SmartEditor custom control is now complete. It can be built and can be used in SmartEditor visualization projects. To learn how to integrate the new custom control in SmartEditor, continue with the final section of the series: