EnergyManagerPro
Check out this article and learn how to program and execute scenarios based on specific parameters.
Ewon by HMS Networks EnergyManagerPro can program and execute scenarios based on specific parameters. Controlling a calendar-like interface, the users can create different scenarios and plan them accordingly to their agenda.
EnergyManagerPro is used to schedule scenarios that will take place at a given location and a given time.
It can be accessed from the Settings tab of Ewon by HMS NetworksStudio.
EnergyManagerPro
EnergyManagerPro visual interface consists in two main elements:
the top bar - containing the Features menu (left) and the language options (right)
the main view - depending on EnergyManagerPro's selected feature, the main view will display the operative interface
EnergyManagerPro's features can be accessed by hovering over the top-left menu (Features menu).
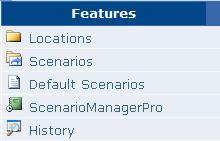
Features menu
Hovering over the Feature menu will unfold a list of five options:
Locations - the locations and signals for the locations are defined here
Scenarios - the scenarios that will/can run at one of the defined locations
Default Scenarios - the scenarios that apply when no other defined scenario is running at a certain location
ScenarioManagerPro - the schedule overview of the scenarios
History - past scenario activity
EnergyManagerPro Locations
Check out this article and learn moer details about the WEBfactory 2010 Energy ManagerPro Locations section.
The Locations section allows the user to define new locations where scenarios will apply. In the image above, Room1 is a defined location. The description of the location can contain any information.
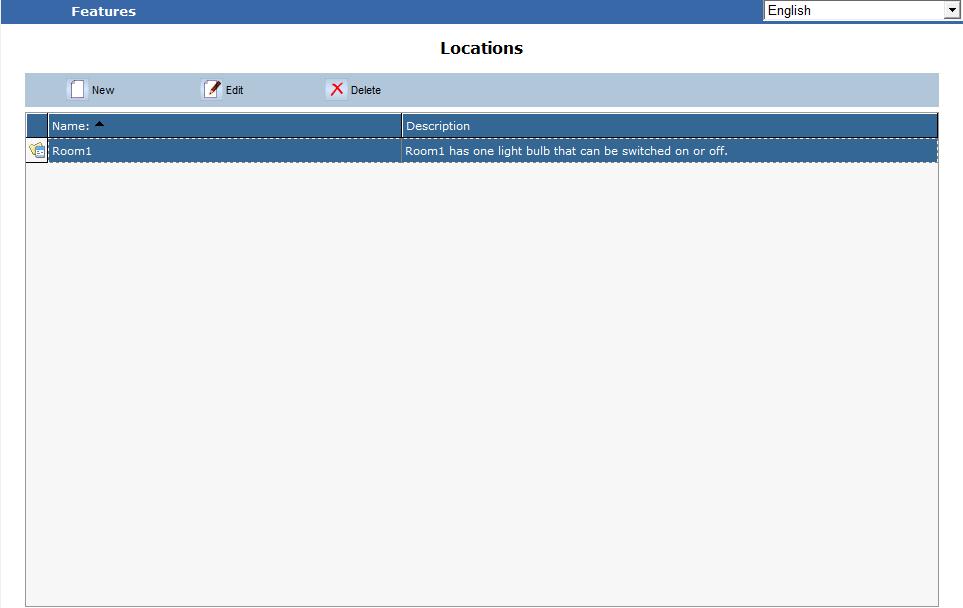
The Location feature of EnergyManagerPro
The user has the possibility to create a new location, edit an existing location or delete a location. This options are located in the menu bar, above the main view.

Creating, editing and deleting locations
To create a new location, click on the New button from the top menu. The New Location window will open, allowing the user to select a name, a description and signals for the location.
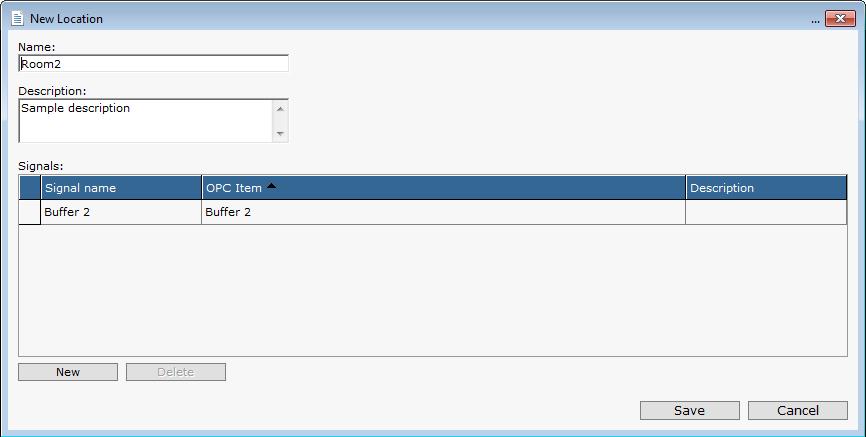
Creating a new location
Fill out the Name and Description text fields with the desired content.
Click on the New button from the bottom-left side of the window to select signals. The Signal Browser will pop up. Select the desired signals and click OK to add them to the new location.

Selecting the signals for the new location
Click Save to save the new location.
An existing location can be edited by selecting it and clicking the Edit button. The Edit Location window is similar with the New Location window, allowing the user to modify the name, description or signals of the location.

The Edit Location window
To delete a location, select it and press the Delete button next to Edit.
EnergyManagerPro Scenarios
Check out this article and learn all details about the WEBfactory 2010 EnergyManagerPro Scenarios section.
This section is allows the user to create and manage scenarios that will apply to the desired location at a desired time. The Scenarios section allows the user to create new scenarios, edit existing scenarios, delete, copy and teach scenarios.
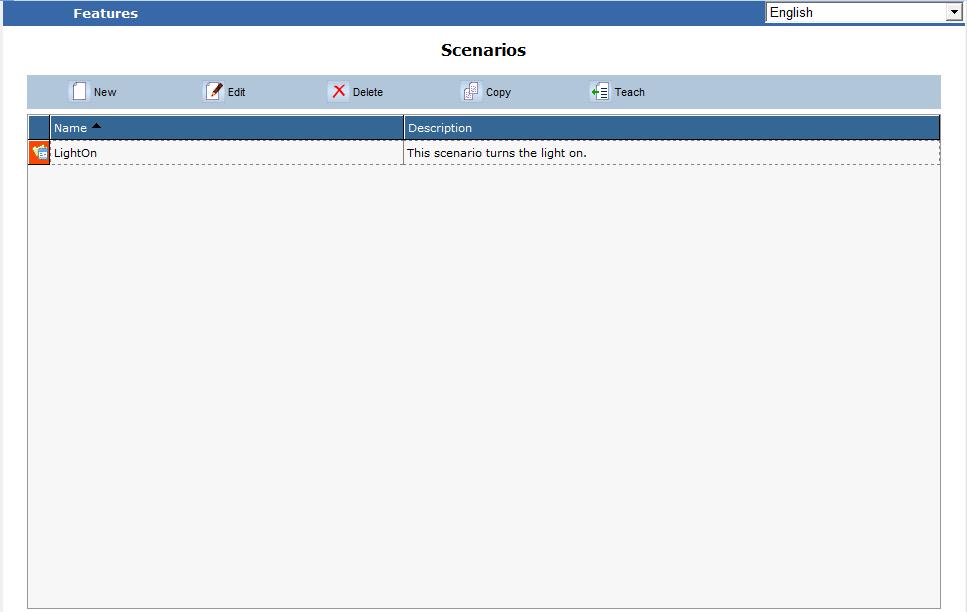
The Scenarios section of the EnergyManagerPro
To create a new scenario, click on the New button. The New Scenario window will open, allowing the user to define a Name, Description, Color or to define signal triggers.
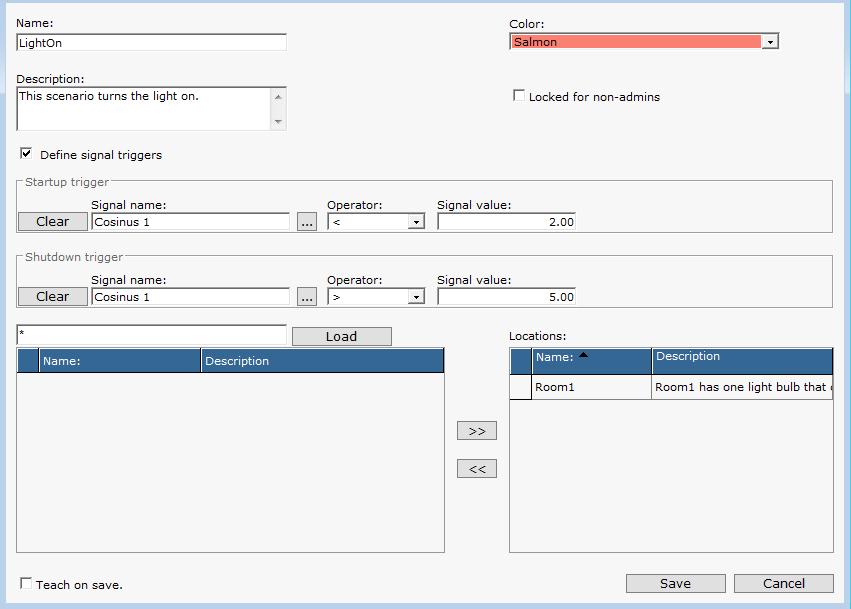
Creating a new scenario
Fill out the Name and Description text fields and select the desired Color for the scenario. The Locked for non-admins option is available, and will protect the scenario from being edited by a non-administrator user.
The Define signal trigger option allows the user to add an additional condition to the scenario, by using a Startup trigger (condition that starts the scenario) and a Shutdown trigger (condition that stops the scenario).
The user has the possibility to select a signal and trigger the scenario when the signals value is above or below a chosen limit. In the picture above, the Startup trigger is when the value of the Cosines 1 signal is lower than Cosines 2, and the Shutdown trigger is when the value of the same signal is above 5.
The Load button (below the Shutdown trigger) loads the currently defined locations. In our case, the location is Room1. This will apply the current scenario to the location.
The Teach on save option loads the scenario when saving it. This means that the scenario is to be executed when the conditions are met.
EnergyManagerPro Default Scenarios
Check out this article and learn more details about the EnergyManagerPro Default Scenarions section.
In the Default Scenarios section, the user can define a default scenario that will be active when no other scenario is active. The scenario has to be created first, in the Scenarios section.

Default scenarios
In our case, if the scenario is LightOn, the default scenario will be LightOff. To add a default scenario, select New from the top bar.
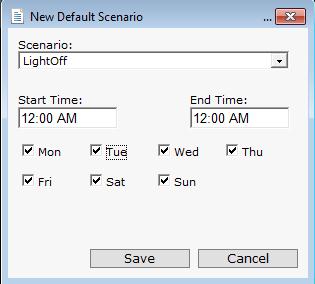
New default scenario
The New Default Scenario window allows the user to select a default scenario from the Scenario list, set the Start Time and the End Time of the default scenario, as well as selecting the days of the week when the scenario will be active as default.
If the whole week is not covered by the scenario, the Default Scenarios section will display an alert: The week is not completely covered by default scenarios!. To avoid this error, make sure that every day of the week is covered by on default scenario.
The default scenario can be edited or deleted using the top bar buttons.
EnergyManagerPro ScenarioManagerPro
Check out this article and learn more details about the EnergyManagerPro ScenarioManagerPro section.
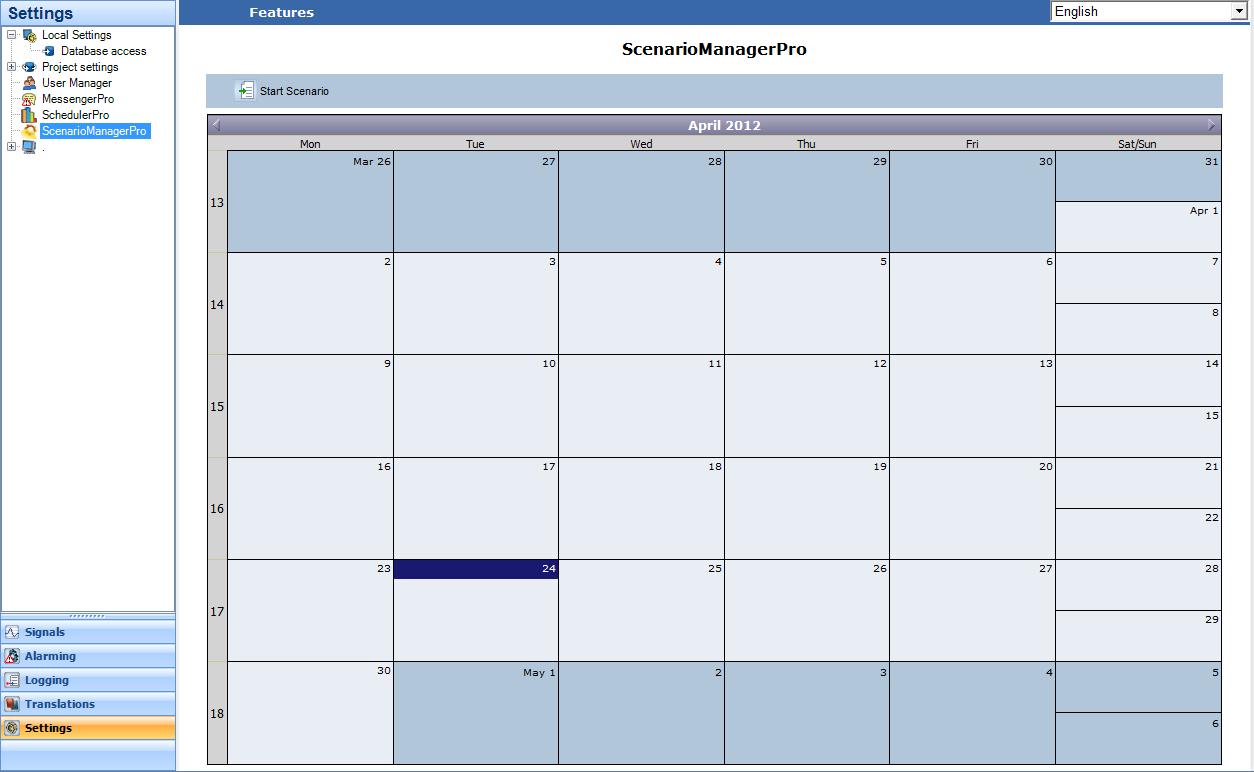
In the ScenarioManagerPro section, the defined scenarios can be scheduled to start and stop at a pre-defined time and date. Additional, the scenarios can have triggers that will start/stop the scenario when the conditions are met.

Scheduling the scenarios
To start a scenario immediately, click on the Start Scenario button. The Start Scenario window will open, allowing the user to select the desired scenario and the end time of the scenario.
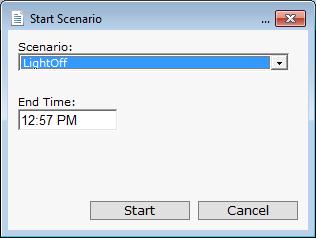
Starting scenario
By using the Start Scenario button, the selected scenario will be started immediately.
To schedule a scenario, right-click on the desired day and select Schedule Scenario. The Schedule Scenario window lets the user choose the scenario and the Start Time/End Time of the execution. Also, the user can choose the days of the week when the scenario will be applied.
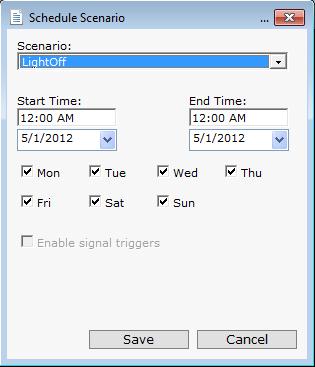
Scheduling a scenario
Once scheduled, the scenario will be visually represented in the ScenarioManagerPro main view.
To delete a scheduled scenario, right-click on a day that runs that scenario and select Unschedule Scenario. This operation will delete the scenario from the selected day. If the scenario time frame is more than a day, each day must be cleared in order to fully delete the scenario.
EnergyManagerPro History
Check out this article and learn more details about the WEBfactory 2010 EnergyManagerPro History section.
The History section displays the past actions of EnergyManagerPro. The main view contains a three columns table, displaying the Timestamp, the User and the Action Description for each executed action.
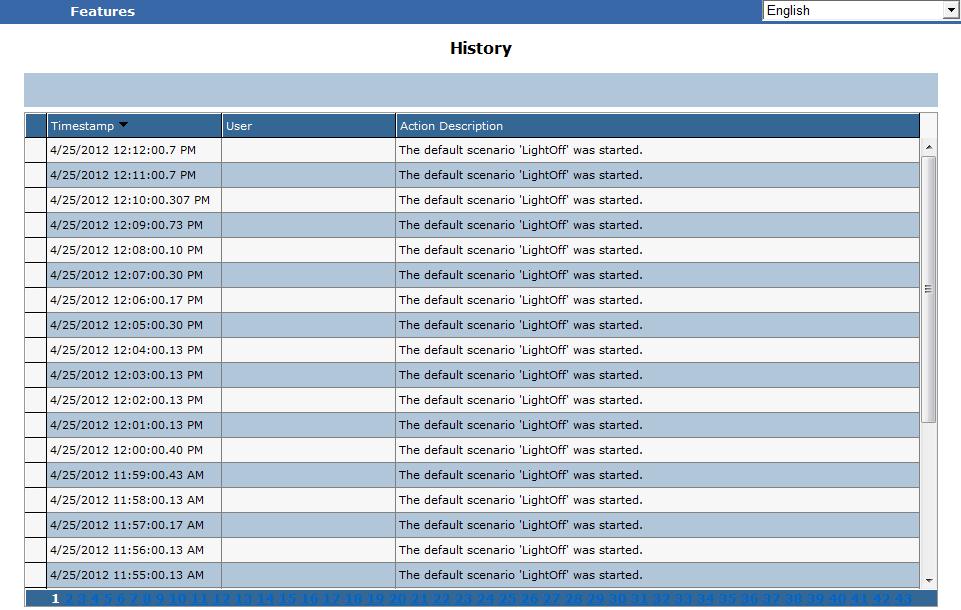
The History section
The sort order of the logs can be changed using the table headers. The bottom bar holds the page numbers.