Installing and running WEBfactory 2010 on Windows 10
Check out this article and learn how to install and run WEBfactory 2010 setup on Windows 10.
To install and run WEBfactory 2010 on Microsoft's Windows 10, the user must add the following Features to the Windows 10 machine:
.NET Framework 4.5
.NET Framework 4.7
Internet Information Services (IIS)
Follow the next steps in order to install the Features required for using WEBfactory 2010 on a Windows 8/8.1 machine.
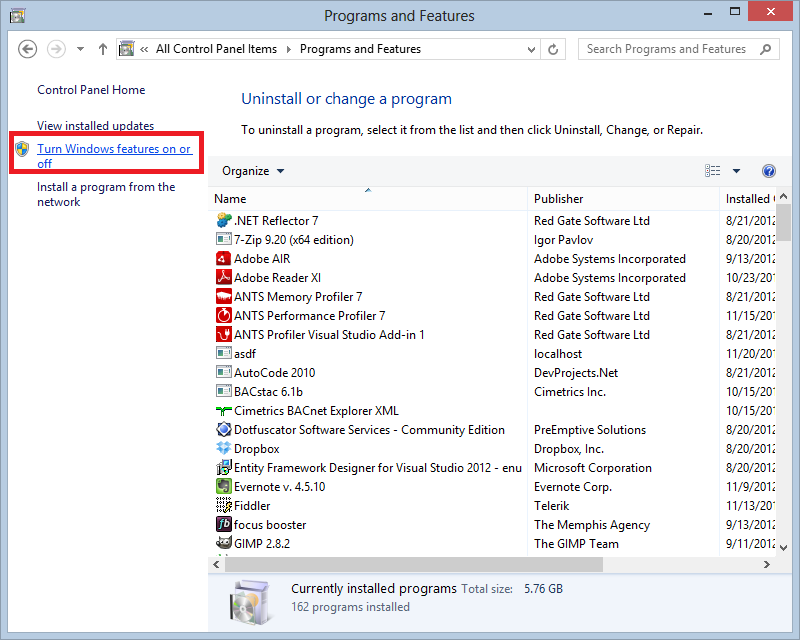
Go to Control Panel > Programs and Features > Turn Windows features on or off.
In the Turn Windows features on or off, make sure to select for installation the following features:
.Net Framework 4.5 and all its components;
.Net Framework 4.7 and all its components;
Internet Information Services (IIS) and all its components;
At least the components checked in the below screen shot should be marked for installation:
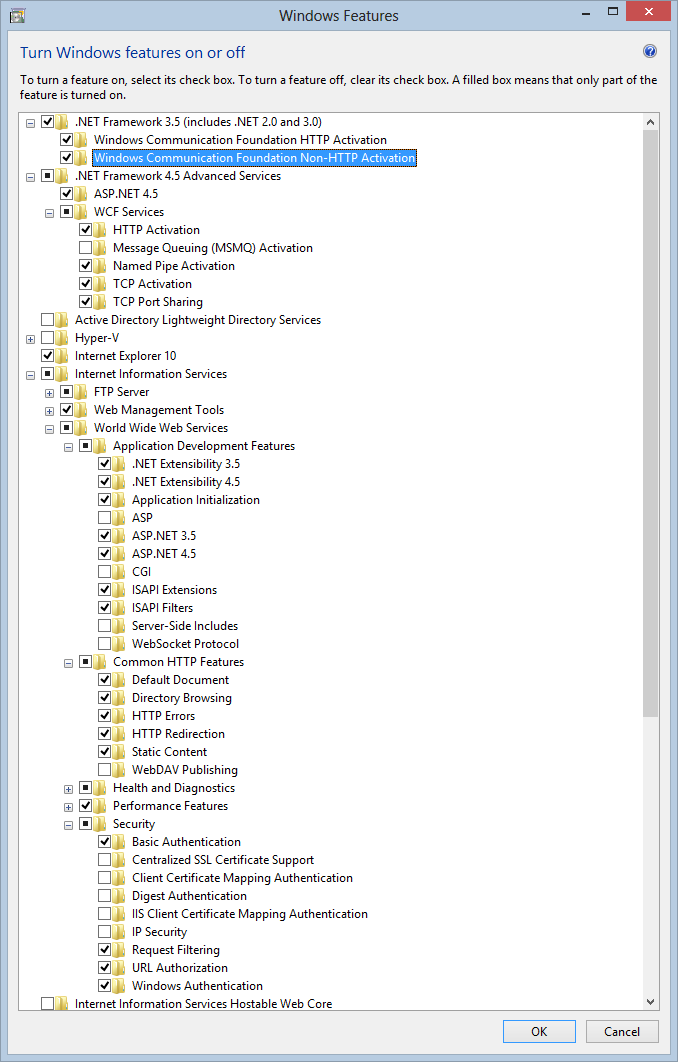
Click Ok to confirm and proceed with the installation.
Go to Control Panel > Administrative Tools > Component Services.
Expand the navigation tree to Console Root\Component Services\Computers\My Computer\DCOM Config.
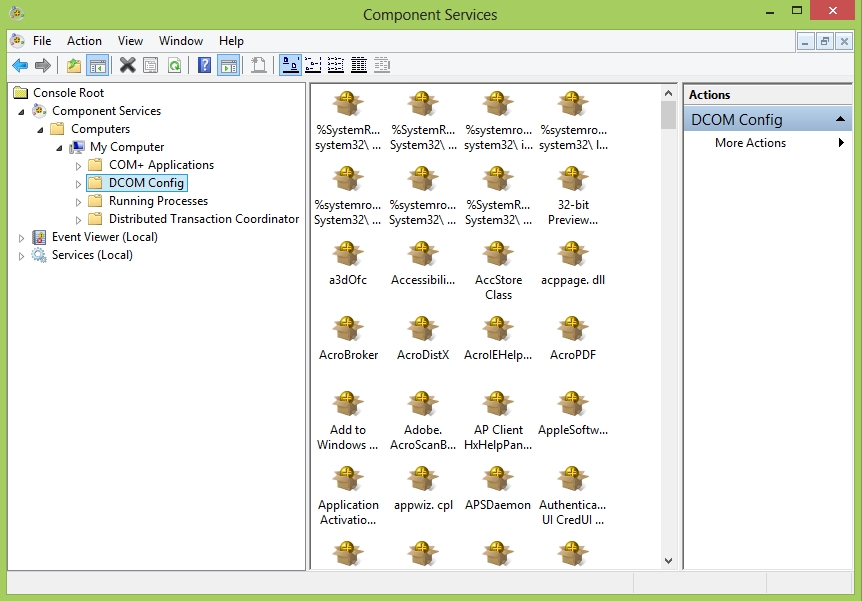
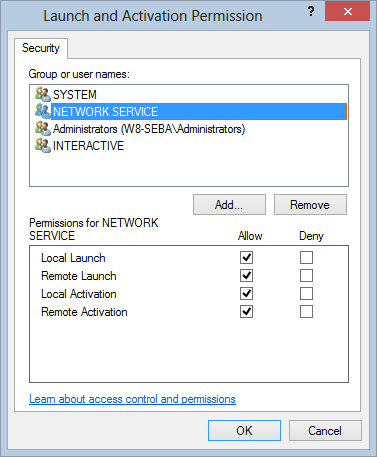
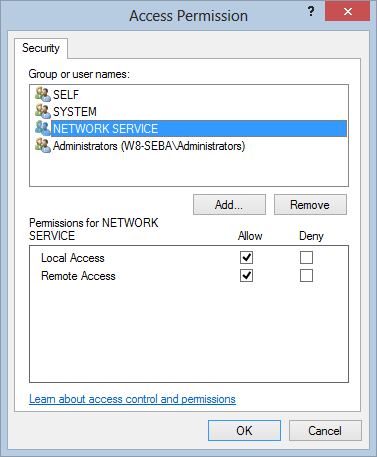
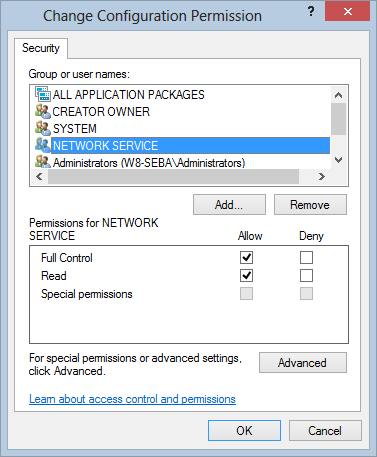
Under the DCOM Config, select WCS and click on the Properties option from the contextual menu (right-click). Select the Security tab.
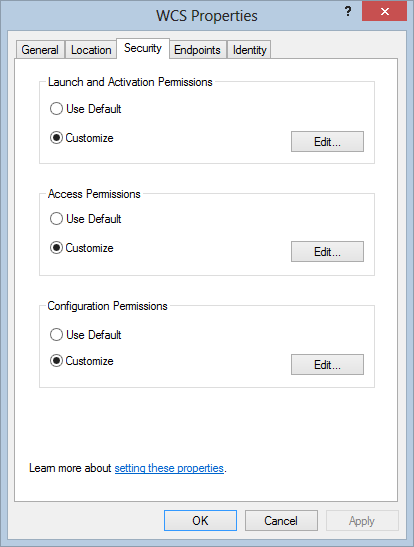
Customize the Launch and Activation Permissions, Access Permissions and Configuration Permissions to allow full access for the Network Service.
Back to the DCOM Config, select WTS and click on the Properties option from the contextual menu (right-click). Select the Security tab. Perform the same security customizations from step 7 for the WTS.
The Microsoft SQL Server 2014 and WEBfactory 2010 installation can now be started and executed as usual.