Creating an SQL User with read and write rights for the Database
Check out this article and learn how to create an SQL User with read and write rights for the WEBfactory 2010 Database.
This article describes how to set up a new SQL Login (user) and how to assign the read and write rights for a certain database.
The first part of the article describes the procedure of creating a new SQL Login, based on either Windows authentication or SQL Server authentication. The second part describes how to assign read and write rights to the new login (or to an existing one).
Creating a new SQL Login
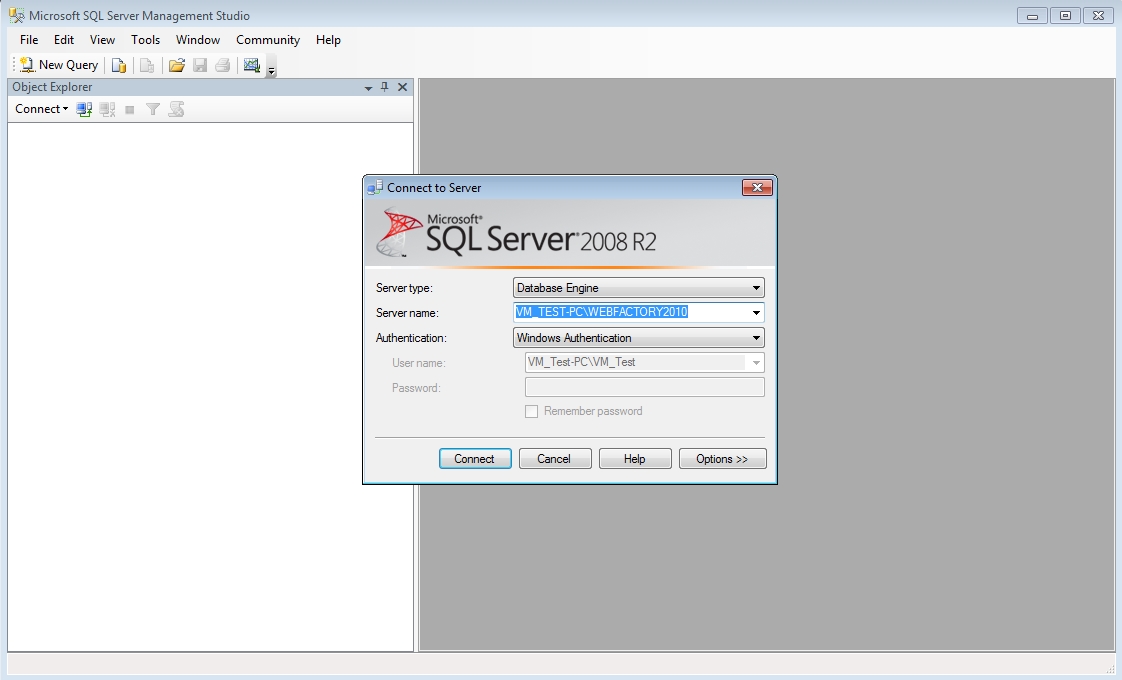
Open Microsoft SQL Server Management Studio and connect to the database server.
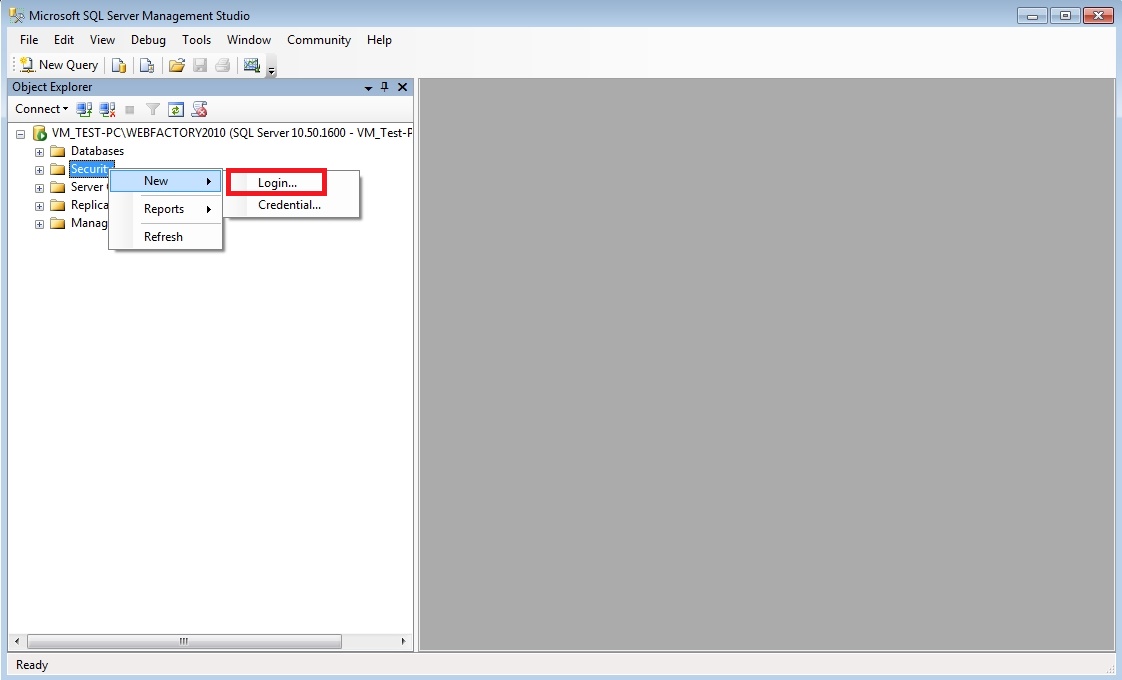
Right-click on the Security folder under the database server and select New > Login....
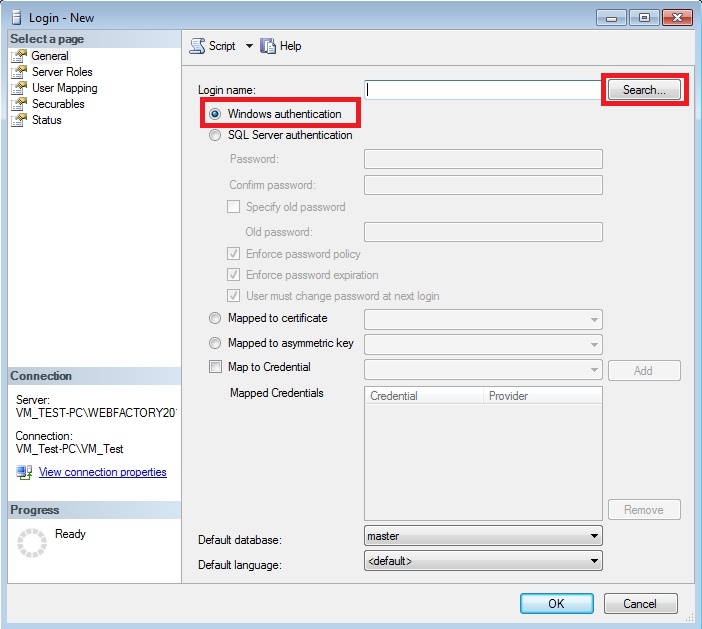
In the Login - New dialog, you have the option of creating a new Login based on Windows authentication (for an existing Windows/Active Directory user) or a new Login based on SQL Server authentication.
Windows authentication Login
Select the Windows authentication option and click Search... to add an existing Windows/Active Directory user.
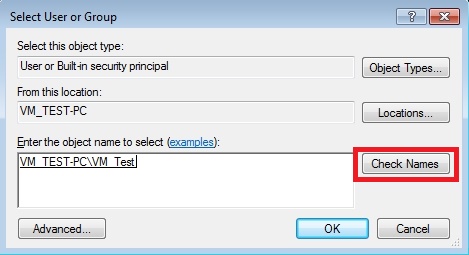
In the Select Users of Group dialog, enter the user name and click the Check Names button to check the entered name against the list of existing users. Click OK to confirm the user.
Back in the Login - New dialog, click OK to confirm the new Login based on Windows authentication.
SQL Server authentication Login
Select the SQL Server authentication option and enter the desired login name in the Login name field. Enter a password for the new Login and confirm it.
Optionally, you can uncheck the User must change password at next login option.
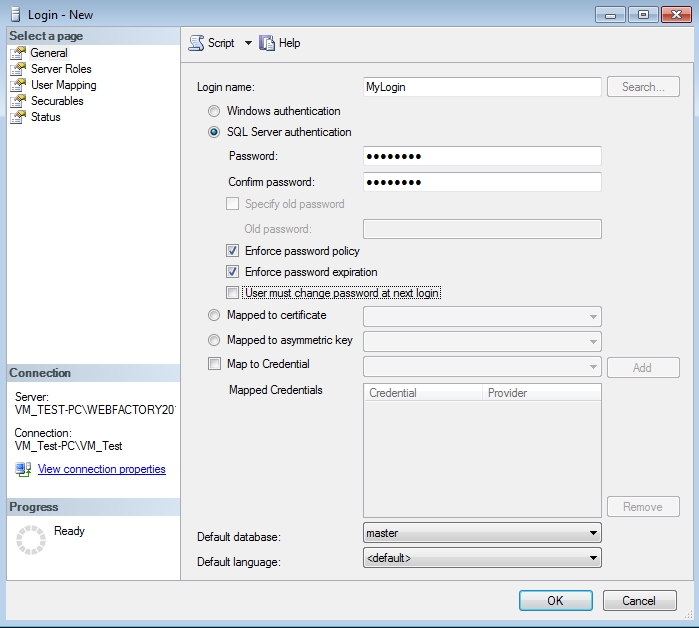
Click OK to confirm the new Login based on SQL Server authentication.
Assigning database rights to the new Login
In the Object Explorer panel of the Microsoft SQL Server Management Studio, expand the Logins folder, found under the Security folder of the databse server.

Double-click (or right-click and select Properties) on the new login (or on any existing login for that matter). In the Login Properties dialog, select the User Mapping page.
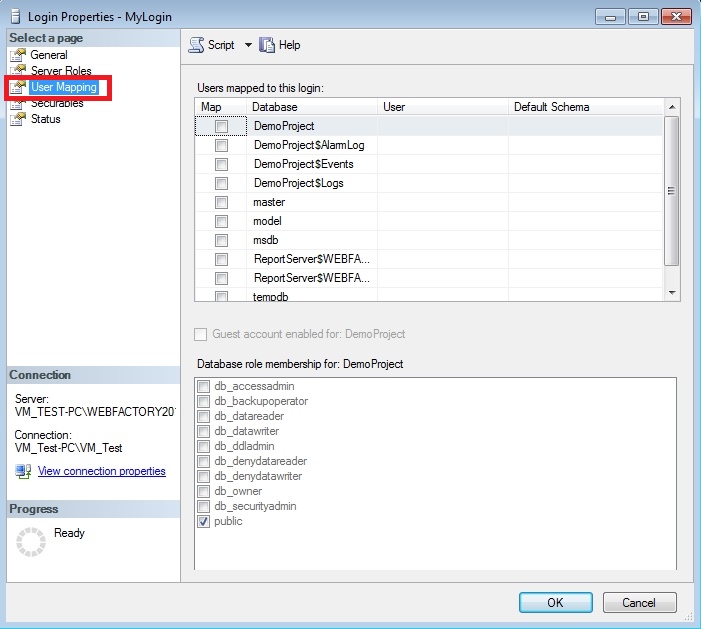
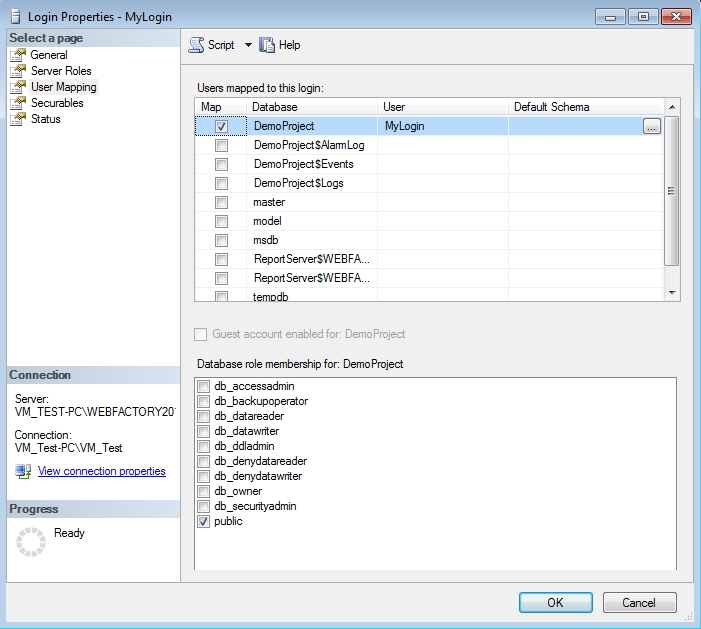
In the Users mapped to this login section, select the desired database to which the new roles should be applied.
In the Database role membership for:... section, select the required roles. The roles correspond to the rights of the new login to that database. To safely operate on the selected database, you must grant at least read and write rights to the login. To do so, select the db_datareader and db_datawriter roles.
The db_owner role will grant full rights for the selected database.
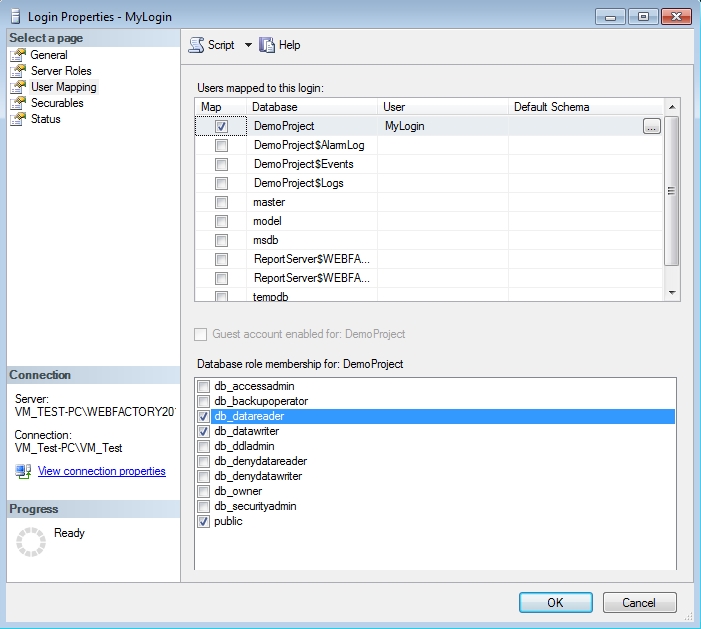
Click OK to confirm the Login Properties and the new changes. The new login will now have read and write rights to the selected database.