Using WEBfactory 2010 projects with a different IIS communication port than 80
Check out this article and learn how to use WEBfactory 2010 projects with a different IIS communication port than 80.
In some specific situations, the HTTP port 80 may be used by other applications than WEBfactory 2010. In order to avoid any issues, WEBfactory 2010 allows the user to change the HTTP communication port from 80 to any desired value.
Besides changing the HTTP communication port in Internet Information Services (IIS), WEBfactory 2010 requires further settings to be done in order to successfully run any Expression Blend/Blend for Visual Studio 2012 or SmartEditor project. All the required steps can be found below:
Changing the HTTP port number in IIS
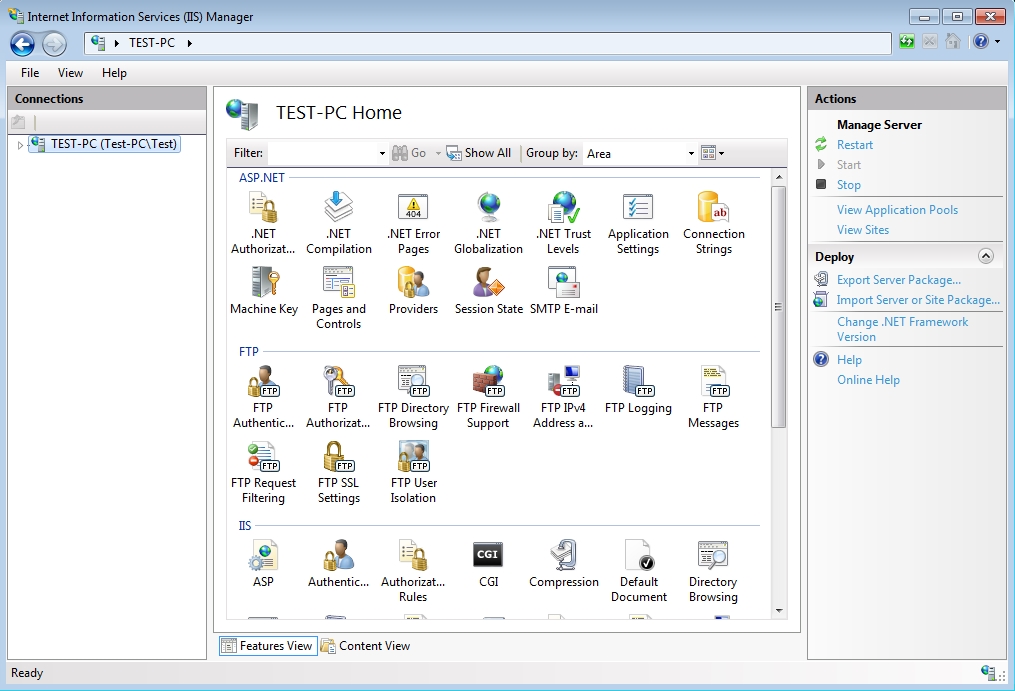
Open Internet Information Services (IIS) from Control Panel\System and Security\Administrative Tools.
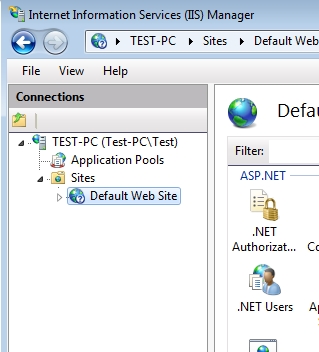
In the Connections panel, expand the tree and select the Default Web Site under the Sites node.
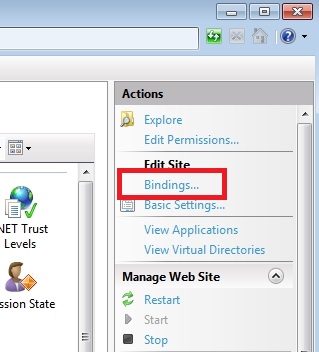
While having the Default Web Site selected, head in the Actions panel and click the Bindings... link under the Edit Site section.
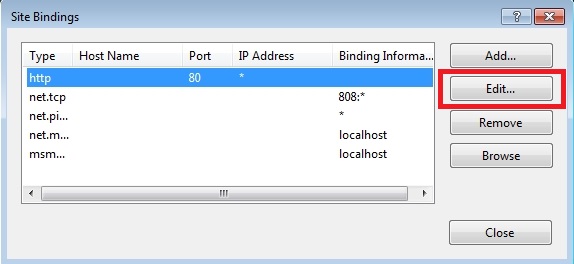
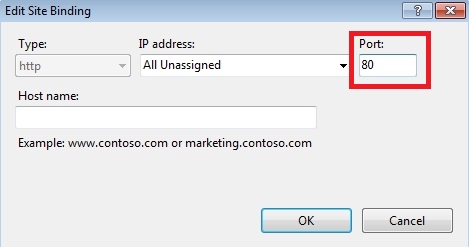
The the Site Bindings dialog, select the HTTP communication port 80 and click Edit....
In the Edit Site Binding, change the value of the Port from 80 do the desired value. For demonstrative purposes, we will use the value 8080.
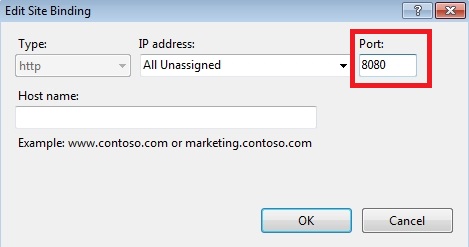
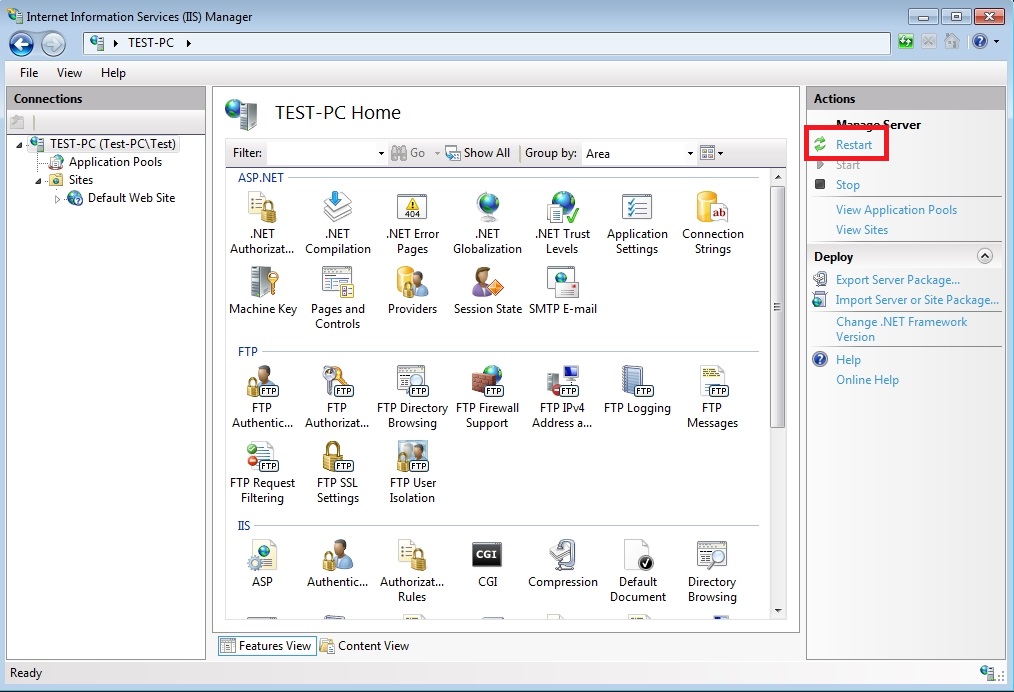
Click OK to confirm the Edit Site Binding dialog. The new value of the HTTP communication port will be visible in the Site Binding window. To complete the procedure and apply the change, restart the IIS.
Configuring the HTTP port in Blend projects
Once the port changing is done in IIS, the Blend projects will need to be instructed to use the new port. In order to do so, we need to create a file that will state the exact change and tell Blend to use the new port. The file will contain XML markup and will be named WFSettings.xml. This file will then be added to any Blend project that will need to use the updated HTTP port.
Creating the WFSettings.xml
To create the WFSettings.xml file, create a new document in any text editor (Notepad, Notepad++, etc).
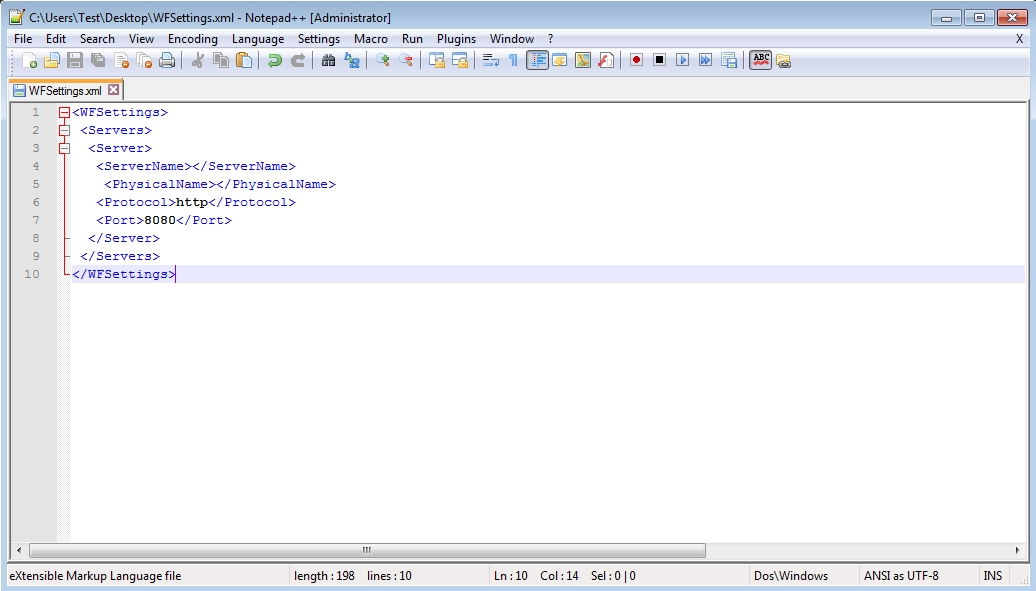
Paste the following content inside the new document:
<WFSettings>
 <Servers>
  <Server>
   <ServerName></ServerName>
    <PhysicalName></PhysicalName>
   <Protocol>http</Protocol>
   <Port>8080</Port>
  </Server>
 </Servers>
</WFSettings>
Save the document in the XML format, using the WFSettings name. The resulted document should look like this:
Adding the WFSettings.xml in Blend projects
When using an HTTP port number different than the default 80, the design time browsers in Blend projects will not be available anymore. Using the WFSettings.xml file will only enable Blend projects to use the new HTTP port at run time, not at design time!
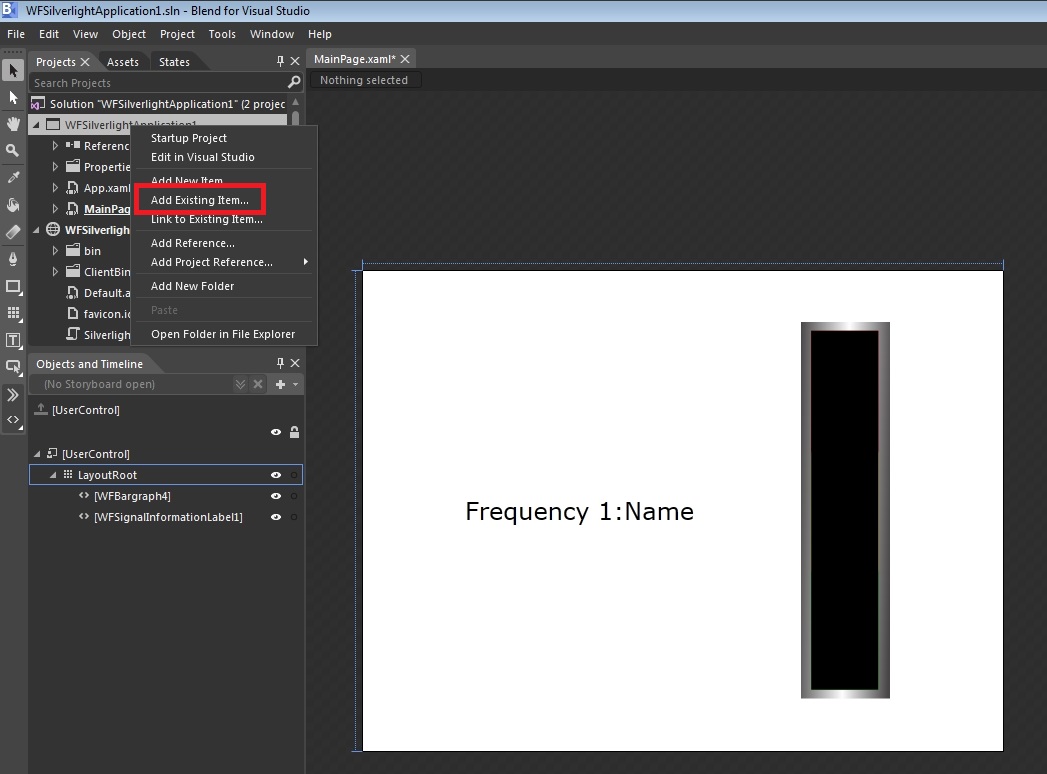
Open the desired Blend project. Right-click on the project inside the Projects panel and select Add Existing Item....
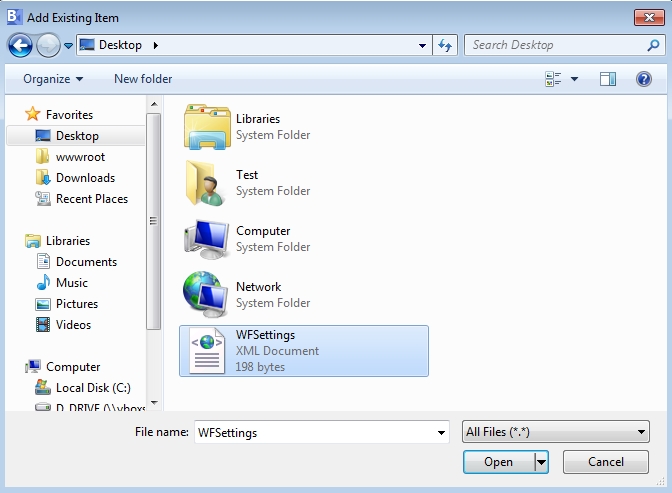
In the Add Existing Item dialog, find and select the WFSettings.xml file created in the previous step. Click Open to include the file in the project.
The WFSettings.xml is now added to the project.
Build and run the project. The new HTTP port will be used.
Configuring the HTTP port in SmartEditor projects
WEBfactory 2010SmartEditor provides an easier way to configure a custom HTTP port number:
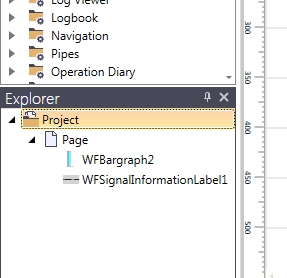
Open the desired SmartEditor project. Select the Project inside the Explorer panel.
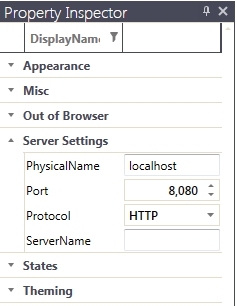
While the Project is selected, head in the Property Inspector panel and expand the Server Settings section.
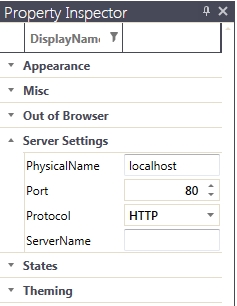
Replace the Port number with the new HTTP port number. Save the project.
The project will build and run as expected, using the new HTTP port number.
Accessing the Silverlight application from the internet
To access the Silverlight application on the new port from the internet (outside of your local network), you need to forward the ports used for accessing the WEBfactory server and Silverlight application using the network's router.
The port forwarding settings vary from router to router, so please check your router manufacturer's website for instructions.
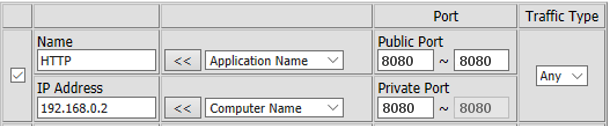
Give the use case described in the steps above, the IIS port is set to 8080 and the WEBfactory Silverlight project can be accessed using this port from the internal network as follows: http://192.168.0.2:8080/myproject (where 192.168.0.2 is the IP of the server running the Silverlight project). To be able to access the project using the same port, the following port forwarding must be done in the router:
HTTP/192.168.0.2 - Public Port: 8080 -> Private Port: 8080
The above forwarding would allow you to access the WEBfactory Silverlight project as follows: http://10.0.0.22:8080/myproject (where 10.0.0.22 is the external IP address of your router).
If the WEBfactory Silverlight project needs to be accessed from a different port from the internet, a separate port must be forwarded for that scenario, while keeping the forward to the internal IIS port. This is required because the Silverlight clientaccesspolicy.xml and crossdomain.xml calls are always made using the internal IIS port. The port forwarding would look like this:
HTTP/192.168.0.2 - Public Port: 1234 -> Private Port: 8080
HTTP/192.168.0.2 - Public Port: 8080 -> Private Port: 8080
The above forwarding would allow you to access the WEBfactory Silverlight project as follows: http://10.0.0.22:1234/myproject (where 10.0.0.22 is the external IP address of your router), while still allowing the clientaccesspolicy.xml and crossdomain.xml calls: 10.0.0.1:8080/clientaccesspolicy.xml and 10.0.0.1:8080/crossdomain.xml.