Upgrading a Silverlight project to Silverlight 5 using Blend for Visual Studio
Learn how to updgrade a WEBfactory 2010 project to Silverlight 5 using Blend application for Visual Studio.
As WEBfactory 2010 version 3.6 comes with Silverlight 5, any existing projects based on the Silverlight framework must be upgraded to the latest version of the framework, Silverlight 5. This article will guide you through the steps required to upgrade your projects using Blend for Visual Studio.
Existing SmartEditor projects are update automatically to Silverlight 5.
After upgrading your WEBfactory 2010 installation to version 3.6, all the dll files from the Silverlight/Standard folder will be updated to version 3.6.x. This article covers three possible scenarios:
Upgrading a project to Silverlight 5 - the most common scenario.
Upgrading a project using a re-skinned WFTrending3 control to Silverlight 5 - the extra steps required to upgrade the project if using a re-skinned WFTrending3 control.
Upgrading a project with Service References to WEBfactory 2010 services to Silverlight 5 - the extra steps required to upgrade the Service References.
Upgrading a project with WEBfactory 2010 User Manager to Silverlight 5 - the extra steps required to upgrade a project containing the WEBfactory 2010 User Manager.
If, for any project, the referenced DLL files have a different location than the default one (the Silverlight/Standard folder from the installation directory), you need to replace the old DLL files with the latest version provided by the WEBfactory 2010 3.6 Setup.
All the projects inside a solution must be updated to Silverlight 5.
IMPORTANT: Silverlight 5 Toolkit must be installed!
Upgrading a project to Silverlight 5
Backup your project and the database.
Navigate to the project folder on the disk and delete the Bin and Obj folders. This will make sure that no errors will occur when updating the references.
Open the project in Blend for Visual Studio.
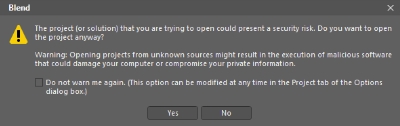
If Blend displays security and/or incompatibility errors when opening the project, ignore them and proceed with the next steps.

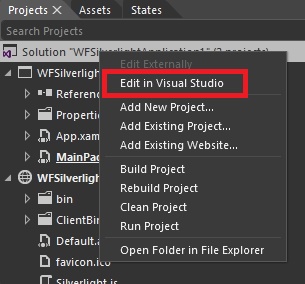
In order to update the application and site projects to Silverlight 5 and .NET Framework 4.5, we need use Visual Studio. Right-click on the solution inside the Projects panel of Blend and select Edit in Visual Studio.
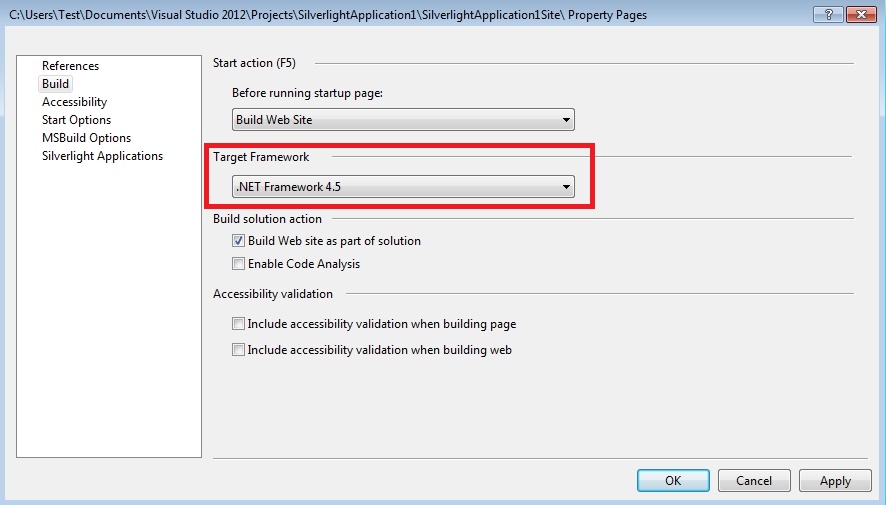
In Visual Studio's Solution Explorer, right-click on the Site project and select Property Pages.

In the Property Pages window, select the Build section from the left side panel. Set the Target Framework to .NET Framework 4.5.
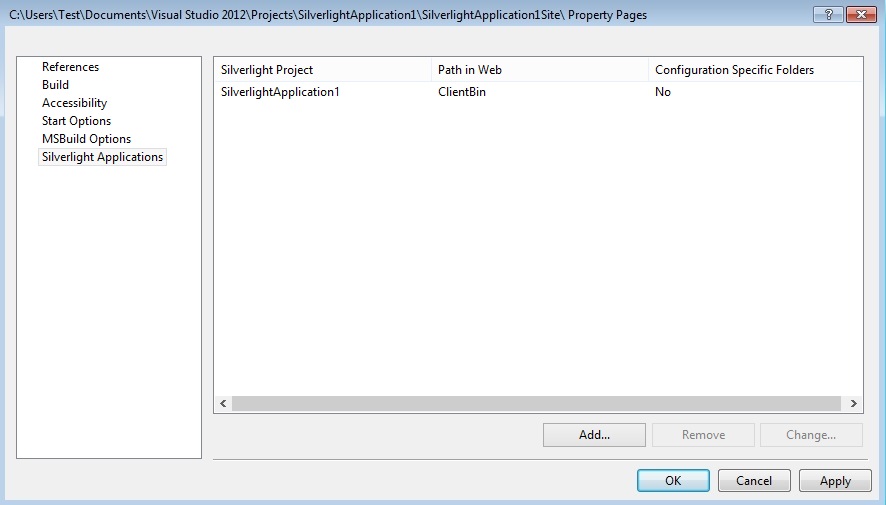
Next, click on the Silverlight Applications section and make sure that the SilverlightApplication is added to consume the project. If not, add it using the Add... button. This step will make sure that the project will be displayed at run time if the original Silverlight 4 project was never built.
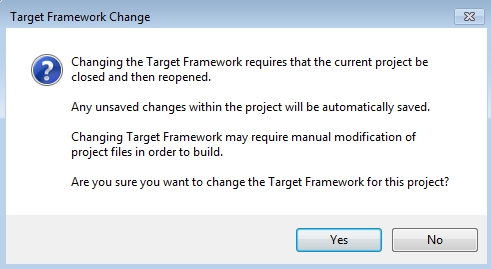
Click OK to confirm the change and also confirm the Target Framework Change dialog.
The Site project will be automatically closed and Visual Studio will notify you than the Site project cannot be displayed. Disregard the notification and proceed with the next steps.
Save the changes using the File > Save All menu option and close Visual Studio.
Blend will automatically detect the changes and will ask you to confirm the reloading of the project. Click Yes.

In the Projects panel, expand the References folder from the application project.
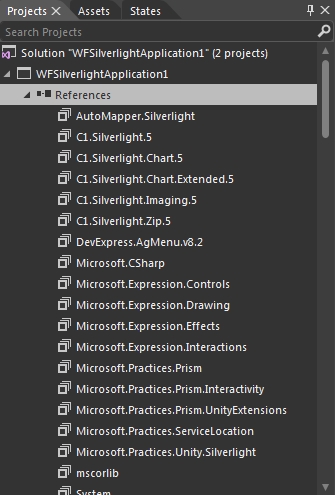
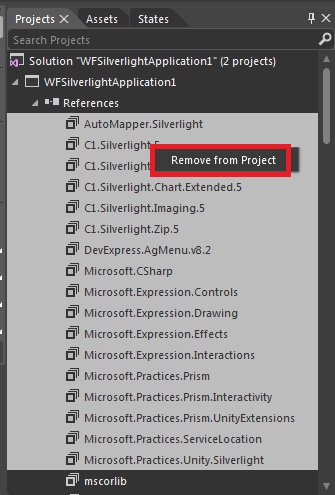
Select the references to the old WEBfactory DLL files (use the Ctrl key for multiple selection), right-click on the selection and click Remove from Project.
IMPORTANT: Make sure not to remove the default project references to:
mscorlib
System
System.Core
System.Net
System.Windows
System.Windows.Browser
System.Xml
Blend will ask you to confirm the removal of references. Click Yes to confirm. Only the default references will be left in the project.
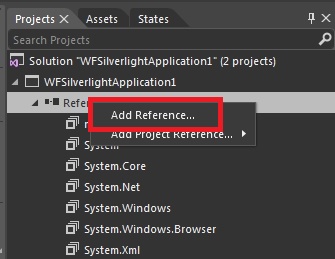
Next, the references to the new DLL files must be added. Right-click on the References folder and select Add Reference....
Using the Add Reference dialog, navigate to the folder containing the WEBfactory 2010 version 3.6 Silverlight DLL files. By default, the DLL files will be located in the WEBfactory 2010 installation folder. If the DLL files are copied to another location for referencing, navigate to that location.
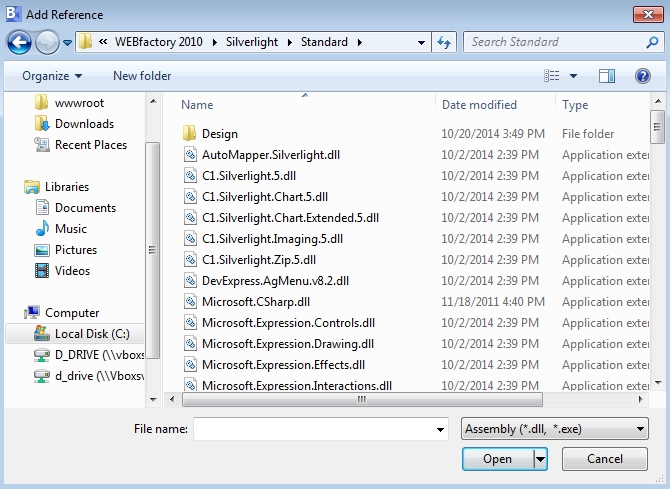
Select the required DLL files to be referenced and click Open. The references will be added to the project.
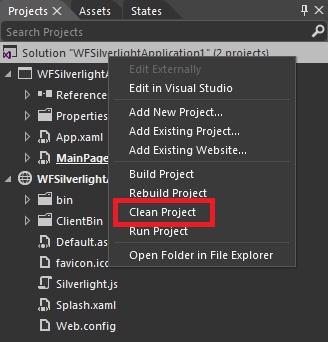
In the Projects panel, right-click on the solution and select Clean Project.
Close Blend for Visual Studio and reopen it. Open the upgraded project. This will make sure that Blend loads in memory the new references.
Build the project. The project should build without any errors.
Upgrading a project using a re-skinned WFTrending3 control to Silverlight 5
This section describes the additional steps required to upgrade a project with a re-skinned WFTrending3 control to Silverlight 5. All the steps from the previous section, Upgrading a project to Silverlight 5, must be applied before.
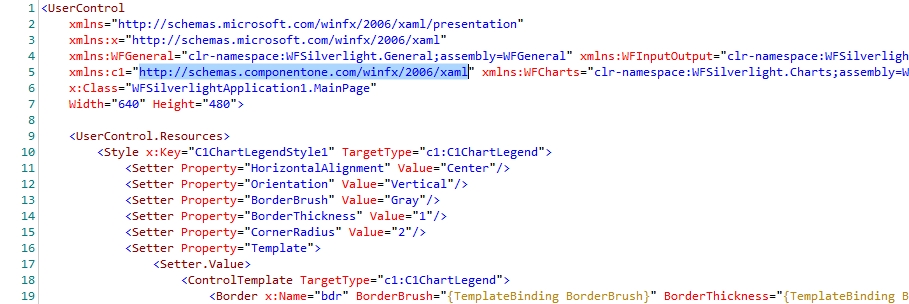
When upgrading a project containing a re-skinned WFTrending3 control, the ComponentOne namespace of the new style (xmlns:c1) must be update to http://schemas.componentone.com/winfx/2006/xaml.
Open the page containing the styled WFTrending3 control in Code view.
Find the obsolete ComponentOne namespace: clr-namespace:C1.Silverlight.Chart;assembly=C1.Silverlight.Chart.
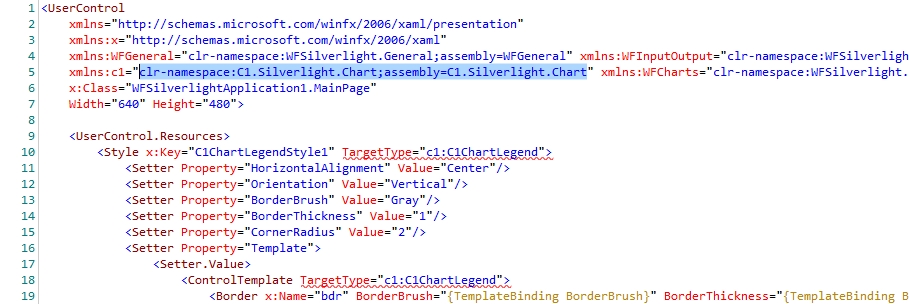
Replace it with the new one: http://schemas.componentone.com/winfx/2006/xaml.
Alternatively, you can use the Replace functionality of Blend for Visual Studio 2012 (Ctrl + H) to quickly find the old namespace and replace it with the new one.
Clean the project and rebuild it. The project is now updated to Silverlight 5.
Upgrading a project with Service References to WEBfactory 2010 services to Silverlight 5
This section describes the additional steps required to upgrade a project having Service References to WEBfactory 2010 services to Silverlight 5. All the steps from the previous section, Upgrading a project to Silverlight 5, must be applied before.
From the Projects panel of Blend, right-click on the solution and select Edit in Visual Studio.
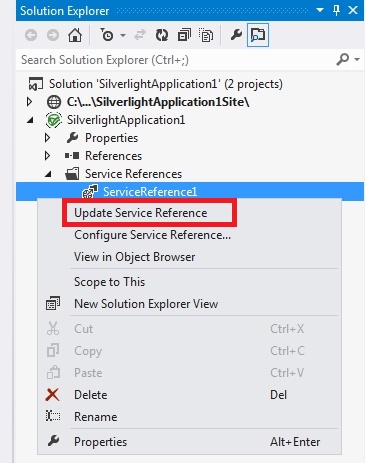
In Visual Studio, in the Solution Explorer, expand the Service References folder inside the Silverlight project.
Select all the service references and right-click. Select Update Service Reference.
Wait until the update is finished. Save the solution and close Visual Studio. Blend will ask you to update the modified project. Click Yes.
Clean the project and rebuild it. The project is now updated to Silverlight 5.
Upgrading a project with WEBfactory 2010 User Manager to Silverlight 5
This section describes the additional steps required to upgrade a project containing the WEBfactory 2010 User Manager to WEBfactory 2010 services to Silverlight 5. All the steps from the previous section, Upgrading a project to Silverlight 5, must be applied before.
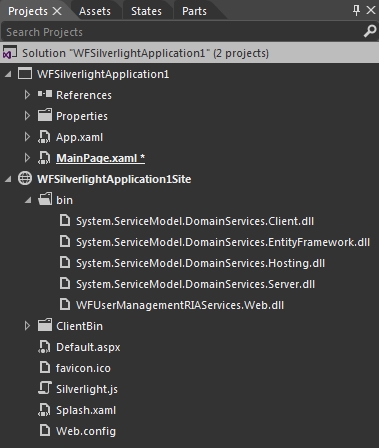
The User Manager specific references must be manually replaced with the newer versions (remove and add them again using the new DLL files):
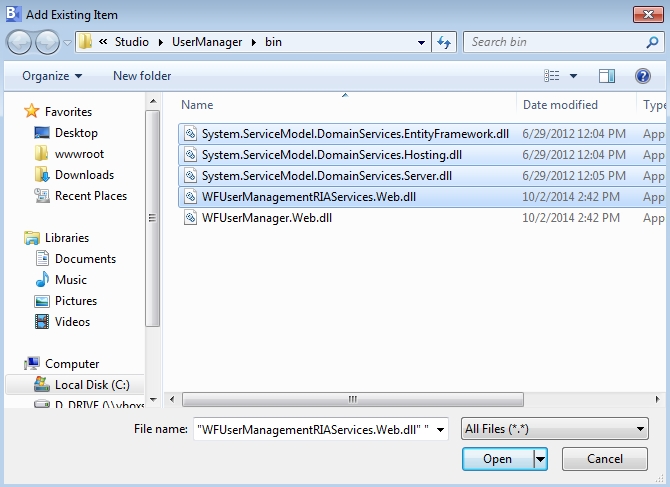
System.ServiceModel.DomainServices.EntityFramework.dll
System.ServiceModel.DomainServices.Hosting.dll
System.ServiceModel.DomainServices.Server.dll
WFUserManagementRIAServices.Web.dll
The required DLL files are located in the Studio/UserManager/bin folder, inside the WEBfactory 2010 installation directory.
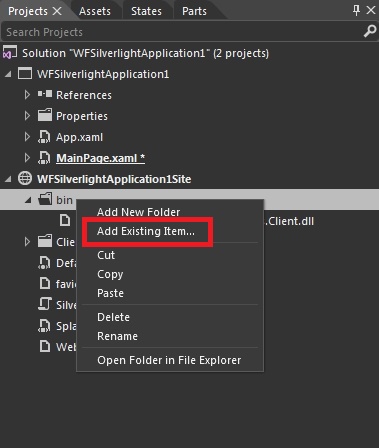
In the Projects panel of Blend for Visual Studio, expand the bin folder of the Site project.
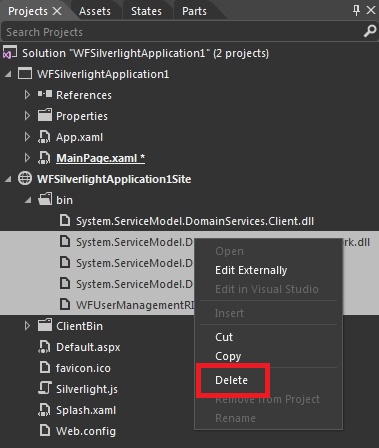
Select and remove the following references:
System.ServiceModel.DomainServices.EntityFramework.dll
System.ServiceModel.DomainServices.Hosting.dll
System.ServiceModel.DomainServices.Server.dll
WFUserManagementRIAServices.Web.dll
Right-click on the bin folder and select Add Existing Item....
In the Add Existing Item dialog, navigate to the WEBfactory 2010 installation folder, then Studio/UserManager/bin. Select the newer version of the DLL files and click Open to add them to the project.