Using the WFIndicatorDynamic control in WEBfactory 2010SmartEditor
This tutorial will guide you through the design time setup of the WFIndicatorDynamic control in SmartEditor. To emphasize the workflow, this example will include the WFNumericBox1 control.
The WFIndicatorDynamic control is a Indicator with XAML customization. Unlike the WFIndicator1 control, the WFIndicatorDynamic control allows the user to customize the visual appearance for each state of the control. This is done by selecting a XAML file (containing the graphic design) for each state of the control.
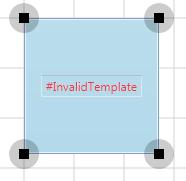
When first time placed on the Page surface, the WFIndicatorDynamic control will not have any visual style applied.
WFIndicatorDynamic without DefaultStateXAML
WFIndicatorDynamic properties
Create a new Smart Editor project and place the WFIndicatorDynamic control on the Page. The WFIndicatorDynamic control can be found under the Indicators category in the Toolbox panel.
The WFIndicatorDynamic has the same properties as a normal WFIndicator1 control, plus the custom XAML options.
Configuration category:
DefaultStateXamlPath - the default graphic style (XAML) that will be displayed by the control when no state is active.
StateXamlPath1 - StateXamlPath8 - the graphic style (XAML) assigned to each state, form 1 to 8. When state 1 is active, the control will display the XAML selected for StateXamlPath1.
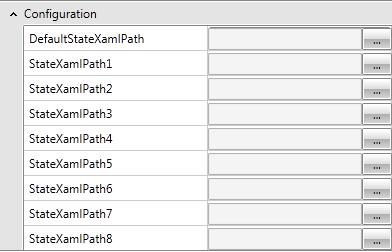
Configuration options
The XAML files are selected using the browse button corresponding to each StateXamlPath. The XAML files must be located on the local hard drive.
Signals category:
ConditionRule1 - ConditionRule8 - this options provide the possibility to create complex condition rules for defining the control states. Defining the rules is made by entering the logic in the text field corresponding to the desired condition rule.
The rules can be defined by using the logic comparators ==, !=, <>, >, <, &&, etc.
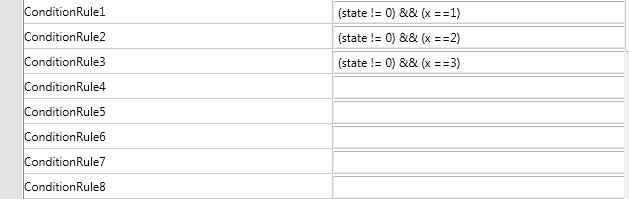
Condition rules
The ConditionRules1-8 use the ConditionSignals defined by the user. In the above picture, state and x are ConditionSignals.
ConditionSignals - this option provides the possibility of defining signals to be used in Condition Rules. Each defined signal will have an ParameterName which will be the name used in the ConditionRules.

Condition Signals

ConditionSignals defined
In the above picture, the Setpoint1 signal has the ParameterName state, and the Setpoint2 signal has the ParameterName x. This way, we can define rules like: (state != 0) && (x ==1). Translated in words, this rule says that the condition is met when the value of the Setpoint1 signal is not null and the value of the Setpoint2 signal equals zero.
MaskSignal1 - MaskSignal8 - this options allow the user to define a value that can be used in comparing with the signal values. If a signal is selected in the StateSignalName options, that signals value will be compared by default with 0. The role of the MaskSignal options is to define a different value than 0 for the comparison. The comparison is always equal or bigger.
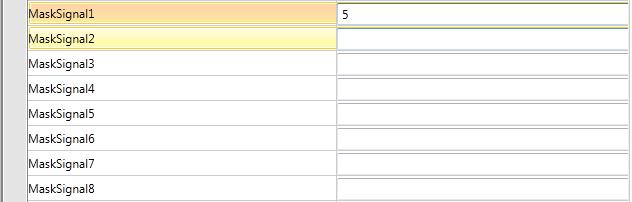
MaskSignals
For example, assuming that StateSignalName1 has assigned the signal Setpoint1, and no other option is configured in the WFIdicatorDynamic control, the State1 of the control will be when the value of the Setpoint1 is equal or bigger than 0. In order to change the 0 value, so the Setpoint1 value could be compared with other value, we need to define a MaskSignal1 value. If the value of MaskSignal1 is 5, than the State1 of the control will be when the Setpoint1 value is equal or bigger than 5.
StateSignalName1 - StateSignalName8 - this options allow the user to select signals in order to define the states of the control. The value of the selected signals will be, by default, compared to 0.
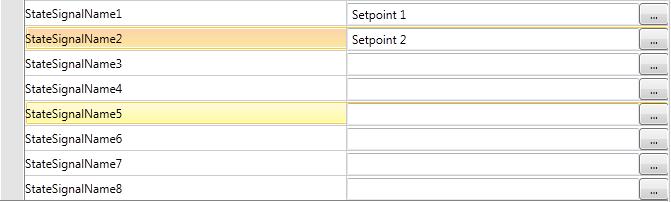
SignalStateNames
Each StateSignalname corresponds to one control state. StateSignalName1 corresponds to the State1 of the control.
Setting up the XAML for WFIndicatorDynamic
To set up the default XAML for the WFIndicatorDynamic control, select the DefaultStateXamlPath and click the browse button. Navigate to the place where your XAML files are stored. For this example, we will use the StaticSymbols XAML files, which can be found under C:\Program Files (x86)\WEBfactory 2010 \SmartEditor\Views\StaticSymbols path.
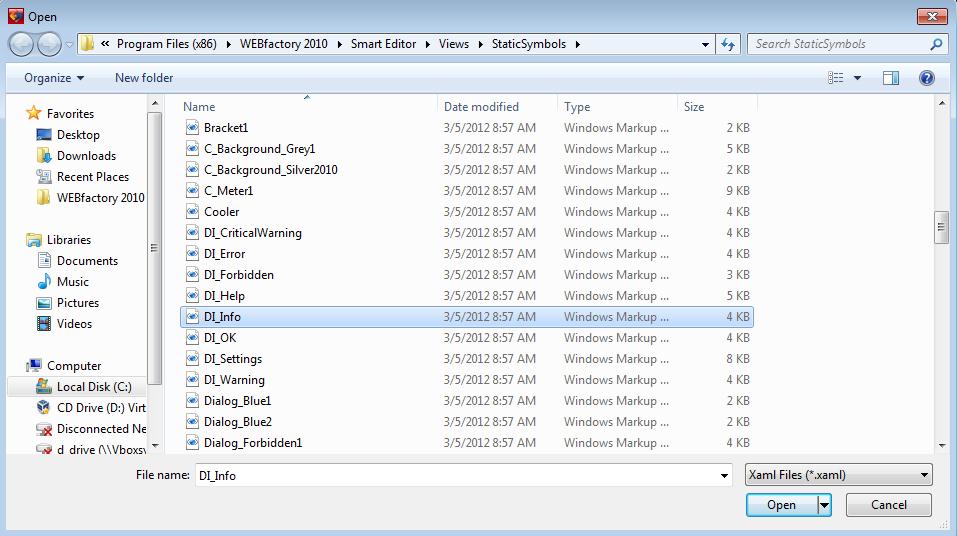
Select the default state XAML for the WFIndicatorDynamic control
The same way we selected the default XAML file for the DefaultStateXamlPath, we will select XAML files for the first three states. This way, we will have three different graphics for the tree states: default, state1 , state2 and state3.

Selecting XAML files for different states
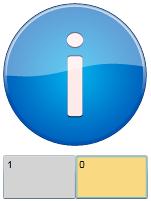
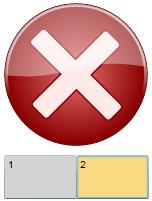
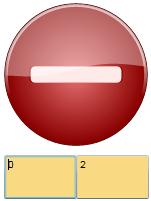
The above configuration means that when at default state, the control graphics will be defined by DI_Info.xaml, when the conditions for state1 are met, the control graphics will be defined by DI_OK.xaml and when the conditions for state2 are met, the control graphics will be defined by DI_Error.xaml. The same goes for state3.


The default state, state1, state2 and state3 graphics
Configuring conditions using StateSignalNames and MaskSignals
Select the Setpoint1 signal for the first three StateSignalNames. The control will compare by default the value of Setpoint1 with 0, in all three cases.
To change that, define the corresponding MaskSignals (MaskSignal1, MaskSignal2, MaskSignal3) as 1, 2 and 3.
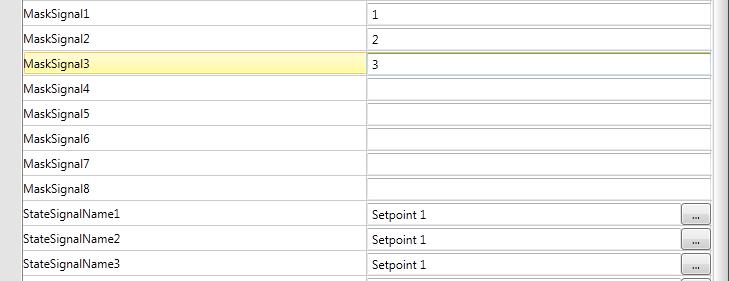
Setting up the conditions
Now, for the StateSignalName1, the value of Setpoint1 will be compared to 1, for the StateSignalName2, the value of Setpoint1 will be compared to 2 and for the StateSignalName3, the value of Setpoint1 will be compared to 3.
For testing purposes, place a WFNumericBox1 control on the page and select Setpoint1 in the SignalName property, under the Signals category.

Setting up WFNumericBox1 for testing the WFIndicatorDynamic
The project Page should look like this:
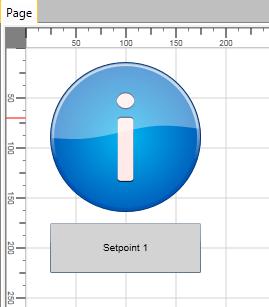
WFIndicatorDynamic and WFNumericBox1 controls
Run the project. In the browser window, enter the values 1, 2 and 3 in the WFNumericBox1 control and notice the changes of the WFIndicatorDynamic control.


The four states at runtime
Configuring conditions using ConditionRules and ConditionSignals
For more complex state configurations, the WFIndicatorDynamic allows the user to define conditions for each state, and condition signals, to be used in the state conditions expression.
Define the ConditionSignals by clicking on the corresponding button. In the ConditionSignals window, define two condition signals Setpoint1 and Setpoint2, and assign ParameterNames set1 and set2 for them.
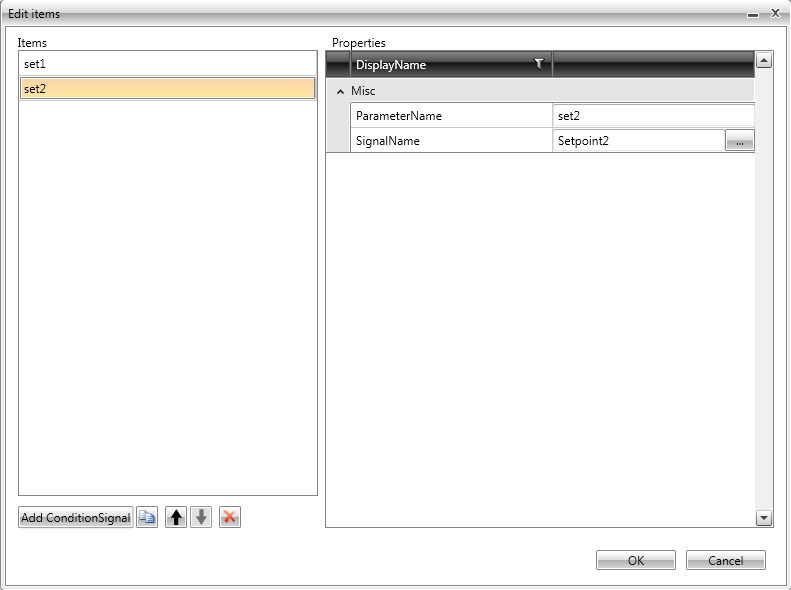
Defining the ConsitionSignals
Because we are now using two signals instead of one, we will duplicate the WFNumericBox1 control and assign the Setpoint2 signal for the WFNumericBox1 copy. This way, we have two WFNumericBox1 controls, one for Setpoint1 and the second for Setpoint2. This will allow us to input values for both signals at runtime.
Now that we have the ConsitionSignals defined, we can proceed with creating the logic that will define each state of the control:
In the ConditionRule1 textfield, enter the following statement: (set1 != 0) && (set2 ==1). This statement says that if set1 is not null, and set2 is 1, than the control has the state1.
In the ConditionRule2 textfield, enter the next statement: (set1 != 0) && (set2 ==2). This statement says that if set1 is not null, and set2 is 2, than the control has the state2.
In the ConditionRule3 textfield, enter the next statement: (set1 == 0). Straight forward, this means that set1 equals null.
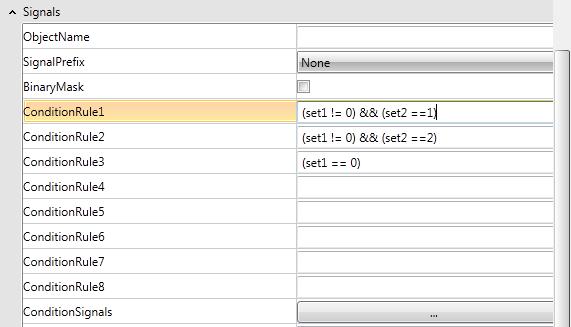
Defining the ConditionsRules
Run the project and notice the changes as you input values in the WFNumericBox1 controls:
When Setpoint1 is not null and Setpoint2 is 0, the control is at
default state.

When Setpoint2 is 1
When Setpoint2 is 2
And when Setpoint1 is null (Setpoint2 can have any value)