Enabling and using HTTPS access
Check out these tutorials in order to learn how to enable HTTPS Access, adjust the SSL Settings and running an HTTPS Application on your computer.
The HTTPS protocol provides secured communication over the network, allowing users to access their i4scada applications using SSL encryption. This article describes the steps required for enabling and using HTTPS.
Usually, the settings that will configure HTTPS access will be applied directly to the website. Some special cases may require these settings to be applied to specific items only.
Note
This tutorial applies only to Internet Information Services (IIS) Manager 7 or higher. Previous versions of IIS may require a different procedure for enabling the HTTPS.
HTTPS cannot be accessed over localhost. The full machine name should be used when using HTTPS. The full machine name can be obtained from Control Panel > System.
Steps to perform in order to enable and use HTTPS:
Installing the security certificate
A security certificate is necessary to complete this step. For testing and debugging purposes only, a Self-Signed Certificate can be generated and used.
Important
WEBfactory does not encourage the usage of Self-Signed Certificates in any other case but testing and/or debugging!
Generating a Self-Signed Certificate in Internet Information Services (IIS) Manager:
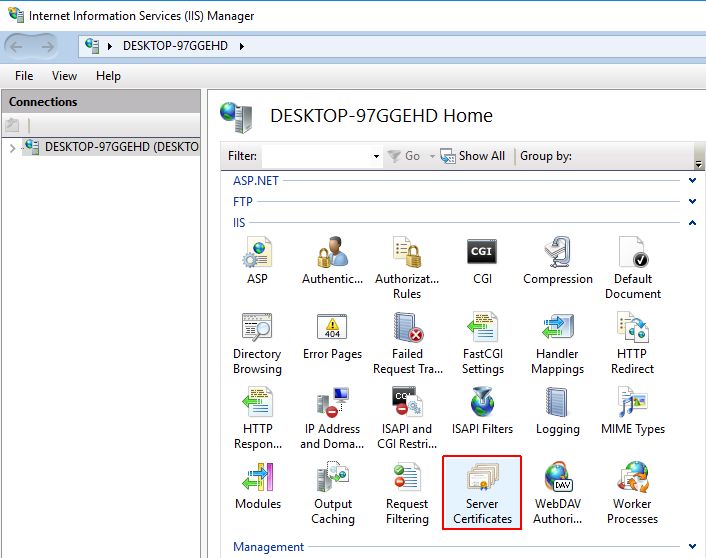
In the Internet Information Services (IIS) Manager, select the server from the Connections panel.
Double click on Server Certificates in the main view.
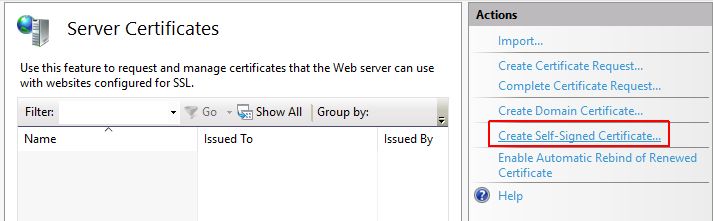
In the Actions panel, select Create Self-Signed Certificate.
In the Create Self-Signed Certificate window, enter a name for the new certificate.
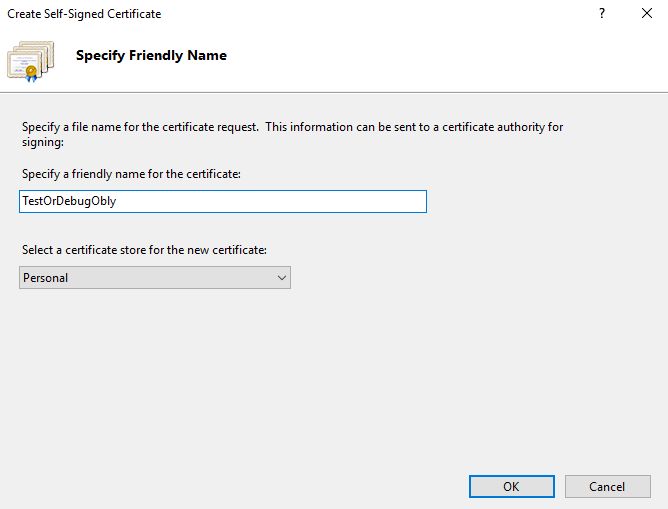
Click OK to confirm the creation of the new Self-Signed Certificate.
The Server Certificates list is updated with the new created certificate.
Enabling HTTPS binding
The HTTPS binding must be achieved in order to enable the secure connection on the website:
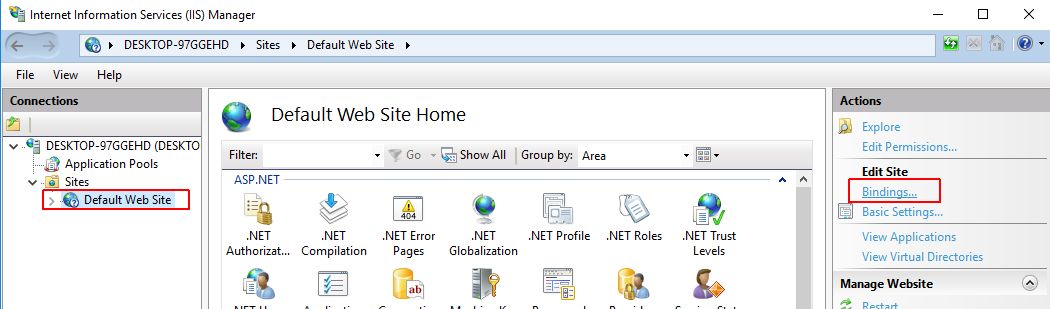
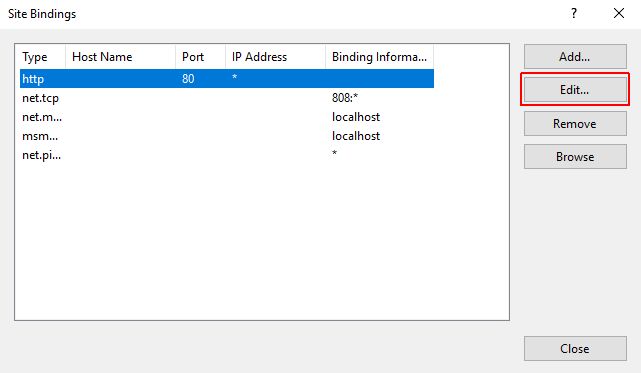
Select the site for which you activate the HTTPS connection and click on Bindings..., under the Edit Site category in the Actions panel.
A pop-up window with all the available Site Bindings is opened. Select the Site binding "http" and press the Edit button.
In the "http" Edit Site Bindings window, the following settings must be done:
The HTTP binding must target the IP address of the local machine and the Hostname must be localhost. This is necessary so only the local machine can access the website using an unsecured connection.
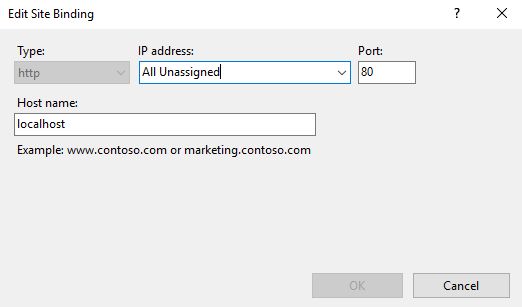
Confirm changes via button OK and close the "http" Edit Site Bindings window
Click the Add button to add a new binding.
Select HTTPS from the Type menu.
Select All Unassigned from the IP address dropdown.
Make sure that the Port is set to 443.
Select your certificate file from the SSL certificate drop-down menu.
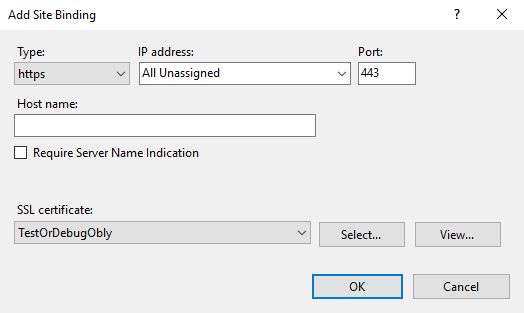
Save the "https" Site Binding by clicking the OK button.
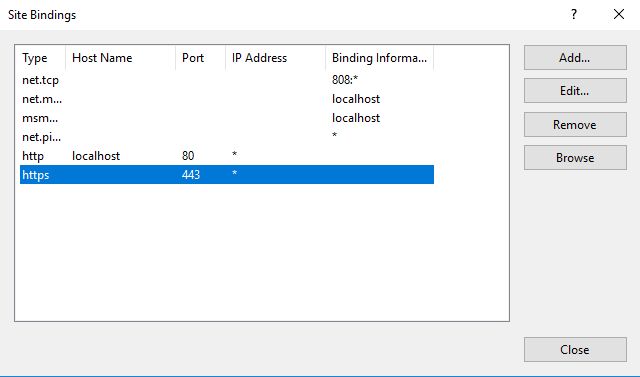
The Site Bindings list now contains also the "https" type.
Adjusting the SSL Settings
The SSL Settings can be found under the IIS category in the Features View.
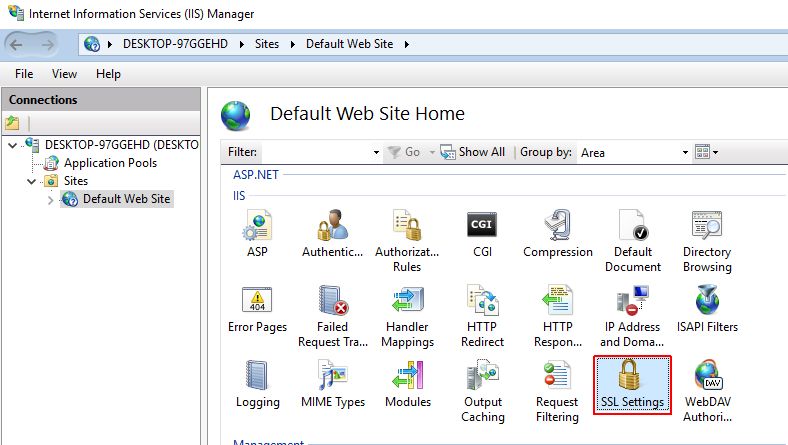
In the IIS Manager, click on the Default Web Site node.
From the IIS Features, double click on the SSL Settings icon.
The SSL Settings view is opened.
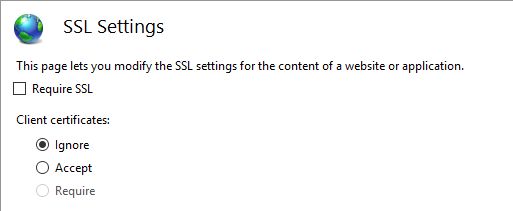
Make sure Require SLL setting is not checked.
At the Client certificates, we have 3 settings:
Ignore - to be marked only when client-certificates authentication is not used at all.
Accept - will take a certificate if it's presented, but will also continue with connections where the client doesn't present one.
Require - only continues with connections that have a client certificate.
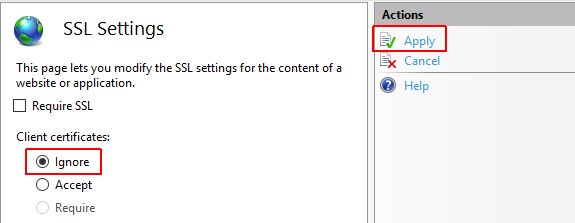
Select the option Ignore.
Click the Apply button, in the "Actions area".
Enabling the HTTPS endpoints in the Services.config file
The last step required to correctly enable HTTPS is to uncomment all the service specific lines in the Services.config file:
Warning
In order to avoid errors, please note that the Services.config is a case-sensitive file.
Open the Services.config file located in C:\inetpub\wwwroot\_SERVICES\WEBservices\WCF.
For all the services with HTTPS endpoints, uncomment the commented lines found below the <!--Uncomment the following lines to enable https--> line.
For the example below, uncomment the two endpoints by removing the starting
<!--tag and the ending-->tag in red bold characters:<!--Uncomment the following lines to enable https--> <!--<endpoint address="" binding="basicHttpBinding" bindingConfiguration="SecureLargeBuffer" name="HttpEndpoint" contract="WcfWebServices.IAlarmsService" behaviorConfiguration="BasicHTTPBehavior"> <identity> <dns value="localhost" /> </identity> </endpoint> <endpoint address="js" binding="webHttpBinding" bindingConfiguration="SecureLargeAjaxBuffer" name="AjaxEndpoint" contract="WcfWebServices.IAlarmsService" behaviorConfiguration="AjaxBehavior"> <identity> <dns value="localhost" /> </identity> </endpoint> <endpoint address="mex" binding="mexHttpsBinding" name="MexHttpEndpoint" contract="IMetadataExchange" /> -->
Important
All the HTTPS endpoints must be uncommented for all the existing services!
Do not un-comment the <--Uncomment the following lines to enable https-> line!
Save the file. The HTTPS should be enabled and working correctly for each service for which the HTTPS-enabling lines were uncommented.
Running the application using HTTPS
Because and Blend run the application using HTTP (not HTTPS), it is required that the application is deployed to Internet Information Services (IIS) to benefit from the secured protocol.
Important
Make sure to access the deployed applications using the HTTPS protocol instead of the HTTP one! For example:
http://MachineNameOrIP/MyApplication should be accessed as https://MachineNameOrIP/MyApplication